

**Update 9/27/2012**
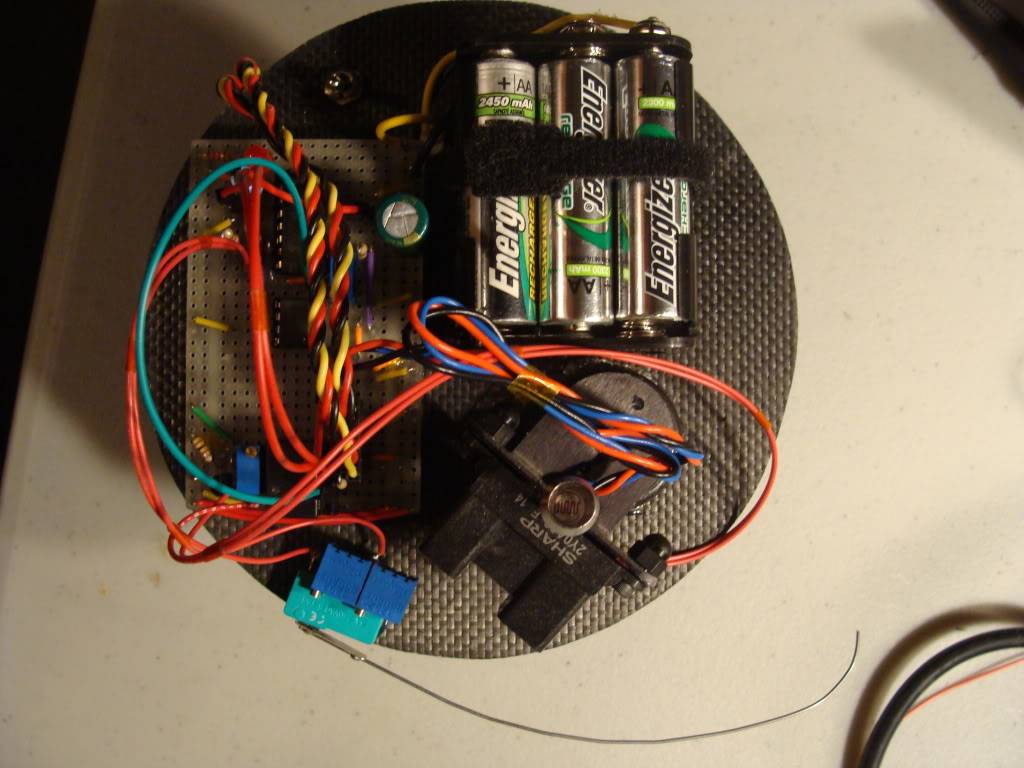
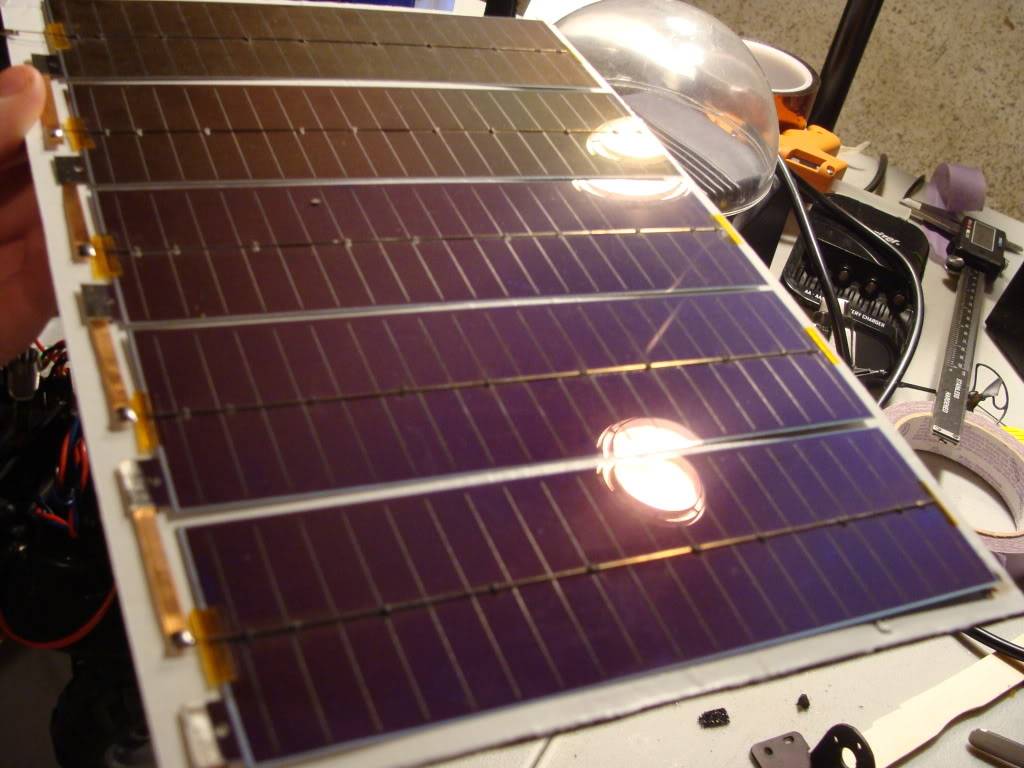
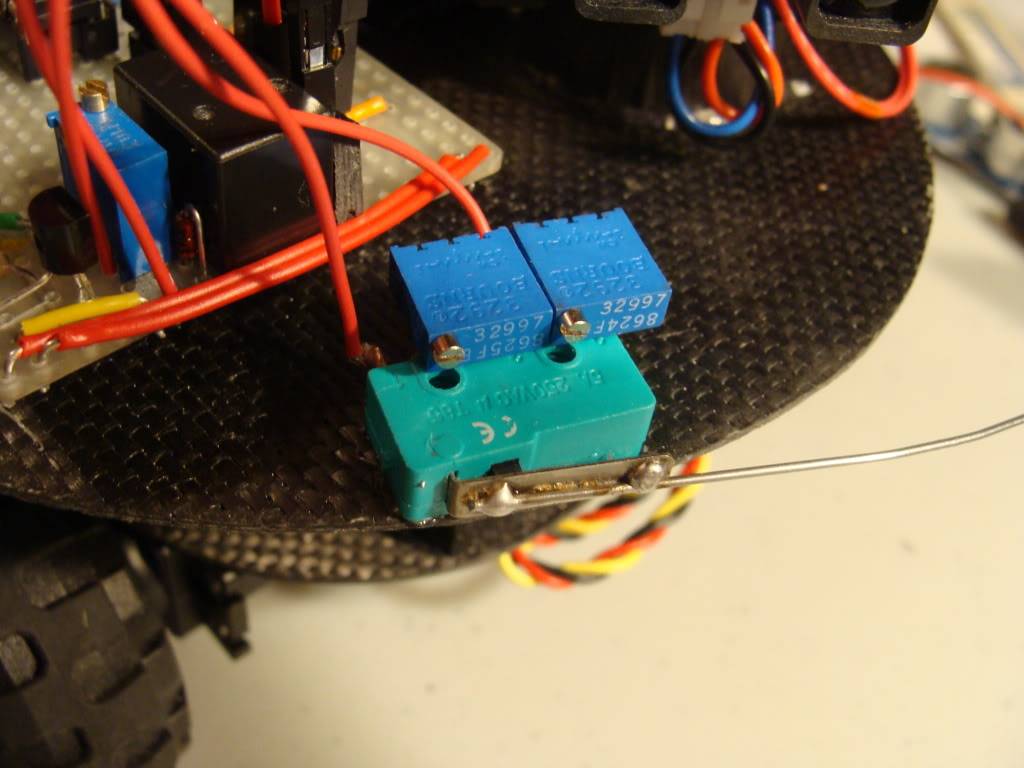
Finally got around to adding a whisker to the robot that I'm happy with, it helps the robot get stuck far less then before, also it adds a third behavior with only 2 more components \o/. I added a different battery pack as well now it has 6 1.2volt 2500mAh NIMH cells. I changed from li-ion to NIMH for the more forgiving attributes, as now I'm attempting to build a solar panel for the robot.
I picked up 9 or so cells from a surplus store for dirt cheap and wired 5 in series with a Schottky 1N5819 diode for reverse protection. Full sun specs tested in field for the array was 7.33volts at 283mA. While I was at it I moved the componets over to a proto board and encased the cds sensor in a metal casing that will be mounted on the panel later. below are some of the updated pictures.
The circuit works the same as before just now the microswitch will switch the resistance of the 556 in turn reversing the right servo. Though it is far smoother at following a wall after some very fine tuning. I will need to work on the adjustment of the pot for the light sensor so it will stop only at a bright enough light source that will charge the batterys. Now a charging station will be as simple as wiring up a powerful lamp to a timer. So soon it will be a completely analog wall following solar powered robot.

*Updated/Larger schematic*
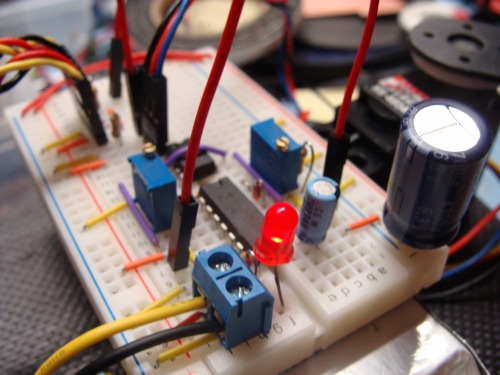
This is a robot I decided to make over the weekend, or at least the analog brain for it. I've had the base done for a while now. I received some breadboards and a jumper wire kit and decided to replicate a 556 timer controlled, wall following robot I saw on Make.
I've stumbled upon a few problems in the original schematic so I drew up my own. I also had enough room left on the medium breadboard for a light/dark activated switch, this added another behavior to the robot. It uses a 741 op amp, one 556 timer, and various components to control the signal to the servos connected to the wheels. The 741 is just to buffer the incoming signal off the long range IR sensor. I hope you guys enjoy this robot since it's very fun and easy to make. The hardest thing about it was adjustment of the potentiometers but you only have to do it once :).
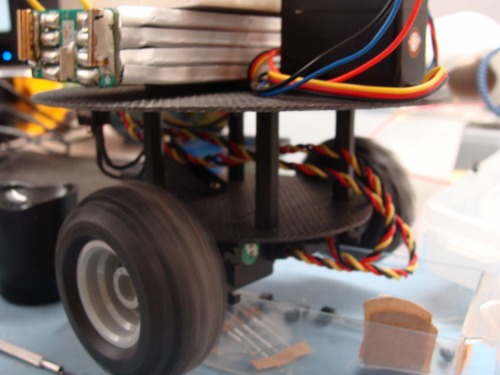
The base is made out of hand-laid carbon fiber, the battery is a li-ion 4800mAh battery. It's a very light wieght and strong base. You don't have to go as fancy as the DC-DC converter you can easly replace it with a simple dropout regulator as well, though you may have to use a heatsink. One of the potential abilities of this robot is, if it has a solar panel, and a certain amount of light hits the cds sensor it will stop and charge from the incoming light. Also, when the sun sets and/or the light turns off or dims, it can continue following the wall. Thus creating a very simple self-charging analog robot. Enjoy!! If you have any questions, just send them my way.


Follows a wall until a light turns off/on
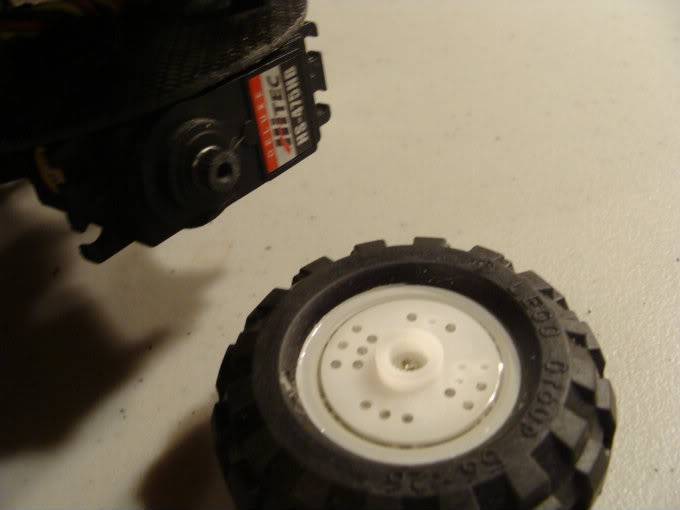
- Actuators / output devices: 2 servos
- Control method: analog
- CPU: 556 timer
- Sensors / input devices: SHARP IR sensor, cds cell
- Target environment: indoors
This is a companion discussion topic for the original entry at https://community.robotshop.com/robots/show/analog-1-wall-following