

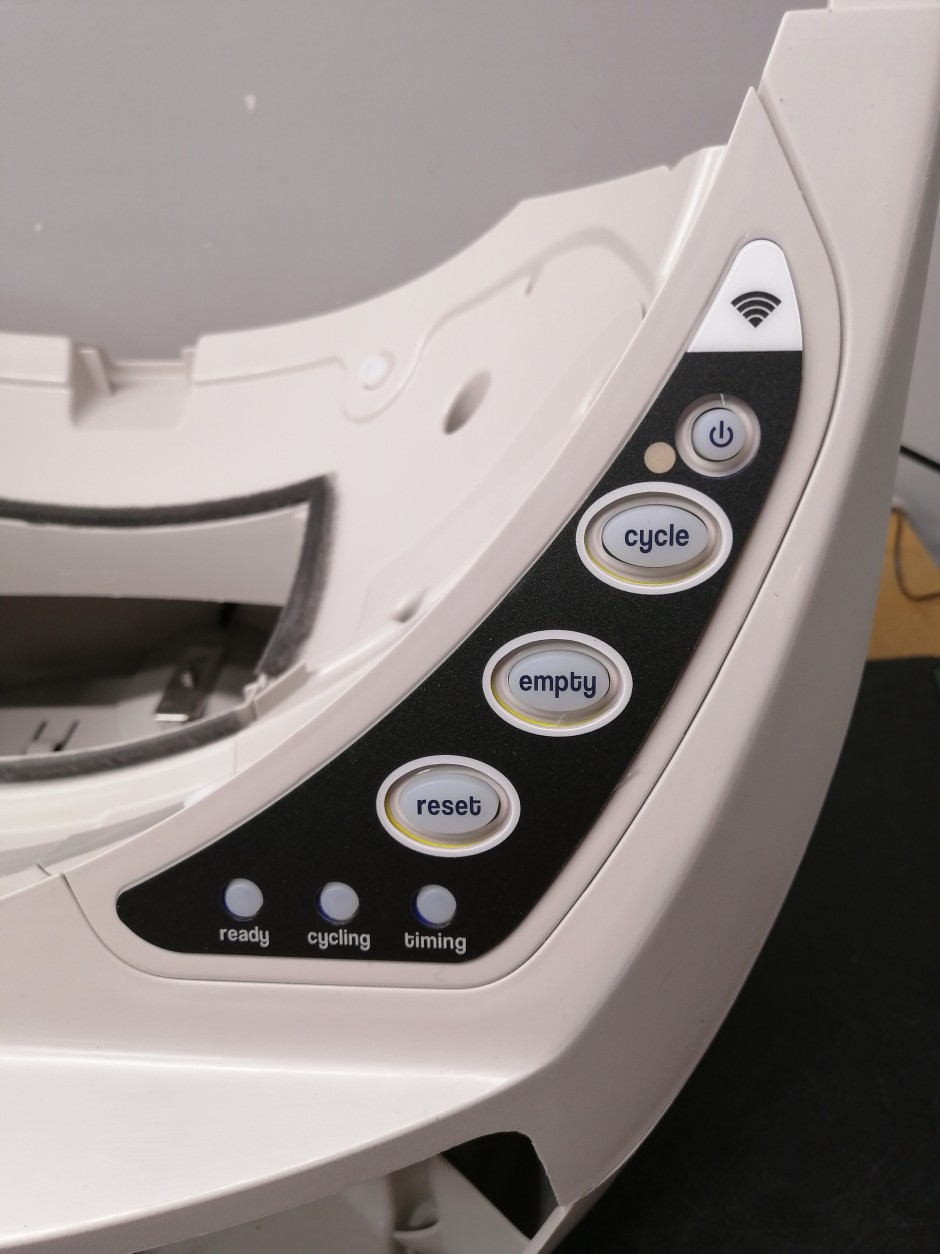
How to install the Litter-Robot Connect Kit (new version)

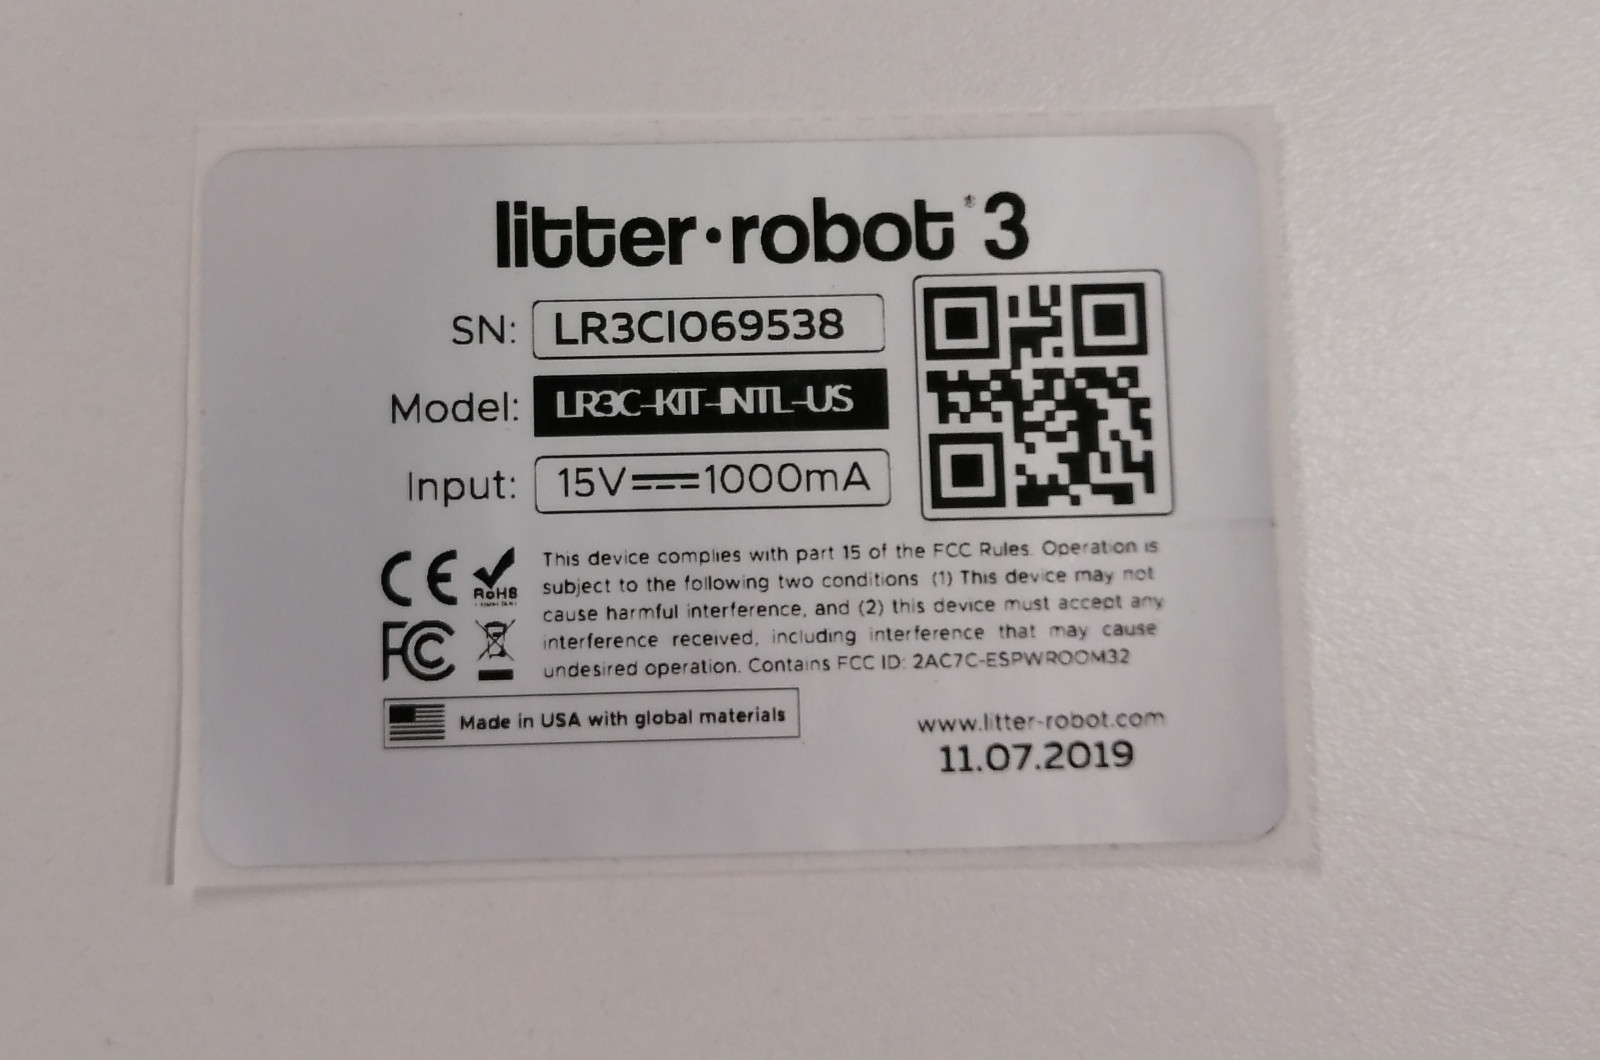
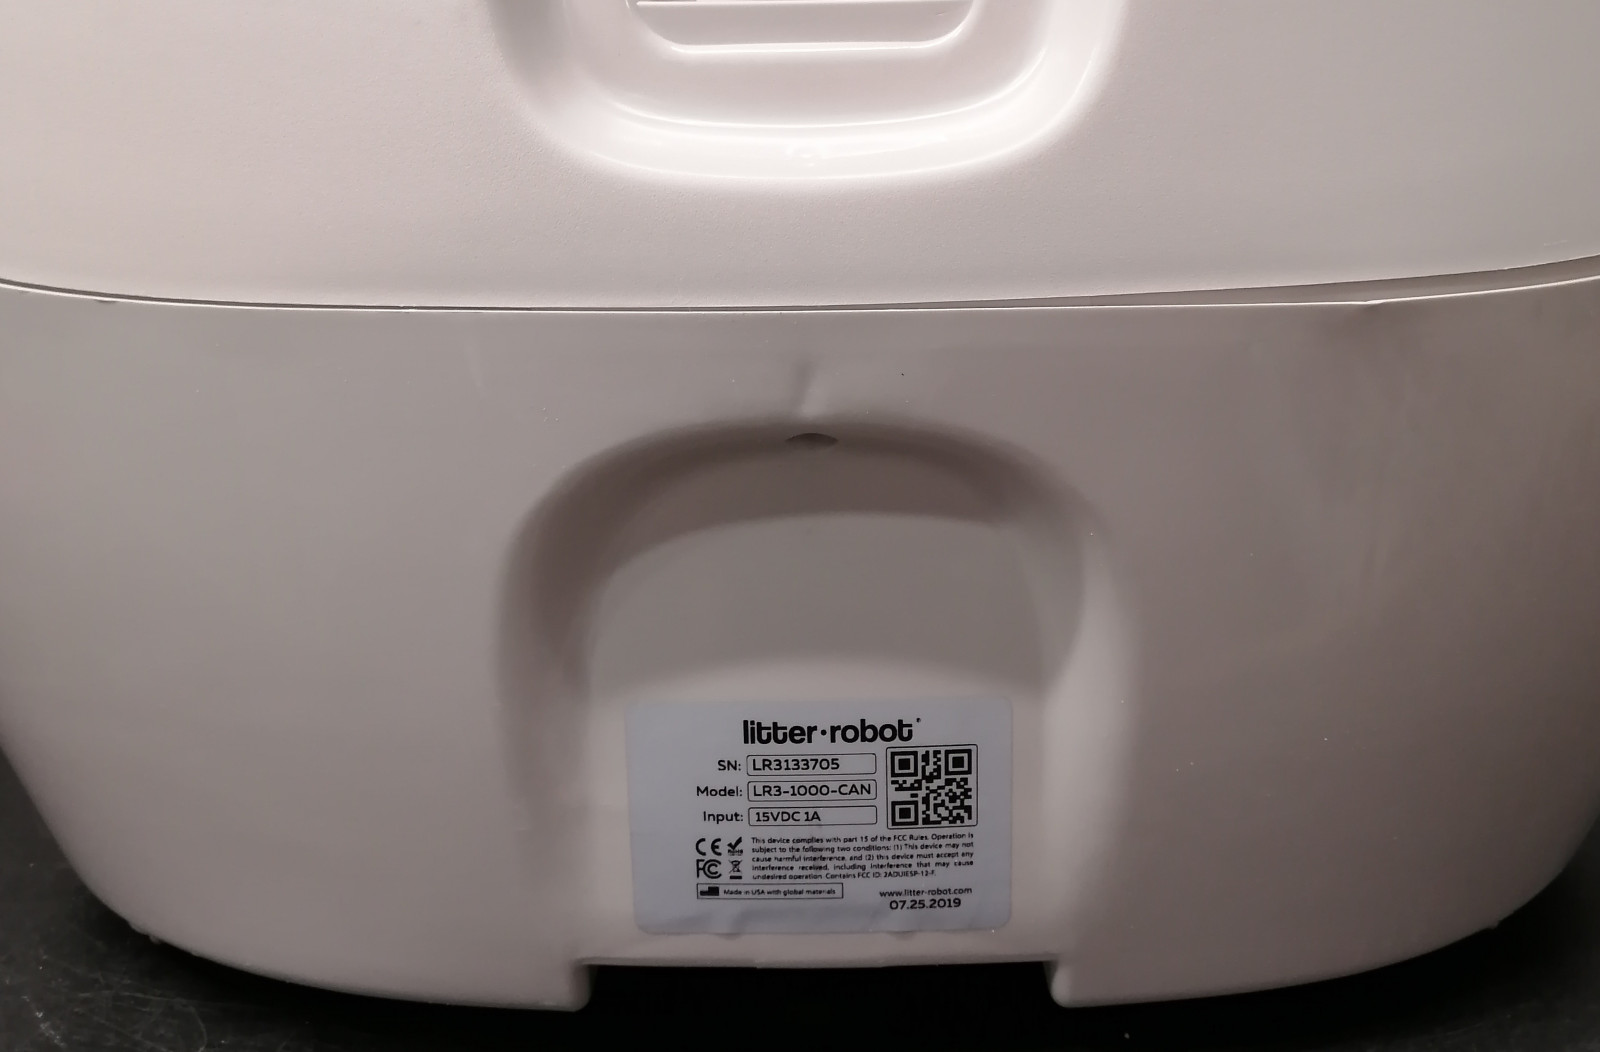
The first thing to do when you receive the package is to verify its content.
You should have the following:
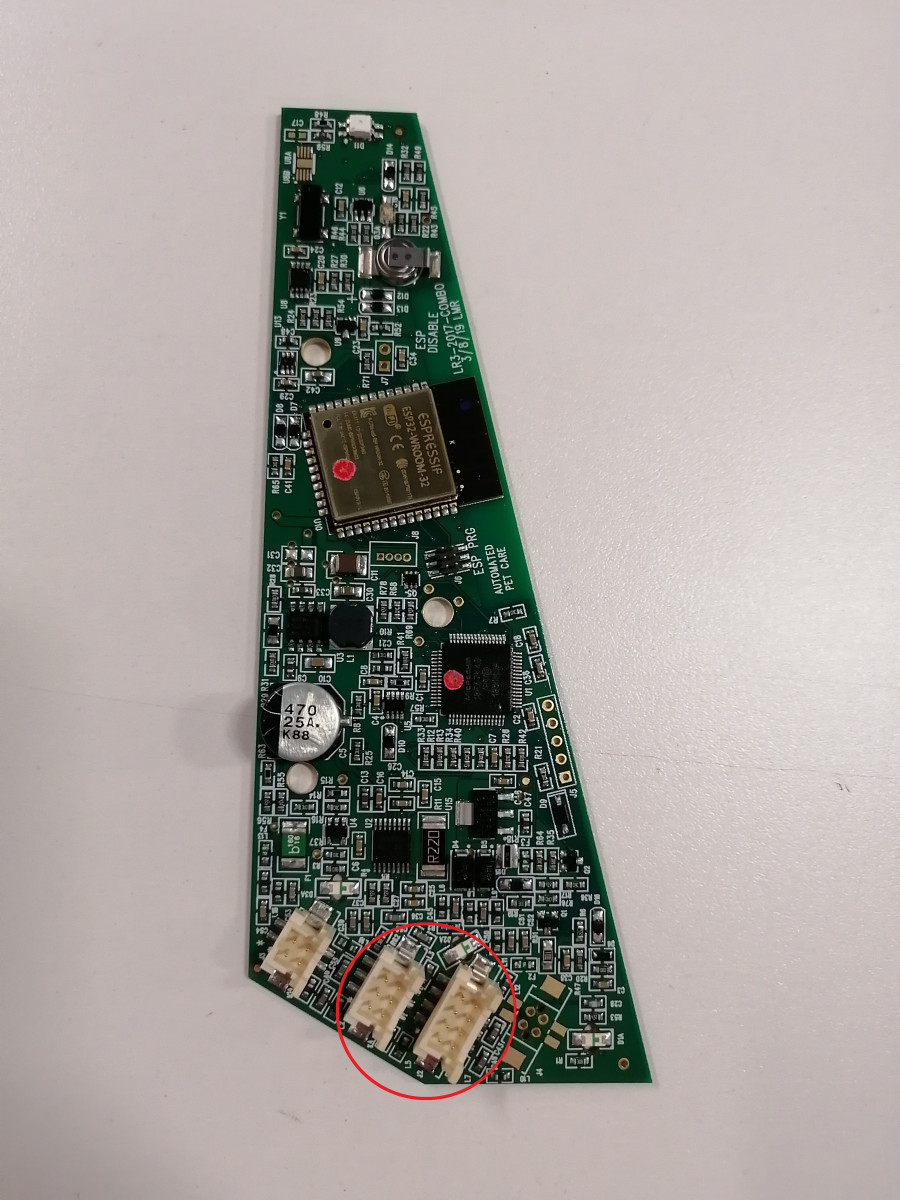
- Litter-Robot Connect Circuit Board
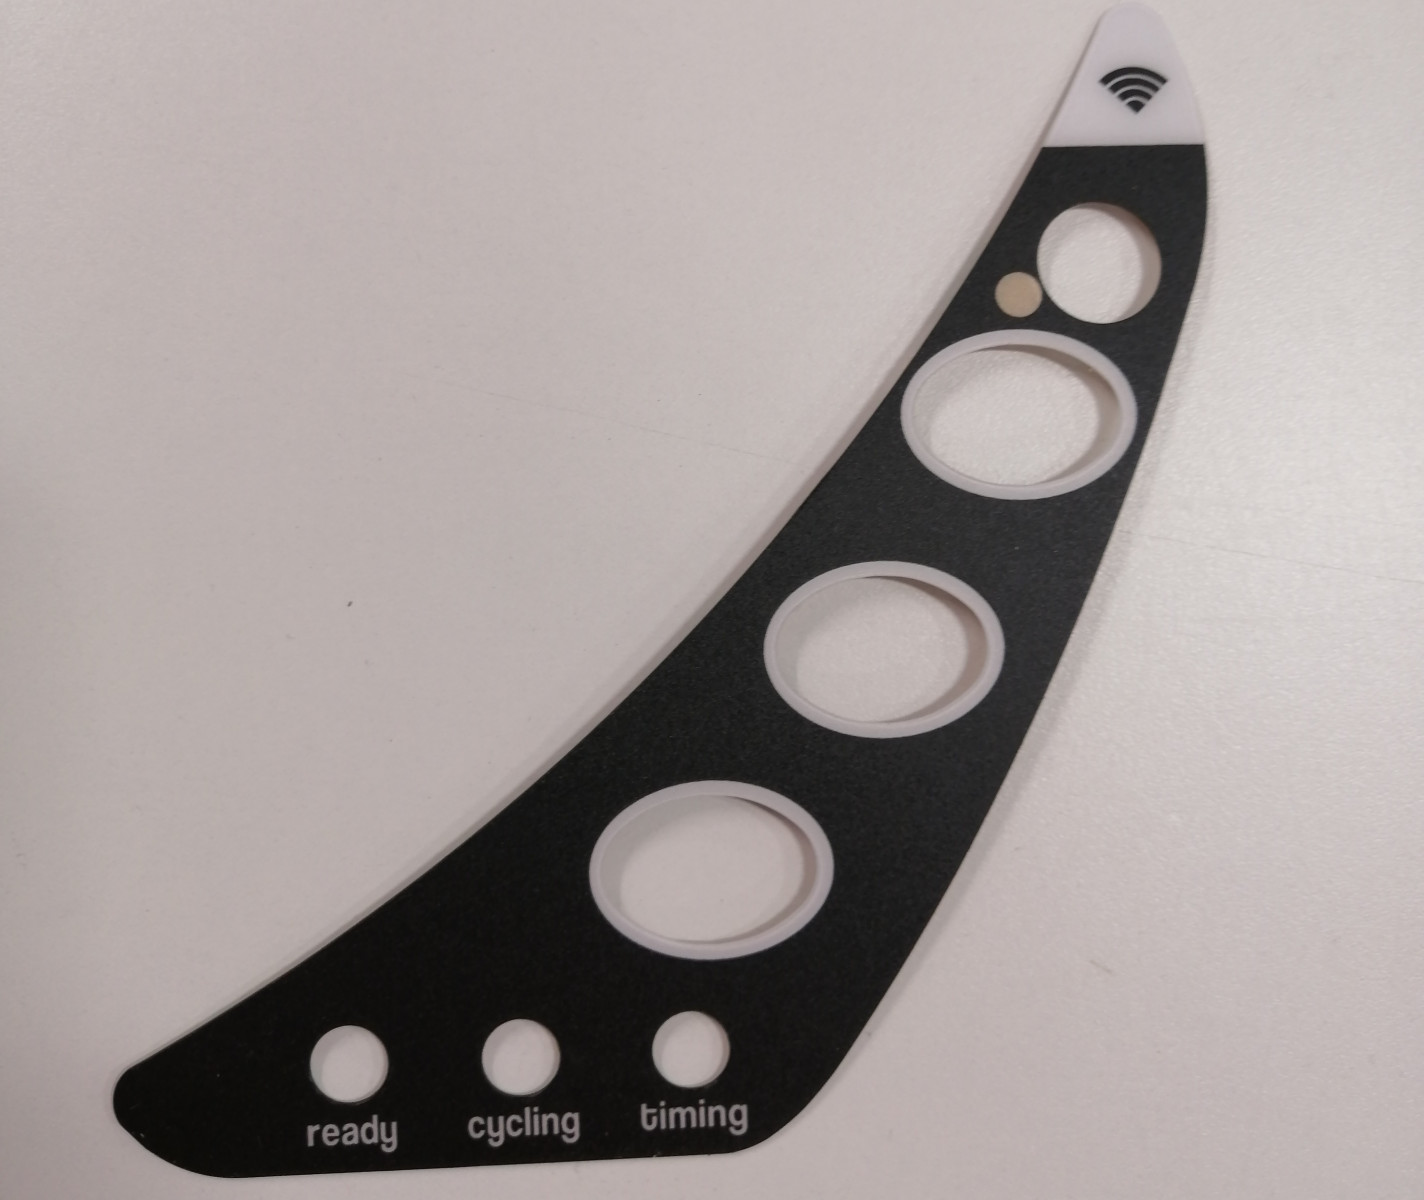
- Litter-Robot Connect Control Panel Cover
- QR code
- Power Supply

What is that? A new DFI?
Yes, the new DFI is an upgraded version designed by Litter-Robot and it works on the principle of a laser beam instead of IR signals.
Follow this step-by-step guide and your Litter-Robot should be ready to connect in no time.
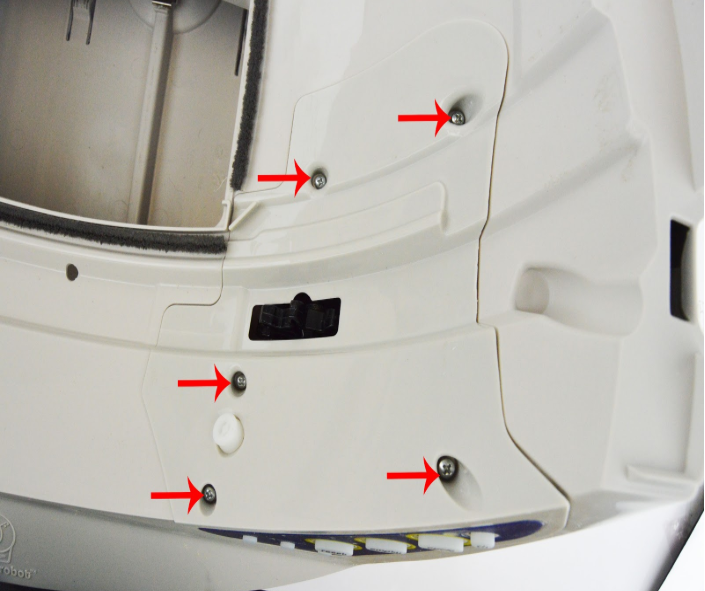
Step 1:
Make sure the power supply is unplugged from the base of the Litter-Robot or the manipulation could cause harm or damage the unit.
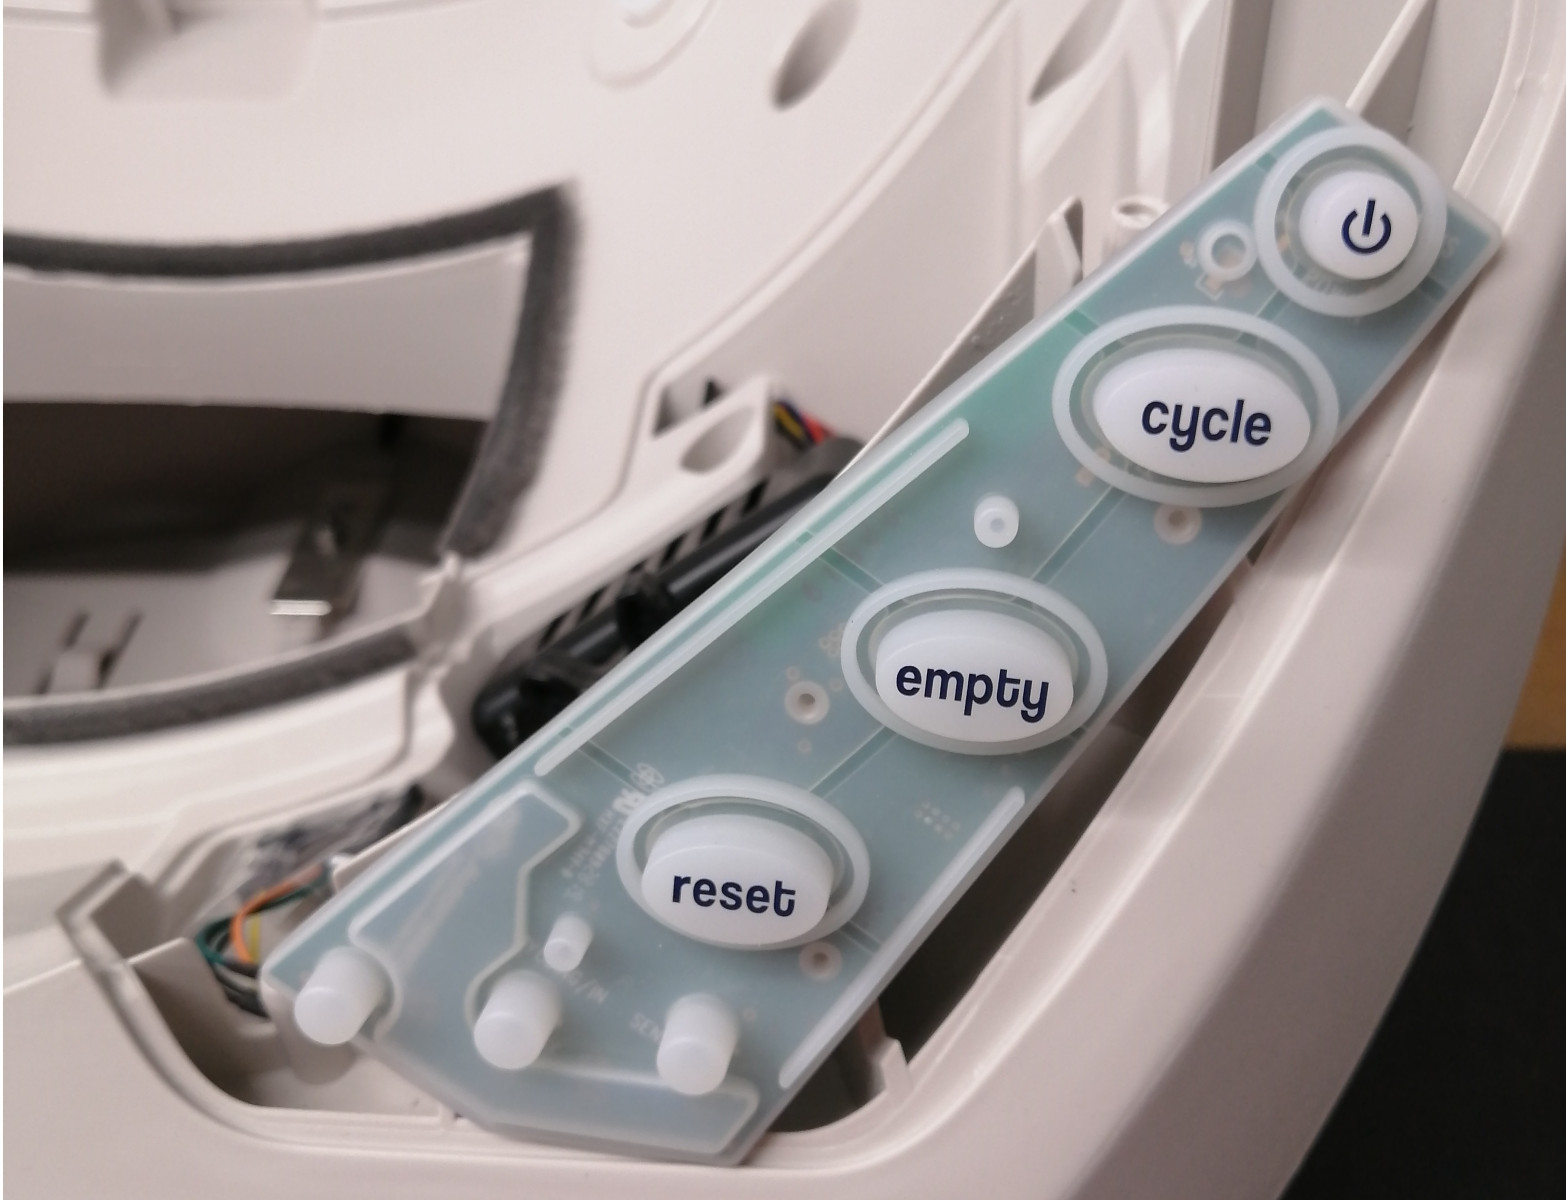
Open the control panel by removing the 5 screws:
Remove the Circuit cover:
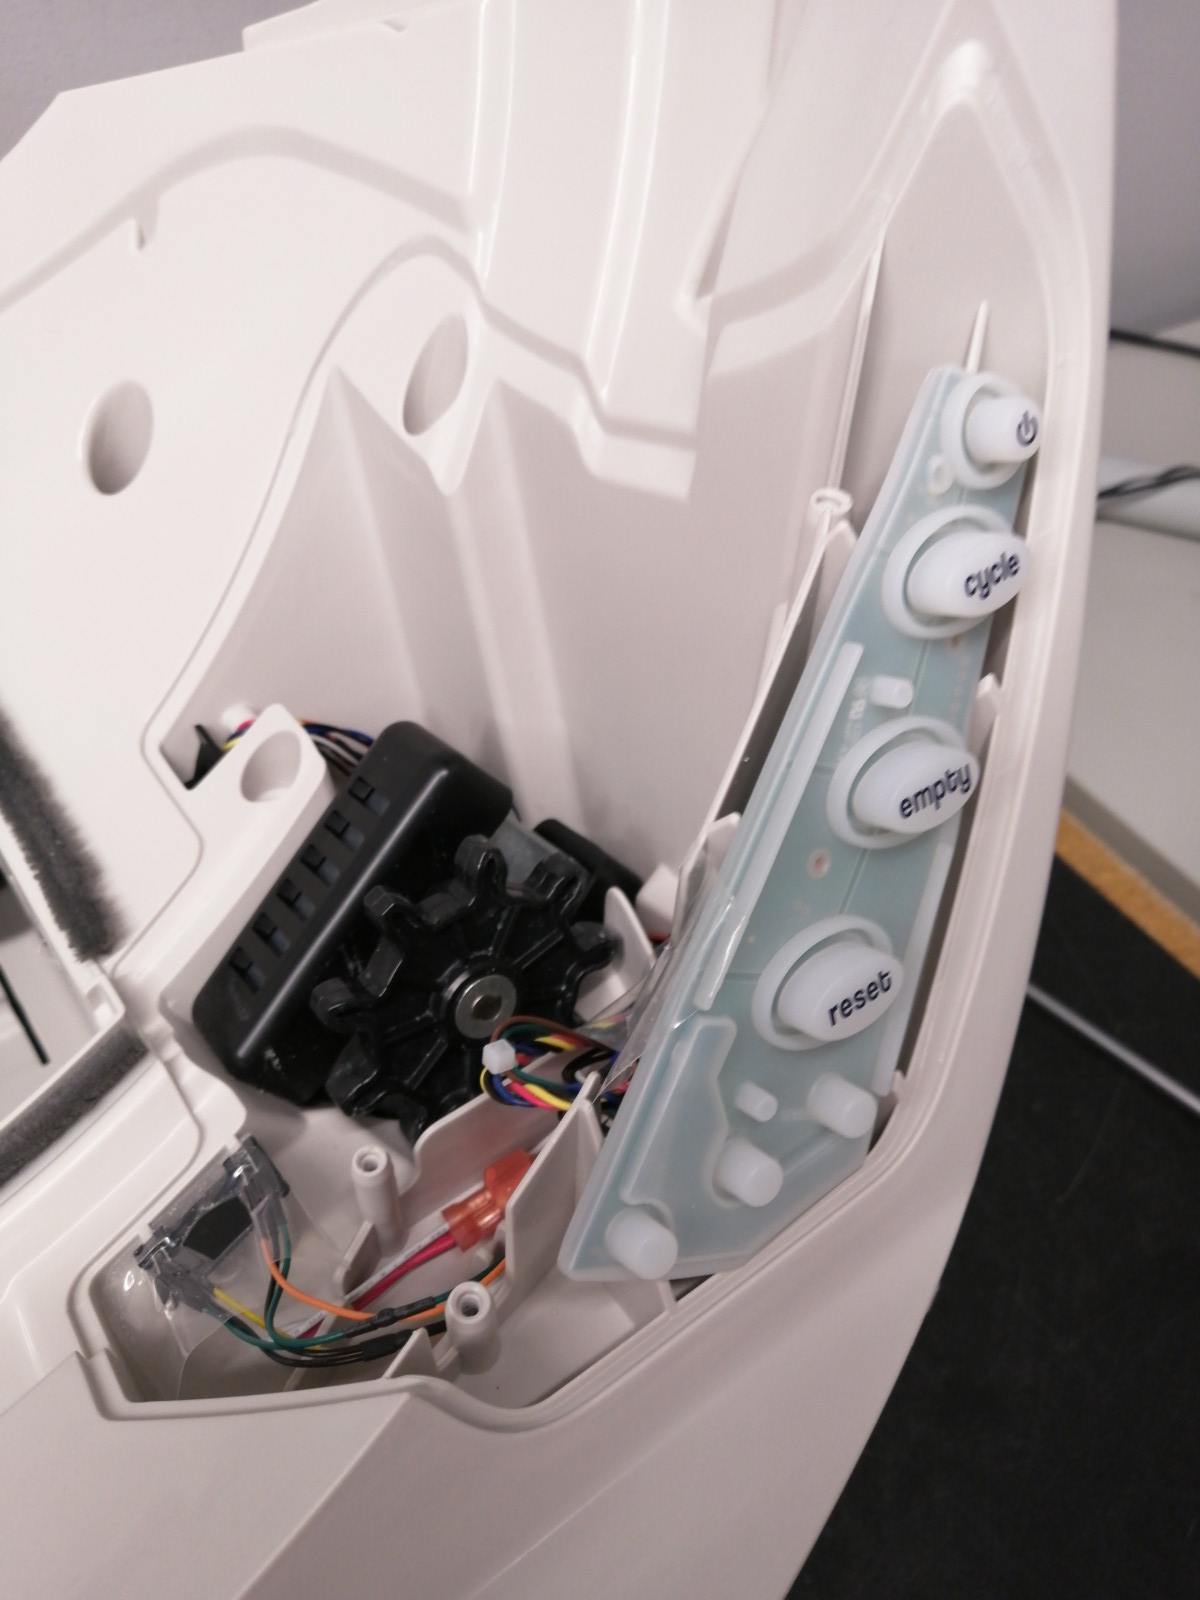
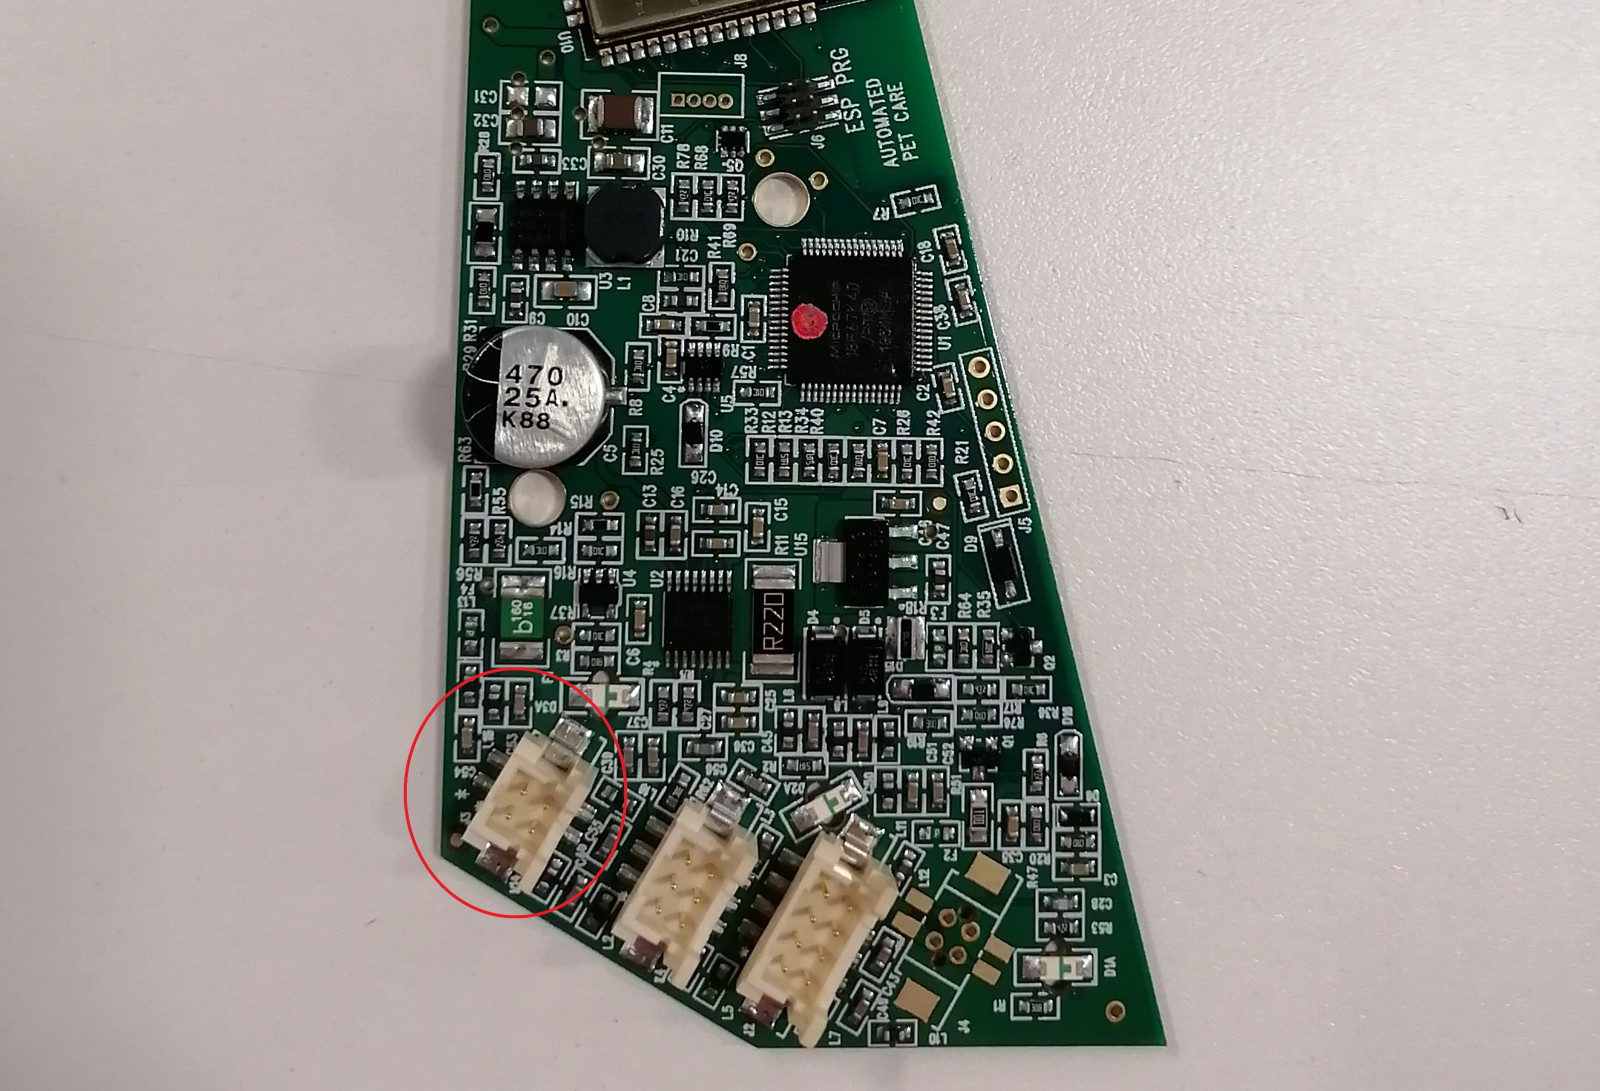
Unplug the 3 connectors on the circuit board:

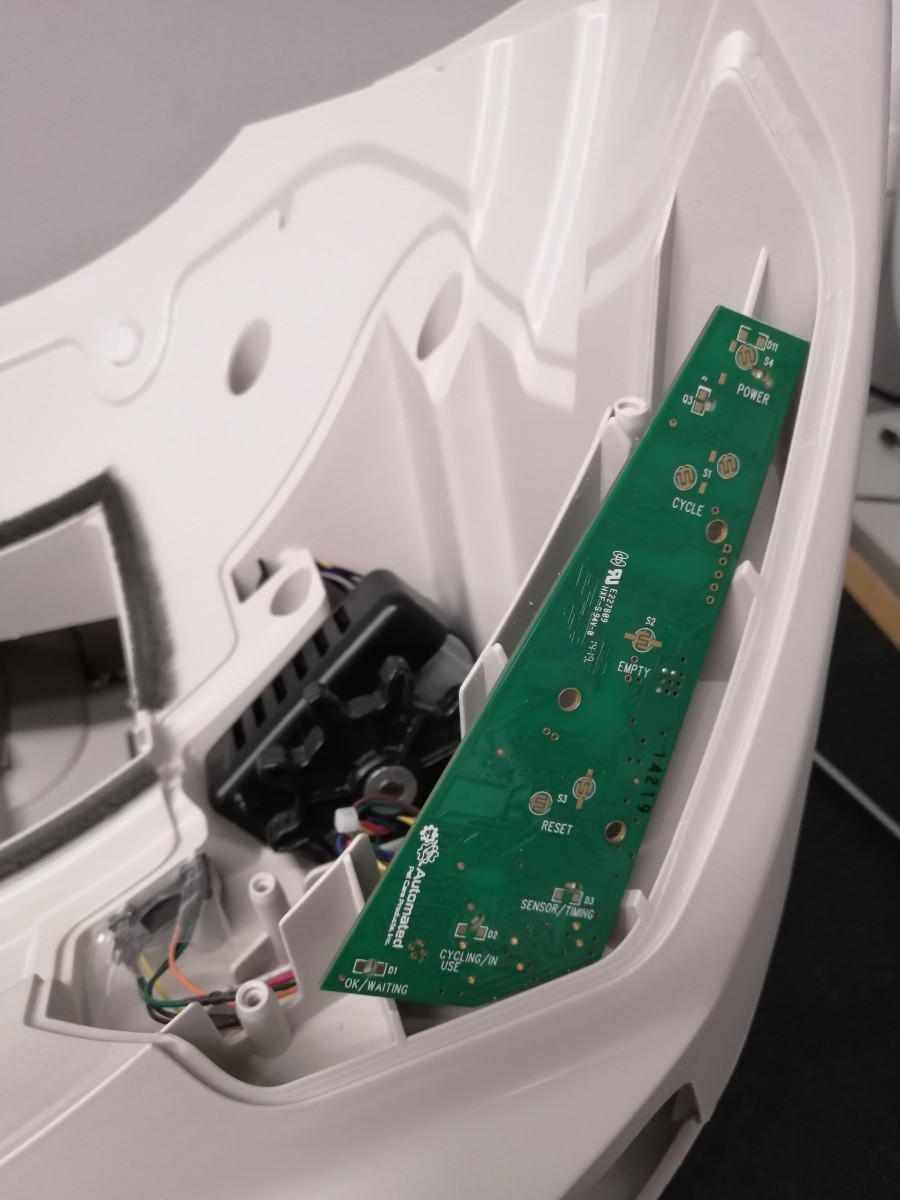
Install the new circuit board and connect back the 2 remaining connectors:
Close back the control panel but do not screw it completely since we will have to come back later to it.
Connect the harness to the 4 pins connector on the motherboard:
Install the Circuit Board Cover:
Once all the connections are secured inside the control panel, close it back:
Step 2:
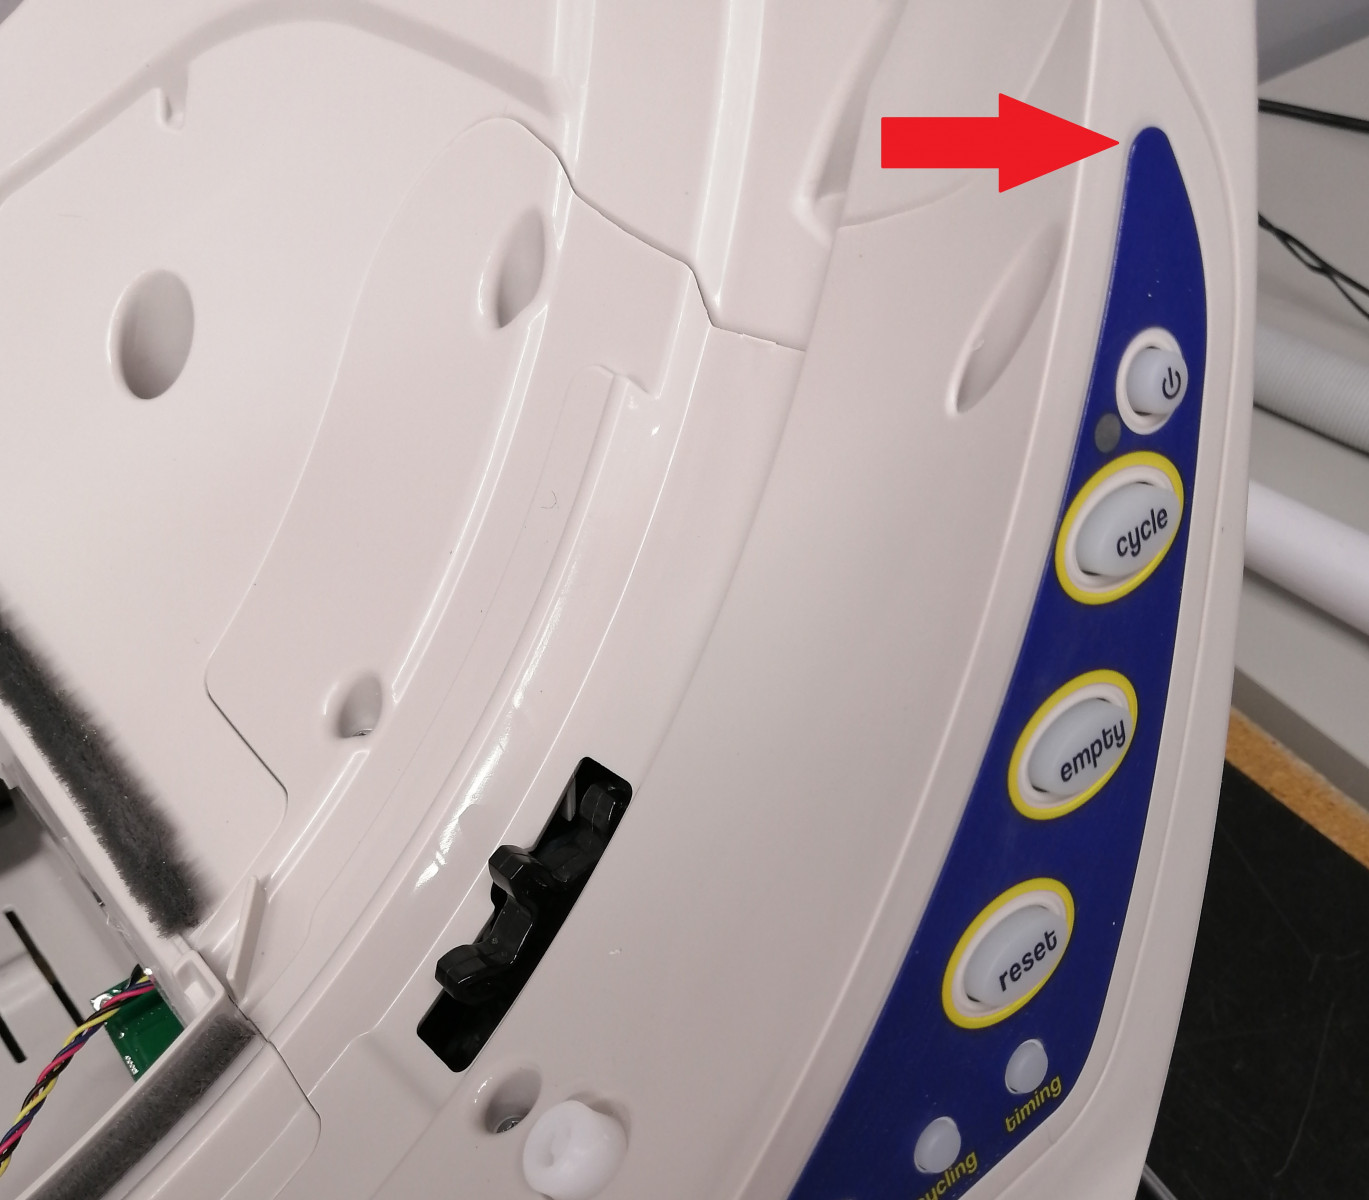
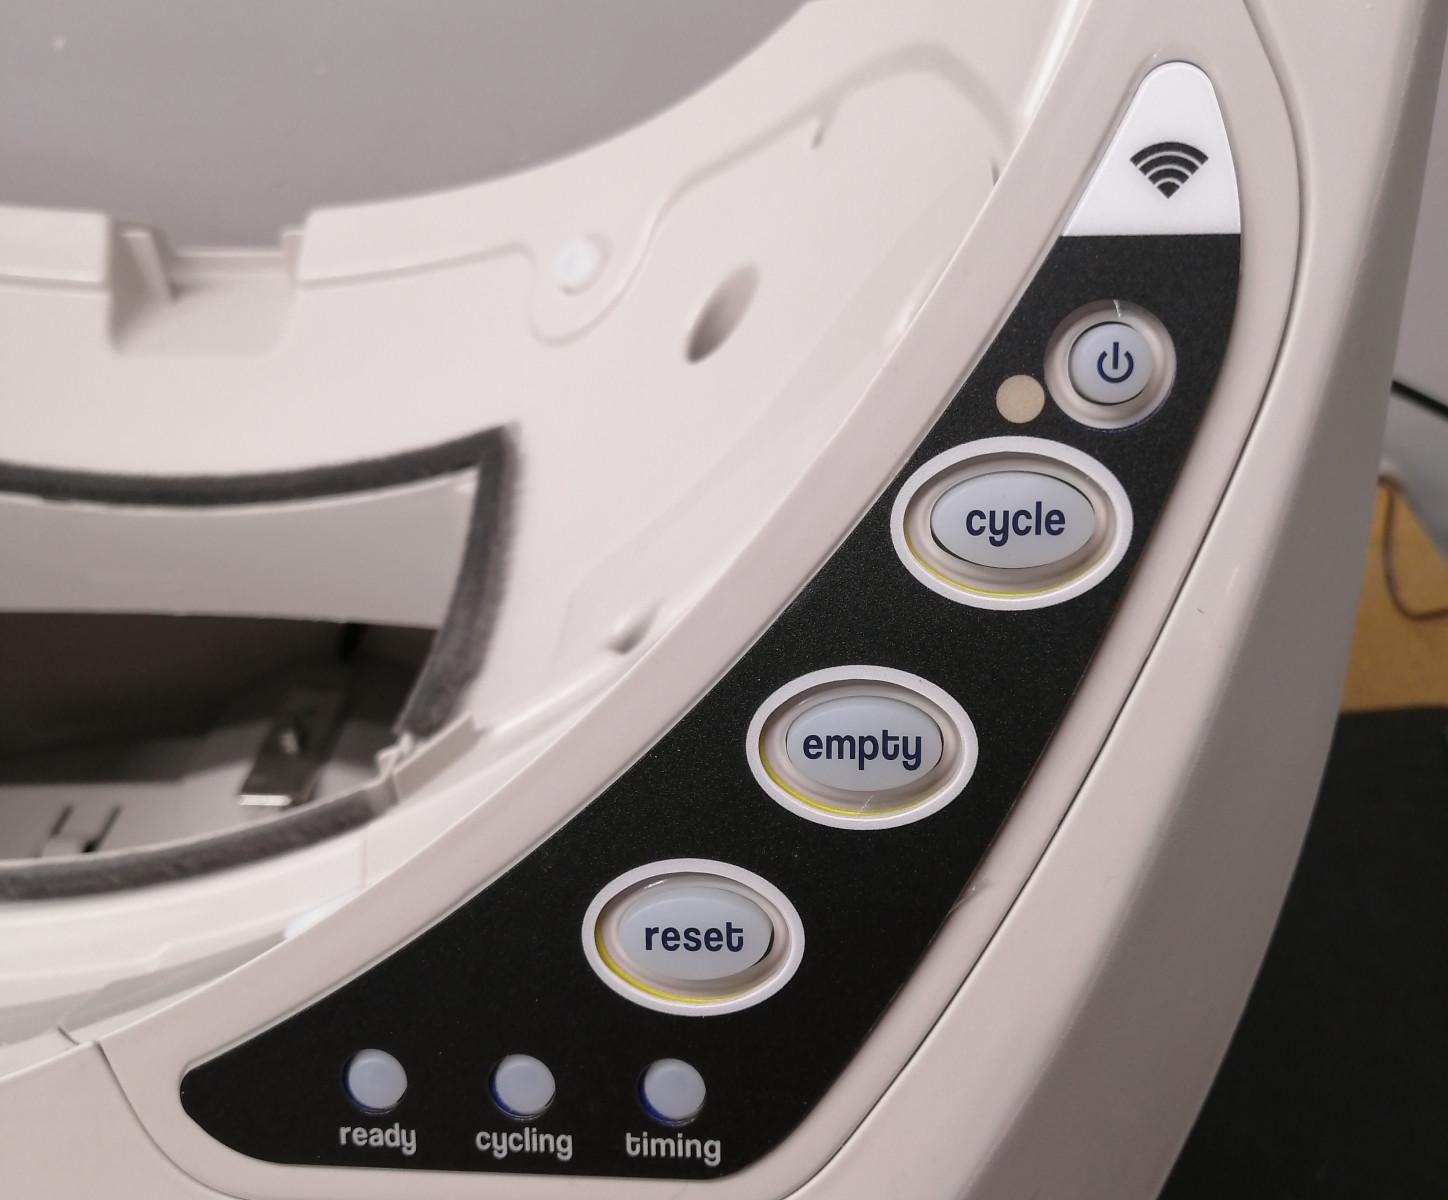
Remove the control panel cover with a small flat screwdriver:
Take the new Cover and install it:
Install the new QR code:
Step 3: Connect the unit
To connect the unit, simply follow this well-made tutorial:
I think you are pretty much done and you deserve a round of applause.
Please, feel free to comment if you have any questions regarding the installation of your Connect Upgrade Kit.
Thanks for helping to keep our community civil!
This post is an advertisement, or vandalism. It is not useful or relevant to the current topic.
You flagged this as spam. Undo flag.Flag Post
Your post is currently under review by our moderation team. The review process usually takes up to 48 business hours.
You can track your post's status in the "My Content" section of your profile. Once approved, it will be published and visible to others.

Thank you for contributing to our community!