Chapter 4: How to Replace Roomba Discovery Main Brush Motor
Chapters Menu
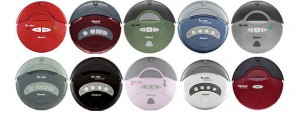
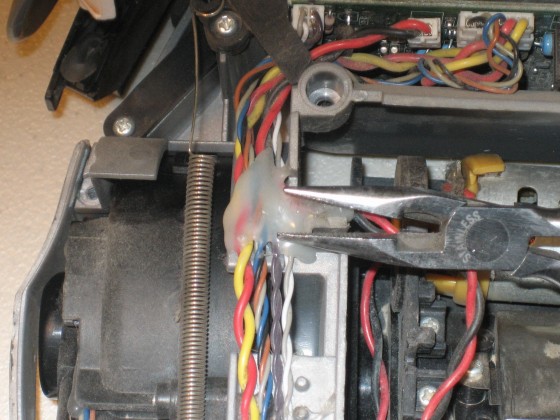
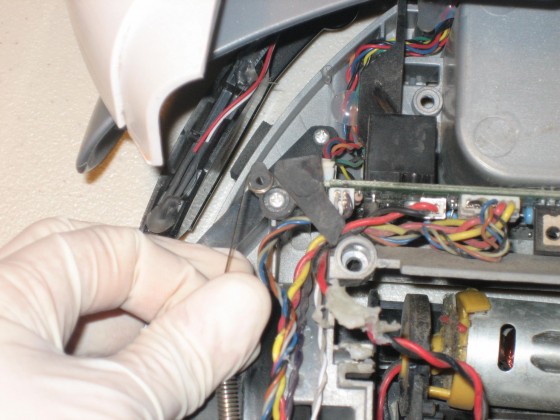
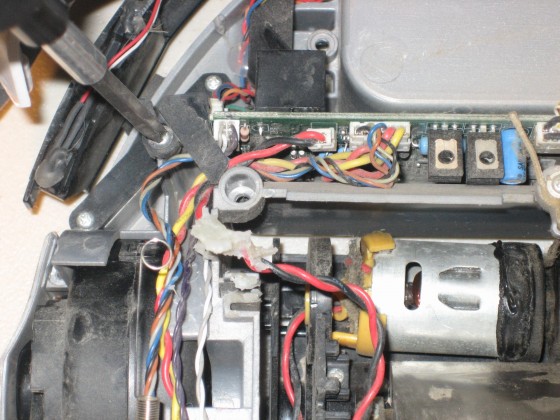
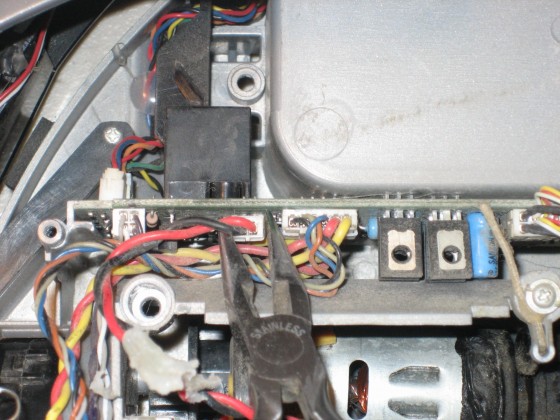
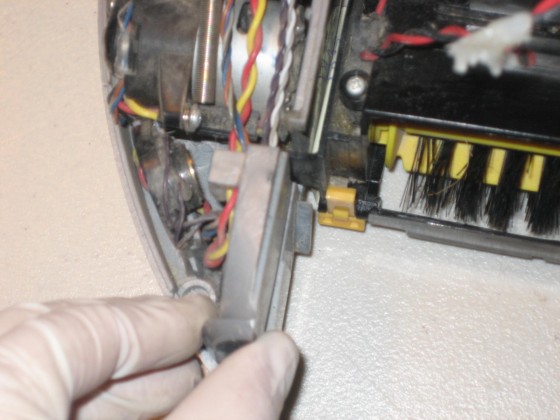
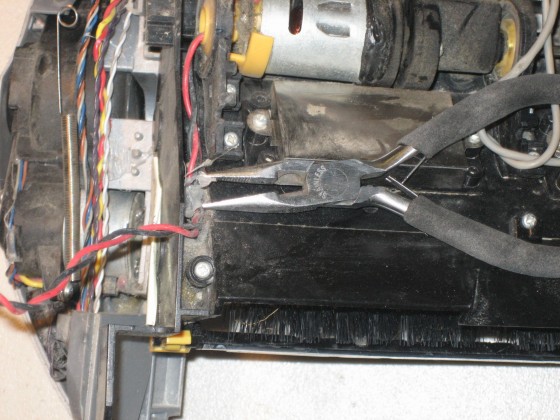
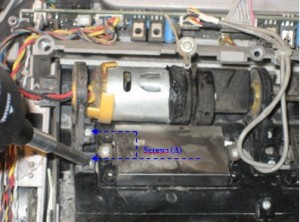
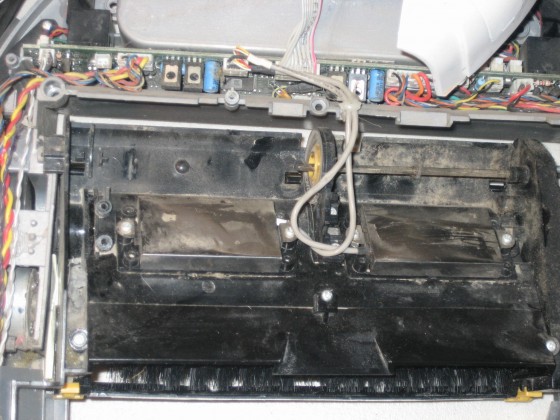
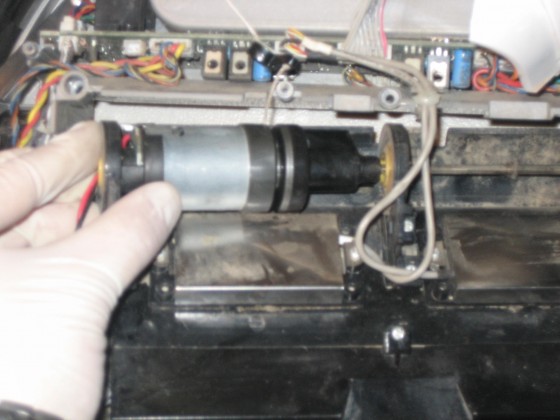
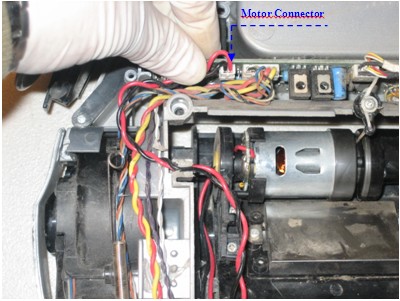
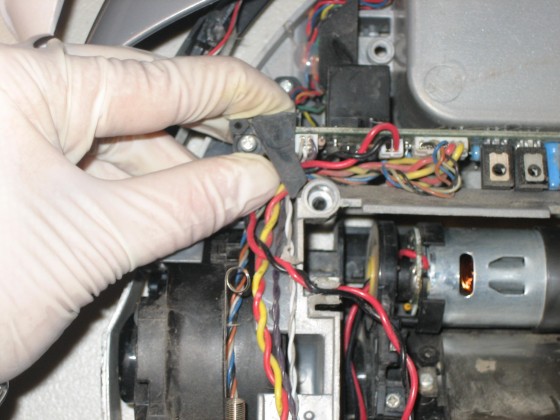
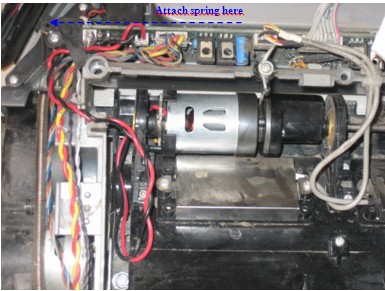
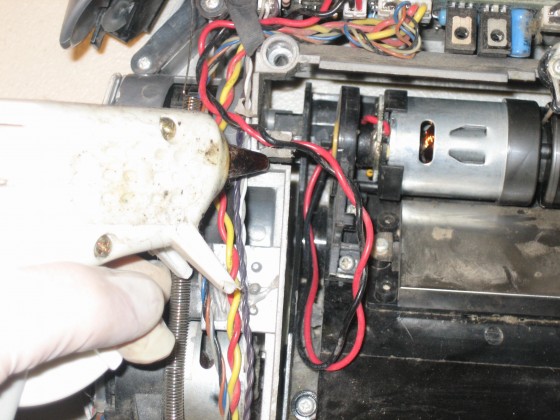
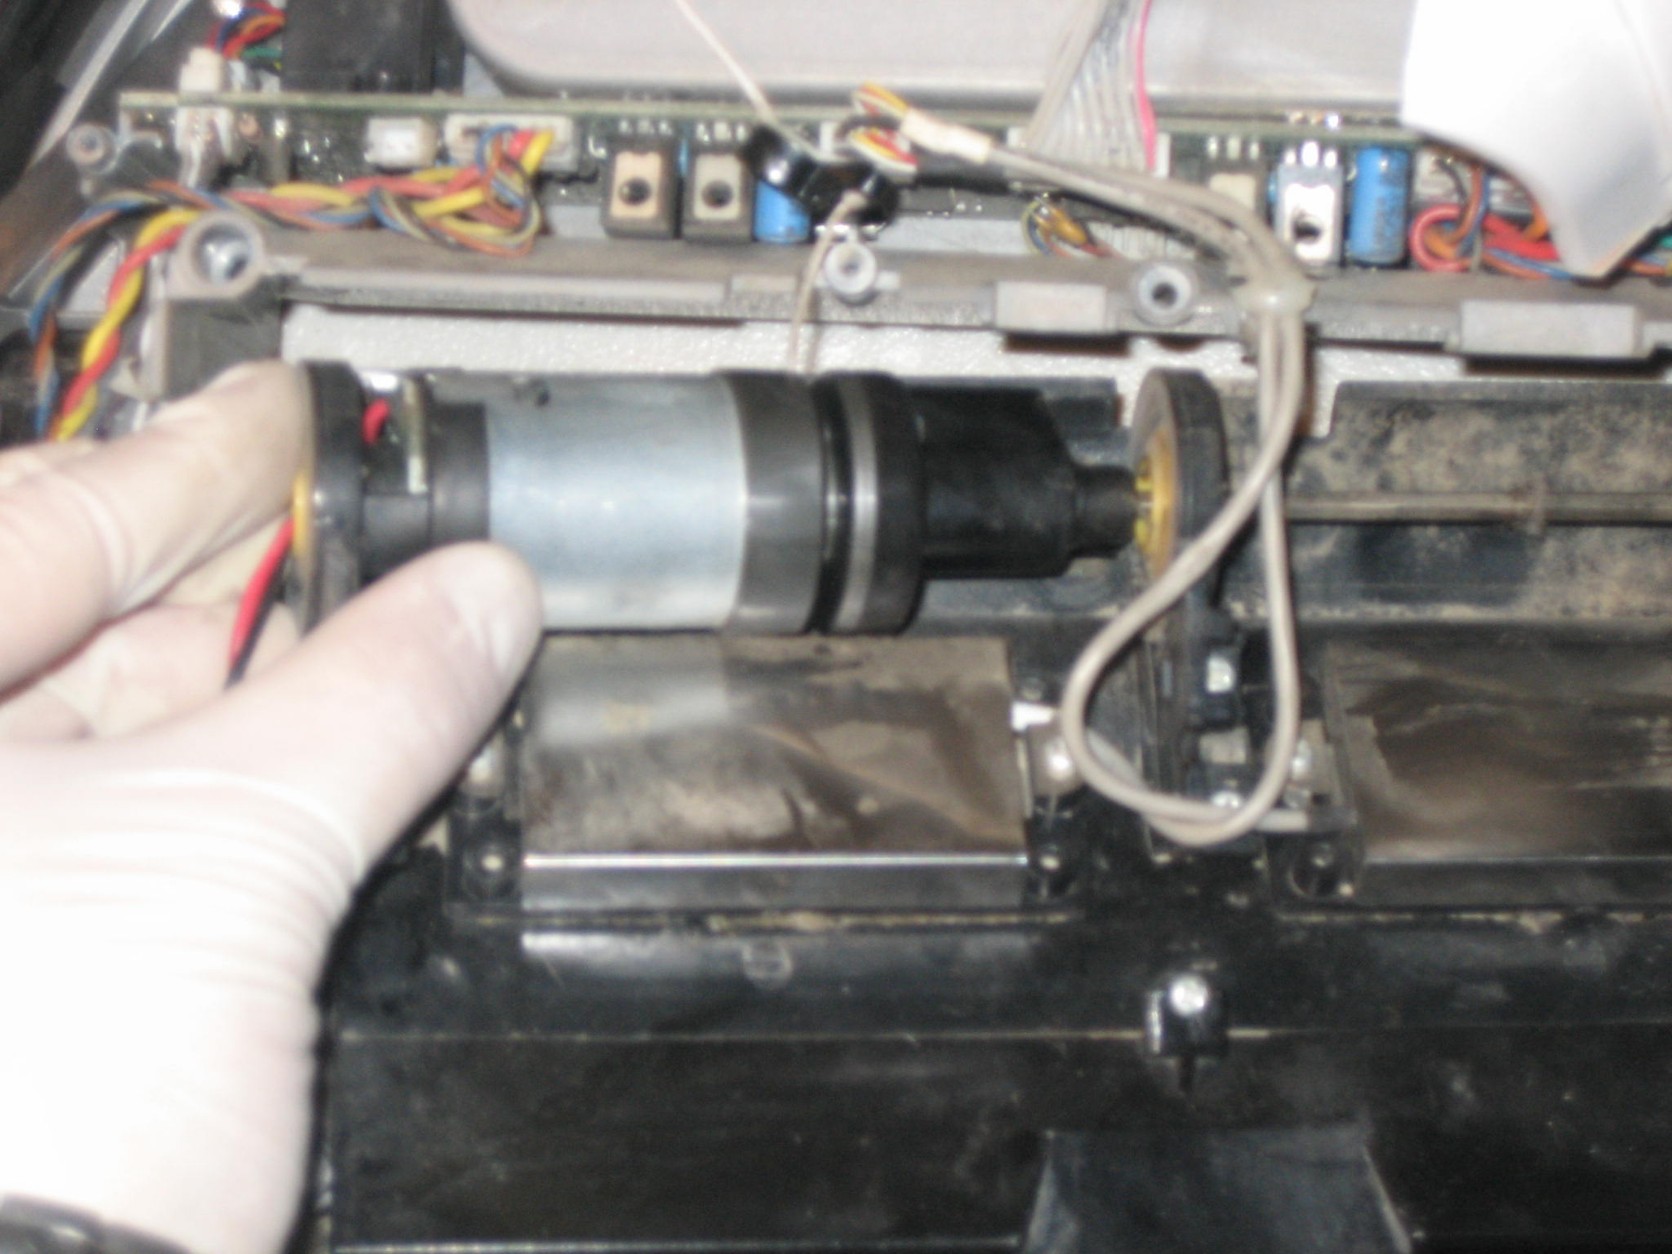
Chapter 1: What Is Roomba Discovery Series Saying To Me? Chapter 2: How to Open/Replace Frame Roomba Discovery Chapter 3: How to Replace Roomba Discover Series Main Brush Casing Chapter 4: How to Replace Roomba Discovery Main Brush Motor Chapter 5: How to Replace Roomba Discovery Motherboard Chapter 6: How to Replace Roomba Discovery Speaker Chapter 7: How to Replace Roomba Discovery Side Brush Motor Chapter 8: How to Replace Roomba Discovery Side Brush Gear Assembly Chapter 9: How to Replace Roomba Discovery Front Caster Wheel Chapter 10: How to Replace Roomba Discovery Caster Wheel Drop Switch Chapter 11: How to Replace Roomba Discovery Drive Wheel Chapter 12: How to Replace Roomba Discovery Cliff Sensors Chapter 13: Roomba Discovery Motherboard Connections This manual explains how to replace the main brush motor on your Roomba Discovery 4XXX/4XX series, pictured below: 4.1 Main Brush Motor Replacement Roomba replacement main brush motor can be found at RobotShop. Removal Phase 1- Remove any glue that holds the motor connection in place. 2- Remove Roomba's left wheel spring from the holder near the left side of the motherboard. 3- Remove the holder on the left side of the motherboard. 4- Disconnect the motor connector from the motherboard. 5- Remove the left casing holder located near the speaker. 6- Lift up the main brush casing on the left side. 7- Remove any glue or screws holding the motor connection wires. 8- Remove screws (A). 9- Remove screw (B). 10- Remove the main brush motor. Assembly Phase 1- Place the motor holder on the replacement motor. 2- Insert the replacement main brush motor on the motor shaft. Make sure the motor is properly inserted and the holder is placed correctly. 3- Reinstall screws (A) and screw (B). 4- Properly insert the casing holder back into place. 5- Plug the motor connector into the motor connection on the motherboard. 6- Position the spring holder correctly, and screw it into place. 7- Rehook the wheel spring to the Spring holder. 8- Place the motor wires correctly Along the frame and glue them in place. You have now replaced your main brush motor. For details on how to reassemble the Roomba's frame, please see the Roomba Discovery 4XXX & 4XX Servicing and Repair Guide, Ch. 2: How to Open Roomba / Replace Frame. For addition help contact the RobotShop Technical Team via our Online Support Center. Roomba replacement parts can be found at RobotShop.Thanks for helping to keep our community civil!
Notify staff privately
You flagged this as spam. Undo flag.Flag Post
It's Spam
This post is an advertisement, or vandalism. It is not useful or relevant to the current topic.
This post is an advertisement, or vandalism. It is not useful or relevant to the current topic.
You flagged this as spam. Undo flag.Flag Post


