

Chapter 3: How to Replace Roomba Discover Series Main Brush Casing


Chapters Menu
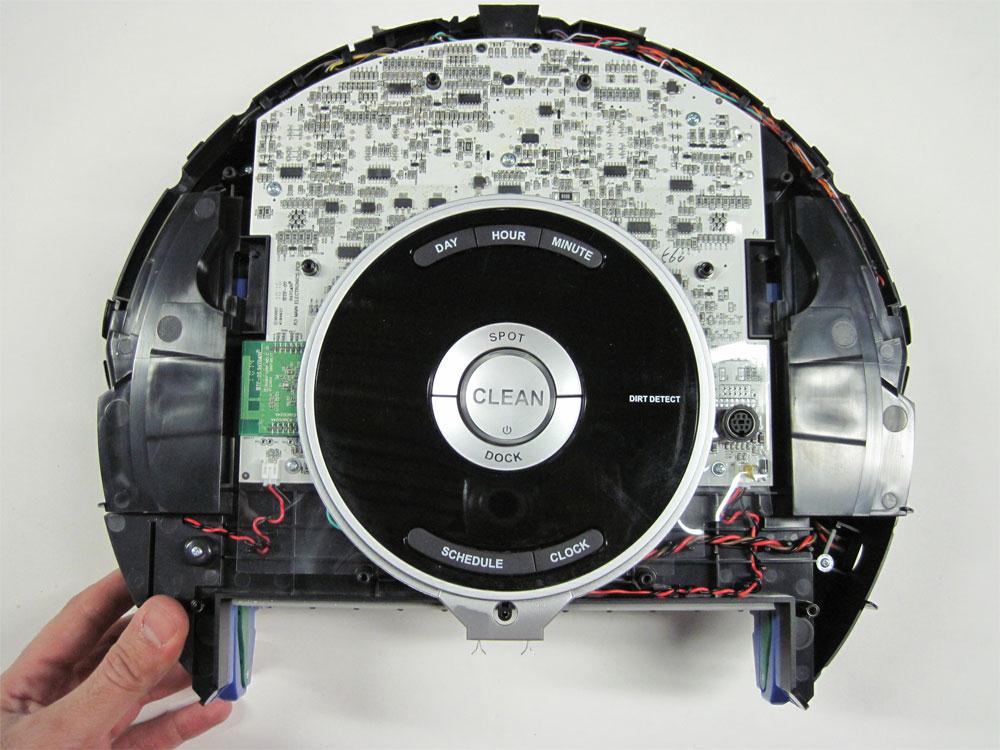
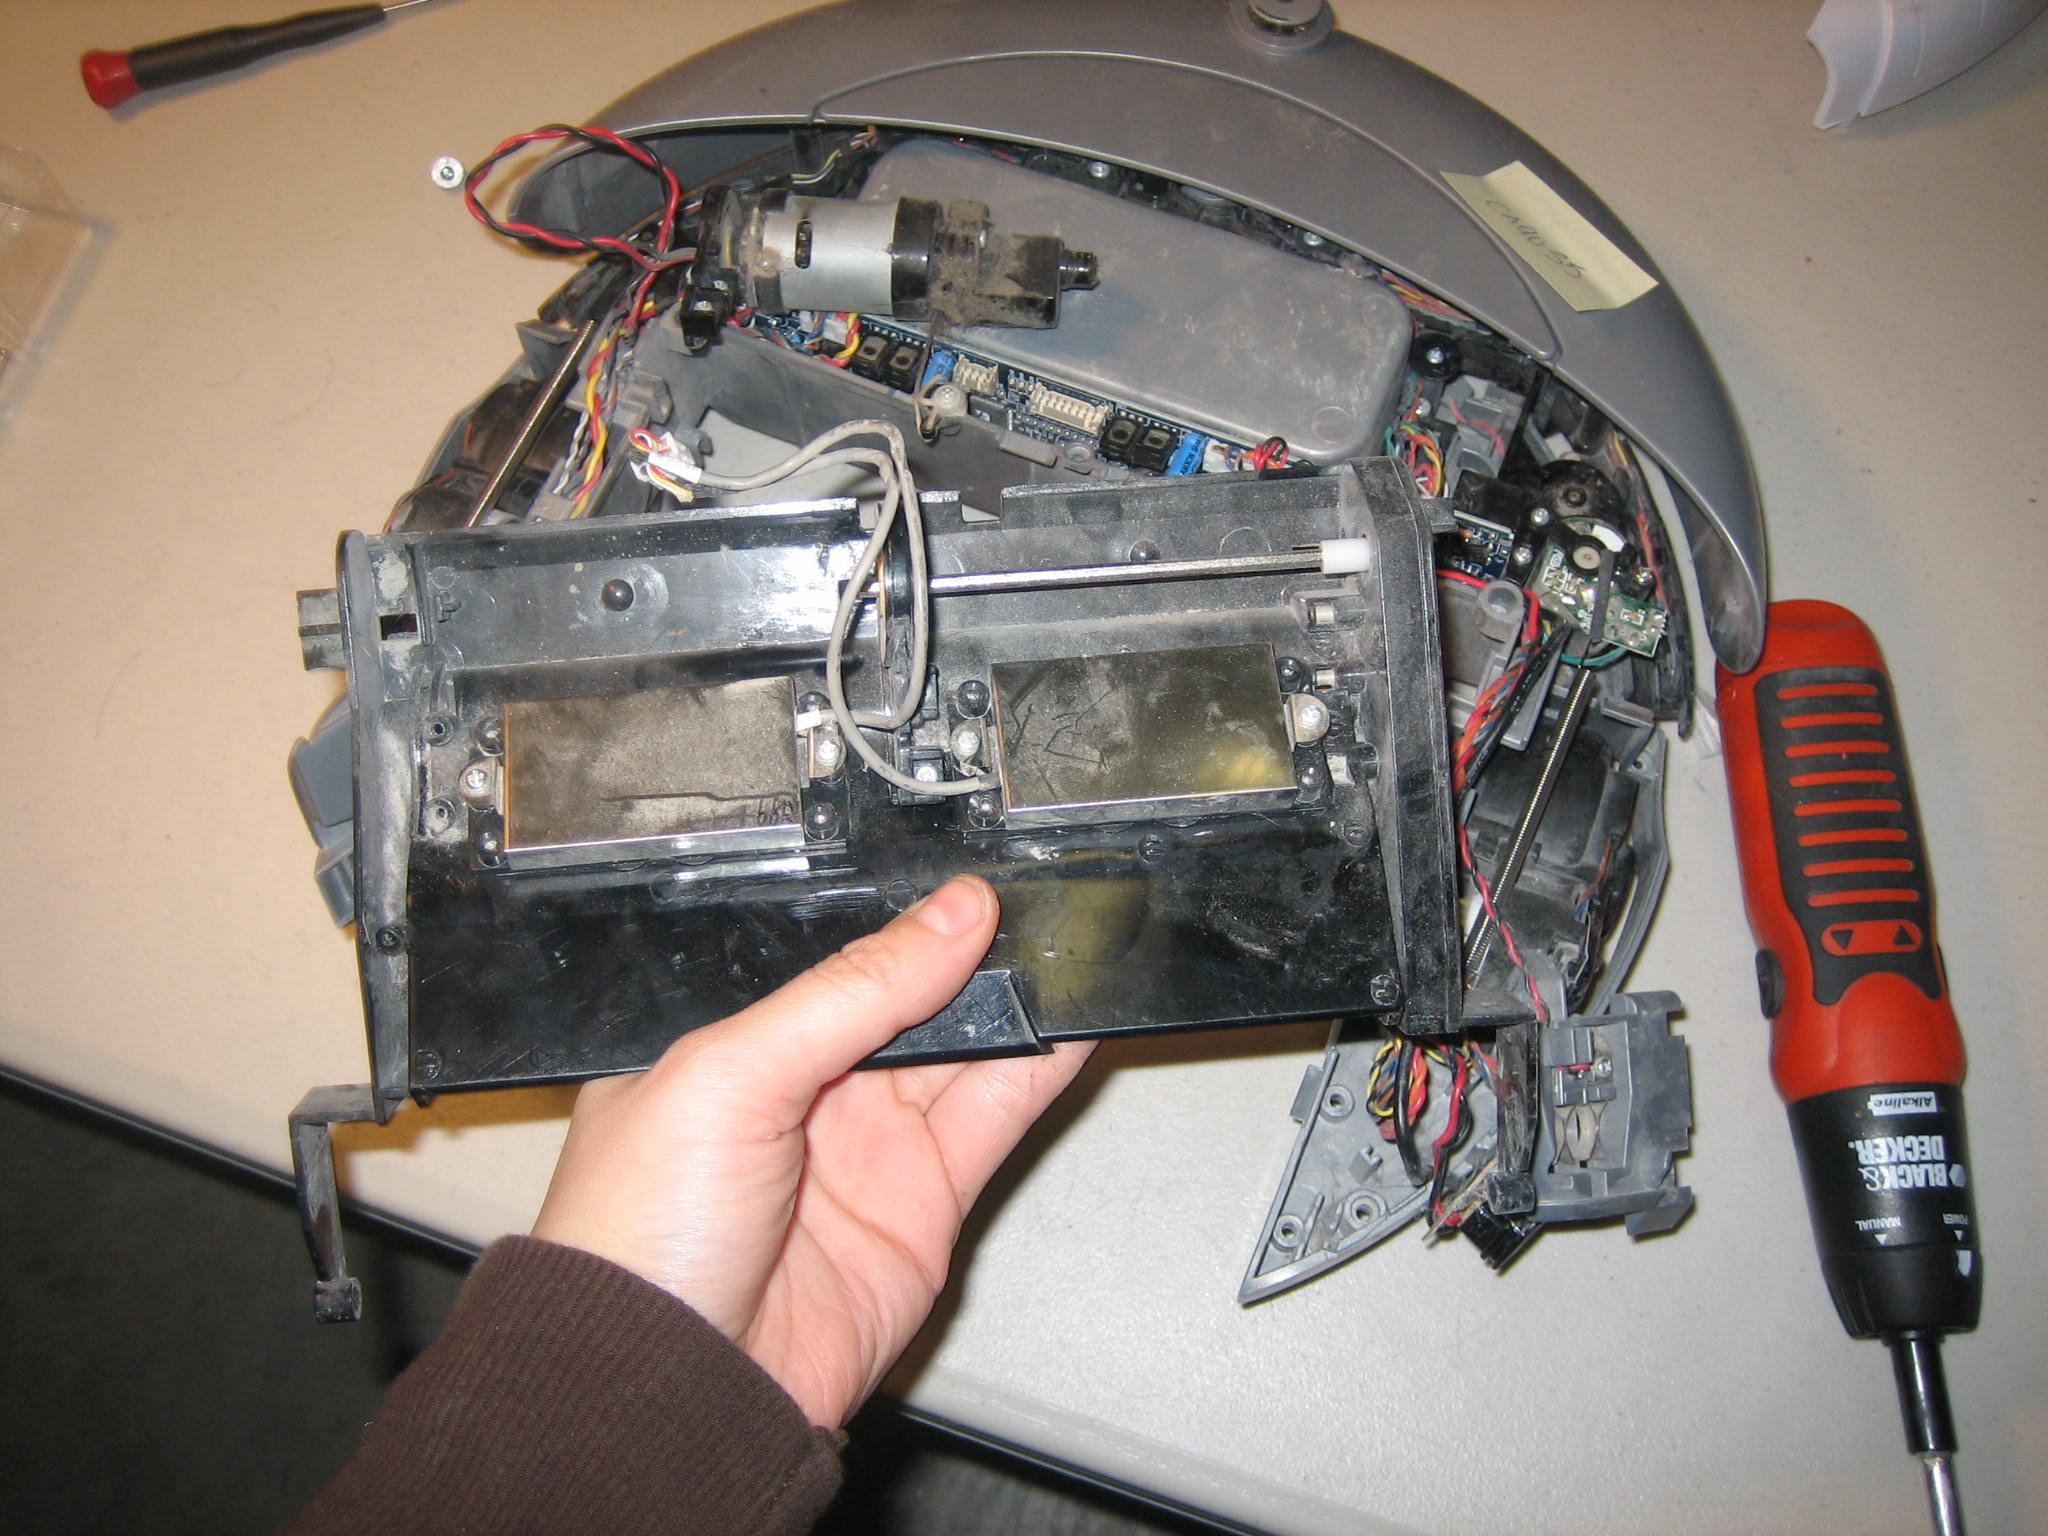
Chapter 1: What Is Roomba Discovery Series Saying To Me? Chapter 2: How to Open/Replace Frame Roomba Discovery Chapter 3: How to Replace Roomba Discover Series Main Brush Casing Chapter 4: How to Replace Roomba Discovery Main Brush Motor Chapter 5: How to Replace Roomba Discovery Motherboard Chapter 6: How to Replace Roomba Discovery Speaker Chapter 7: How to Replace Roomba Discovery Side Brush Motor Chapter 8: How to Replace Roomba Discovery Side Brush Gear Assembly Chapter 9: How to Replace Roomba Discovery Front Caster Wheel Chapter 10: How to Replace Roomba Discovery Caster Wheel Drop Switch Chapter 11: How to Replace Roomba Discovery Drive Wheel Chapter 12: How to Replace Roomba Discovery Cliff Sensors Chapter 13: Roomba Discovery Motherboard Connections This guide will demonstrate how to replace the main brush casing on your Roomba Discovery 4XXX/4XX series, pictured below: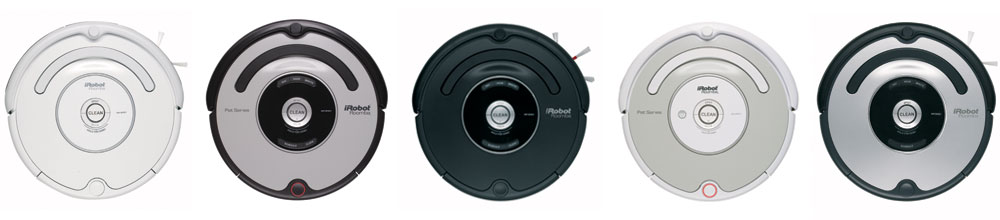 3.1 Main Brush Casing Replacement
Roomba replacement main brush casing can be found at RobotShop.
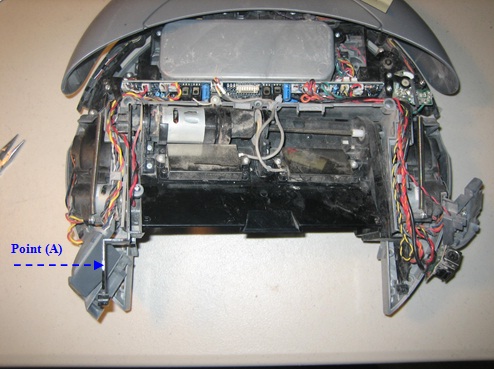
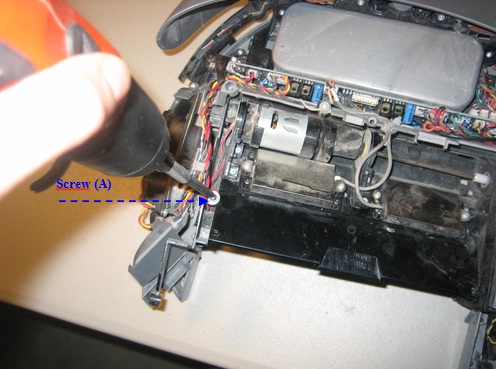
Removal Phase
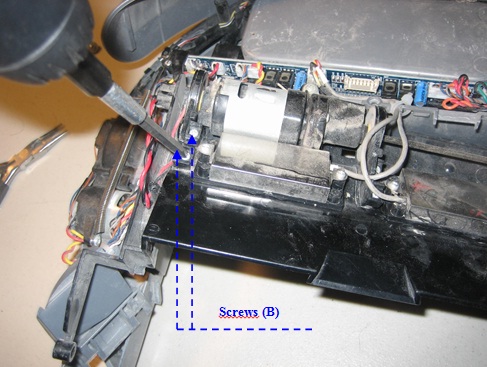
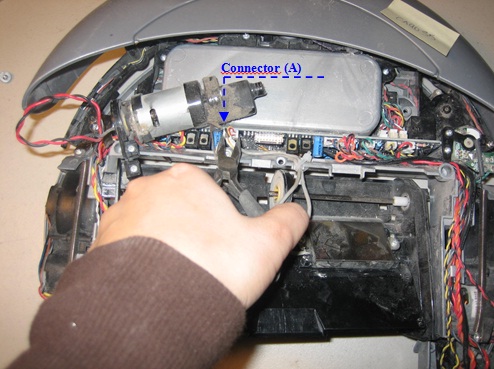
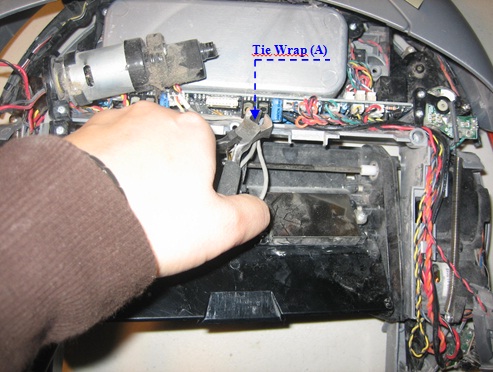
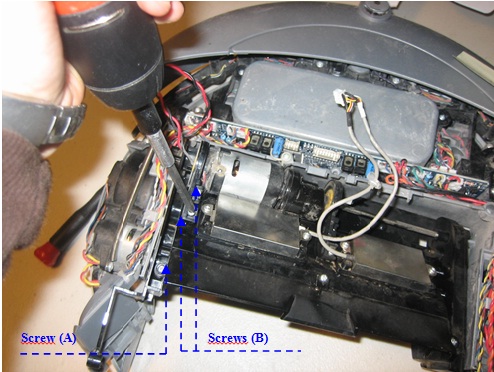
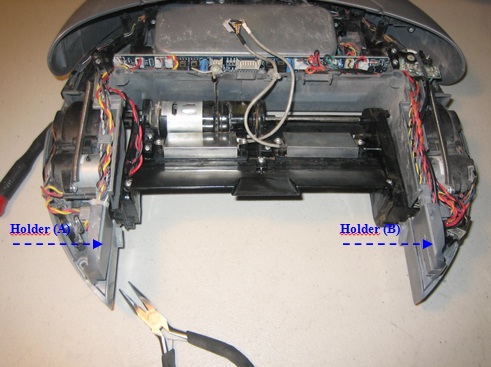
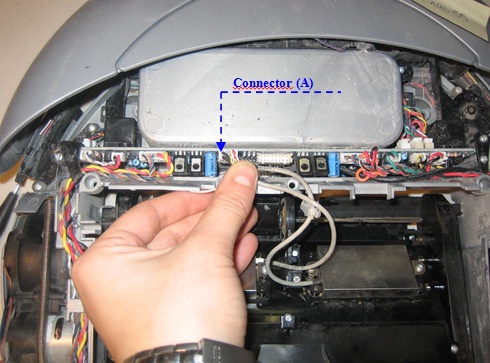
1 - Remove holders (A) and (B).
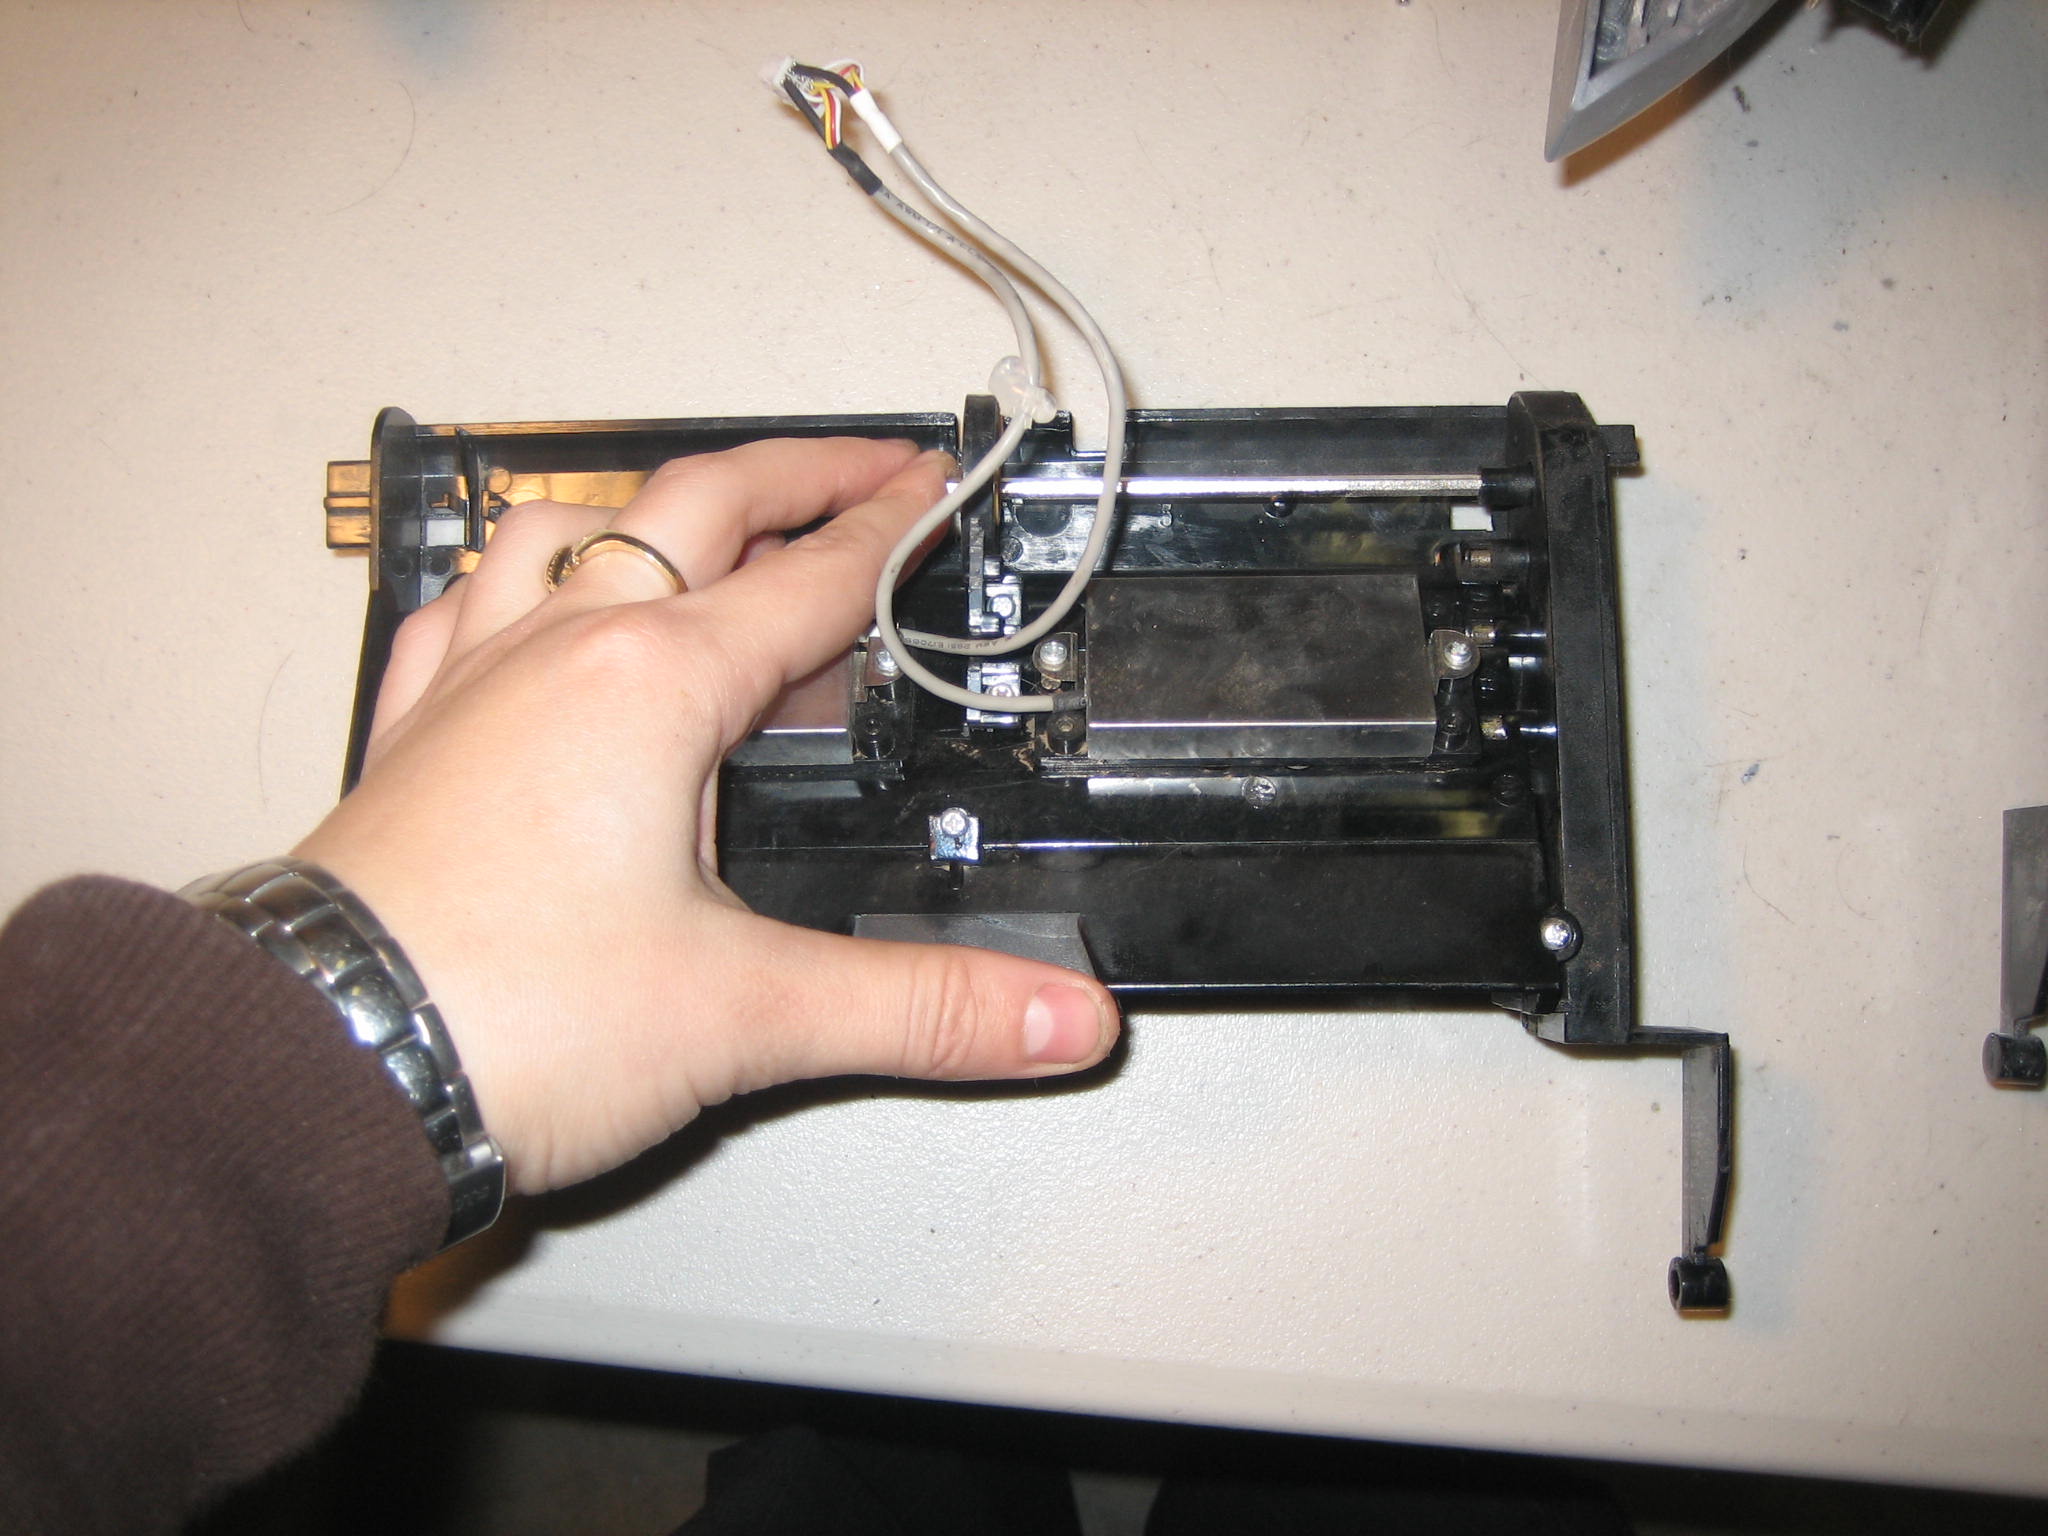
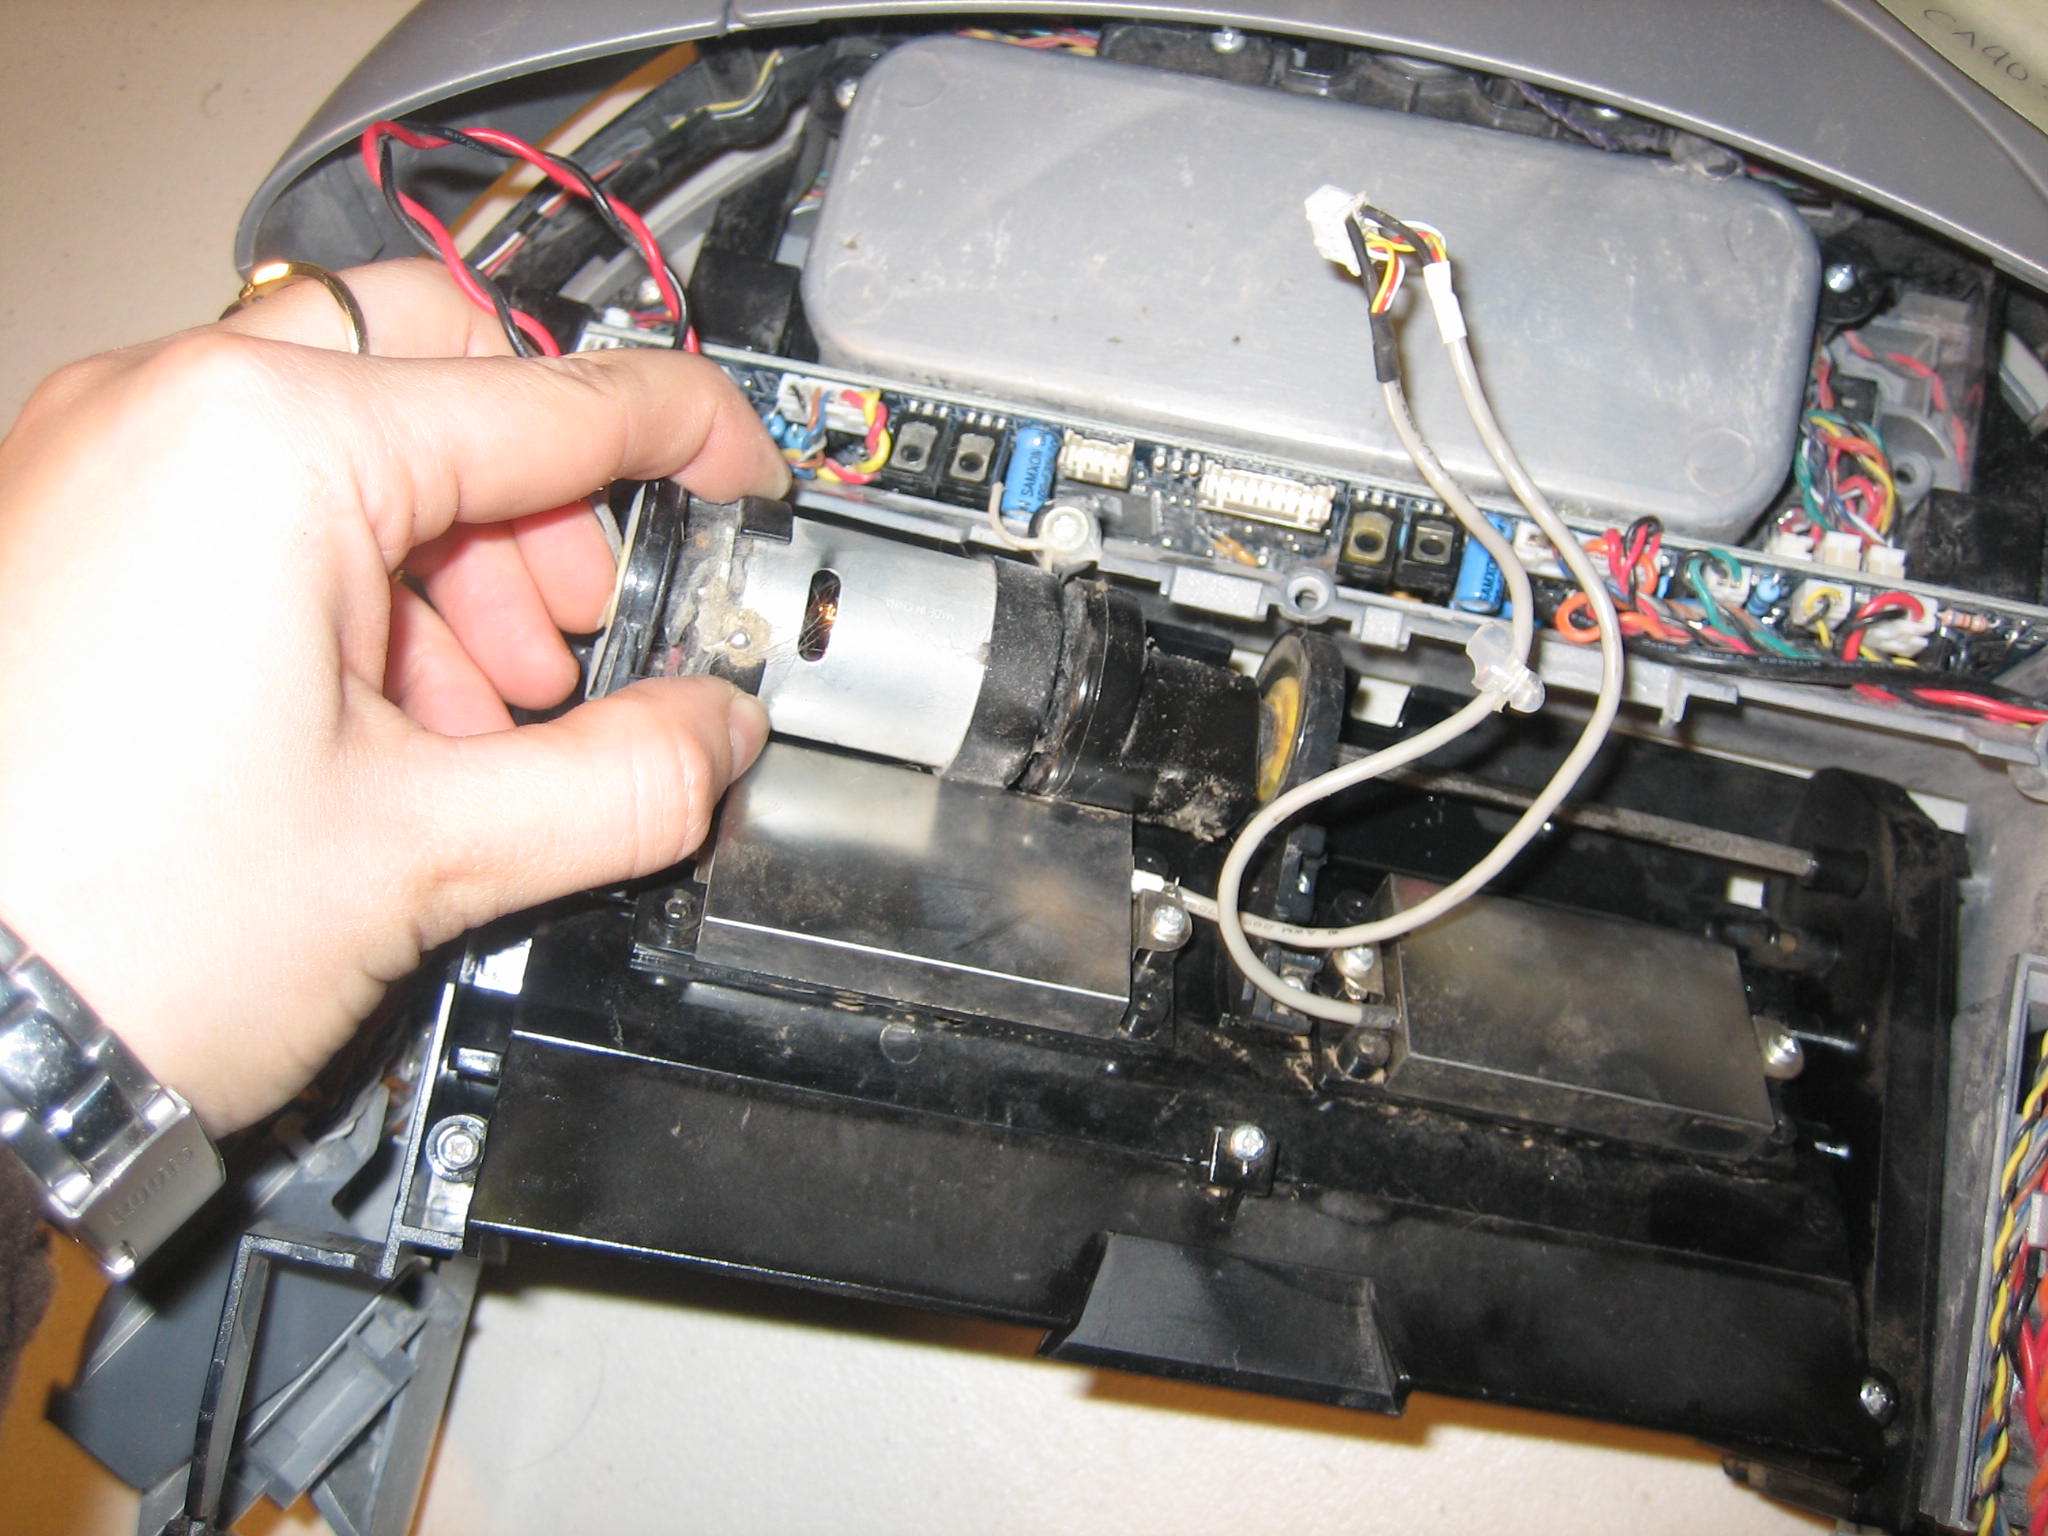
3.1 Main Brush Casing Replacement
Roomba replacement main brush casing can be found at RobotShop.
Removal Phase
1 - Remove holders (A) and (B).
Thanks for helping to keep our community civil!
Notify staff privately
You flagged this as spam. Undo flag.Flag Post
It's Spam
This post is an advertisement, or vandalism. It is not useful or relevant to the current topic.
Report Reason
This post is an advertisement, or vandalism. It is not useful or relevant to the current topic.
You flagged this as spam. Undo flag.Flag Post
✅ Your Post Has Been Submitted Successfully!
Your post is currently under review by our moderation team. The review process usually takes up to 48 business hours.
You can track your post's status in the "My Content" section of your profile. Once approved, it will be published and visible to others.

Thank you for contributing to our community!