Chapter 12: How to Replace Roomba Discovery Cliff Sensors
Chapters Menu
Chapter 1: What Is Roomba Discovery Series Saying To Me? Chapter 2: How to Open/Replace Frame Roomba Discovery Chapter 3: How to Replace Roomba Discover Series Main Brush Casing Chapter 4: How to Replace Roomba Discovery Main Brush Motor Chapter 5: How to Replace Roomba Discovery Motherboard Chapter 6: How to Replace Roomba Discovery Speaker Chapter 7: How to Replace Roomba Discovery Side Brush Motor Chapter 8: How to Replace Roomba Discovery Side Brush Gear Assembly Chapter 9: How to Replace Roomba Discovery Front Caster Wheel Chapter 10: How to Replace Roomba Discovery Caster Wheel Drop Switch Chapter 11: How to Replace Roomba Discovery Drive Wheel Chapter 12: How to Replace Roomba Discovery Cliff Sensors Chapter 13: Roomba Discovery Motherboard Connections This guide will explain how to replace the cliff sensors on your Roomba Discovery 4XXX/4XX series, pictured below: 12.1 Cliff Sensors Replacement
Roomba replacement cliff sensors can be found at RobotShop.
Removal Phase
1 - Remove any glue holding the caster wheel wires in place.
2 - Unscrew screws (A).
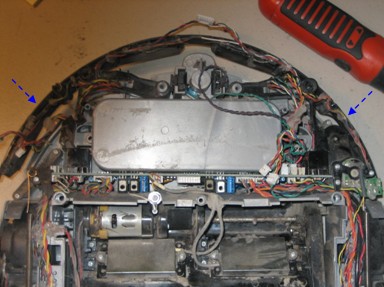
3 - Remove the springs which are attached to the cliff sensor array.
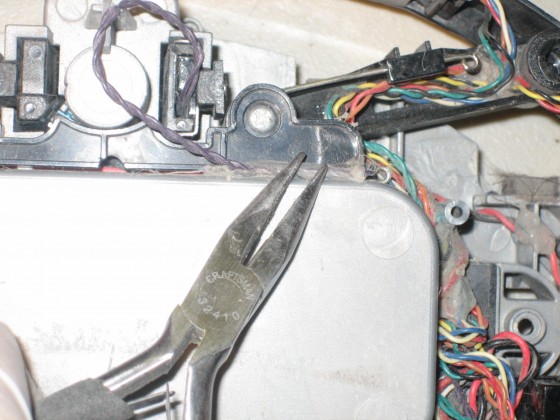
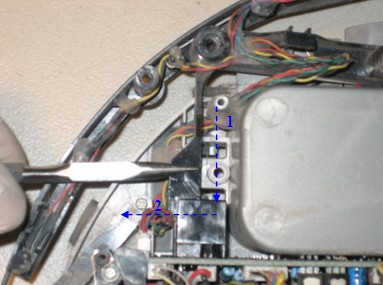
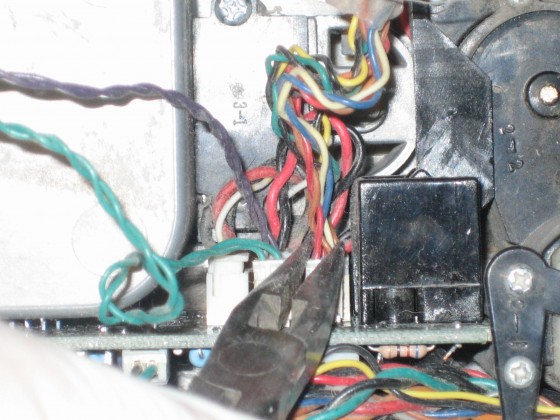
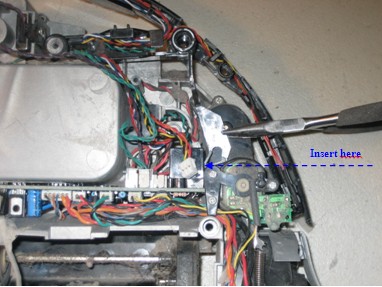
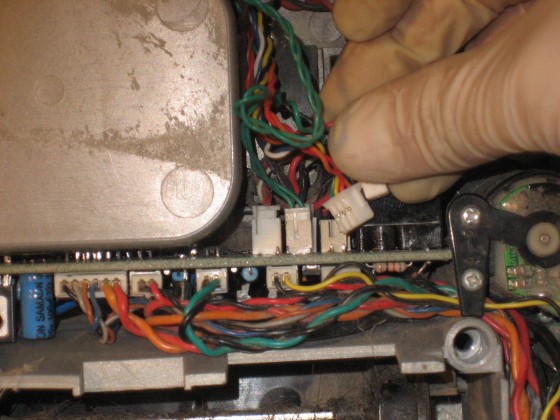
4 - Remove the left contact for the bump sensors from the motherboard. Using a pair of pliers, pull down, then to the left.
Remove the right contact by pulling down then to the right.
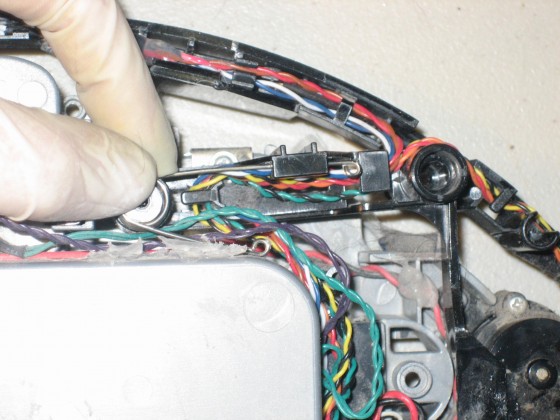
5 - Remove any glue holding the wires from the cliff sensor array on the right side.
6 - Remove any glue holding the wires from the cliff sensor array on the left side.
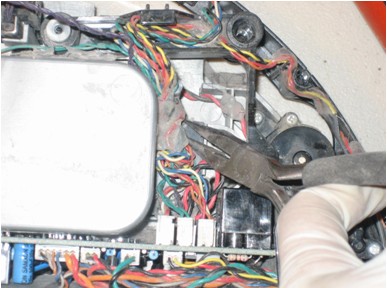
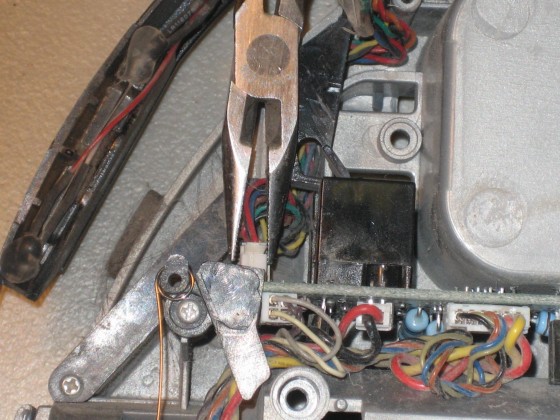
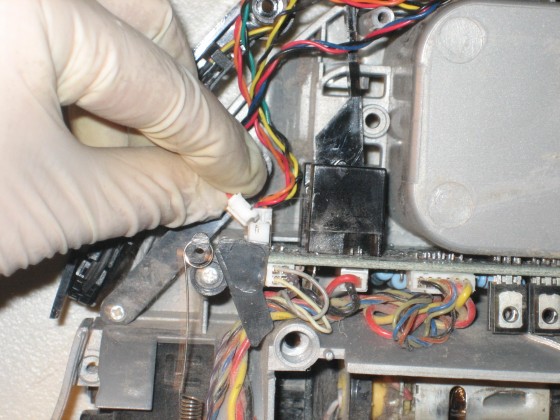
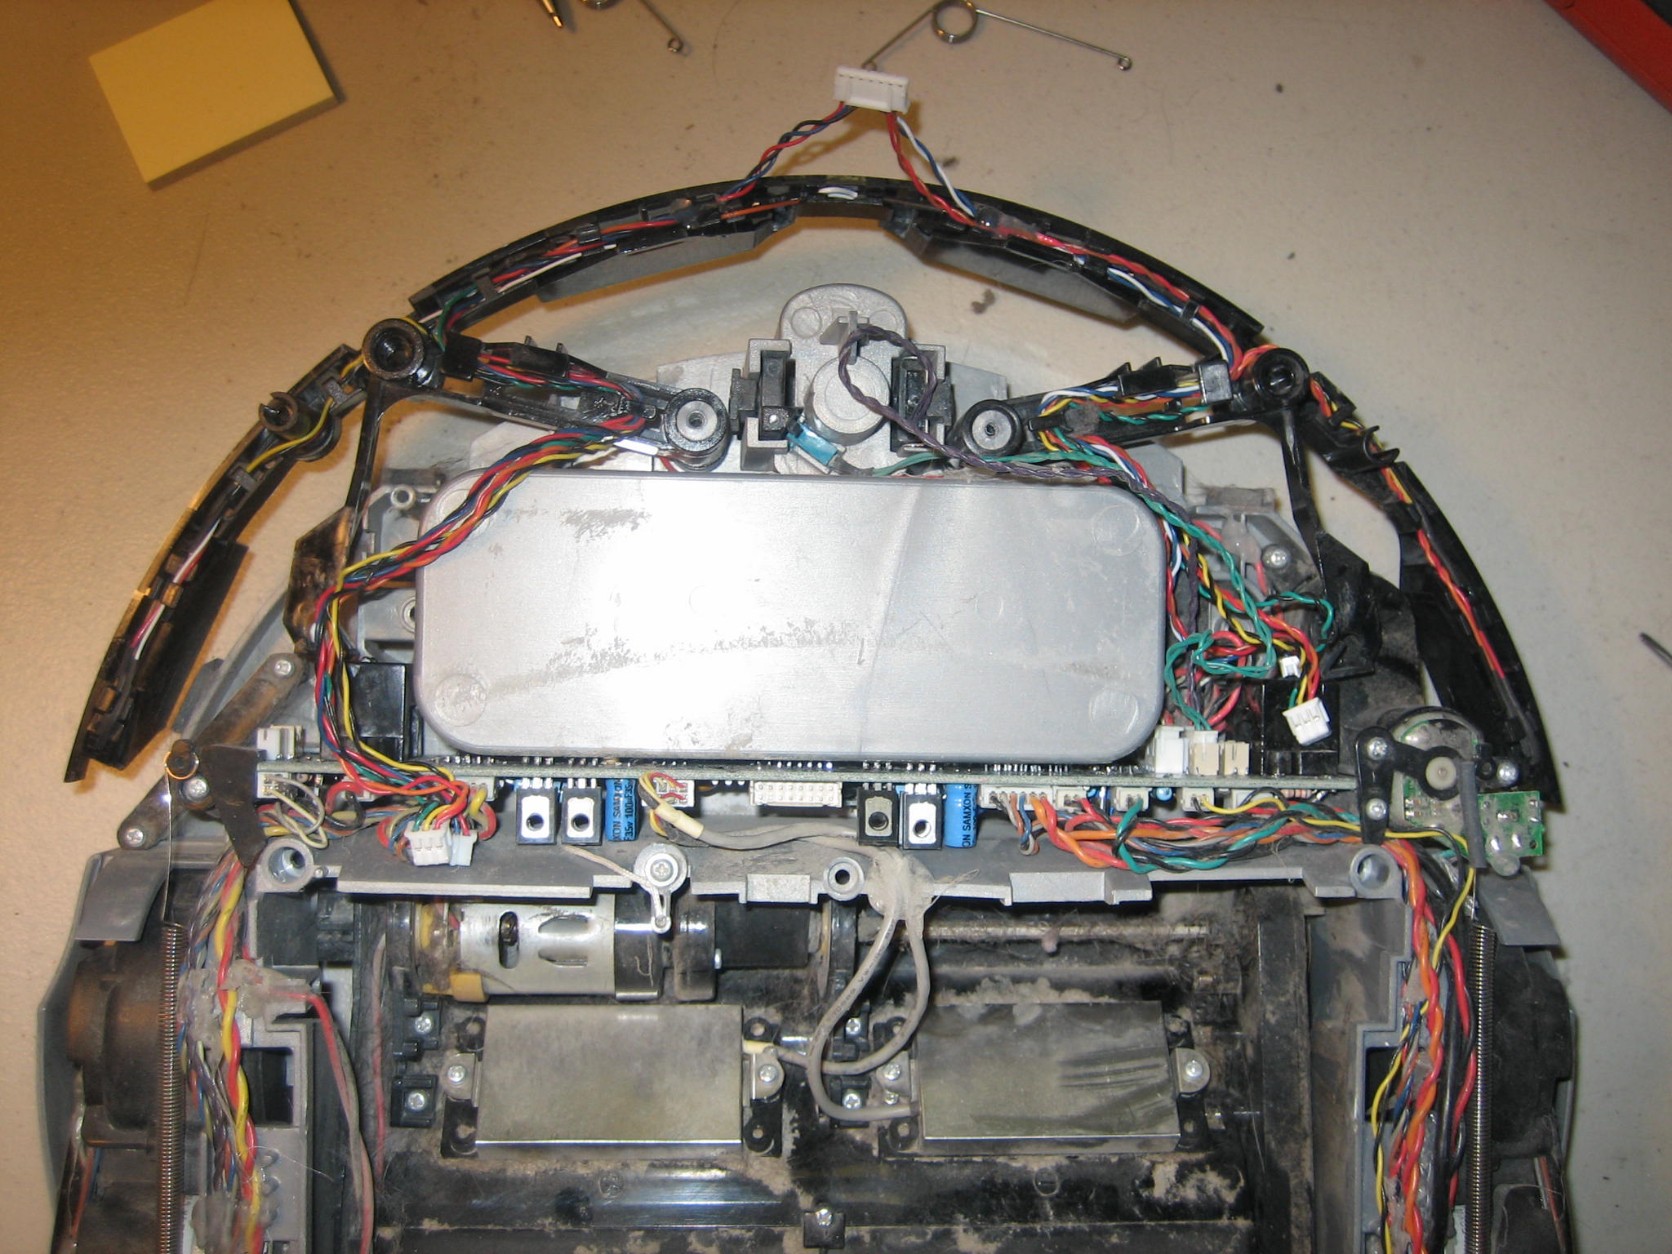
7 - Remove the connectors on the left of the motherboard that are connected to the cliff sensor array.
8 - Remove the connections on the right of the motherboard that are connected to the cliff sensor array.
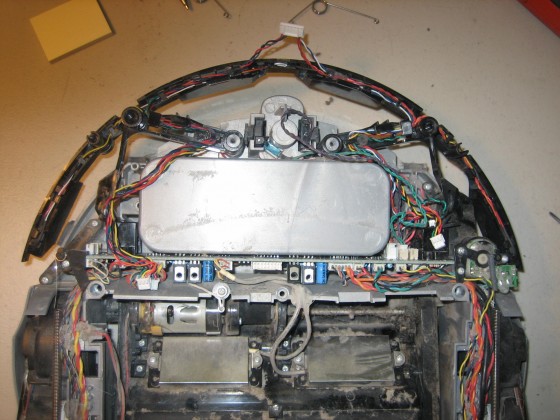
9 - Remove the cliff sensor array by lifting it up.
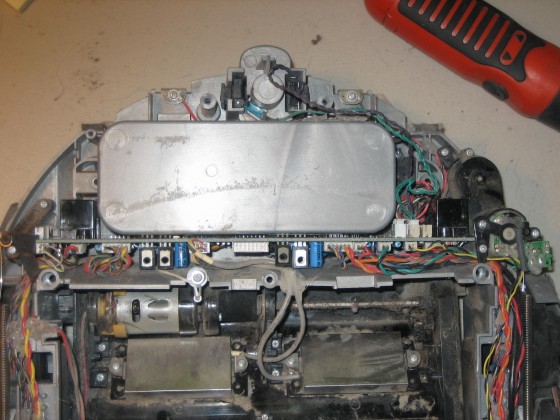
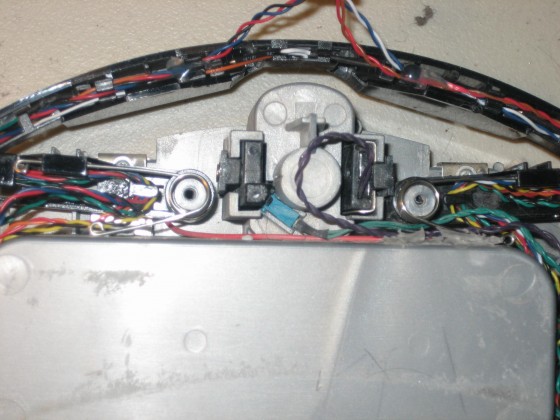
10 - View of Roomba with cliff sensor array removed.
Assembly Phase
1 - Place the replacement cliff sensor array correctly in its place.
2 - Reconnect the bump sensor connections to the motherboard. Pull on the connection with pliers and insert it in the right side of the bump sensor.
Reconnect the bump lever on the left side by inserting it into the left side of the bump sensor.
3 - Reconnect the connectors on the left of the motherboard.
For more details on the motherboard connections, see Roomba Discovery 4XXX & 4XX Servicing and Repair Guide, Ch. 13: Motherboard Connections
4 - Reconnect the connectors on the right of the motherboard.
5 - Place the springs correctly in their sockets. Make sure the springs are inserted properly.
6 - View of Roomba with both springs inserted:
7 - Place the front support correctly and screw in the two screws holding it in place. You are now done.
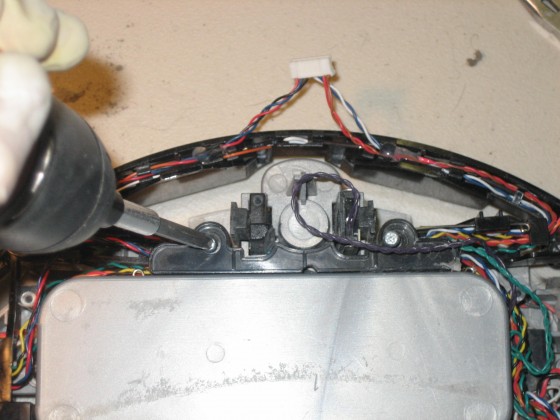
For details on how to reassemble the Roomba’s frame, please see the Roomba Discovery 4XXX & 4XX Servicing and Repair Guide, Ch. 2: How to Open Roomba / Replace Frame.
For addition help contact the RobotShop Technical Team via our Online Support Center.
Roomba replacement parts can be found at RobotShop.
Thanks for helping to keep our community civil!
Notify staff privately
You flagged this as spam. Undo flag.Flag Post
It's Spam
This post is an advertisement, or vandalism. It is not useful or relevant to the current topic.
This post is an advertisement, or vandalism. It is not useful or relevant to the current topic.
You flagged this as spam. Undo flag.Flag Post


