

6/11/18
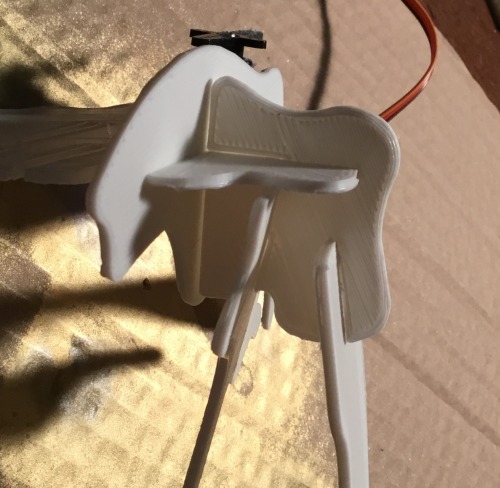
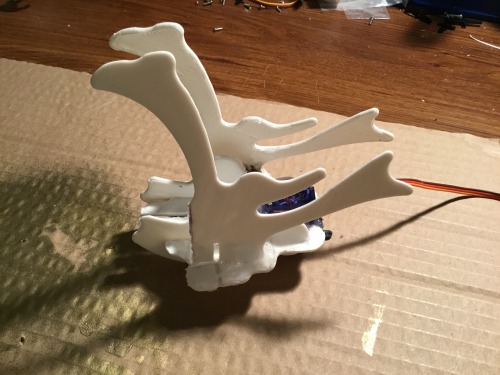
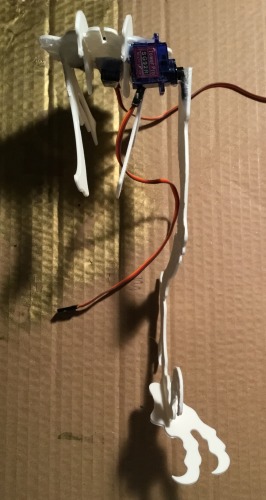
I had already 3D printed some thicker legs, and I really didn’t want to have to waste filament on another print, so I tried to file one of the legs’ top slits to accommodate a servo horn. It didn’t really work, but with my love of tape and hot glue, I couldn’t resist attaching the legs to the horns the plain old fashioned way. Simple, and not what a professional engineer would do, but it is a homemade robot, and the technique worked for my previous robots! Look closely at the picture above. It is a new picture, with the robot having thicker legs this time!
I still plan to fit the feet onto the legs though, and given that both legs and feet have an infill of only 20%, I feel confident that the servos won’t be strained- at the very least, not too much. I understand if you’re thinking bigger servos are needed, and you may be right. But for now, I’m willing to see just how powerful these servos might be.
————————————————
6/9/18
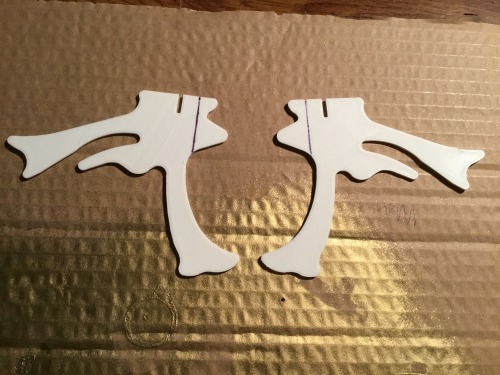
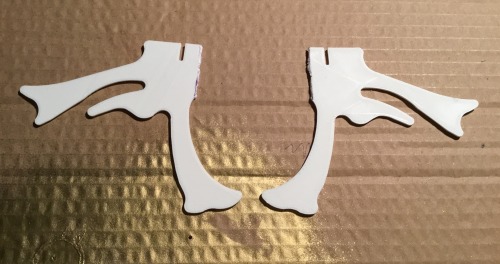
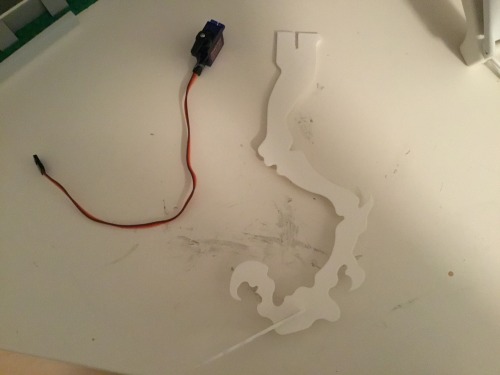
I just realized that I had forgotten two very important concepts: “Think smarter, not harder” and KISS. Why not just 3D print thicker and sturdier legs/feet?! I forget the simpler ways of doing things sometimes...
————————————————
6/7/18
This is Raptorbot (not its final name)!
I'd been thinking of how awesome it would be to have a custom Velociraptor- technically Deinonychus- as a pet, with a 3D printed skeleton as it's internal chassis. Yep, when the servos, sensors and boards are in place, "Raptorbot" will be a lot more "scaly" (I personally don't care to put any feathers on it).
Currently, it has 1 servo for the tail and 2 for the legs, but much more work remains to be done.
The build from start to present is documented below.
This was the original inspiration for the above idea:

Yes, it is a 3D puzzle.
I decided to start with the pelvis, and cut out a place for a servo to move the tail left and right.
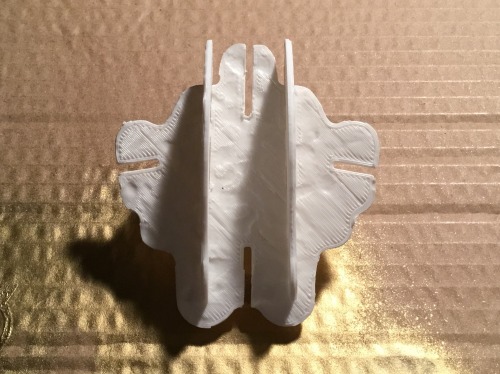
I eventually figured out that scoring the lines I had drawn (not shown above) and bending off the filament at the score worked best.
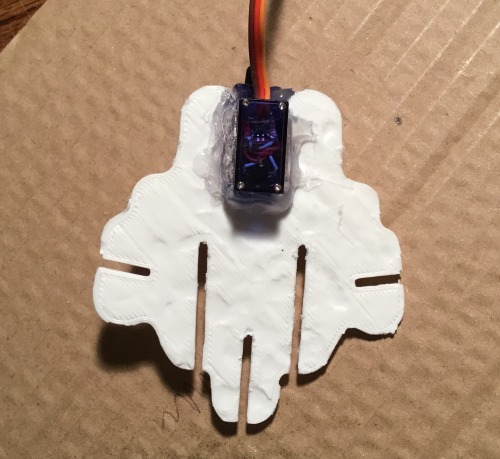
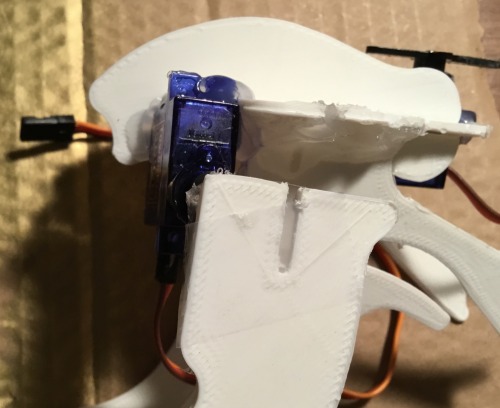
A little glue, a little servo, and boom! The tail servo is in place.
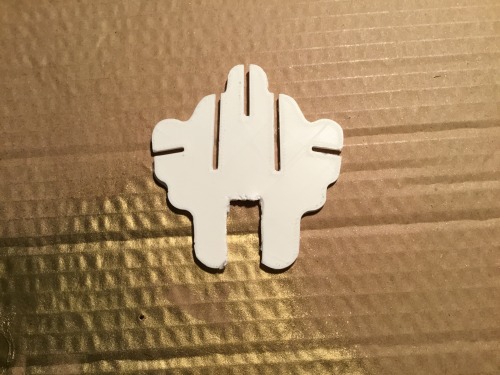
Then I moved on to the other pieces of the pelvis, which were both taking up potential servo space and room for the legs' movement.
For these parts, I followed the draw, score and bend off technique mentioned above.
Now there was room for the servos- perfect! Now to deal with a couple other parts of the pelvis...

...One of which broke in two when I scored and bent it. These parts held the longer bones shown above in place, and I had wanted to keep them for that and to maintain the skeleton's form as much as possible (though it won't be seen much in the end). But I thought of my well-beloved hot glue, and decided to use that to hold the long bones in place where they would otherwise be.
It worked!
I slid two other pieces (not the broken one and its mirrored piece) onto the pelvis (to maintain its form) and did away with the broken piece and its opposite.
Lookin' good!
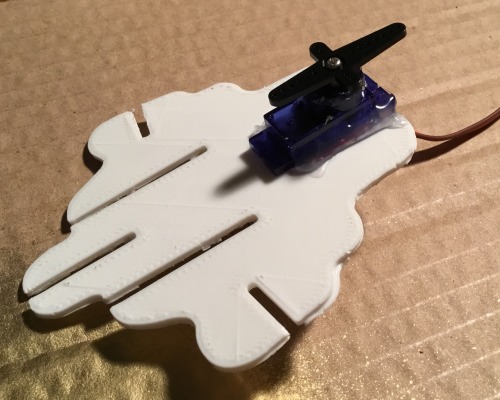
Now, it was time to attach a leg.
I glued and taped the servo horn onto the inside of the leg before gluing the servo to the pelvis.
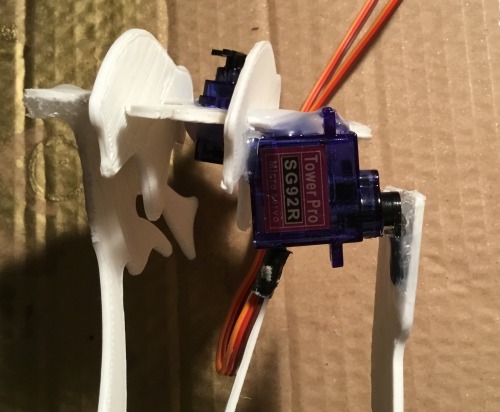
The hardest part came after a little break. After I glued and taped a second servo to the other leg, I tried gluing that servo to the other side of the pelvis- several times. Eventually, I got it to stay put.
And here we are!
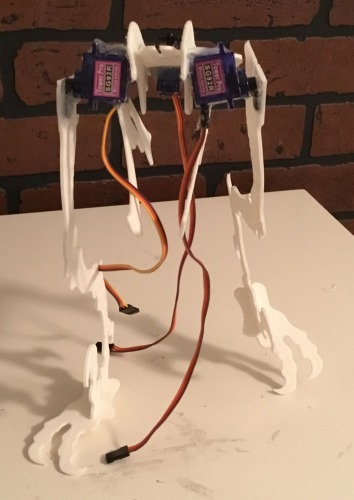
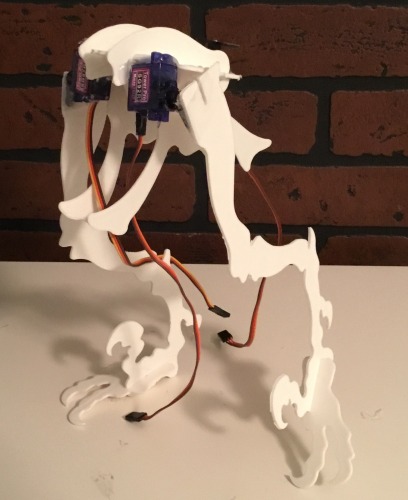
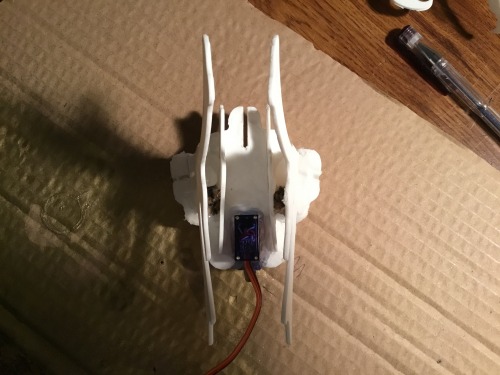
I actually had to mess around with the legs to get it to stand up and not tip over.
The next steps (no pun intended): center of gravity and altering the feet for stability.
Thank you for reading this far, and I hope you're enjoying this build as much as I am!
I'll do my best to update again soon. See you later!
Basic navigation, currently. Autonomous eventually
- Actuators / output devices: 3 micro servos
- Programming language: Arduino ide
- Sensors / input devices: none yet
- Target environment: indoor
This is a companion discussion topic for the original entry at https://community.robotshop.com/robots/show/raptorbot-name-not-finalized