+++ UPDATE 12-march-2014:
Added this video to show stand-alone locomotion. There is a problem with the soles of the feet. They must be changed to avoid sliding on the hardwood floor of the room. Neverthelees you can see it walking ... well... dancing .
-------------------------------------------------------------------------
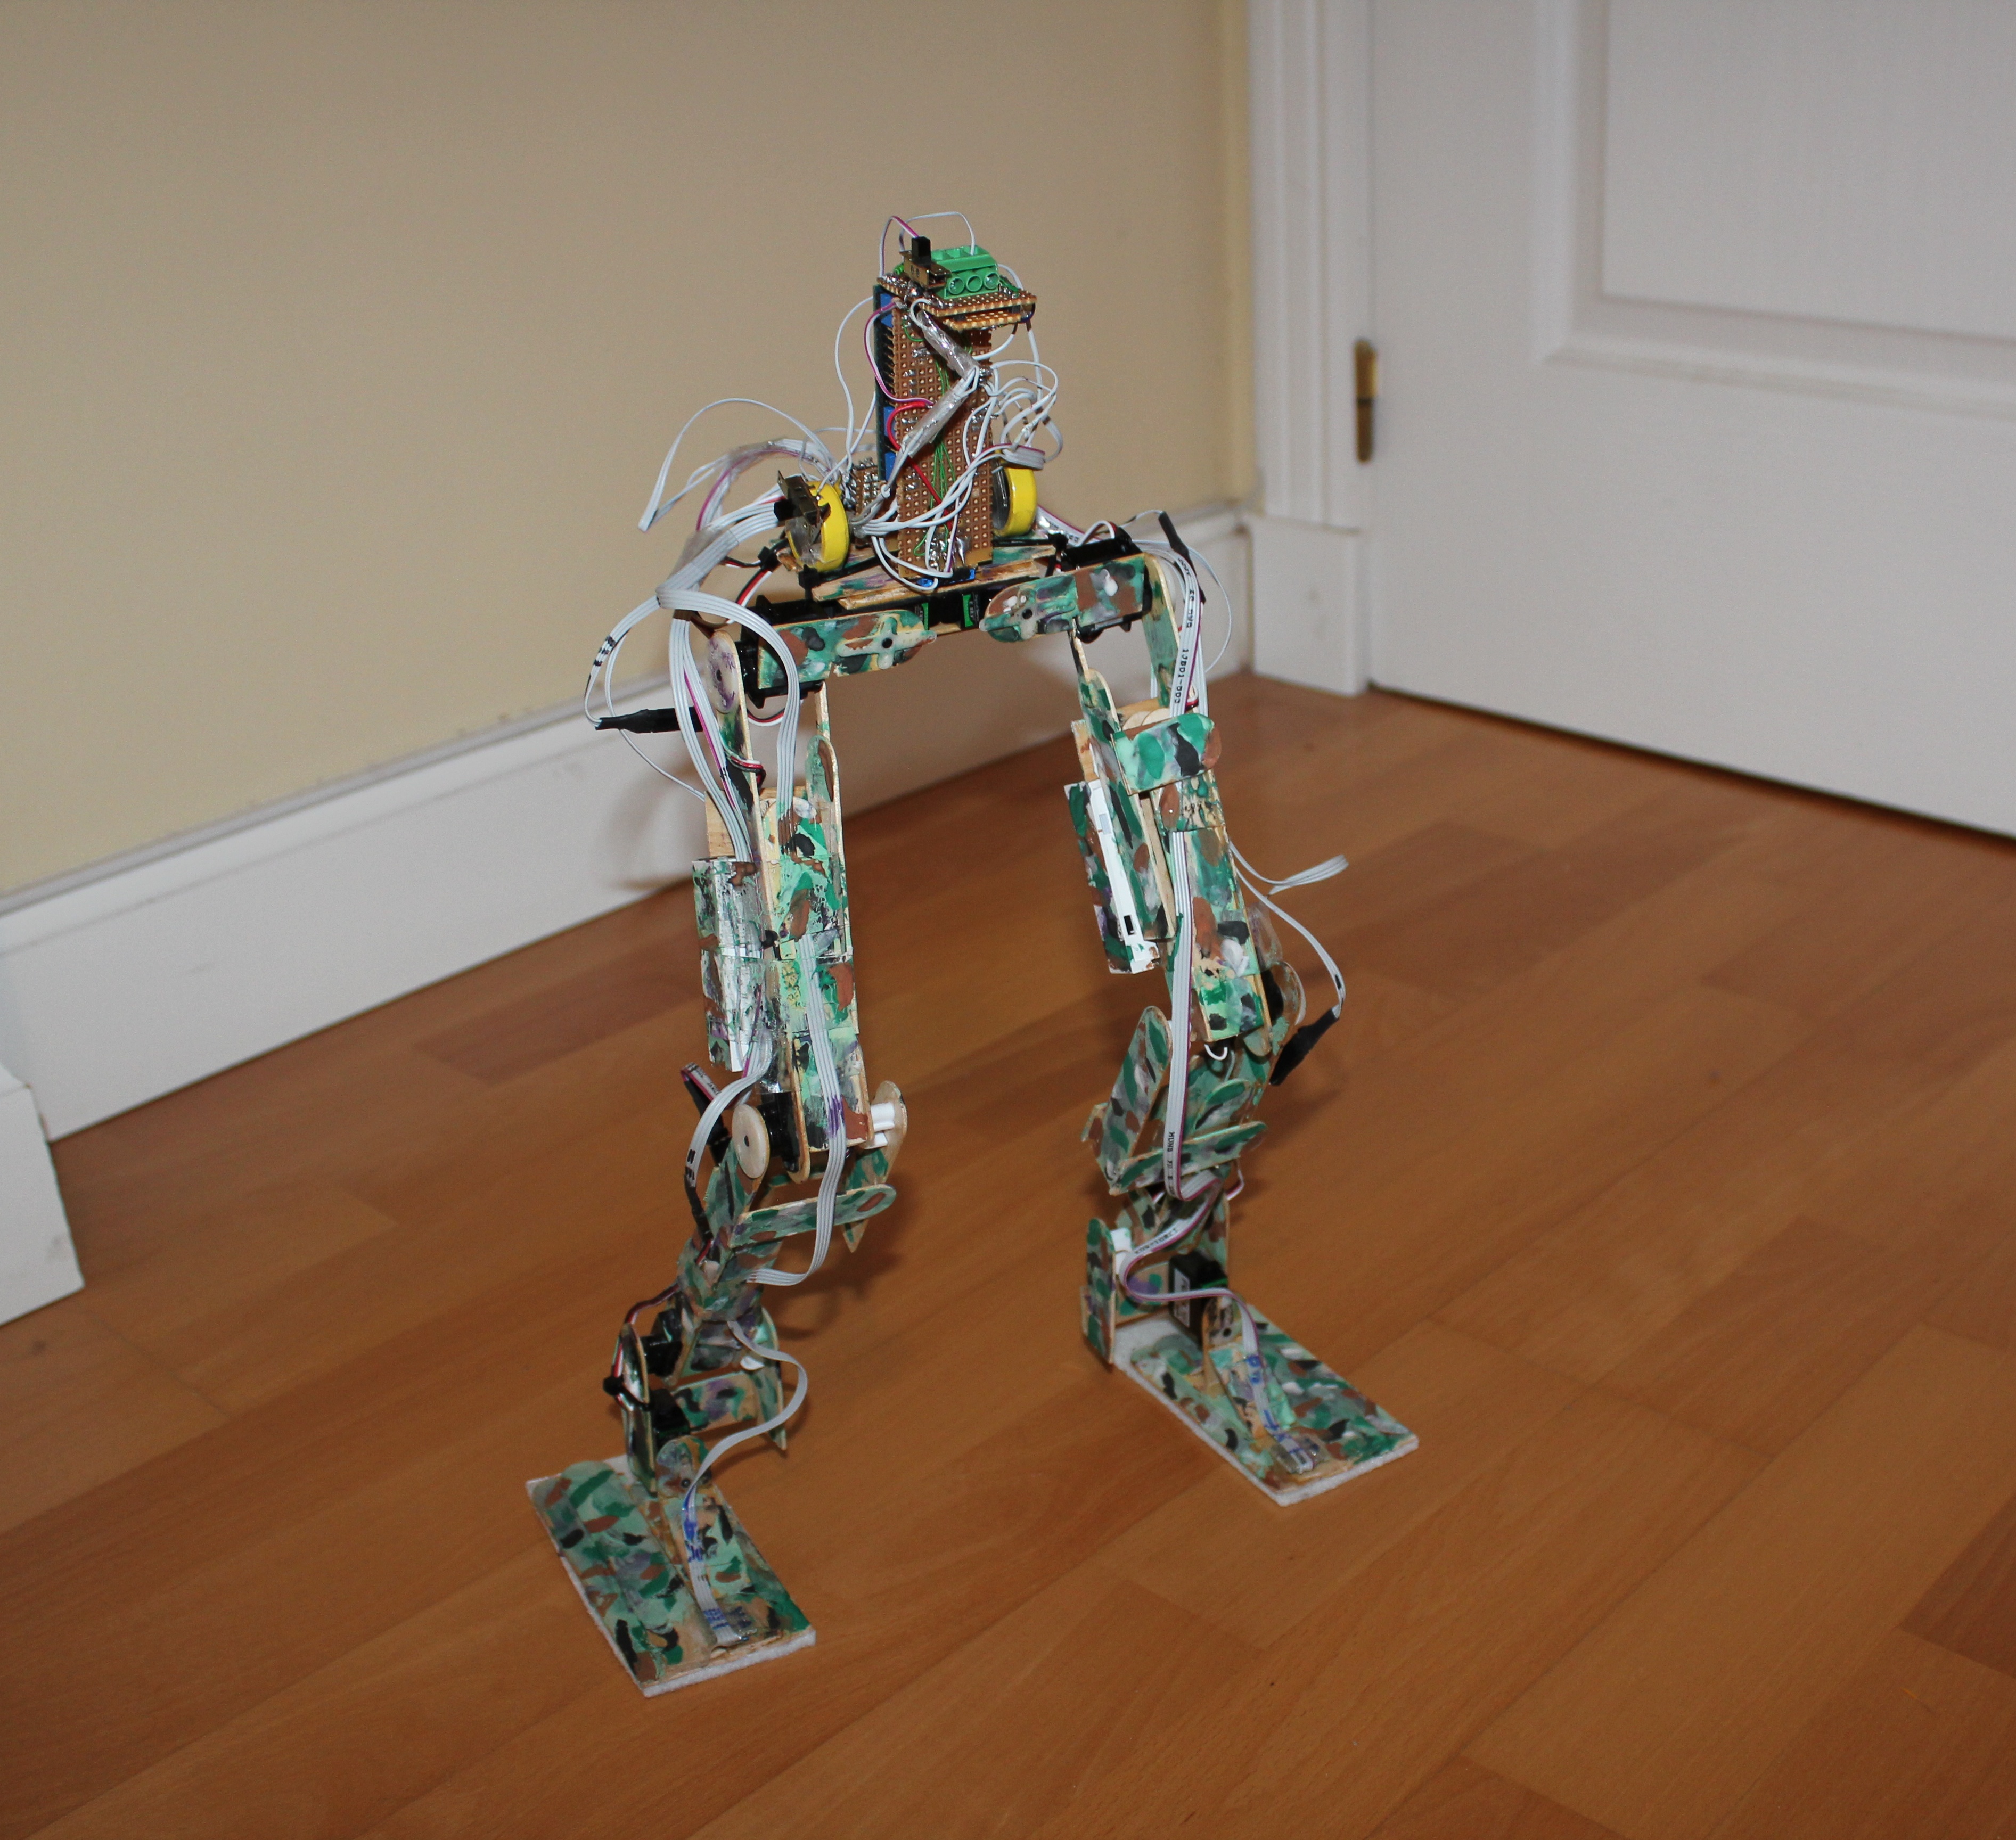
Hi All!!! I want to show you my first robot... a biped one.
Its name is POPSTAR_1. Why?? So easy, it comes from "POPsicle-STick Autonomout Robot".
It is around 30cm tall and has 10 degrees of freedom (5 per leg: 4 in the hip, 2 in the knees and 4 more in the ankles).
There is a video, with POPSTAR trying to walk (in the very first stages of the project), watch it (click here)!!
My first idea was to build an extremely cool biped, but I needed so much time and money (around 1000€) and I only have a couple of hours of spare time a day, and of course, I wanted to get into action as soon as I could.
So, I decided to build it with home-made no-cost materials. Also, other so important thing was that, I would like to build it in a "solo" manner. That implied carry out with stuff like:
- Mechanics: selecting materials for the legs, designing the skeleton and assembling all together.
- Robotics: studying inverse kinematics, math algorithms and academical papers for biped movement and stability.
- Electronics: designing the electronic subsystems which allows the robot walking (including hardware and embedded software).
- Artifical Intelligence: defining an intelligent machine learning algorithm to allow POPSTAR_1 to move autonomously. And at least, walk (more or less decently) without falling down.
For that challenge, I decided to use popsicle sticks for the skeleton, small 1kg/cm servo motors (5€ each), one 3-axis accelerometer (on the torso) and two 3-axis gyroscopes (one on each foot). That was everything!!
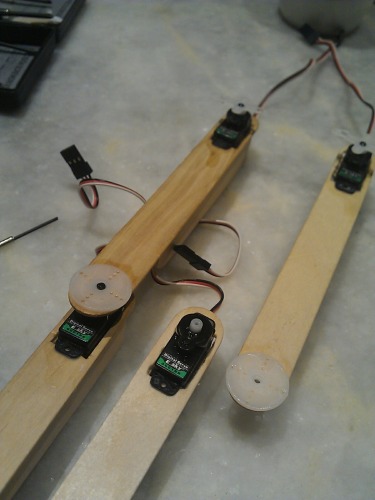
My first task was define the height of the robot. It will be similar to a human (in scale... of course), so I started to prepare all the popsicle sticks to allocate the servos, look:
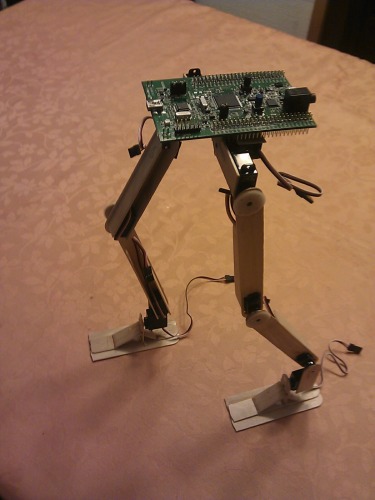
Once finished, my POPSTAR robot looks like this... pretty cute, isn't??
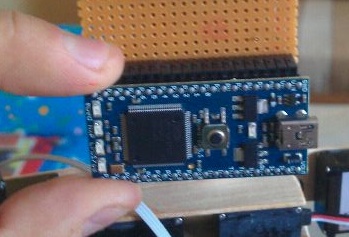
The second question was, wich kind of brain should use... an arduino, a Cortex-M4 discovery board, a raspberryPi, an mbed..... And finally, for its small dimmensions and CPU power, I decided to use a LPC1768 mbed board (based on a NXP Cortex-M3). Here you've got it:

Once everything was mounted, the electronic subsystems tested (including servos, accelerometer and gyroscopes) was the moment to decide where to place the batteries for an autonomous walking.
I decided to use a 4xAA battery pack, but they were to heavy to be placed on the torso, so I divided in 2xAA packs and I placed each pack on the back side of each thigh.

Now, everything was ready for fun!!!
In my blog I will detail all the engineering process I've carried out, just because I didn't find a blog or similar in which all this stuff comes together. And also, because I think this could be a very valuable resource for those of you who are planning to start building your own robot from scratch... like me ;).
So, next blog entries will include these sections:
-
How can I move servos to reach the angle position I desire?
-
How can I place robot's foot in a XYZ target coordinate?
-
How can I move robot's leg through a planned trajectory to place a foot in a XYZ target coordinate?
-
How can I get the robot walking with a periodic gait?
-
How can I teach the robot to learn correct legs position and movements to avoid falling down, and walk more or less properly??
Ready?? Then let's start making robots!!!
Autonomous walking without falling down
- Actuators / output devices: (10) 1kg/cm servo
- Control method: RC via Bluetooth Smart module
- CPU: LPC1768 mbed board
- Operating system: Own EventFramework
- Power source: 4xAAA (mbed board), 4xAA (power locomotion)
- Programming language: C++
- Sensors / input devices: accelerometer, gyroscopes
- Target environment: indoor
This is a companion discussion topic for the original entry at https://community.robotshop.com/robots/show/popstar-biped-robot


