

This is based off of the "First Robot" tutorial and uses the Arduino Decima board instead of Picaxe; it's also the first robot I've ever built.
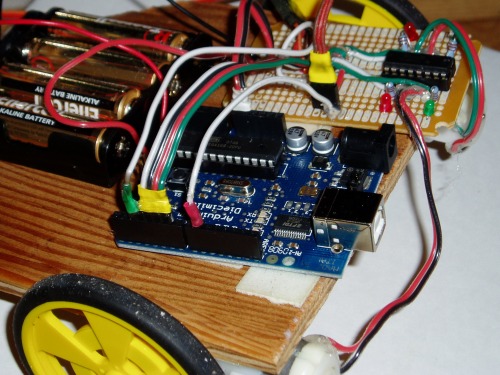
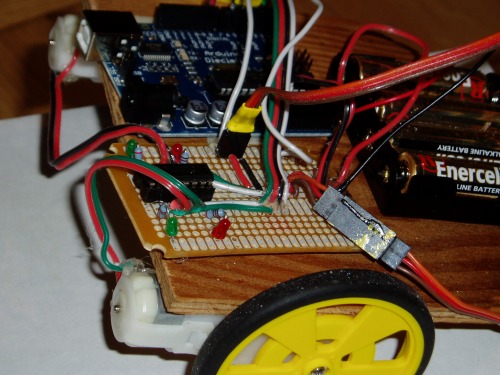
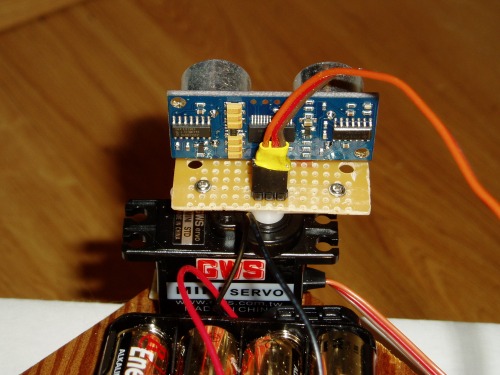
The Arduino board doesn't have a dedicated slot for the motor driver chip, so it had to be on it's own board. After doing that I decided to make that board the main one and use several pin/header rows to connect it to the Arduino board and peripherals (sensor, servo, motors). This way I could easily unplug the motor when I wanted to test the servo or reconfigure things on this fly. It ended up working very well.
At first I was having some trouble with the motor driver, so I added an LED to each of the 4 control pins of the driver chip. Now I can see which ones are high and low (see second video).
Programming the Arduino does take a little more code to control the servo, but I personally feel more comfortable with thta style of programming than Basic. Plus, since I'm a Mac user it's nice to have a development environment that works on my system. I am also learning Picaxe basic and will be building some robots with my Picaxe 18x project board soon. I've already built a controller to run a big brushless motor through an RC motor controller with the Picaxe 08m (will post pics and videos soon).
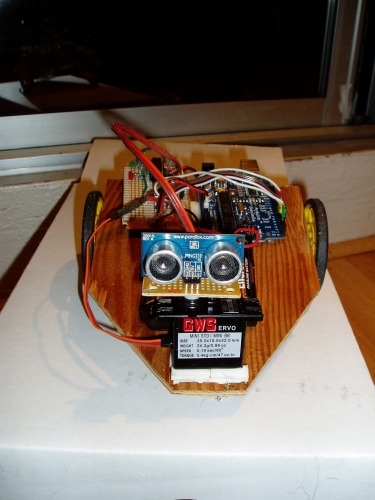
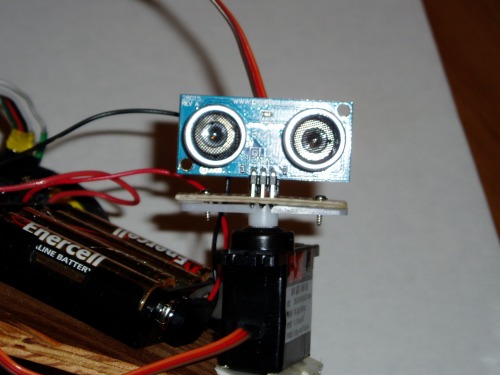
To judge distances the robot uses a Parallax Ping ultrasonic sensor that I picked up at my local Radio Shack. This sensor has 3 pins: 1 for data, 2 for power (vin, gnd). The results were very consistant until I plugged everything else in. I suspect that the electrical noise from the servo and motors were causing a slight "blip" (technical term) in the results, so I added a function to average it out.
To debug the code there are a number of Serial.println functions that send a message to the serial viewing window. It's very handy.
I've uploaded the code for anybody who might want to try it. You need to remove the "_.bas" extension -- I added this to get through the content upload filters. The code requires the Servo.h library that you'll need to download and unzip in the "hardware/libraries/" directory which is in the same directory as the Arduion IDE program.
This is a companion discussion topic for the original entry at https://community.robotshop.com/robots/show/my-first-robot-with-arduino

