

The parts list

- Some tie-wraps (for the cabling)
- Foam tape
- An Arduino - I used a VISduino
- An Arduino sensor shield
- Battery box + batteries - I used 4xAAA in the final design
- An IR remote control + the received board - I used the Keyes one
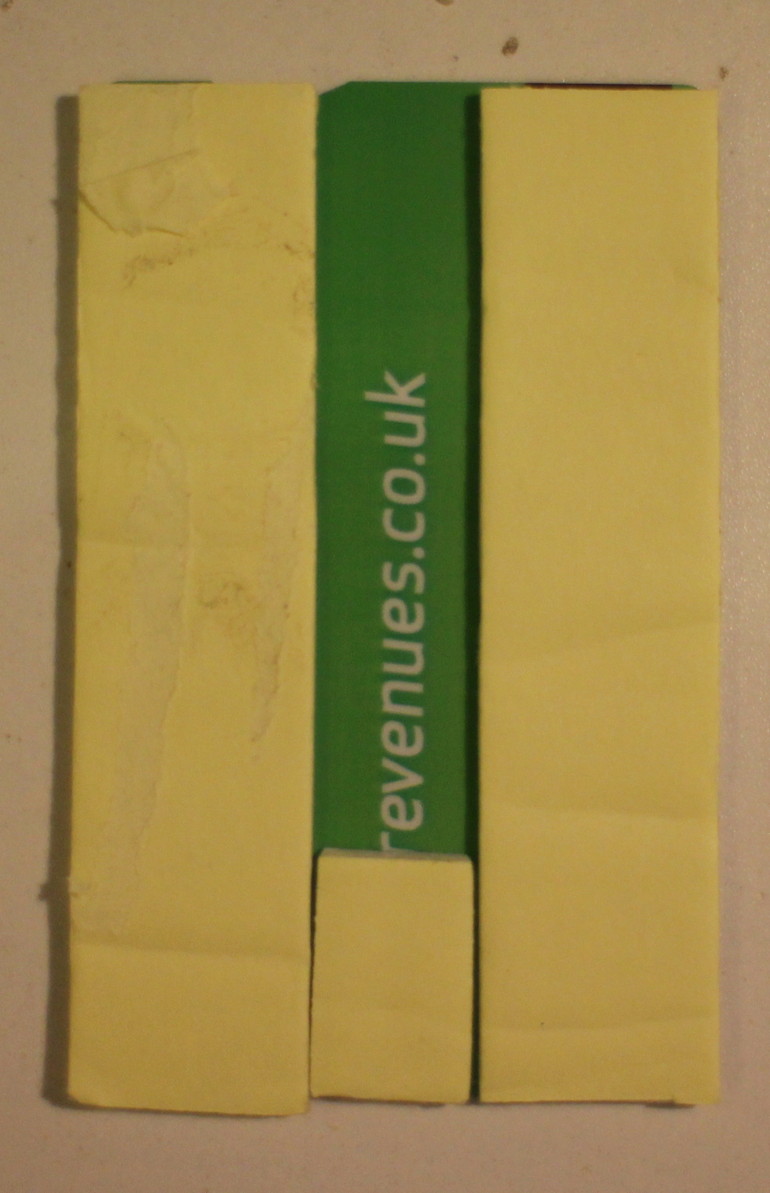
- 2 credit card sized pieces of plastic
- 7x micro servos - I used the SG-90 ones, but have use MG-90S in similar designs
- An ultra sonic module + cable - I used HC-SR04
- Some large paper clips (for legs).
Reset the servos
- download the sketch (from robot-v6.zip)
- Install the Servo, IRremote, and NewPing libraries.
- Get it to compile - See the comments in the code, you'll need to edit the library code to get them to compile together
- Download it/Run it
- One at a time, go through all the servos, and plug them onto output 2, this will reset the servo to it's mid-point.
Building the robot
- Make the legs, straighten a large paperclip, then feed it through the servo horn. You might need to use a small drill to enlarge the holes.
- Add foam tape to the base card
- Stick the servos down one side of the base card (output shafts towards the back edge)

- Add the ultrasonic movement servo
- Stick the servos down the other side of the base card (output shafts towards the back edge)
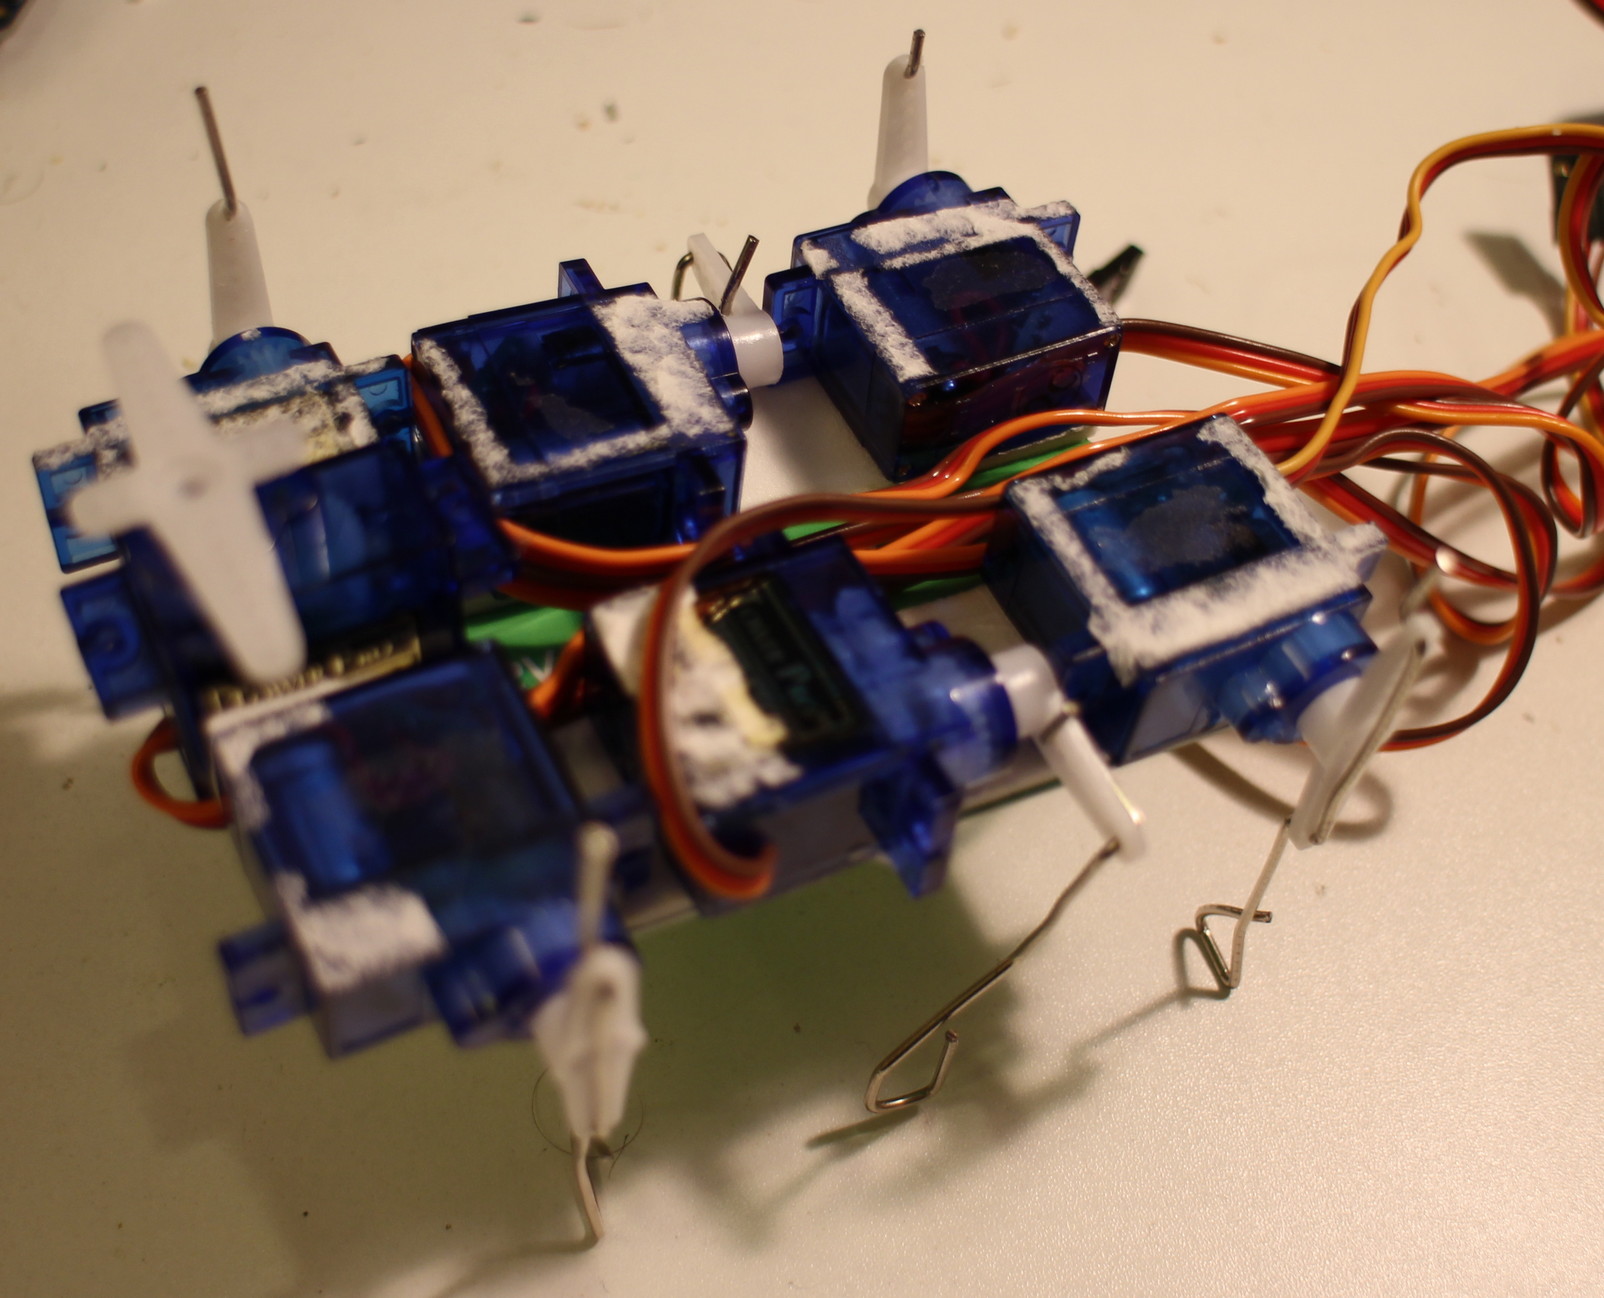
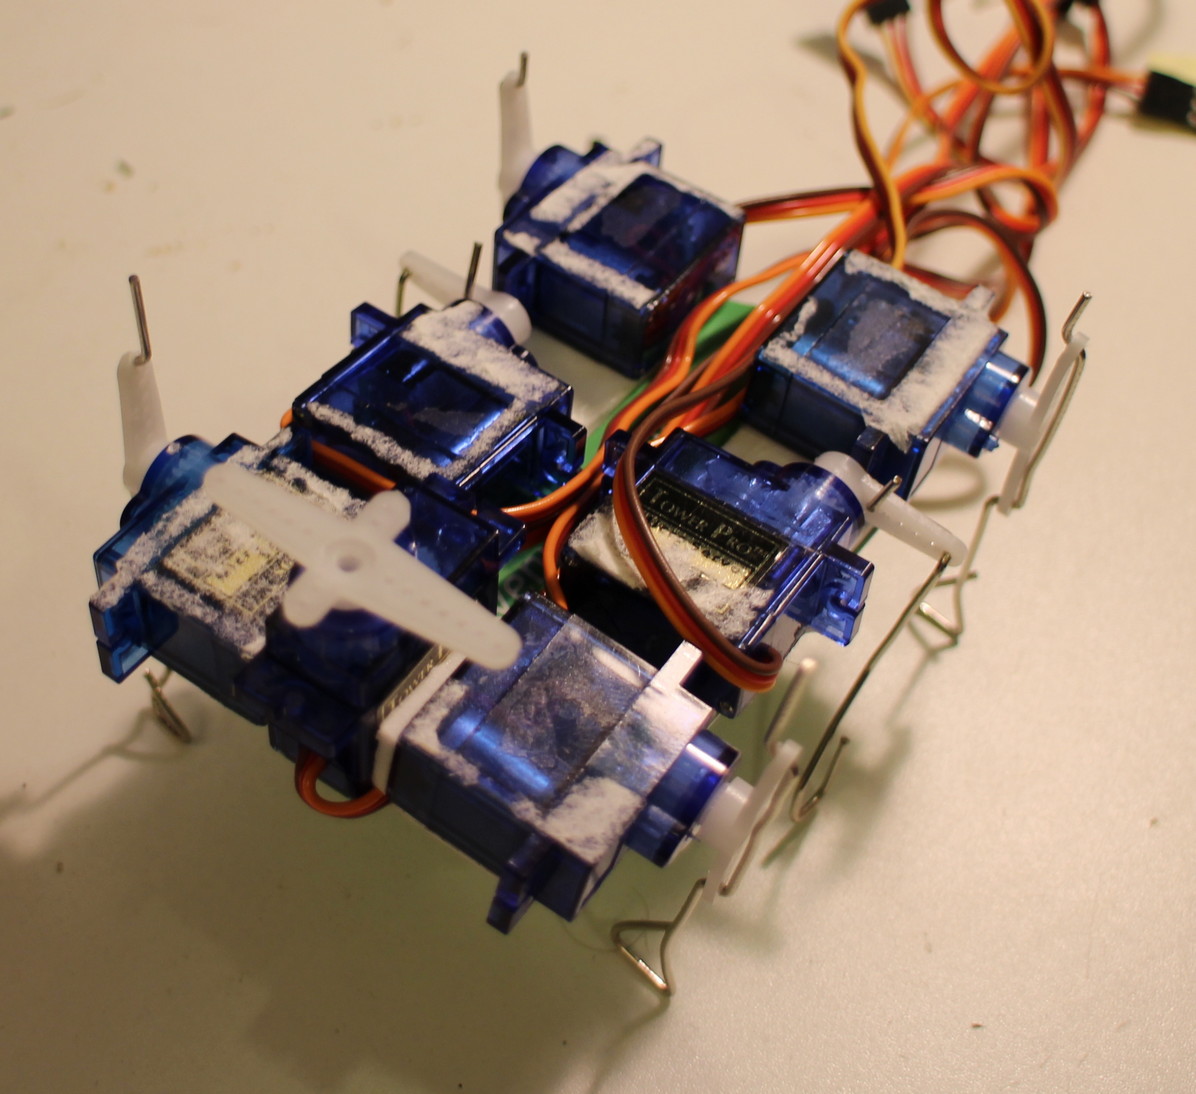
- Cut a slot in the top card, and use more foam tape to stick in on top
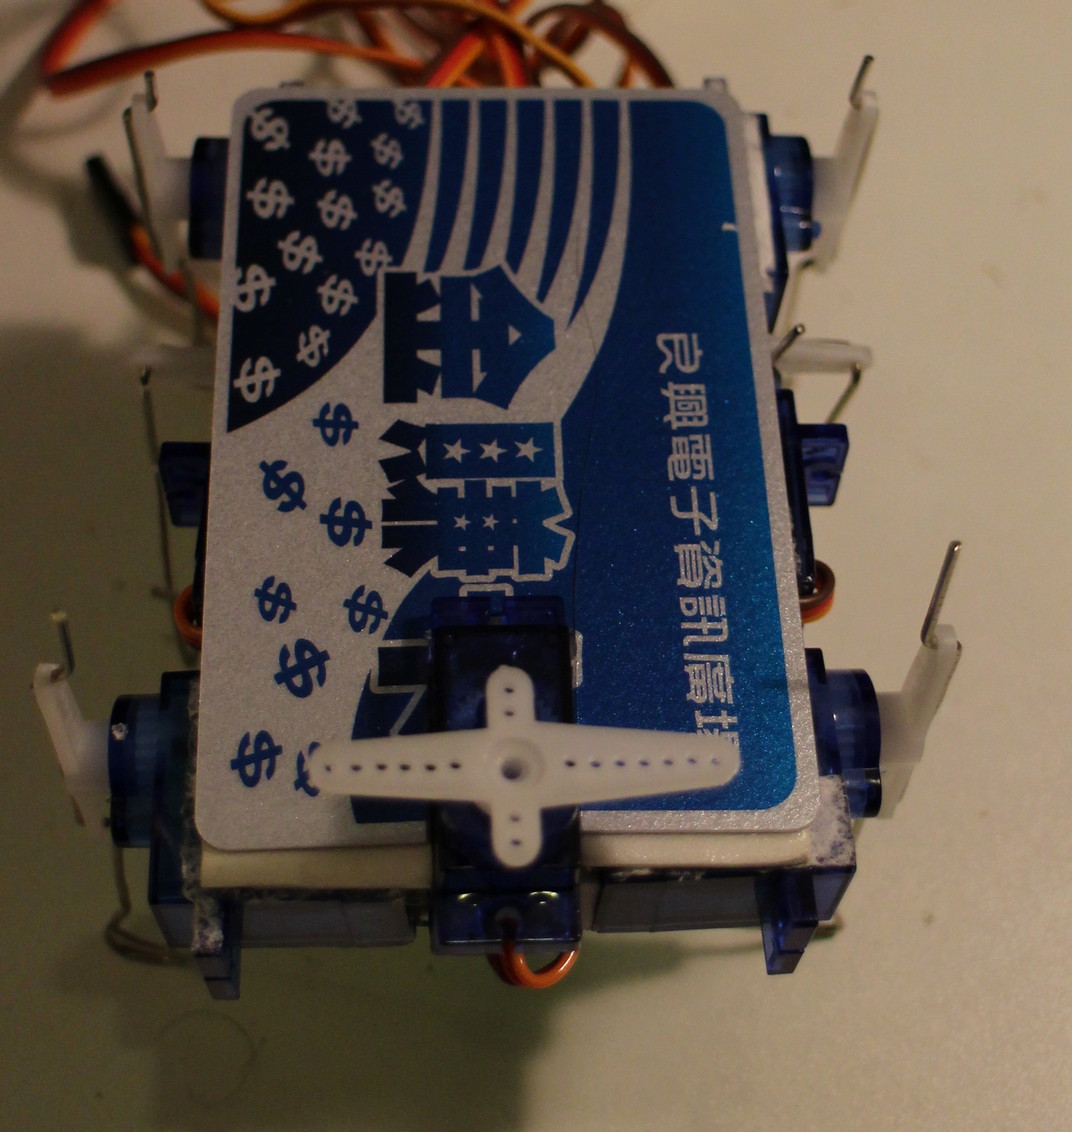

- Add the arduino and the battery box
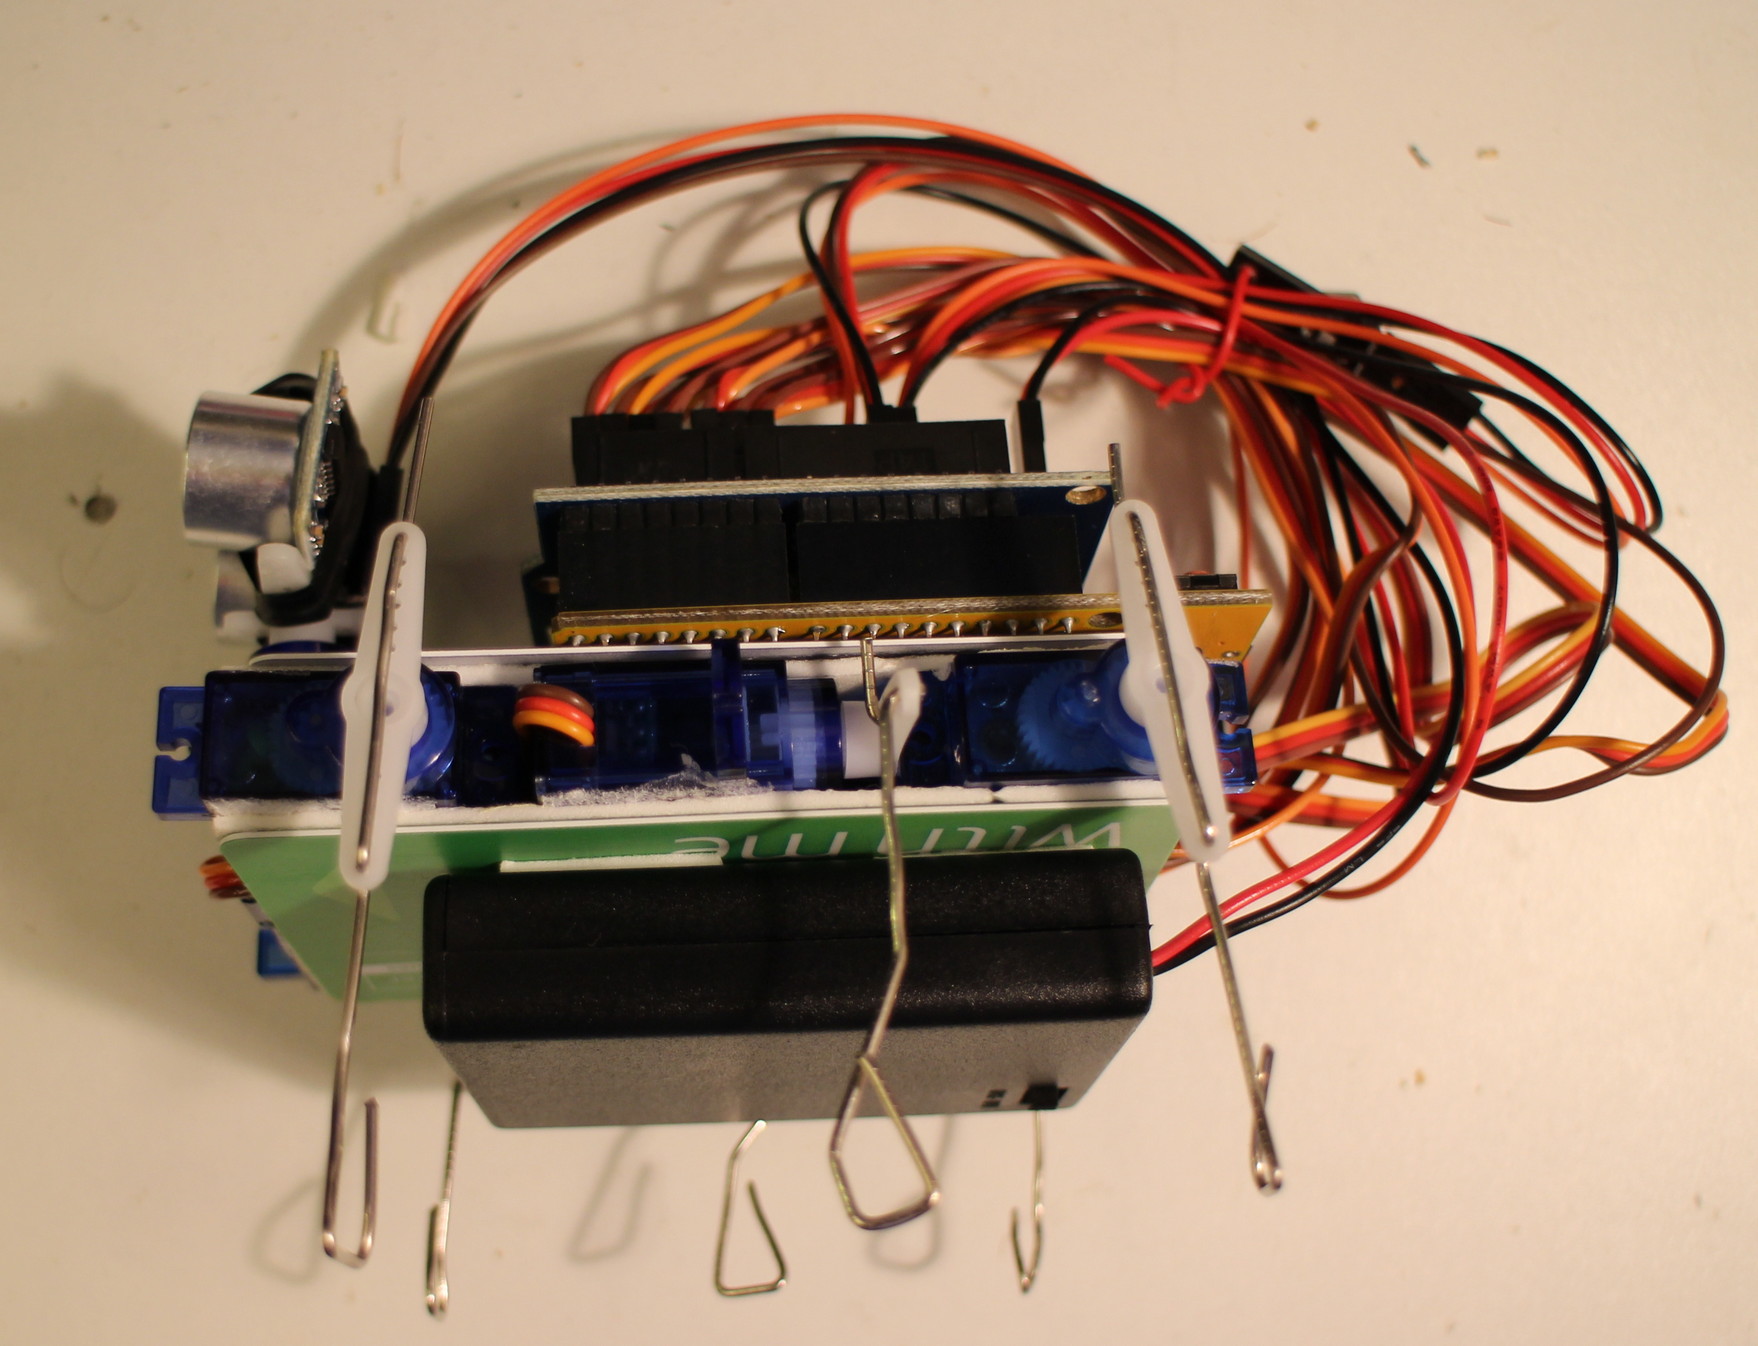
- Add the ultra sonic sensor, and the IR receiver
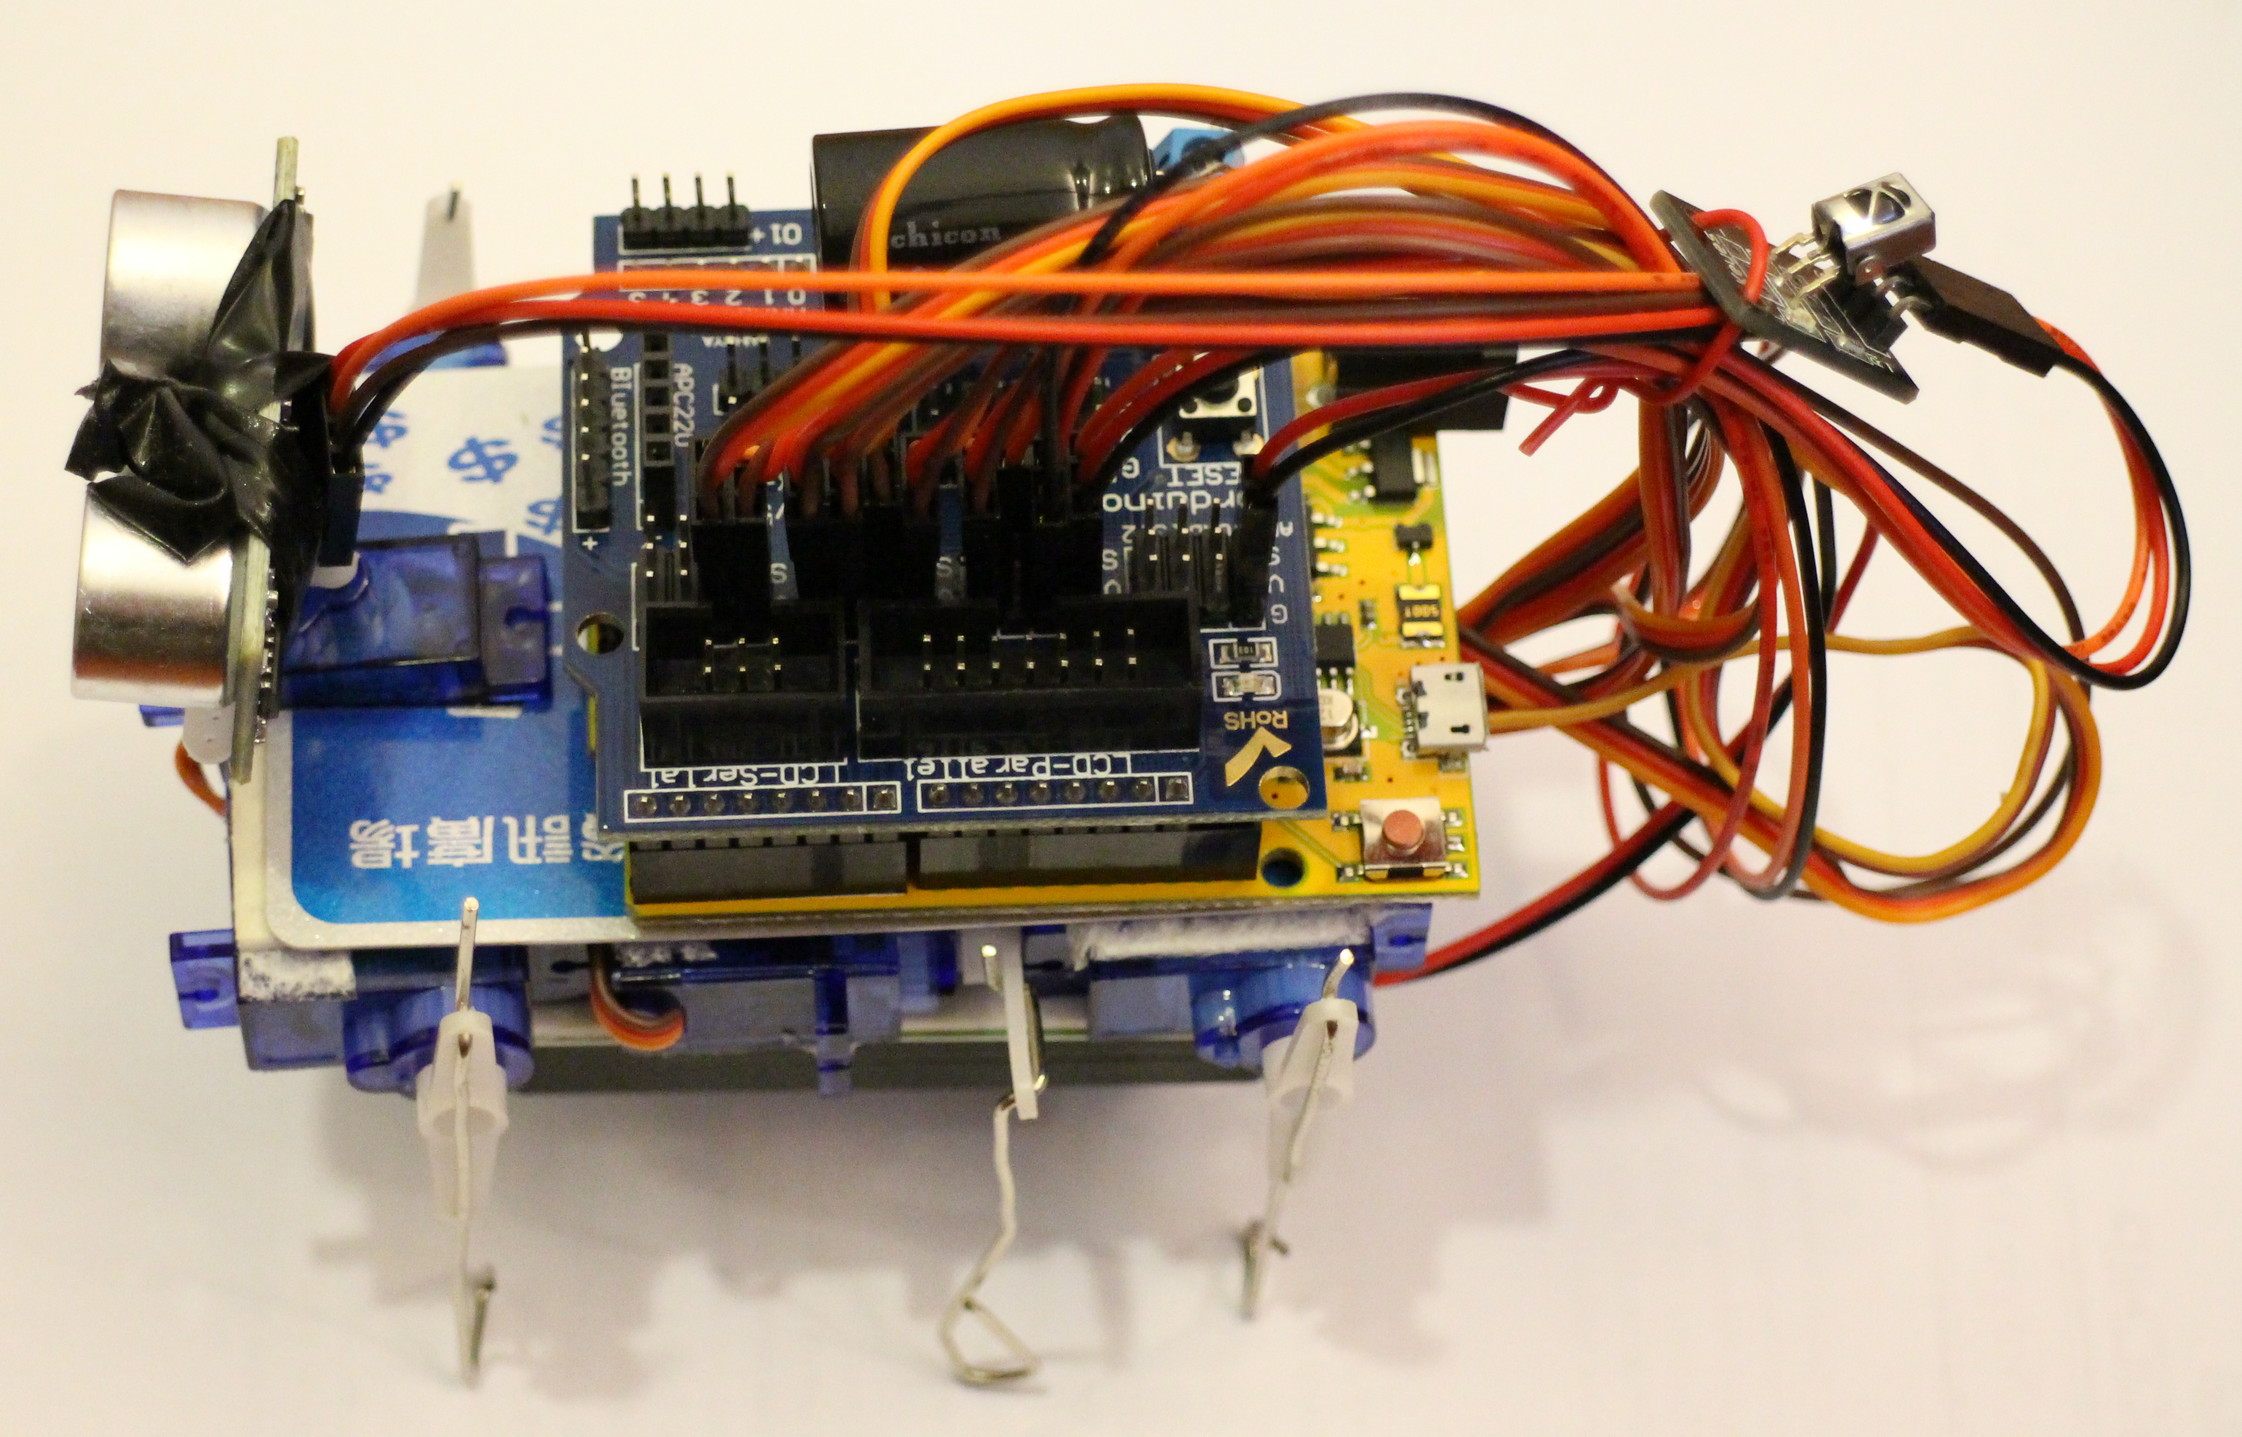


Connections
- Out 2 = right rear
- Out 3 = right lift
- Out 4 = right front
- Out 5 = left rear
- Out 6 = left lift
- Out 7 = left front
- Out 8 = ultrasonic movement servo
- In 11 = IR receiver
- Out 12 = Ultrasonic trigger
- In 13 = Ultrasonic receive
Notes:
- The servos can draw a lot of current, and this can reset the Arduino. To prevent this I put a big capacitor across the battery input (I have a 4700uF/16V in my box, that I used).
- There are several different sets of IR remote control codes, the code handles two of them, you can add more to the case statements.
- You can fine tune the leg positions by changing the code.
Remote comands
- up = go forward
- down = go backwards
- left = turn left
- right = turn right
- OK = Stop / sit
- * = Auto (use ultrasonics to avoid obstacles)
- # = test, output the current ultrasonic range to the RS232 port, and move each of the legs (right rear, right mid, right front, left rear, left mid, left front).
- 1-9 = set this number of steps
- 0 = keep going until stopped
An easy to build, Arduino powered, walking robot, with manual IR remote control, with automatic mode that uses ultrasound to avoid obsticles
This is a companion discussion topic for the original entry at https://community.robotshop.com/robots/show/monster-chan-the-credit-card-walking-robot
