

Hello LMRians,
First of all, I don't know if Micro Beetle Bot is really the correct name for this robot. It isn't that small to be included into the lists of micro-level robots that I have been fascinated to see here on LMR, however, it isn't that big as well. Well, it does use the Beetle as the micro-controller and it also is a bot, so those count in! I don't have concrete information on the dimensions of a robot to be classified as micros or minis or macros. But logically, anything tiny is a micro robot !
So the closet behind it's name is that I had built it for the Micro-bot challenge. And guess what, I nearly entered my first challenge on LMR! :P But I missed out because I am having several issues with this robot at the moment, and have not got a working video of it.
Therefore, you can expect to see some updates in the near future.
Beginning the intro-part, this is Micro Beetle Bot, powered using the Beetle from DFRobot as the microcontroller, and the good old L293D motor driver for powering up the motors. I am still learning to solder, so there is use of a lot of jumper wires in this robot as well.
Enough said, let the pictures roll!
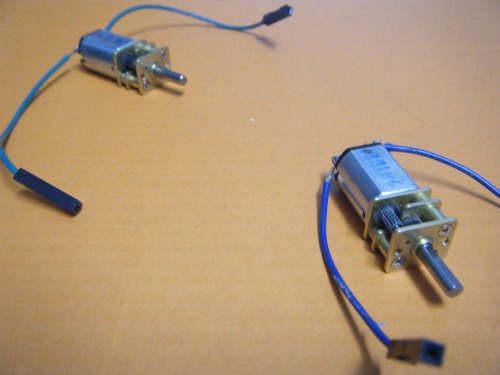
I used a pair of Pololu Micro-metal gear motors. I did not find motors smaller than these in my place!

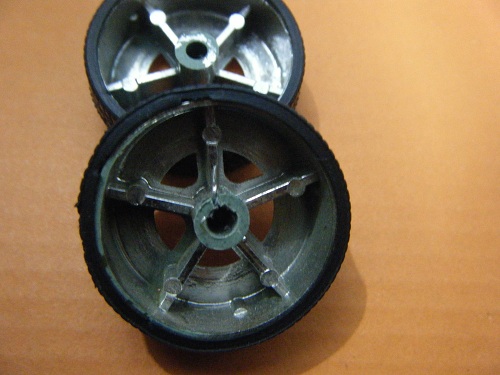
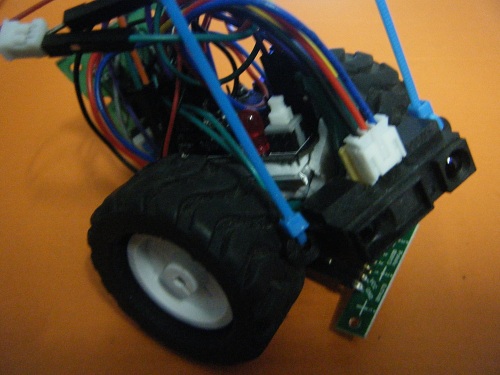
For wheels, I found a pair of old tyres from a toy car. Decided to use them as they neatly mounted onto the motors.
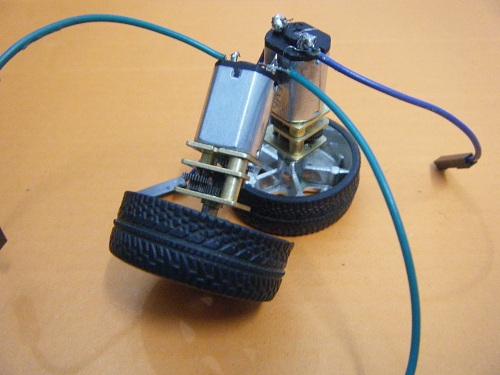
This is how it looks when fitted on to the motors. It was a tight fit. ( Only one happened to fit tightly )
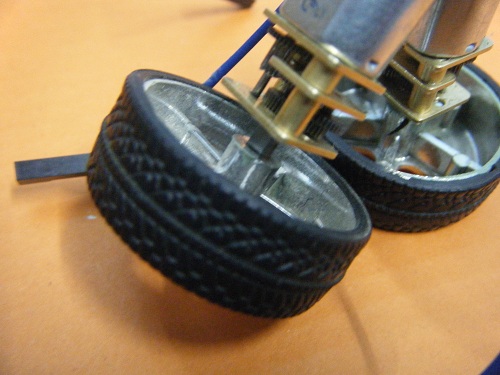
A close-up view.
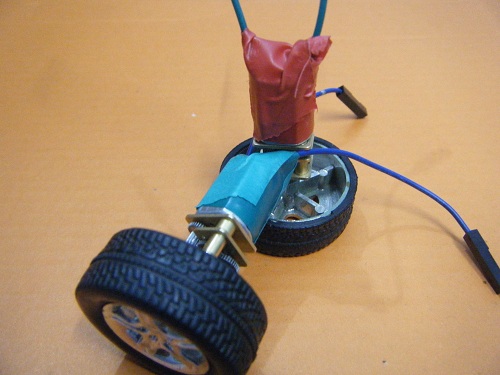
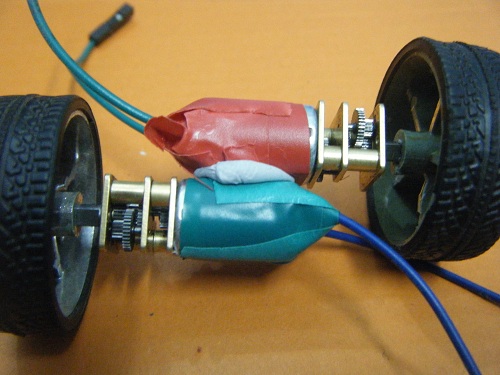
Wrapped my motors just like Santa wraps his presents! This is pretty much everything mashed into one thing, so could not entirely depend upon the soldered terminals. Nice and tight!
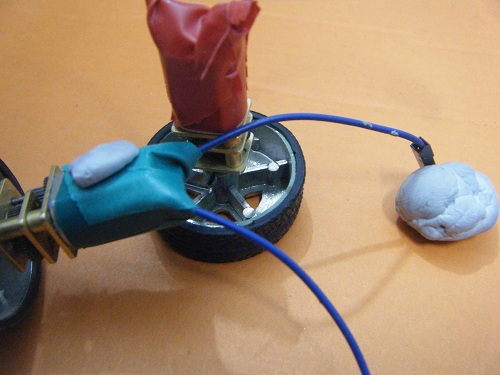
Some Blue-Tack to hold the motors.
There:
And some more tape!
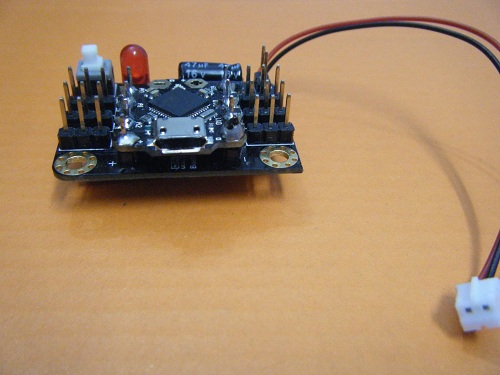
Beetle Strikes! I used the Beetle for the brains but in a haste, soldered it quickly onto the beetle shield and forgot about the additional 4 digital pins on the underside of the board. Thinking of using the desoldering pump maybe for additional connections!
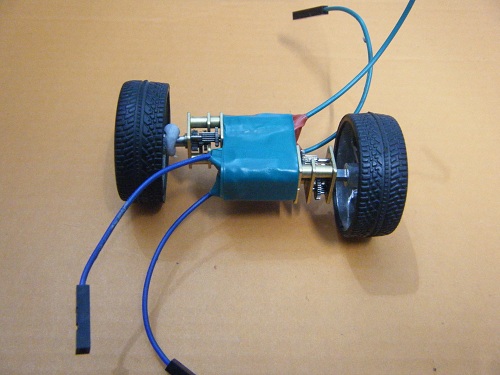
But as you can see, these were old toy tyres, and one of them was pretty much done and dusted. The motors always went loose.
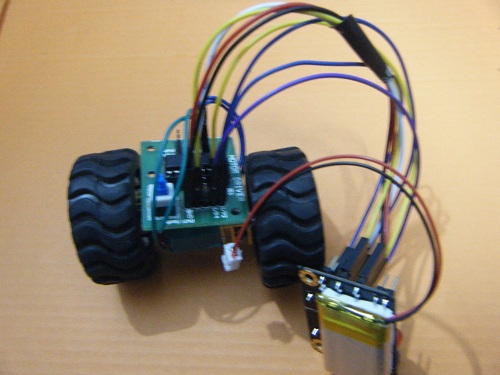
So I stuck with the pololu tyres. That's how it got bigger and bigger I guess :-D
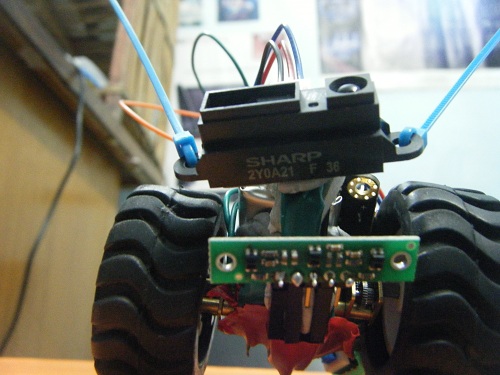
And an IR distance sensor. MBB uses them to search for intruders around him!
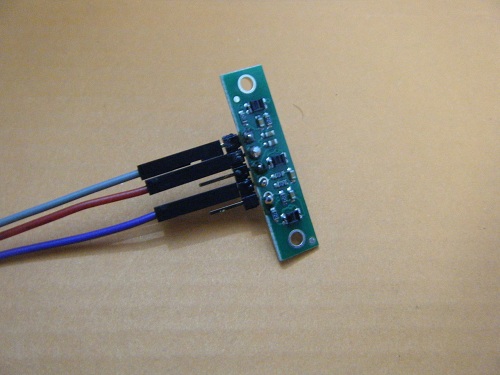
I also decided to add line following capabilities to MBB. I used the Pololu QTR-3RC Reflactance Sensor Array.
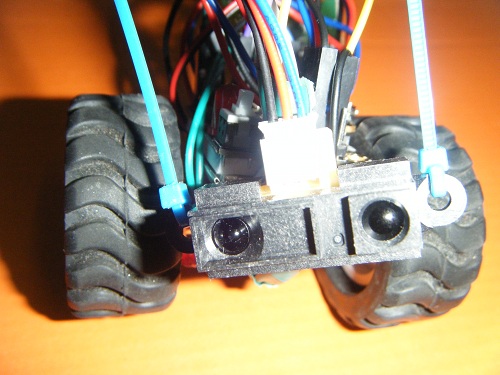
Here is how he looks with the line sensors on.

MBB strikes another pose!
Measurements:
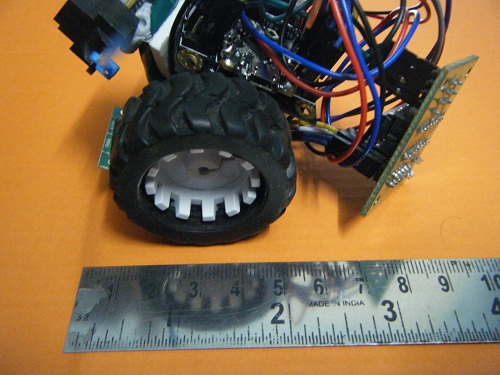
I would say at least 10 cm long
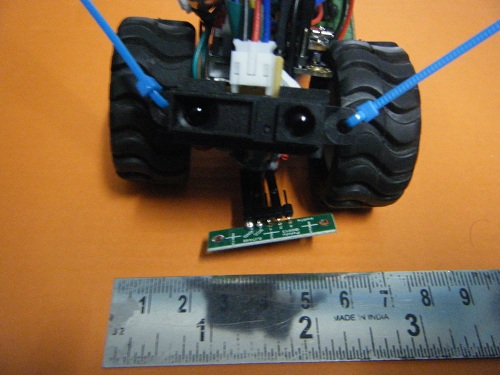
8 cm wide
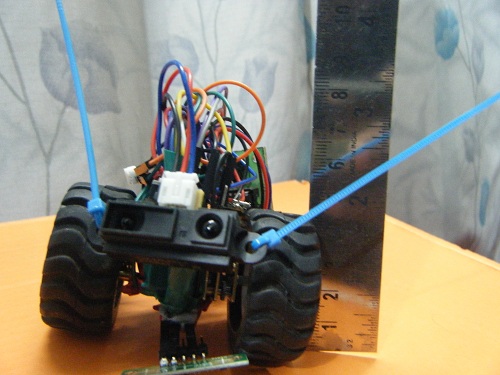
and 8 cm tall
Right now, he's just limited to pictures. The outlook is not fixed as well. As you may have noticed, MBB has zero balance, and rests on a dangling L293D module, and the line sensor also looks a bit too near to the surface. I am working on all of it, and am trying to bring it to life as well. Hopefully, in the next few weeks, he will start racing through lines and detecting objects.
Stay tuned for other updates and working videos, and thanks for reading!
Ashim
Navigates around and follows a line via IR
- Actuators / output devices: 30:1 Micro-metal gear motors
- Control method: autonomous
- CPU: Beetle
- Power source: 3.7V Li-Po
- Programming language: Arduino C
- Sensors / input devices: Sharp IR, QTR-3RC
- Target environment: indoor
This is a companion discussion topic for the original entry at https://community.robotshop.com/robots/show/mbb-micro-beetle-bot
