Litter Robot 3 slow flashing orange light

Hi.
I have a litter robot for a number of years and it has been playing up recently.

The light stays flashing orange and it won’t cycle. I have followed the instructions online and typically I need to remove the bonnet and clean the two metal pins in the base whenever I want it to cycle. This is ok for a while and then it goes back to the orange light. I am doing this every day sometimes multiple times a day. I also make sure that the pinch sensors are clean and touching.

I have also cleaned the circuits in base which has also helped.

The night light doesn’t work and hasn’t for some time.

The flap in the bonnet that moved when the litter is cycling is in the wrong place and loose so I need to move this manually when the litter is cycling in order for the waste to dump in the bottom.

What parts would I need to fix these issues or do I need a whole new unit?

Hello,

Thank you for contacting RobotShop. To resolve this issue, please follow the steps in the attached video: https://www.youtube.com/watch?v=u0jVRoijTk0

Other steps to follow:

1-Make sure that the cable linking the night light under the bonnet is properly connected.

2-Please test if the night light is interrupting your cycle. If the night light turns on and the cycle is interrupted, then your bonnet needs to be replaced.

*To activate the night light, turn off and then on the room lights in the evening. During the day, you can create shade by covering the control panel near the power button with your hands.

3-Make sure that the 3 connectors on the circuit board are properly connected.

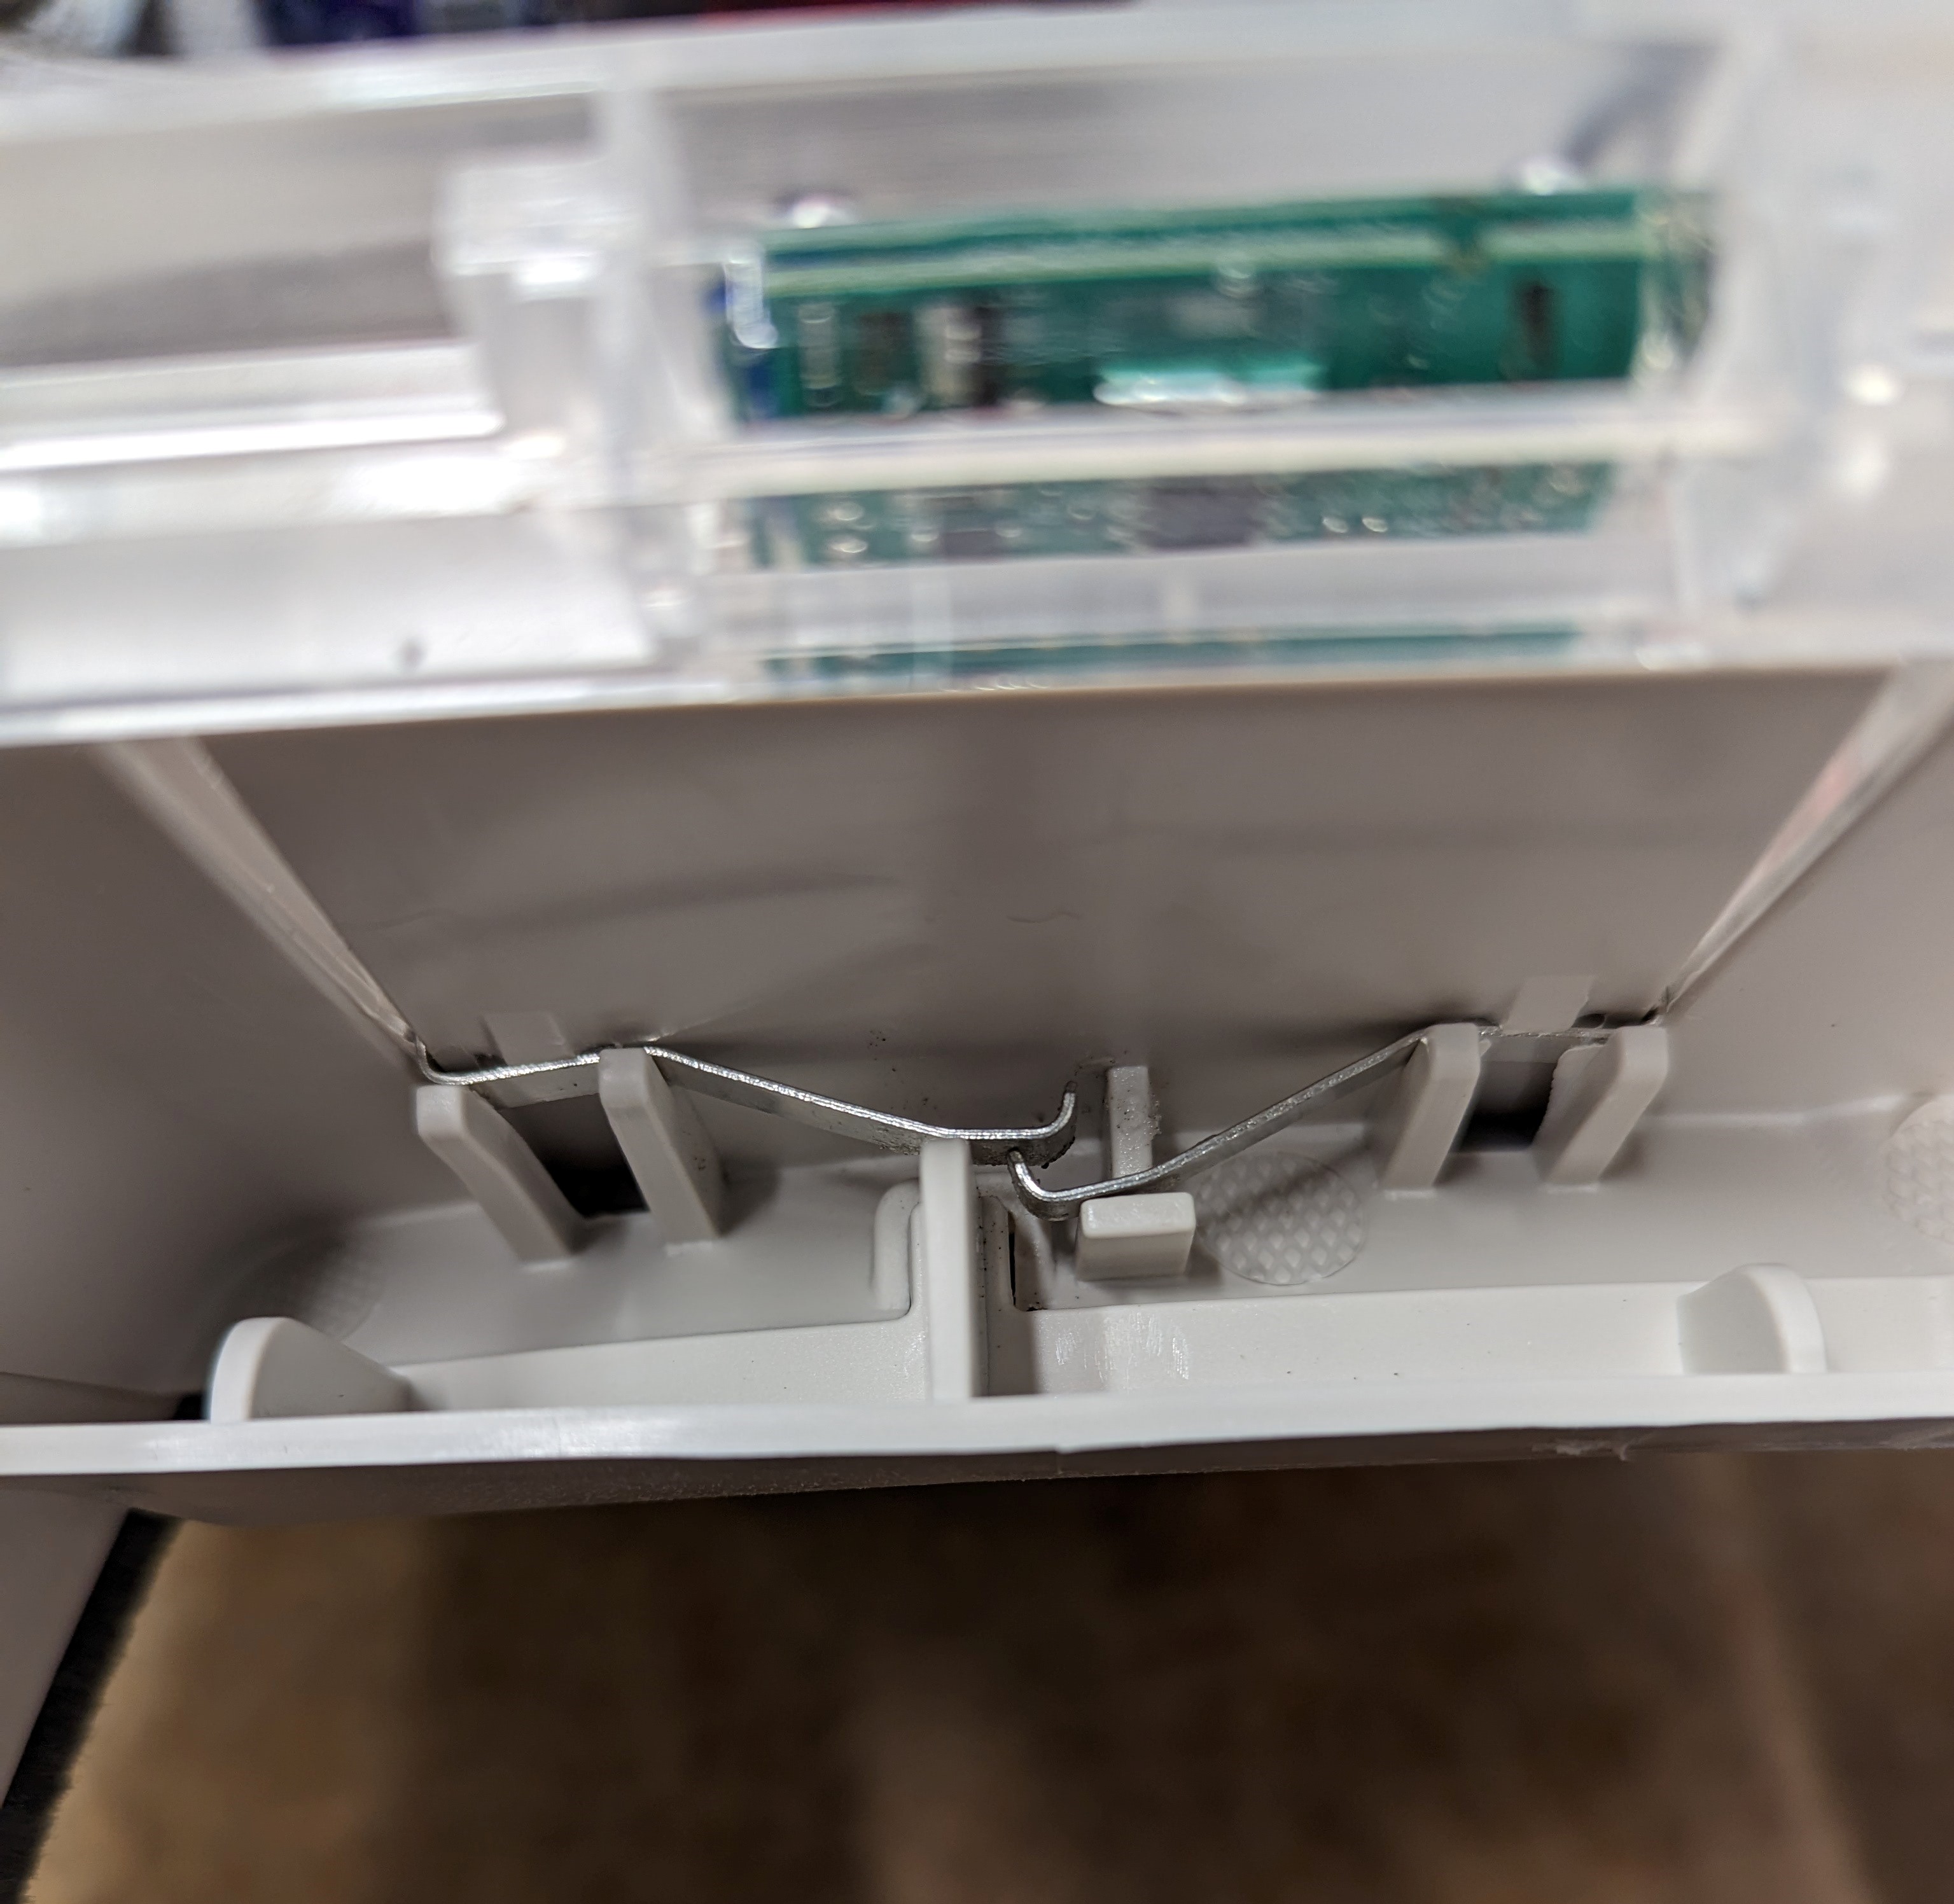
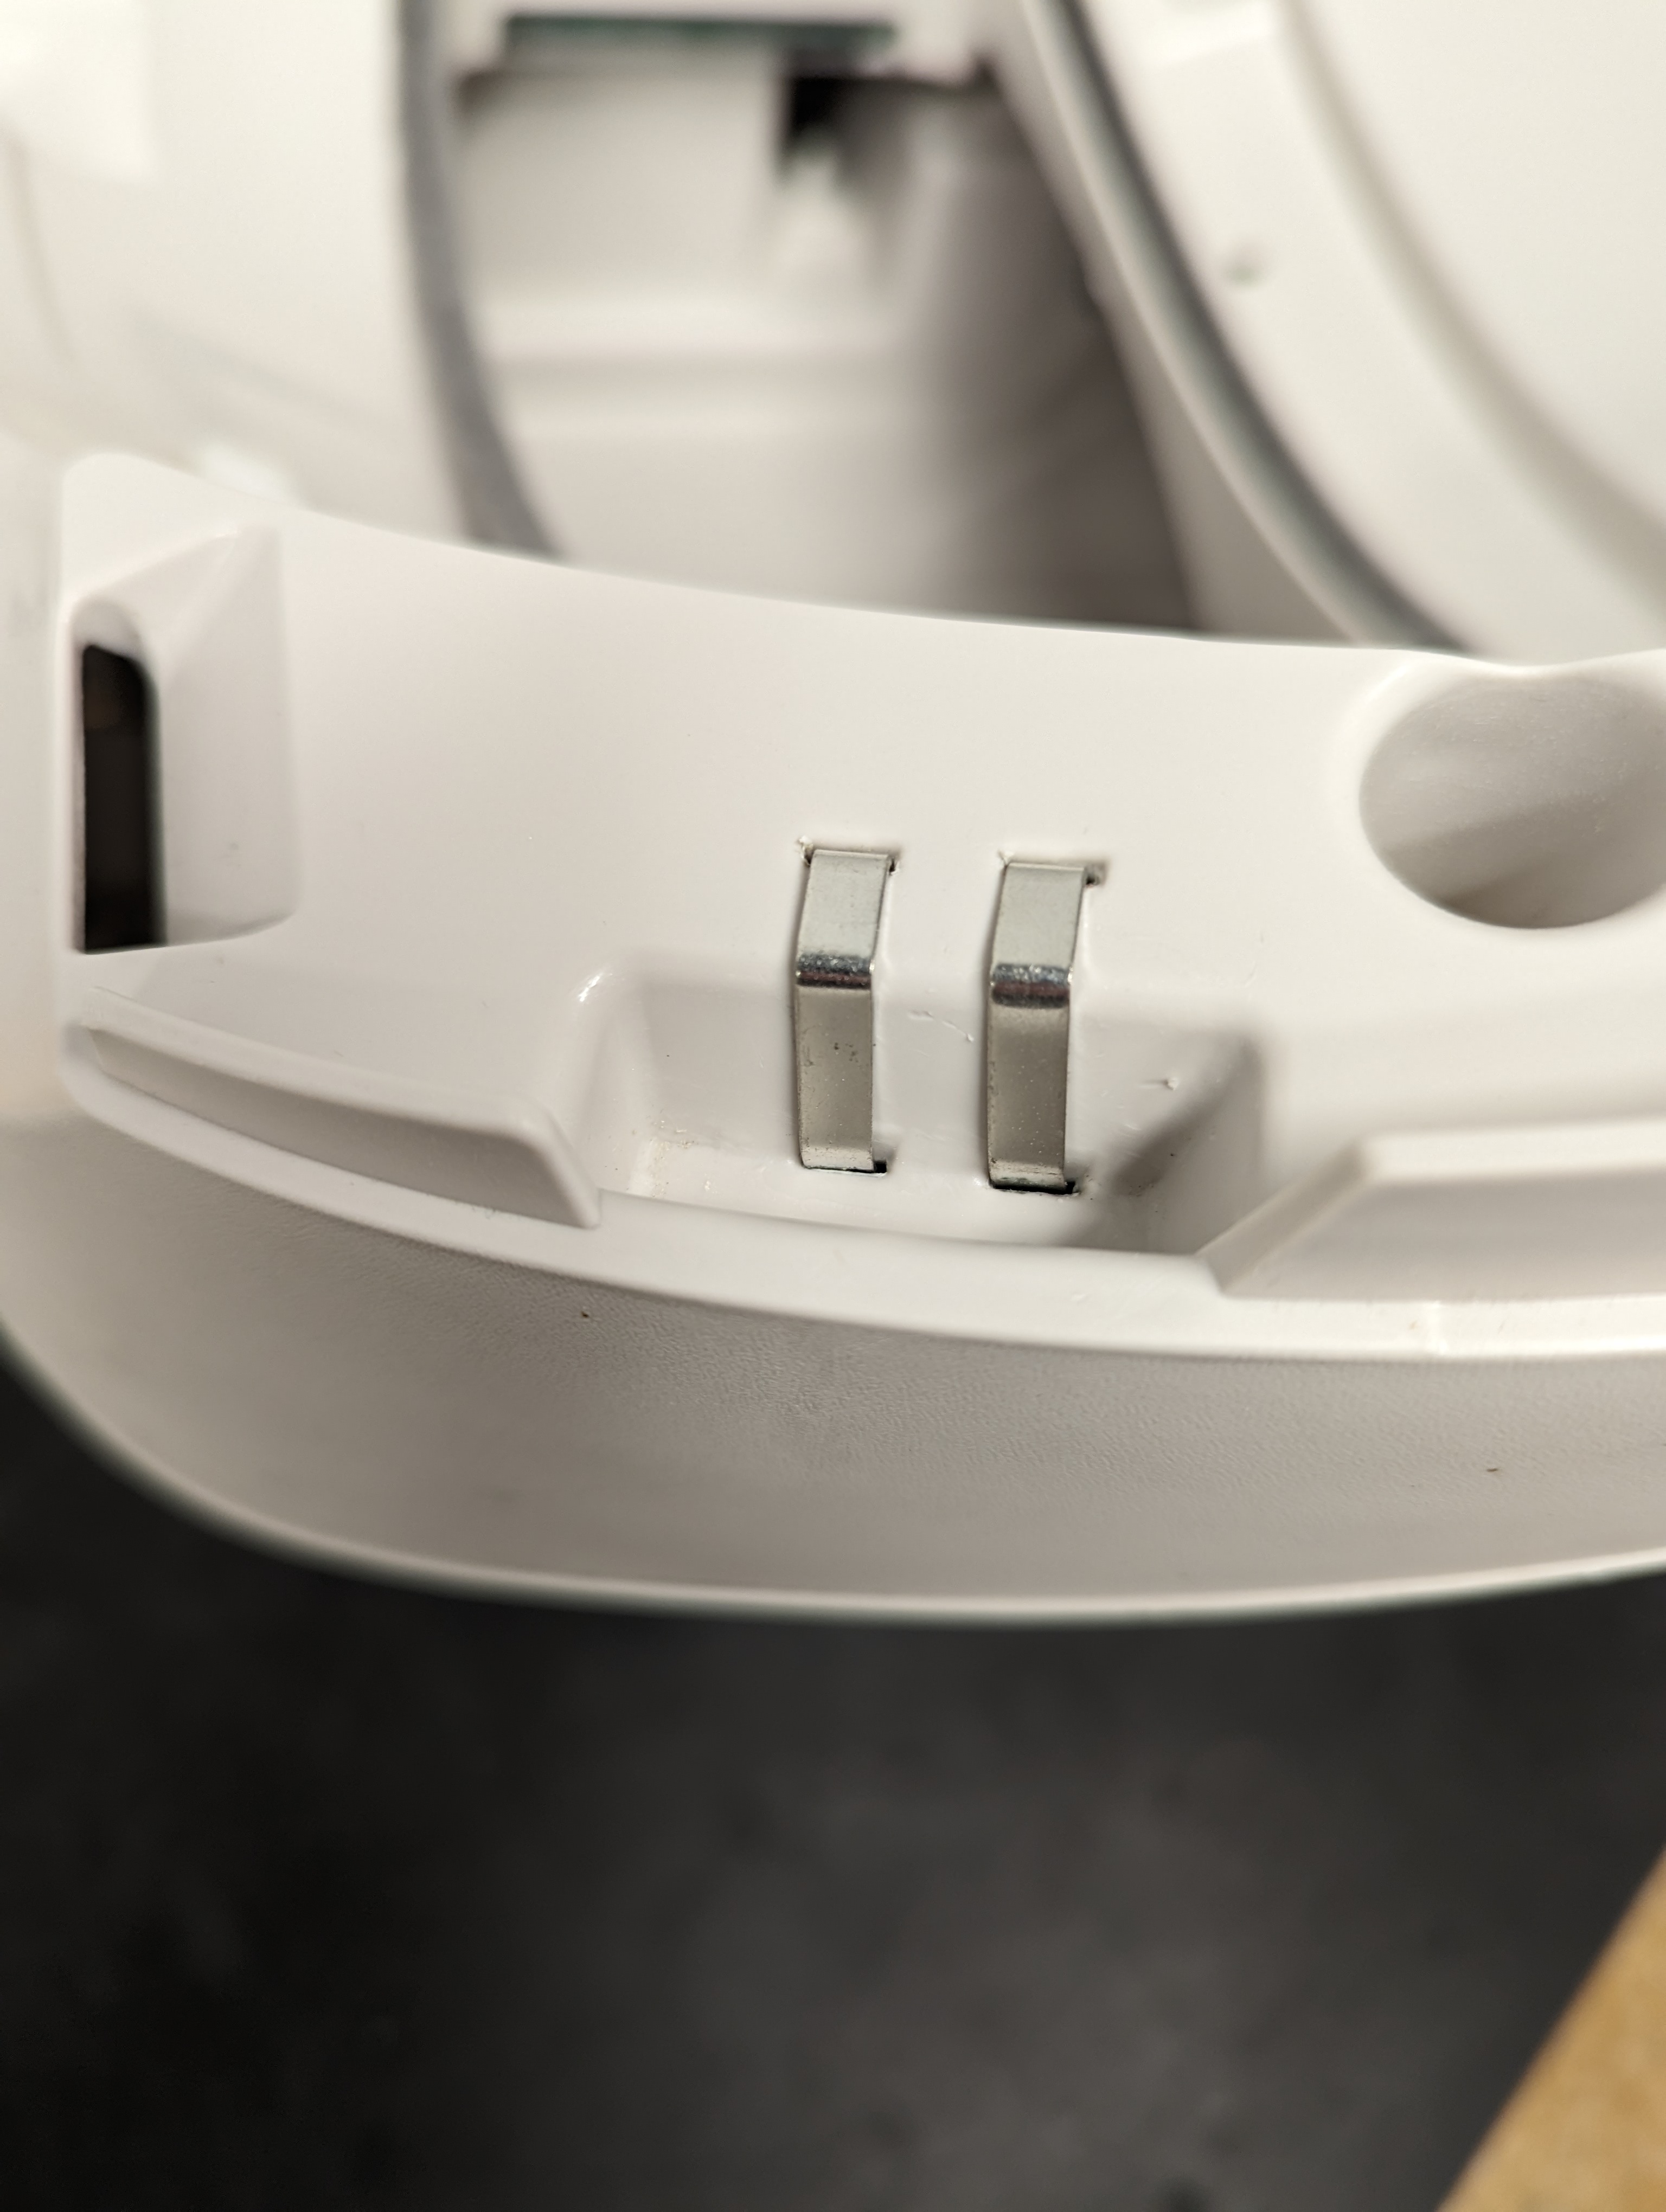
If none of the steps resolves the issue, please send us photos of the 3 sets of contact pins. Two are located on the base, and one is on the side of the cover. (Refer to the photo)

​​​ ​​ ​​​ ​​

Regarding the night light, here is a video to help you understand how it works, so you can activate or deactivate it as needed. * Litter-Robot 3: Night light feature

Regarding your last question, could you please send us a video or some photos showing the situation so that we can better understand what you are referring to?

Awaiting your response,

Kind regards,

Hi
Thanks for coming back to me.

I checked the 3 pins in the circuit and they were fine.

Attached are photos of the 3 sensors. The robot seemed to work when I cleaned the sensors with vinegar, however within the last two weeks I have been doing this a few times a day.

I tried to take a video of the problem with the flap but during the cycle, the litter robot packed up all together and won’t power on. I think maybe it’s time for a new unit!


Hello,

Thank you for the photos!

Actually, your unit still seems to be in very good and usable condition. It just needs a few parts replaced to make it like new. Indeed, all three pin assemblies need to be replaced (in addition, we noticed that the anti-pinch pins don’t even seem to be connected in their proper position).

Regarding the flap, the manufacturer removed this component several years ago because it was deemed unnecessary and became unhygienic. So you can remove it from your unit. Here is a video that will help you proceed. * Litter-Robot 3: Removing the internal shield

Additionally, we noticed that the PVC liner of your unit should also be replaced, as it appears very worn from cat scratches.

So here is a summary of the analysis of your robot:

After analyzing your robot, we can confirm that the problem is with the 3 sets of pins.

These pins should be replaced every 1-2 years as part of regular maintenance to ensure the robot functions properly. These components can rust or corrode over time due to ammonia exposure.

In order to help you repair your robot as quickly as possible, we recommend that you purchase the necessary replacement parts from the RobotShop website:

-Litter-Robot 3 Open Air Anti-Pinch Pins (2pk): RB-Ltr-107
-Litter-Robot 3 Open Air Bonnet - Terminal Pins: RB-Ltr-108
-Litter-Robot 3 - Base Contact Pins: RB-Ltr-129
-Black PVC Liner for Litter-Robot 3 Open Air Globe Assembly: RB-Ltr-109
-Litter-Robot 3 Key & Plug Kit (Grey, Beige): RB-Ltr-239

Here is the video explaining how to proceed:

How to replace the 3 sets of pins: https://www.youtube.com/watch?v=2cM3122JRZQ
Litter-Robot 3: Key and plug installation guide
Litter-Robot 3: Globe liner installation guide

Tips: Take good care of your adorable cat’s claws to avoid any inconvenience related to potential property damage. Here are a few friendly tips:

  • Provide your cat with an appropriate scratching post.
  • Keep her claws trimmed with specially designed nail clippers.
  • Offer scratching toys.
  • Consider silicone claw protectors. Consult your vet for professional advice.

By taking good care of your pet’s claws, you’ll contribute to her well-being while protecting your household items from potential accidents.

Please don’t hesitate to reach out if you have any questions.

Best regards,

Hi there

Thanks for coming back to me.

Why does the Robot 3 Key & Plug Kit need replacing? Also what about the issue now in that the unit will not turn on? I don’t want to replace the parts if the unit will not power on. I suspect it is something to do with checking the circuit board.

Thanks

Hello,

It is possible that the issue comes from the DFI sensor and the circuit board. If the DFI sensor is defective, in some cases, it can cause overheating on the circuit board. In this case, the robot will no longer turn on.

To check if this is the cause, when you plug in the robot, you should feel excessive heat near the control panel, around the “Cycle” and “Reset” buttons. Can you tell us if you feel a heat source in that area?

Additionally, we can observe a darker area on the circuit board when it has been exposed to overheating. Could you check this area and send us a photo of that part?

In this case, it is possible that replacing the DFI sensor alone will solve the problem. However, if the circuit board has been damaged by it, the robot will not power on and the circuit board will also need to be replaced.

It is also possible that the power cable is the cause.

Regarding the Key and Plug Kit, the new key no longer has a spring system inside, and there is also a plug to close the hole once you have removed the internal shield. You can refer to the installation instructions, which explain this in detail.

Please don’t hesitate to reach out if you have any questions.

Best regards,

Hi

Just reverting back to this. Here are the photos of the wires and the circuit board. Can you also send me a picture or video of how it should all fit back into place. Thank you

Hello,

Thank you for your photo.

Did you notice a burnt area on the circuit board as mentioned previously? Also, do you see a more brownish area on the back of the circuit board, as shown in the photo in the previous message? This will help us identify the problem with your unit.

Here is a link to help you put everything back in place.

Litter-Robot 3: Circuit board installation guide

Kind regards,

Hi there

Thanks for always coming back so quickly.

I managed to sort it out. I think one of the wires must have been caught in the wheel. It’s turning on now and I have ordered the new pins and Key & Plug Kit so hopefully it should sort it all out.

Hello,

We are glad to hear that your robot is working properly again.

Feel free to reach out if you need any future assistance.

Best regards,

Will do. Thanks so much for your help.

Much appreciated.

L

Hi there
I have fitted the new parts to the litter robot, pinch sensors, base pins etc and it was working for a day. Now the blue light is flashing. What could be the problem? The pinch de sensors are touching, waste drawer is empty and everywhere is clean.

Hello @ldee77

To resolve this issue, please follow the steps in the attached video: https://www.youtube.com/watch?v=pQeoBYxzwC4&t=1s

Please let us know how things go after completing the verification steps.

Kind regards,

Hi there
Thanks for coming back to me.
That issue is all sorted now and the robot is working. The light is working and it’s cycling fine automatically. The only issue now is that all 3 lights come on after cycling and the unit needs to be reset. It’s blue, then orange, then red

Hello @ldee77

It’s possible that the Hall effect sensor was simply moved when you opened the motor compartment. This sensor is located on a black plastic mount and interacts with the magnets in the globe to determine its position. If the sensor is no longer properly in place, the globe will not be able to locate its position, which will cause the three lights on the control panel to flash.

We therefore invite you to check that the Hall effect sensor is correctly positioned on the black mount and properly inserted into the two designated holes. If needed, you can use clear tape to hold it firmly in place.

Best regards,