

Designed the frame with inkscape, got a friend to print it out with his self-made cnc out of polycarbonate. Very small, less than 10cm * 10cm, low enough to fit under most furniture.
- Width: 90mm, Length: 72mm, Height: 62mm
- 4WD (no proper clutch though) with 4 x micro gear motors
- LiPo 1400mah
- L9110 motor driver + breakout board
- Raspberry pi zero w Raspberry pi camera
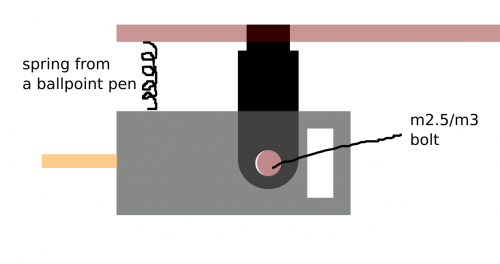
- Suspension (pen springs), a bit too hard for the weight and speed of the robot.
- Axles for suspension are very thin bolts cut by hand.
- Polycarbonate frame.
Suspension isn't the best, but it kinda works. Fried one raspberry pi zero w and motor driver, but after replacement, finally now all tests are running well, no explosions at all yet.
Update 1: Cut the springs from pen shorter and re-attached them, still a bit too hard, but I can live with that. It's more or less a working suspension anyway.)
Basic Motor Test https://youtu.be/6X6F4jfGn7M
Obstacle Test https://youtu.be/GMInshyt5rs
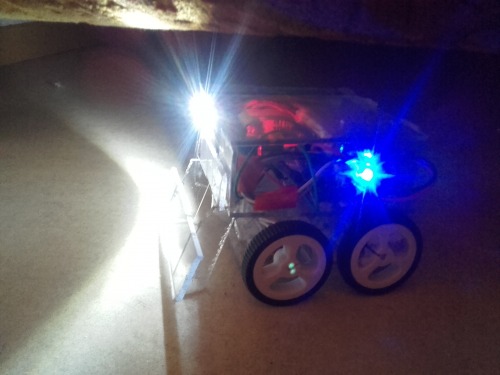
Bulldozer and flashlight test (accessories) https://www.youtube.com/watch?v=BRKY-MWfe8w
Real work! Getting water bottles and rubbish from impossible-to-reach -places. https://youtu.be/abEBS6xGwZI
Update 2: Taped the camera on better position, and stuffed the battery inside the case to make robot even smaller. I'm gonna say the robot is now more of less finished. I'll have to leave one wall open as I didn't leave enough space for camera wire and sd card, and as L9110 is slightly bigger than the TB6612FNG I had planned to use. In addition, with current configuration it's a bit too much to integrate a battery charger in the circuit, therefore I need to be able to access the JST power connector to recharge the battery.
Update 3: Added a diagram of suspension design (not to scale!). Ballpoint pen spring is fastened by hot glue, bolt is just taped on place.
Update 3: Accessories - a blade and a flashlight. Blade is handmade, glued together from pieces of polycarbonate, I tried to maximize mechanical contact with the body of the robot. The actual attachement of accessories is just with transparent tape. Flashlight makes it now possible to delve deep under furniture, and in addition, under gymnastics plyo floor. At our circus gym there's a problem that students leave water bottles next to plyo floor, and the bottles end up below the 8cm floor. I designed this drone so small that it can fit under the plyo and be used as a surveillance tool and also water bottle bulldozer.
Update 4: Real life test success! Hurja was actually useful in getting some rubbish out of places that were impossible to reach by other means. Video link above.
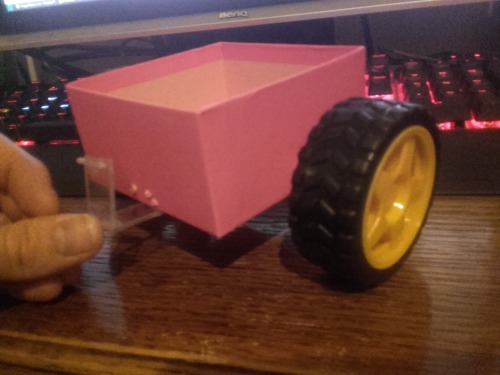
Update 5: Just had to make a trailer :). It does work, though Hurja is still quite light for pulling it.
Update 6: Made an attachable wrench tool that can take nuts to hard-to-reach places.
https://youtu.be/_7BrMKCBxYw
Drives around wifi controlled
This is a companion discussion topic for the original entry at https://community.robotshop.com/robots/show/hurja
