

--- LAST UPDATE: 10/27/2012 ---
This project is an attempt to make a biped walker with full torso. It will have 20 DOFs when completed: 5 in each leg (that uses a kind of PLM - Parallel Leg Mechanism - with a lever that potentiates the torque of a small servo), 4 in each arm (with a functional hand), one in head to make UP-DOWN moves and one under the torso to make the LEFT-RIGHT turning moves. The control method utilizes a joystick of a PlayStation 2, which enables to create several combinations of commands. I plan to make also an autonomous walking gait with a HC-SR04, maybe other sensor.
Video 1: Simple test of the torso.
Video 2: First steps! The initial walking gait.
Video 3: Godo's first moves.
-------------------------------------------------------------------------------------------------------------------------------------------------------------------------------
-- UPDATE - October 27th 2012 --
Torso
-------------------------------------------------------------------------------------------------------------------------------------------------------------------------------
Hi again!
For some time I wanted to work in the torso, and today I got some progress in it's construction. On the other hand, there are some concerns, mainly about the power supply and the torque of the servos (specially the SG90, on the PLM segment). But for these I have a "plan B", and I think the ankle and hip servos are good enough. Well, and I'm building piece by piece and seeing what I need to improve.
Before I continue, would expose some definitions: the torso will have 10 DOFs - 4 in each arm (with a functional hand), 1 in head to make UP-DOWN moves with a sensor (I plan HC-SR04) and 1 more to make the LEFT-RIGHT turnings of the torso.
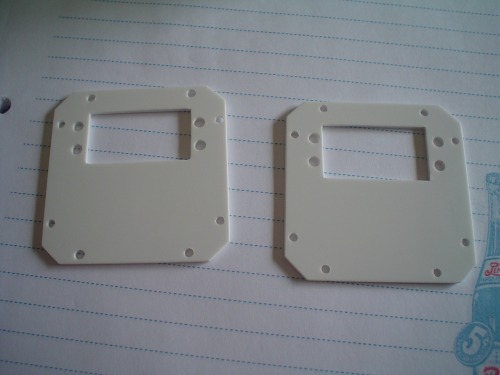
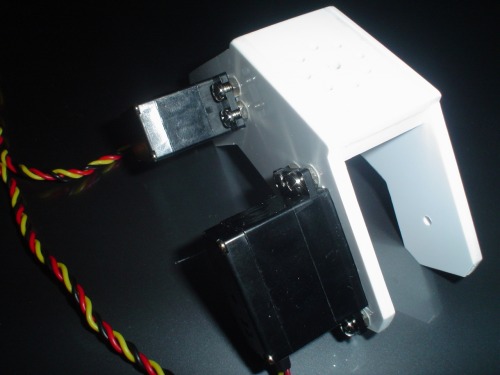
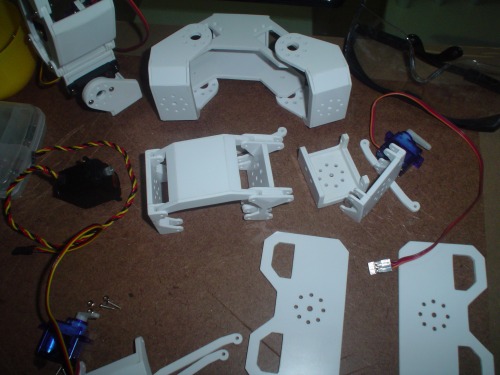
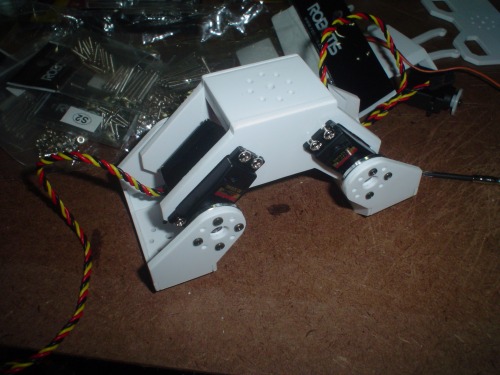
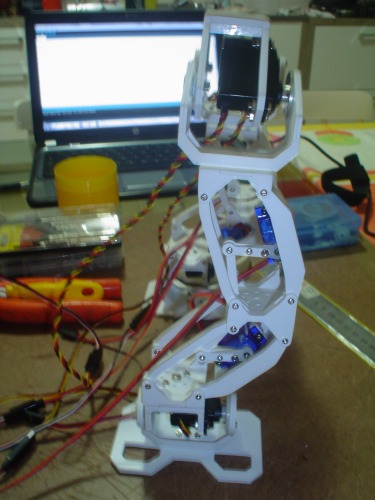
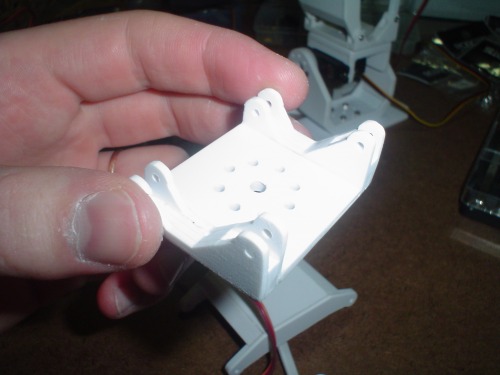
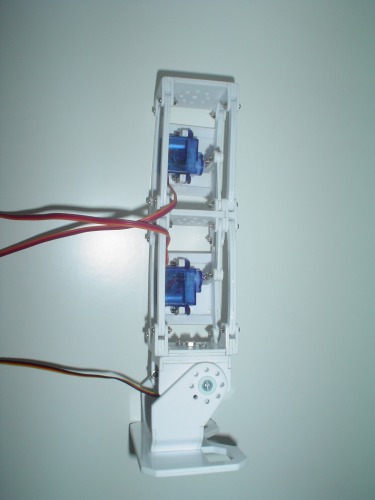
Below you see the construction of the "chest box".
Well above what you see is a tiny bracket from the project Godo_mini (provisional... I got to make one smaller).

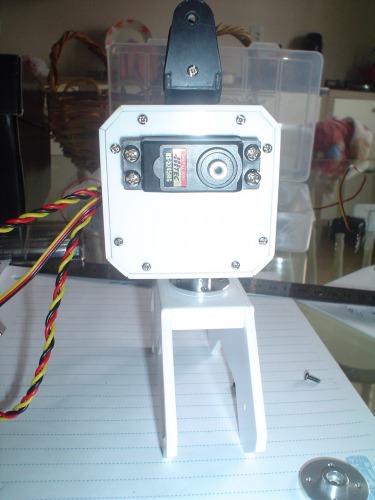
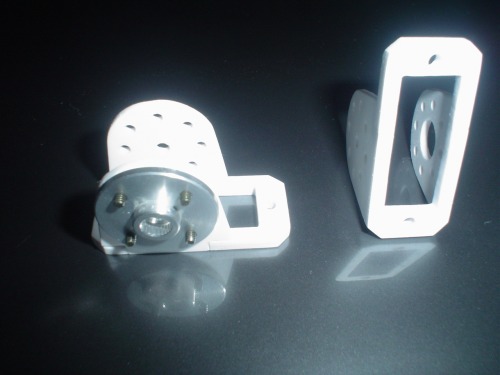
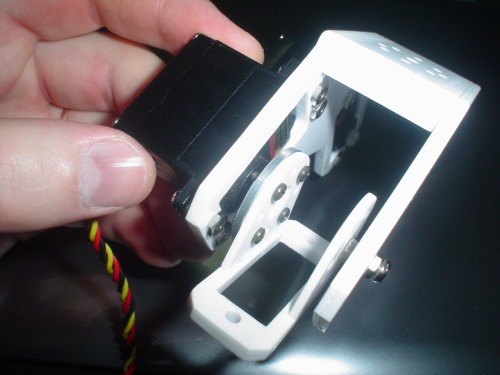
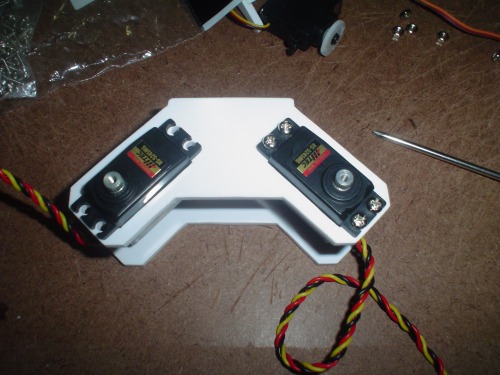
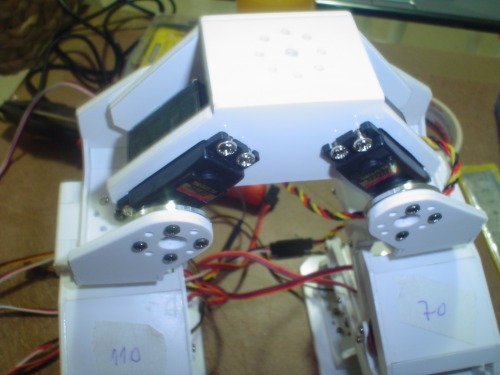
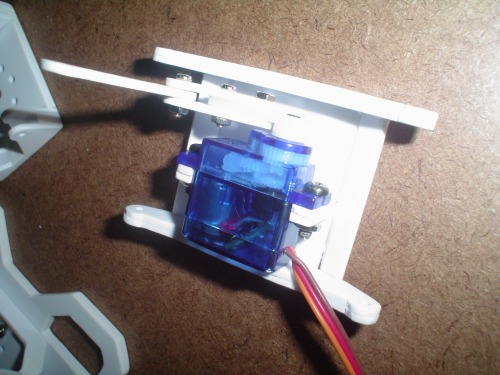
This is the lateral servo mountings for the arms.
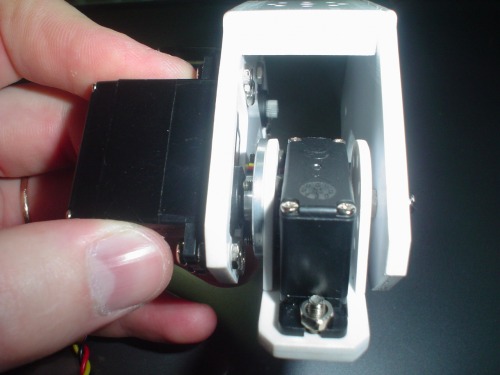
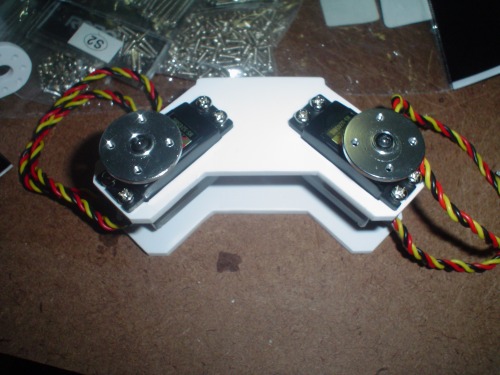
Inside box viewing. I fixed some screws inside the box with epoxy to attach the lateral servo mountings.


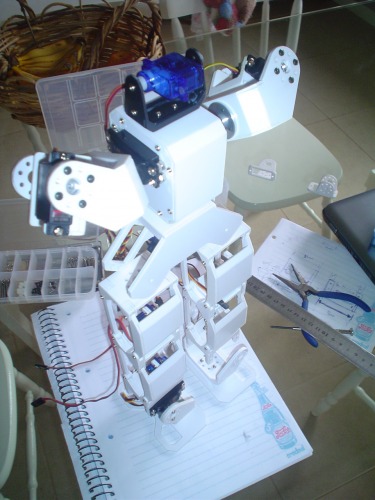
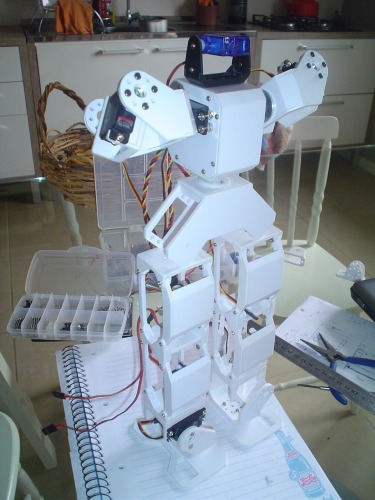
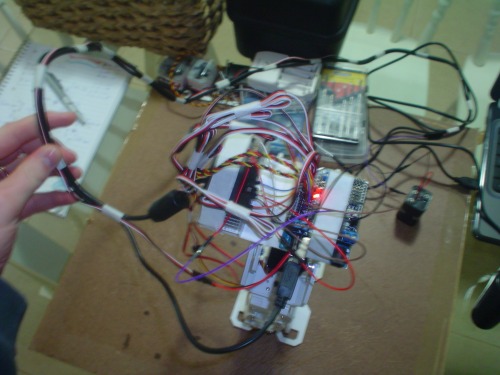
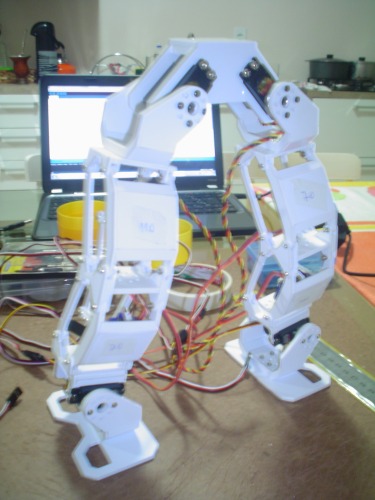
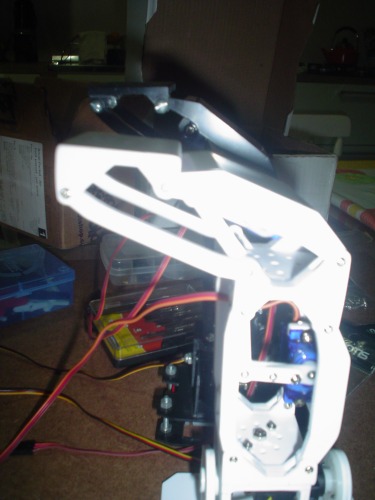
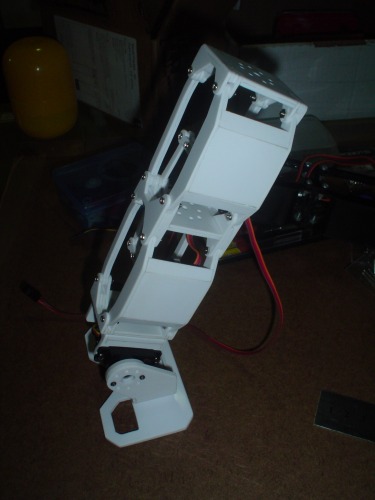
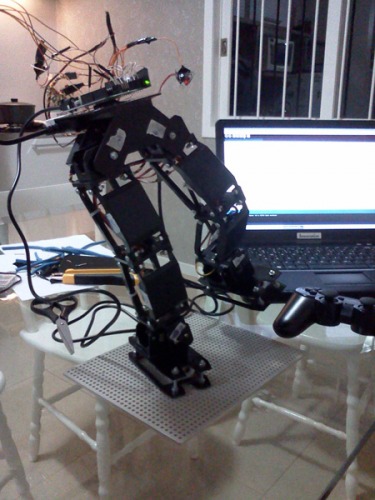
As I don't have so many servos as I want and need for this project, I got to remove them from the legs, but we can get a good idea of how it will be completely assembled. It's around 37cm tall.
P.s. 1: This time I don't utilized the toner transfer method. I simple hand drawed the pieces directly in the paper.
P.s. 2: I added a video of a simple test of the torso. Enjoy.
-------------------------------------------------------------------------------------------------------------------------------------------------------------------------------
-- UPDATE - October 23rd 2012 --
Hip rotation
-------------------------------------------------------------------------------------------------------------------------------------------------------------------------------
Hi guys.
I'm wondering for several days to work on this project again. And today, among other things I did (https://www.robotshop.com/letsmakerobots/node/34817) , I resolved to continue this walking guy.
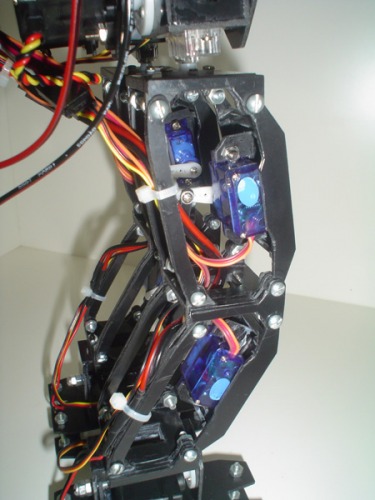
In the previous post, Godo got his first walk. This was the principal objective. Well, but the walking gait wasn't so pretty good. And this is what I want to improve. I was thinking about it and decided to add one more DOF to each leg: the hip rotation. So, the turns can will be made with more natural movements.
I continue trying to use only micro/mini servos. The final project includes a complete torso. This will be a hard task, but not impossible. I'll need to work well the center of gravity and the weight balance.
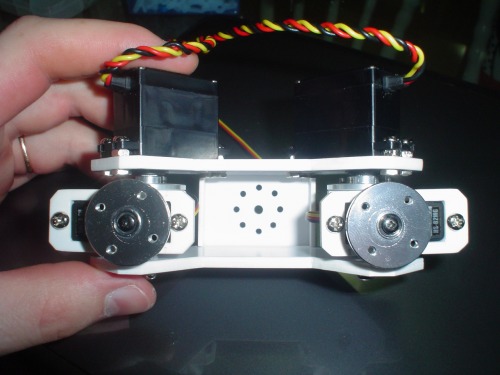
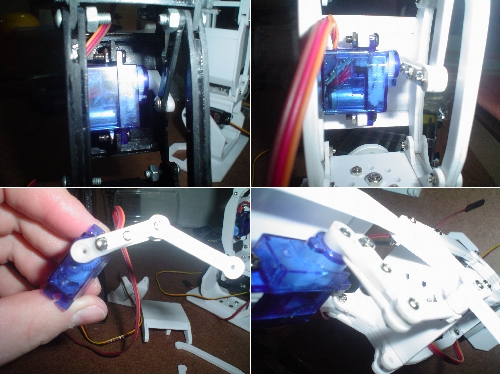
I got a new servo for the ankle, a Hitec HS-225MG (a bit more stronger than the HS-82MG, which goes to the hip rotation). I need one more.
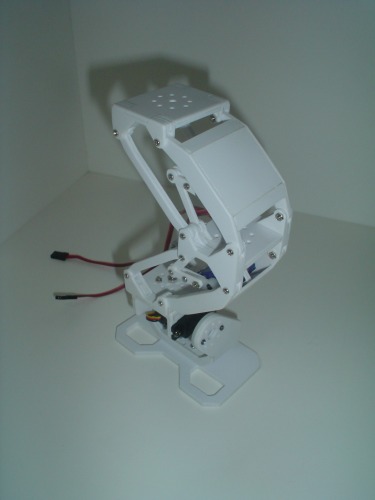
Below you see the work of today.


-------------------------------------------------------------------------------------------------------------------------------------------------------------------------------
-- UPDATE - July 7th 2012 --
First walk!
-------------------------------------------------------------------------------------------------------------------------------------------------------------------------------
Hallo, Leute!
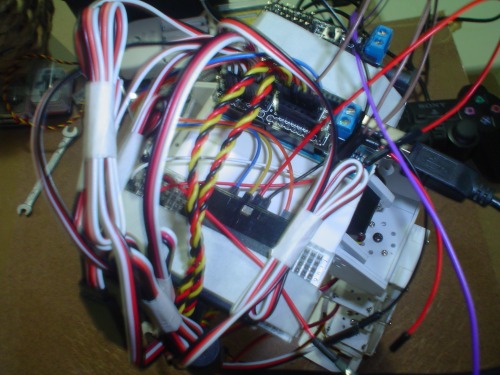
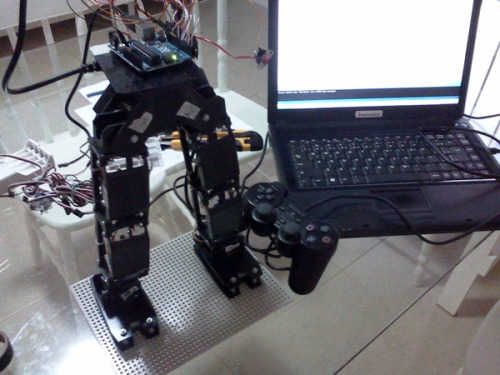
After some weeks trying to make Godo walk, here is the first walking routine!
Also, I made some changes on the eletronics and wire connections.
I've ordered a DFRobot DFRduino I/O Expansion, that facilitate the wire connections and eliminate that mess. I've eliminate too the PS2 controller extension cable, and changed for female/female jumper wires.
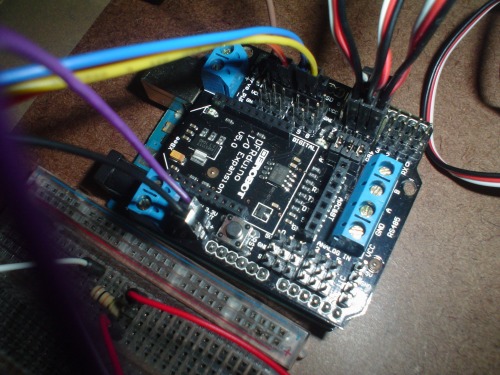
There are still improvements to make, specially in the eletronics attaching hardware (this time they are attached with tape).
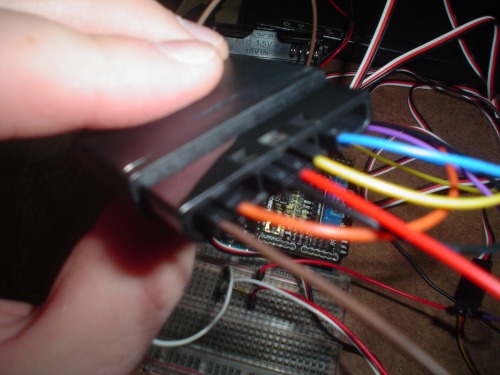
Make a biped walk with micro/mini servos is not a easy task. As I said before, I needed to reduce weight, then the servo batteries are out of the robot and the electronic power supply is made by the USB cable (only for this time.... ahhh, 'till I got money to order some light weight LiPo batteries).
The code is based in the simple "Sweep servo" with some arithmetic functions and the amazing Bill Porter's Library to interface the PS2 controller with the Arduino Uno.
if (ps2x.Button(PSB_PAD_UP)) // START WALK ROUTINE
{
for(pos = 90; pos > 71; pos -= 1)
{
DOIS.write(190 - pos);
TRES.write(175 - pos);
OITO.write(5 + pos);
NOVE.write(pos);
delay(50);
}
for(pos = 100; pos < 120; pos += 1)
{
QUAT.write(pos);
SEIS.write(pos + 20);
SETE.write(pos - 20);
delay(50);
}
for(pos = 70; pos < 110; pos += 1)
{
DOIS.write(190 - pos);
TRES.write(175 - pos);
OITO.write(5 + pos);
NOVE.write(pos);
delay(50);
}
The next step is to make a more interactive control code.
Well, take a look at the new video of Godo's first steps!!! And sorry for the low quality of the movie... ;)
-------------------------------------------------------------------------------------------------------------------------------------------------------------------------------
-- UPDATE - June 23th 2012 --
Legs V 1.1
-------------------------------------------------------------------------------------------------------------------------------------------------------------------------------
Hi guys!
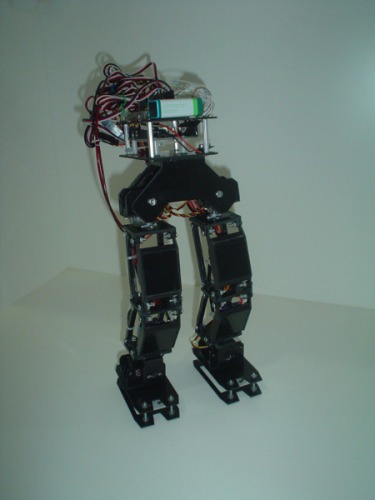
After some weekends working on the new legs, here is Godo's re-build (v 1.1)!


Now, let's make it walk!
-------------------------------------------------------------------------------------------------------------------------------------------------------------------------------
-- UPDATE - June 3rd 2012 --
Legs V 1.1
-------------------------------------------------------------------------------------------------------------------------------------------------------------------------------
Hi all LMRers!
I'm still working on my biped project. The v 1.0 legs "were not walking", then I decided to re-build them with some modifications. I've initialized the re-build in a few aspects: REINFORCEMENT X FUNCTIONALITY x DESIGN.
- REINFORCEMENT: as I use 2 mm sheets of Polystyrene (somewhat "weak"), some parts broken with the mechanical strenght of the servo motors. Then I've rebuilded some parts with 2 X 2 mm, i. e., 4 mm thickness.
- FUNCTIONALITY: because of an "enginnering error" in the v 1.0 PLM linkages, the leg could not make a complete motion.
And as I'm using mini / micro servos (with small power), I needed to reduce weight.

Batteries removed from under the feet. For the time being left out of the robot.
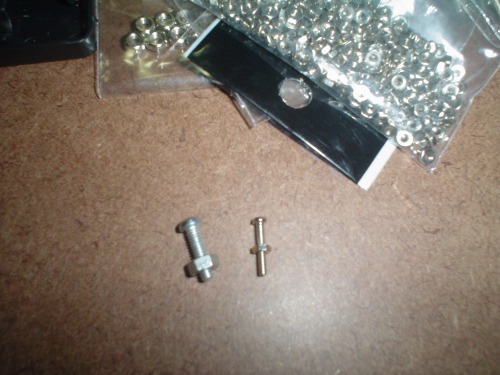
New screws from the Bioloid Bolt / Nut Set, that are small and lightweight, which helps reduce (slightly) the weight.
The v 1.1 legs (new feets too) are more stable. The v 1.0 at this point of inclination would have fallen.

The height is almost the same.
- DESIGN: as I had to rebuild with more functionality, the design changed and another things have changed to make it more versatile, which also affect the design.
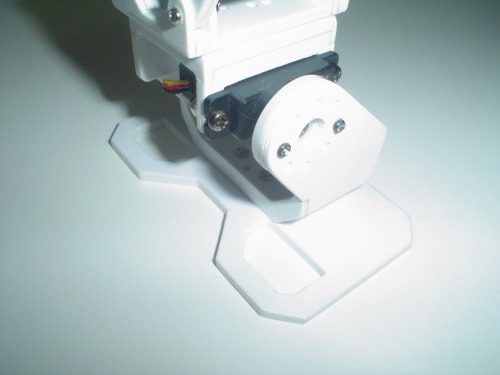
I created a brief walkthrough showing how I did this 45º ankle servo bracket. Take a look at this link https://www.robotshop.com/letsmakerobots/node/32828.
-------------------------------------------------------------------------------------------------------------------------------------------------------------------------------
-- FIRST POST - April 5th 2012 --
Legs V 1.0
-------------------------------------------------------------------------------------------------------------------------------------------------------------------------------
Hi guys!
This is my first creation and attempt to make a biped walker, that I've started a month ago. His name is Godo. It's not completed yet. Its legs are based on a kind of PLM (Parallel Leg Mechanism).
The parts and servo brackets are all homemade with a sheet of 2mm polystyrene.
First I draw the parts in Flash (yes, in Flash... it's very fast to draw), then I printed and glued the paper sheet over the polystyrene sheet. After I cuted off the parts with a sharp blade. Sandpaper to take a good finish. Finally, Loctite Super Bonder to join the parts.

Materials used to make the parts and brackets:
- Polystyrene 500 X 500 X 2mm sheet;
- Super Bonder;
- Nuts and bolts;
- Sandpaper;
Others:
- PS2 extension cable;
- Two 2xAA battery supports.
Under the feet are a 2xAA batteries support (one in each feet).
As I am a newbie, some things I've got to change when I make the code to test the effectiveness of movements. As you can see in the picture below, the upper transparent servo (that you can see in the profile picture of the legs) was removed and his DOF fixed (later I intend to add him again, with stronger servo).
I hope soon I post a good video with a walking routine.
P.s.: Sorry for the bad English... I'm a German who was born in Brazil and my main languages are Portuguese and German.
Walk around
- Actuators / output devices: 2x HS-5245MG, 2x HS-82MG, 4x SG90
- Control method: non-autonomous via Arduino with PS2 controller
- Power source: 4x AA (1.2V) for powering the servos
This is a companion discussion topic for the original entry at https://community.robotshop.com/robots/show/godo-fully-customized-homemade-biped
 (maybe even me)
