While I'm waiting on parts (extruder, beated bed, and hotend) for my RepScrap 3D printer, I thought I would have a bit more fun...
Someone sent me this hilarious video, and it started me thinking...
I frequently attend various vendor trade shows, and invariably, the vendors hand out useless trinkets as advertising... I usually do one of three things with these...
1) anything electronic gets tossed into the parts bin,
2) anything of a "toy" nature goes to my children (yes, I got that order straight)
3) everything else gets tossed them into the garbage.
So I happen to have a pair of these "electronic devices" in my parts bin. I think they are commercially known as "Hexbot Nanos"
They would effectively replace the toothbrush head and pager motor in the above video....
But I also received one of these little wind up distractions to the left here...
Mechanical spring wound clockworks makes him do a little dance...
For some strange reason, he hadn't quite made it to the kids yet... hmmm....
It looks like those Hexbots might just fit the bottom of his feet.....
Maybe I could run them directly from an ATtiny84 as in THIS blog...
yes, I know I should add a transistor to drive each motor, but when I looked up the current draw on a free running pager motor, low and behold they are around 20-40ma... well within the range of the ATtiny84 pins capability.
Current and RPM specs:
Voltage |
RPM | Current (free) | Current (stall) |
| 1.5V | 9700 | 17.5mA | 120mA |
| 3.0V | 18420 | 22mA | 260mA |
| 5.0V | 31900 | 32.1mA | 420mA |
Add a Sharp IR proximity sensor onto his chest, a small LiPo battery on his back for balance, the gratuitous leds on the head, and I think we just may have ourselves the next project.... It doesn't get much simpler...
(ok, ok... yes, I'll likely wire in a connector for the AVR programmer... but that's it... well... and maybe find another pager motor to replace the spring would mechanism that makes him dance... but THATs it... really...
maybe...)
I thought I would put this picture in, just to show the scale...
This is the underside of our friendly Hexbot Nano, with the battery removed. I'll be simply connecting to the positive and negative battery wires for this build.
Opened up, you can see the miniature "pager" motor with the offset weight that vibrates the Hexbot Nano.
I've also placed the protection diode inside the body of the Hexbots, as there was no room on the main circuit board.
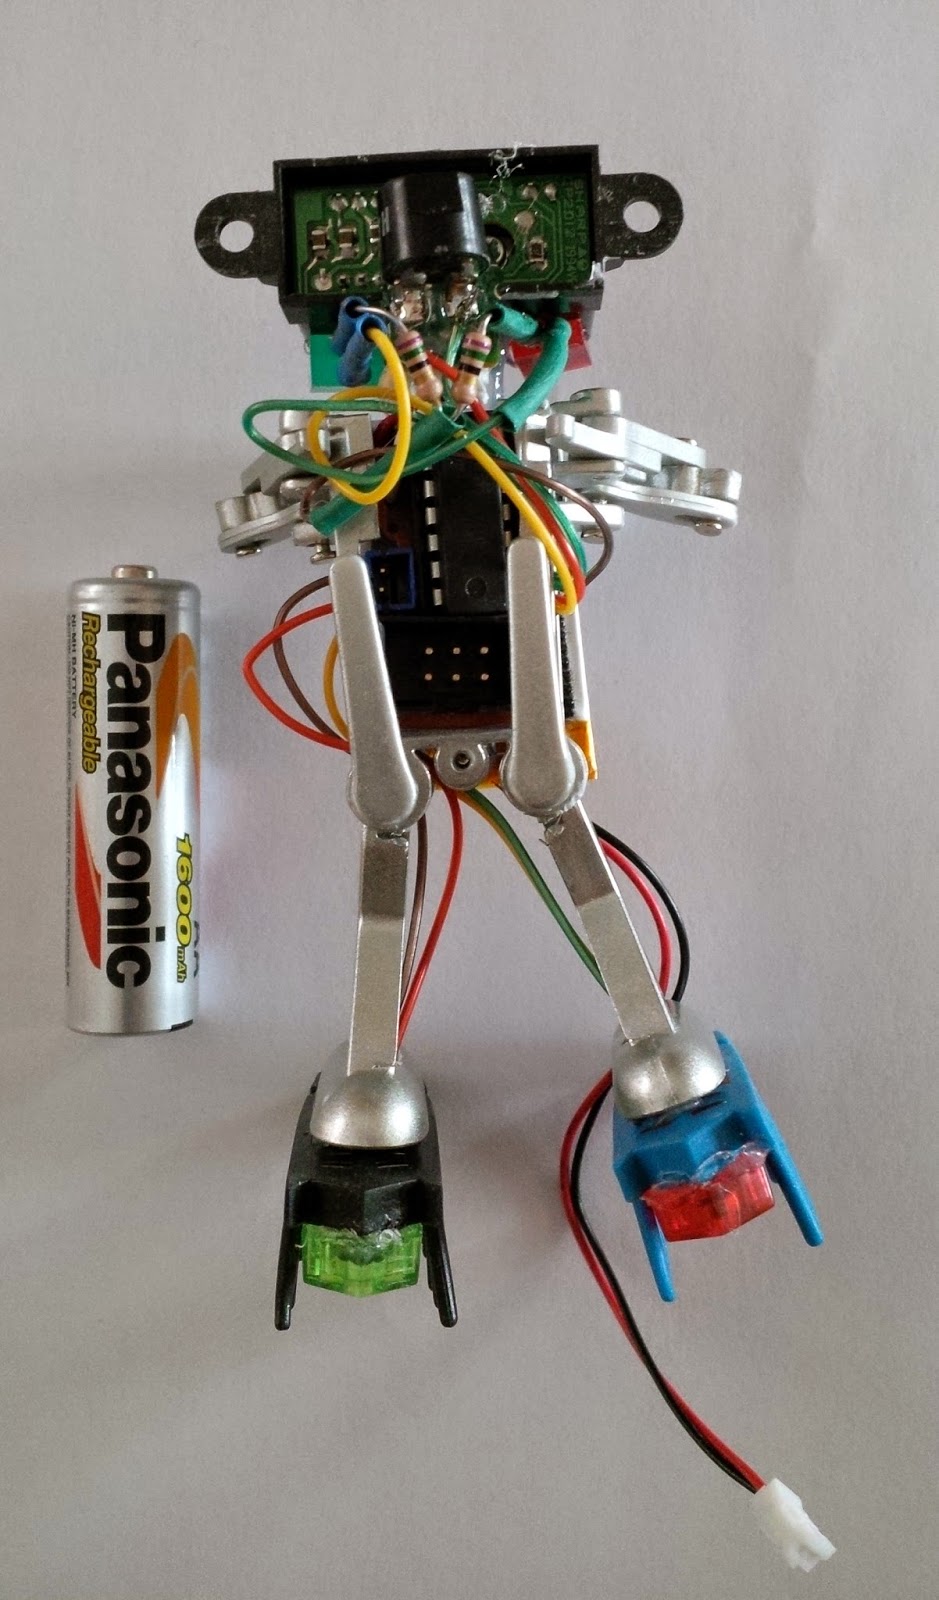
I then hotglued the Dancing bot's feet onto the tops of the Hexbot Nano's and drilled a hole to pass the motor wires through.
Luckily, an Attiny84 in socket, as well as a power connector and the ISP header all fit exactly on the board! I couldn't have asked for a better fit!
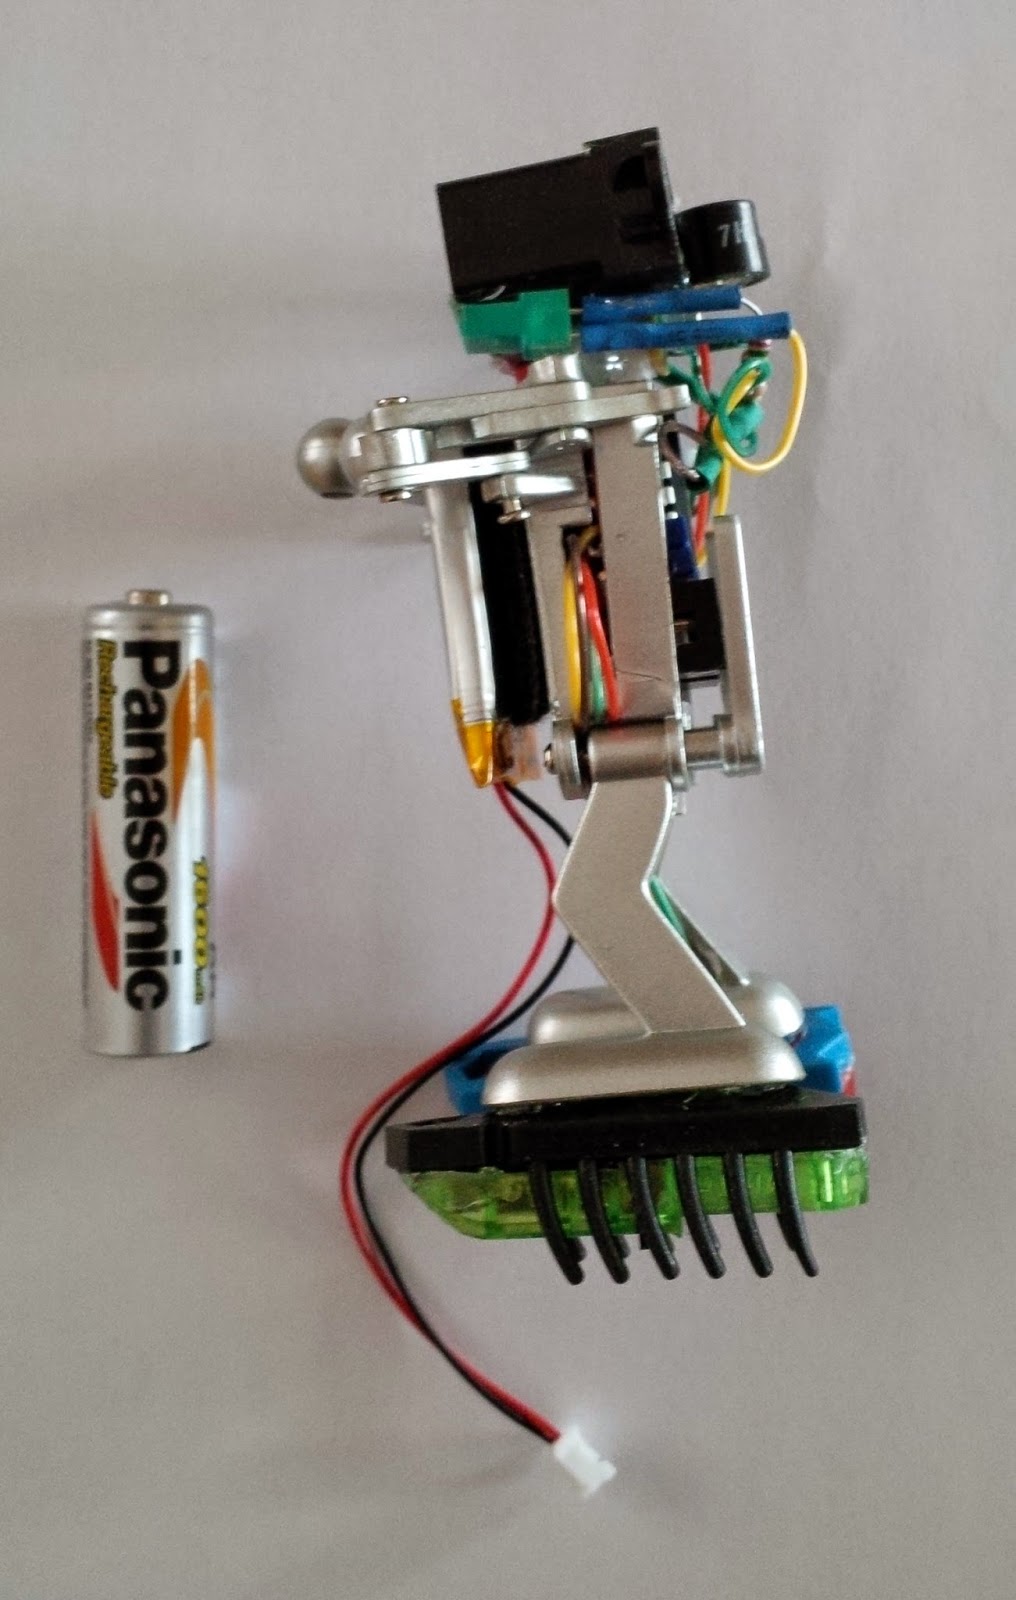
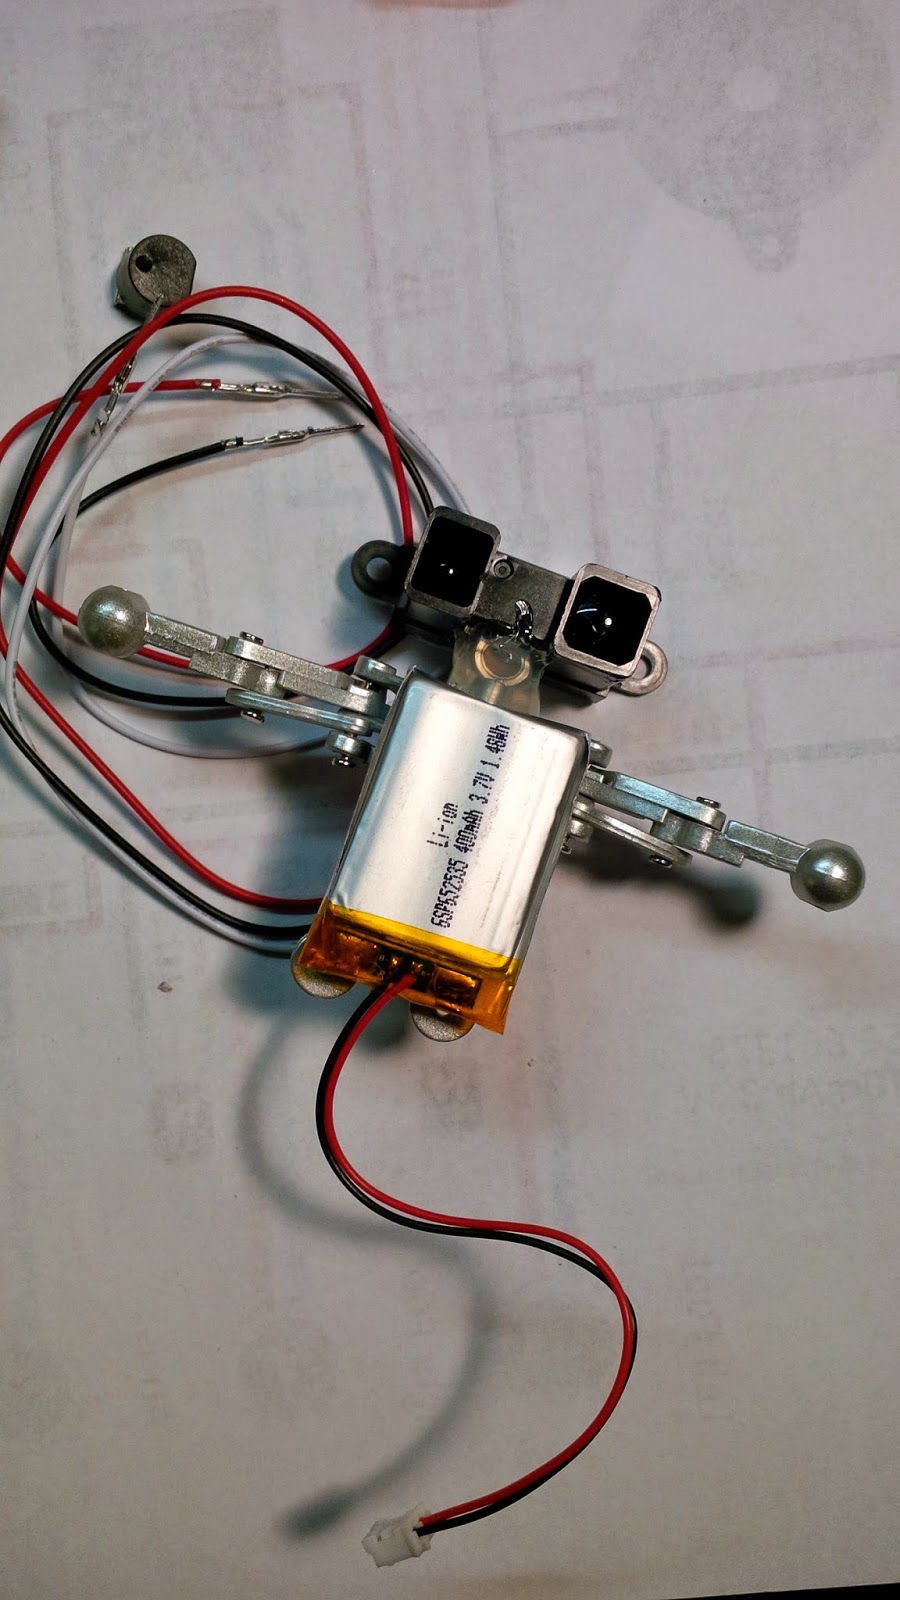
The Sharp GP2Y0A21YK Infrared Distance Sensor is hotglued onto the stub that held the original Dancing bot's head, and the LiPo battery is velcroed onto the front of the body.
Here, the ATtiny84 control board is placed into the body for sizing.
 Assembled, and ready to code. I've placed the AA battery in the picture to demonstrate the size of this guy.


Watch this space over the next few days, as I get this guy up and dancing...
(currently having problems with balance/center of gravity... this too will be conquered)
References and prior art:
https://www.youtube.com/watch?v=4_4POEtLd_4
https://solarbotics.com/product/rpm2/
http://forum.arduino.cc/index.php/topic,6528.0.html
http://www.rcgroups.com/forums/showthread.php?t=322209
http://www.makershed.com/BrushBots_p/msbb.htm
http://lycomingrobotics.wikispaces.com/BrushBots
walks around on brushbot feet, and hopefully avoids obstacles...
This is a companion discussion topic for the original entry at https://community.robotshop.com/robots/show/dancing-3-inch-tall-brushbot


