

cheese cake! Drakuni´s first robot
build day #1 (aprox 2hours)
Plan of Action:
- Driving!: differential drive!
- And the first sensor will be one or two bumper sensors in the front
- After that: maybe make it run straight? (because it probably wont :P)
So getting the parts!
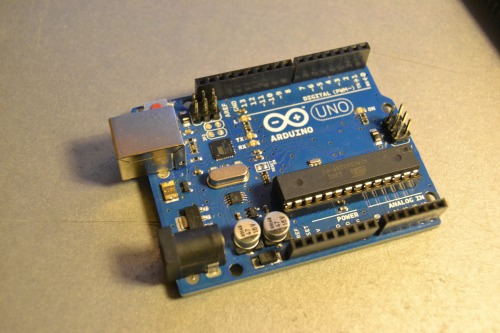
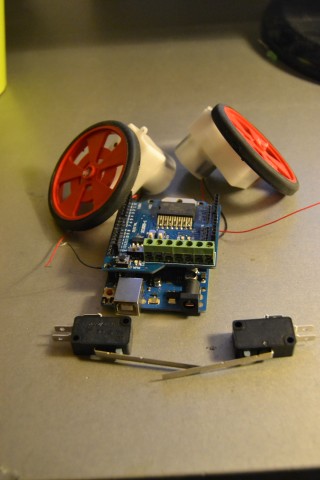
- At the heart and brain: an arduino uno!
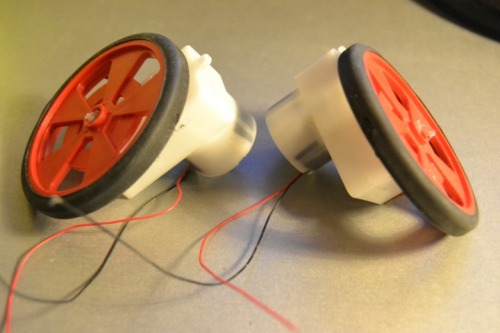
- And 2 geared motors with wheels:
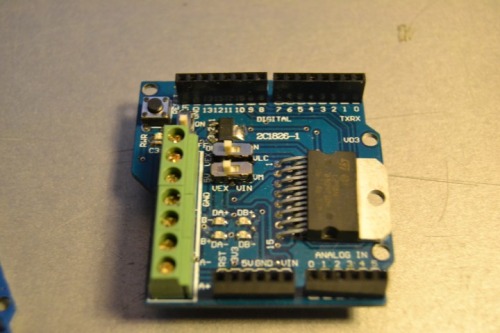
- And a l298n motor driver arduino shield:
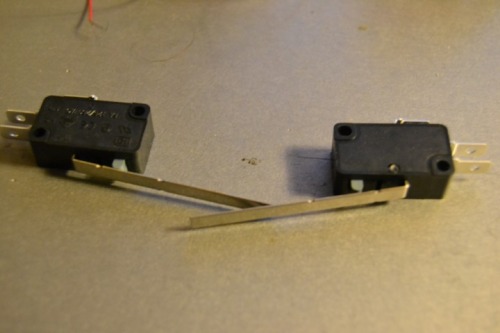
- And 2 bumper switches kindly "donated" by my school...
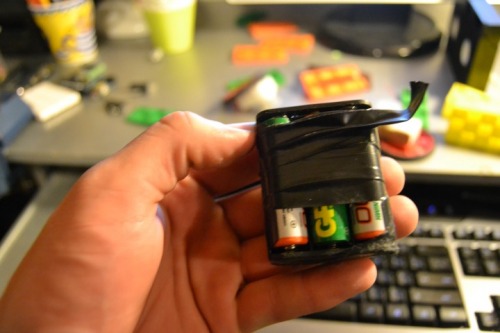
- And a battery pack:
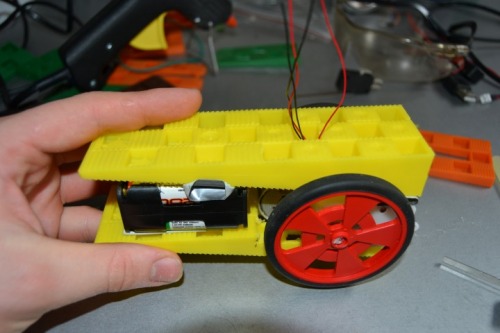
Here is the basic layout of the parts:
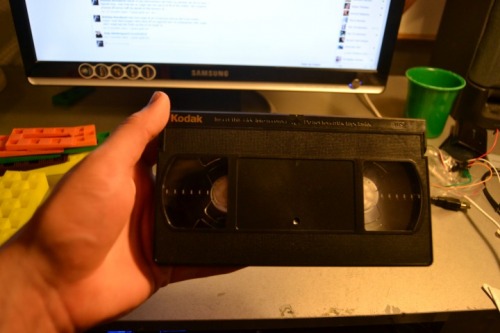
And then I need to choose a body design.... Something cool! I found these (pic) cool door stoppers and this (VHS) and I think I'm going with the doorstoppers.
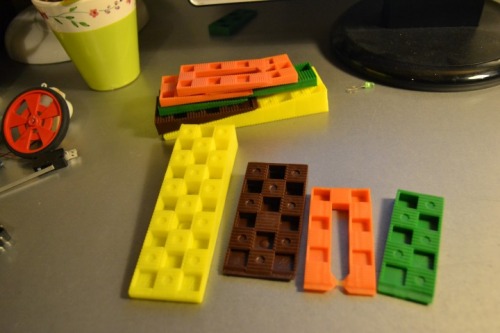
The yellow ones kinda looks like a cheese, so that's a plus :D After a short vote on facebook i decided to go with the doorstoppers
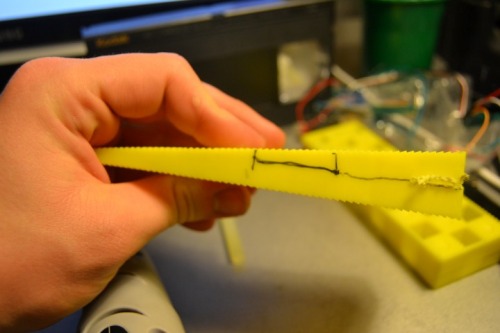
The problem is that they are kinda big compared to the wheels, so I'm going to cut a piece out of it.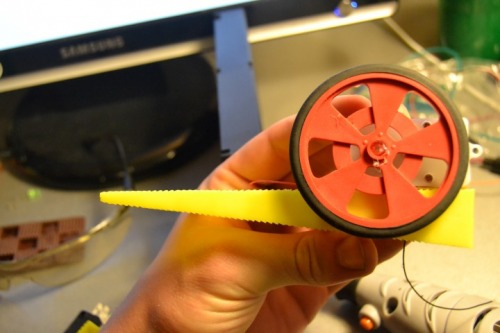
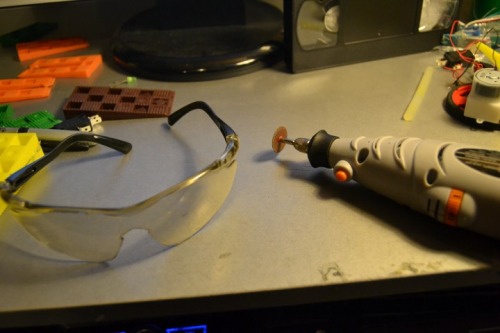
Using my fake dremmel and some safety goggles :P Also a side note: my fake dremmel runs on batteries, so you have to recharge it all the time!! - well I found a hotfix for it :P so if anyone shows interest i will show you how :)
Well using the fake dremmel went really slow, so I found a saw instead (yes I know it´s intended for iron)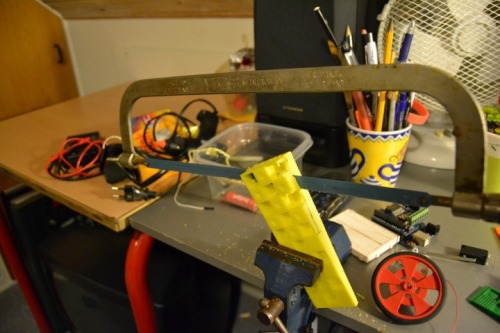
Done slicing the cheese!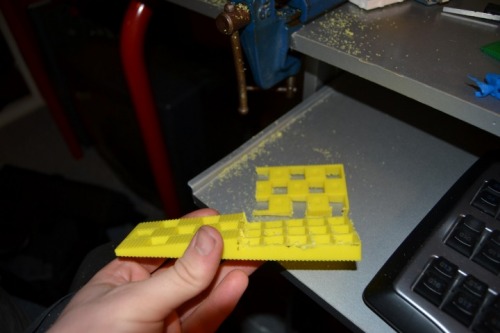
And now I'm going to glue the motors and wheels on - but first a little quest for you guys: can you find the other motor/wheel on this picture?
Well neither can I, so that kinda sucks! And it also puts an end to the project for today.
build day #2 (aprox 1hour)
Well I found the wheels, so now I can continue :D - I will update later
And later is now :D
First of all - thanks for all the feedback I get in the coments! it's awesome that you guys like it!
and the where's weeldo quest: well it was under the table, so it wasn't easy for you guys :P but good guesses :P
So i glue on the motors: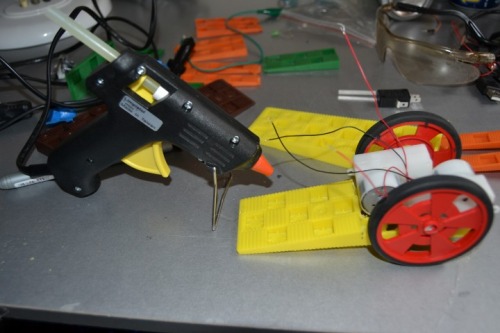
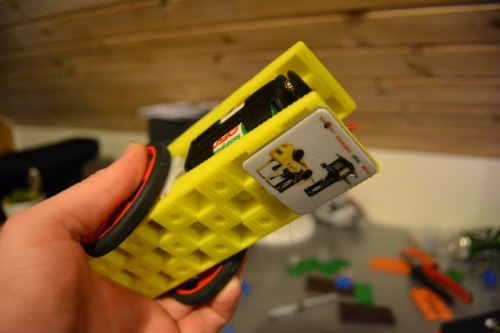
And put on the batterypack and top cheese using tape, because I don't want it to be too permanent:P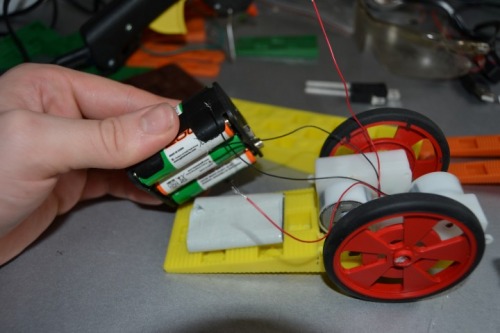
Now I need a castor to make it able to glide around, and after searching around my room for something suitable I found a keychain, cut of the end and glued it on: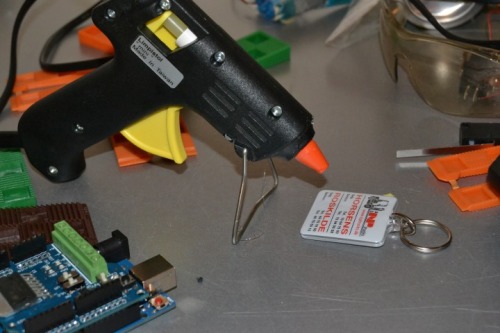
last but not least I connected the battery with a battery clip: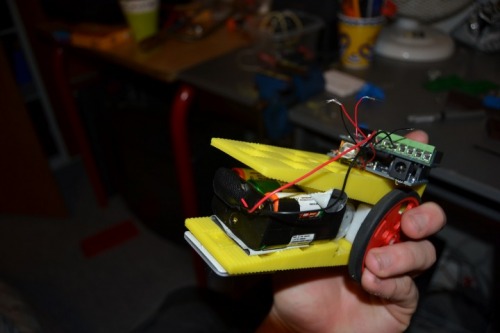
and now I need to leave to go and be social (what a weird thing huh?)
But tomorrow it's all about programming and a little wiring! ;D
Day#3
So I connect my motors to the motor ports on the motor driver
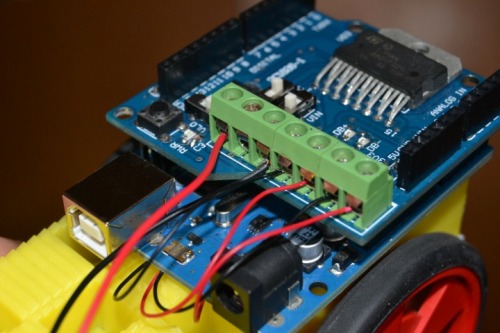
Next thing is figuring out how to set up the motor driver shield, and for that I use the info on this page
I got a 8-9,5V battery pack (depending on whether or not I use rechargeable batteries)
But doing what the guide says works really bad, so this is what I set it up to:
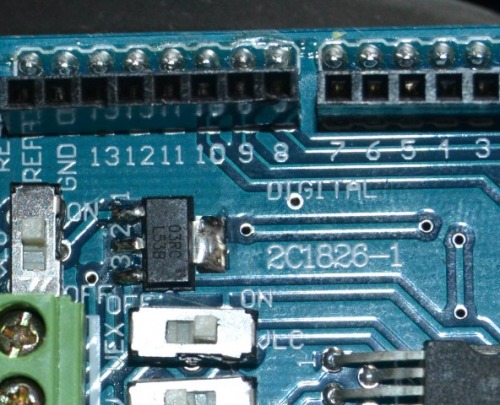
look at the 3 switches
And now its time to make I drive!
So I put power on and here it is! (look at the vid in the top)
Its hard to figure out how it works, so I'm going to try and make my own version of this table:
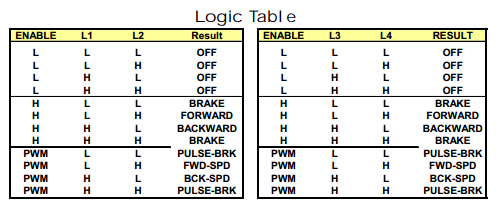
(found at http://content.solarbotics.com/products/datasheets/solarbotics_l298_compact_motor_driver_kit.pdf)
And after a lot of trial and error here is the table of how it works :D
Right result | 9 enable | 8 | 11 |
brake | HIGH | LOW | LOW |
Forward | HIGH | LOW | HIGH |
backward | HIGH | HIGH | LOW |
brake | HIGH | HIGH | HIGH |
Left result | 10 enable | 12 | 13 |
brake | HIGH | LOW | LOW |
Forward | HIGH | LOW | HIGH |
backward | HIGH | HIGH | LOW |
brake | HIGH | LOW | LOW |
Well that took some figuring out :P but it works!
So I decided to make some movement functions... Actually nine of them :D
The code for forward looks like this:
}
void forward(){
digitalWrite(9, HIGH);
digitalWrite(8, LOW);
digitalWrite(11, HIGH);
digitalWrite(10, HIGH);
digitalWrite(12, LOW);
digitalWrite(13, HIGH);
}
And in order for that to make sense, here is the void setup:
void setup(){
pinMode(8, OUTPUT);
pinMode(9, OUTPUT);
pinMode(10, OUTPUT);
pinMode(11, OUTPUT);
pinMode(12, OUTPUT);
pinMode(13, OUTPUT);
delay(5000);
}
(the delay is there to let the robot and driver shield start up, and to allow me to get away before everything starts)
The functions I made are: forward, backward, turnRightSoft, turnLeftSoft, turnRightHard, turnLeftHard, turnLeftBack, turnRightBack, and freewheel. They are pretty self-explanatory, but I also show them in the video :D
Also in order to program the arduino you need to have the driver installed, but for some reason the driver is unsigned, meaning win8 wont install it! Well there is a short, but difficult workaround it, involving several restarts and disabling some security, but if you want to know how you better read this: (link to win8 arduino driver page)
Well next step is to put on the bumper switches, and making a program for it.
Right now I hate the steering! I know its possible to control it using PWM, so it can make smooth turns, but for now this will do. But I will definitely change it to PWM control later - I just love smooth robots!! :D
but please do enjoi the video i put in the top!
This is a companion discussion topic for the original entry at https://community.robotshop.com/robots/show/cheesecake-drakunis-first-robot

