

Hi all, This is my first laser cut project. Used 3mm & 6mm MDF board and one 8mm wooden stick. Scotch double sided type was used to bond inbetween the servo and joint plate. Not too much focus on programming or electronic parts. Just want to leave it free for others to download the chassis and apply with their own core. The servo I am using were from Ebay named EMAX. There are different ways to assemble the leg part. Some might end up with higher profile some may lower. Doesn't really matter as long as it works for you. So, no proper method or exact step to assemble it. You may goto the thingiverse to grab the files or files below for laser cutting. I have label them for which board they should be cut from. Here is the link: http://www.thingiverse.com/thing:1724983
Not really good to explain the instruction but hope you could find the clue from images :P
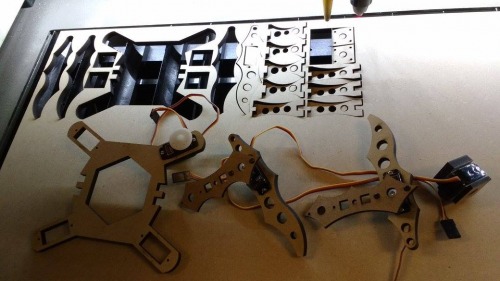
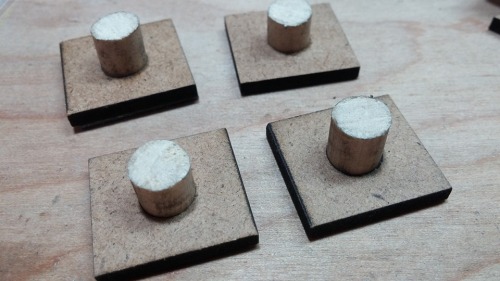
Have your parts cutted:
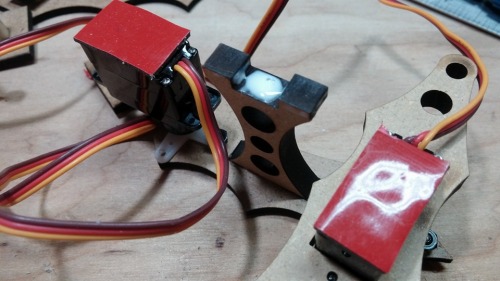
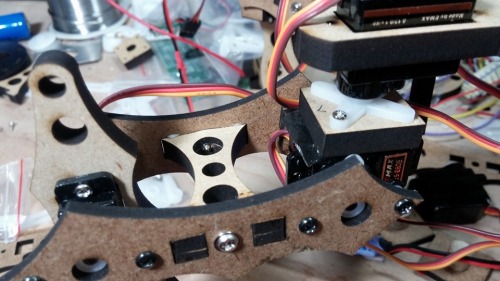
You might need to drill the servo arm a bit to fit the screw (I think mine was size M2.5)
Front:
Back:
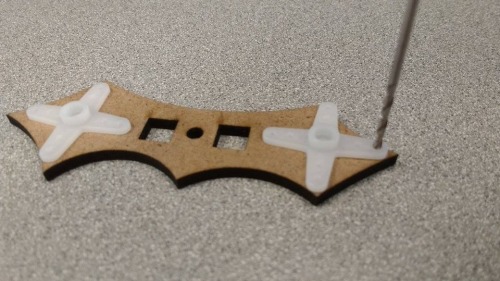
Chop the 8mm stick in length about 8~10mm and insert into the plate. You may use the glue or not. It should be friction fit in the hole. The rectangle should bond on the bottom of servos, and
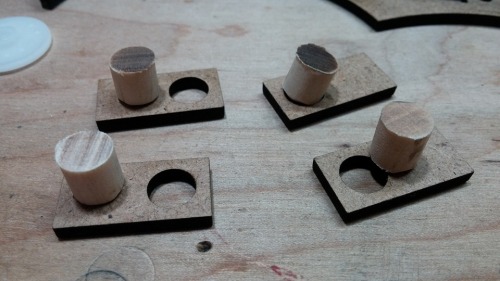
square should be bond on the side of servos. Beaware of the directions. I suggest you may put part all together bofore you bond them just to get ideas how they should be assembled.
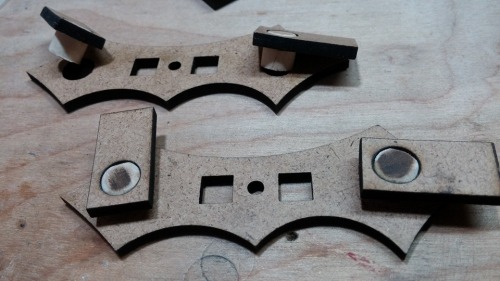
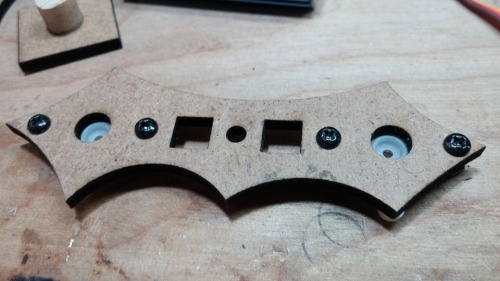
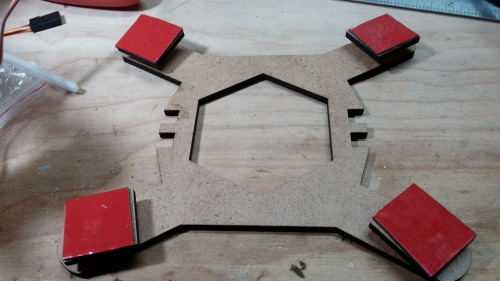
You might want to use the glue to bond the bridge part in between 2 thigy plates. Also I drill a small hole in the middle where weae covered by white glue in following image so I can tap screw in without breaking bridge part.
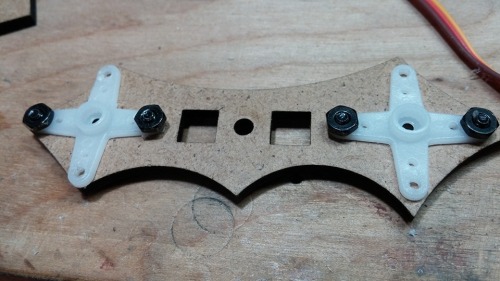
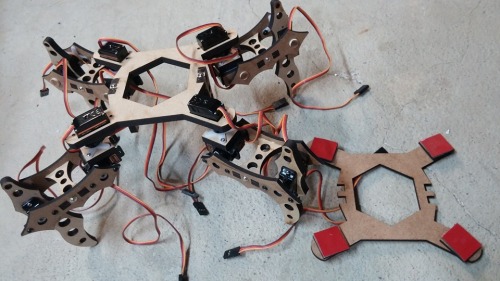
The red pieces in image was double sided type that I only bond one side on servos bottom. Once I have them in proper position then I will peel them and bond on the plate firmly.
Bond the parts all together.
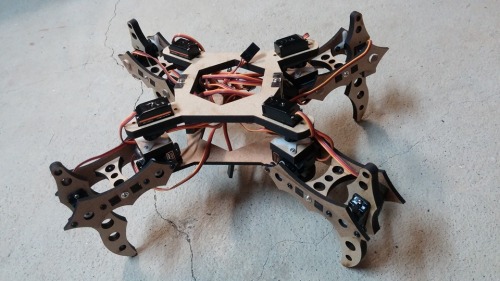
Last bonding type on square plate joint in between thigy and body.
Last step. I almost forgot to mention there's bridge parts in between 2 body plates and I didn't take the close shot of them but you can barely see it in following image one the side of upper body plate. Same method as bonding the thigy parts.
And there you go.
Again, my apology for rough instruction how it's been made. Please leave any questions and I will try if I can answer it.
Move around on flat ground
- CPU: ATMEGA324P
- Power source: 2s Lipo battery
- Programming language: Arduino
- Target environment: indoor flat surfaces
This is a companion discussion topic for the original entry at https://community.robotshop.com/robots/show/bider-3dof-quadruped