

Hello All,
The world is full of obstacles, and Fightron 1.0 here, is ready to knock out some, in his own robotic journey.
After recently building an obstacle avoider, a thought popped in my mind, " Why avoid an obstacle when the actual thing can be knocked right down?". Well not every obstacle in the house, but certainly those of the size of a small cardboard box or a tiny wooden block. The rest is history, Fightron 1.0 was built.
Not quite history, here, i have tried to collect some moments from my build.
Fightron 1.0 is a sturdy little fighting robot, as the name suggests. He's an optimist, and whenever you switch him on, he's always moving forward, aspiring to newer challenges and obstacles in his journey, which he welcomes with a slash.
THE BUILD:
THE BODY:
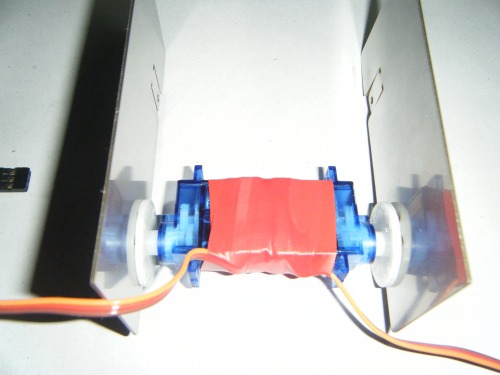
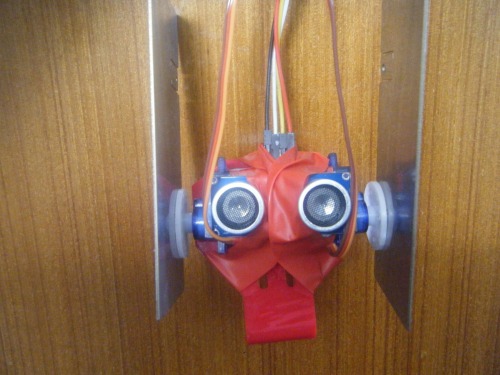
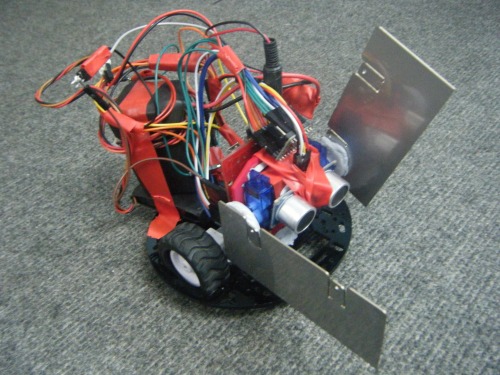
Fightron 1.0 was built around two servos, Blu-tacked and taped to each other. Aluminum blades were mounted on either side of the servos making Fightron 1.0, one tough fighter.
Fightron 1.0 does not fire into the open darkness. He sees and tries to detect his enemies, using the HC-SR04 Ultrasonic Sensor.
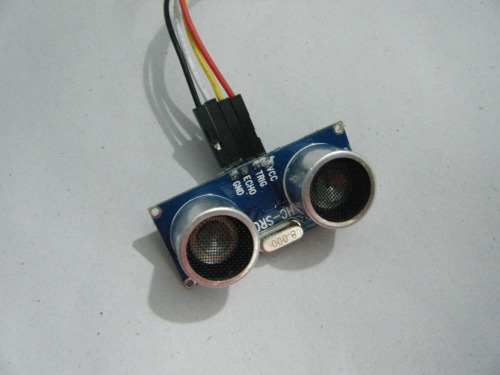
The ultrasonic sensor was stuck on to the servo using some Blu-Tack and tape.
And he asked for a pose. :D
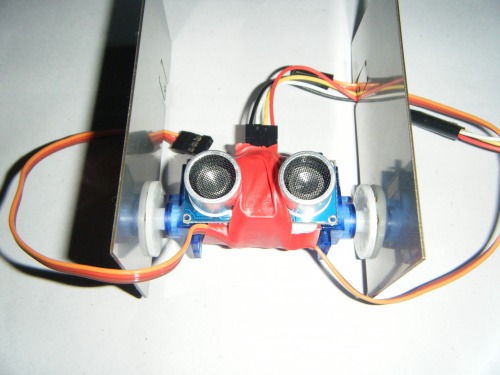
Fightron 1.0 needed to look something more than just "eyes-and-hands". He needed a support to have a body-like-figure. For that, I stuck an ultrasonic sensor bracket to the back. I am indebted to my friend DanM for these cool brackets. If you are reading this DanM, a big thanks!

And this his how Fightron looked with the bracket.
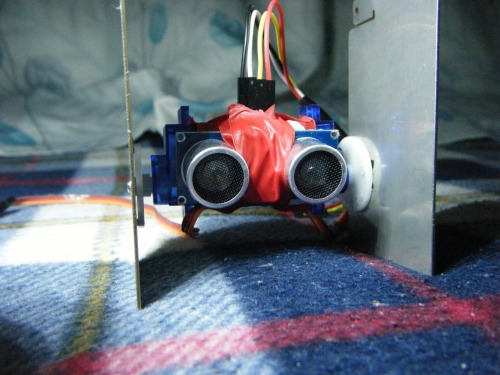
Now, Fightron 1.0 needs to know the right time to strike.
CONTROL SYSTEM:
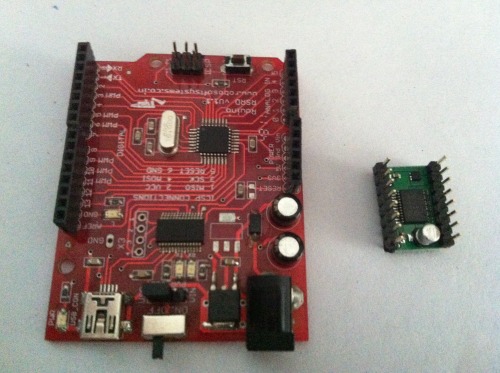
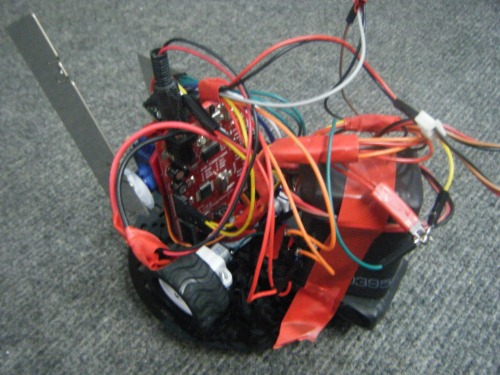
Fightron 1.0 used an ATmega168 16 MHz, Arduino Clone to think, and a TB6612FNG motor driver which came into Fightron's use in the latter stages of the build.
But his brain is on his back. In other words, i stuck the microcontroller to the back of the servos.
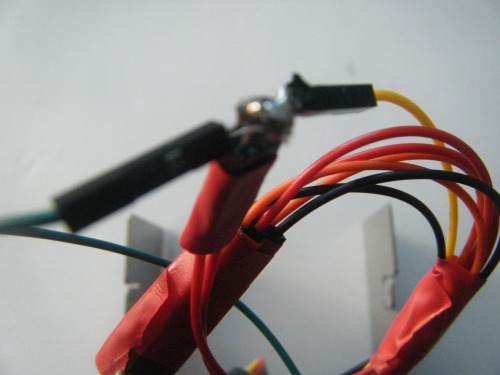
Then came the time to connect, connect and connect some more. Jumpers always come in handy:
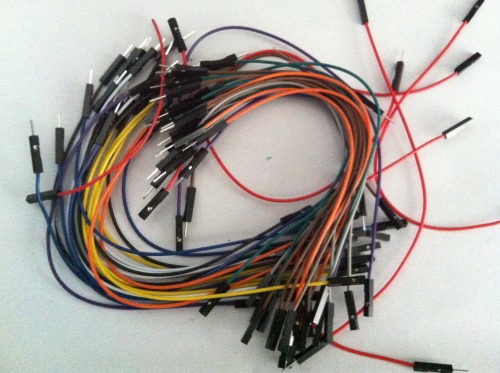
So, till now, Fightron made use of two servos and an ultrasonic sensor. I connected the GND, VCC and Signal Pins of the servos and GND, VCC, Trigger and Echo pins of the HC-SR04 to the GND, VCC and digital pins of the microcontroller.
As you may have guessed, i used the Arduino for powering up two servos and an ulltrasonic sensor. I definitely ran out of individual 5V pins on the Arduino to separately power up the servos and sensor. So, i simply created a parallel comination of the VCC pins, and connected it to the common 5V pin on the Arduino. Since the combination is parallel, the voltage will still remain 5V at each pin.
Fightron 1.0 is ready to strike. But what good if he can't move around searching obstacles and if he's just an immobile attacker? I definitely would not want to pick him up everytime for attacking.
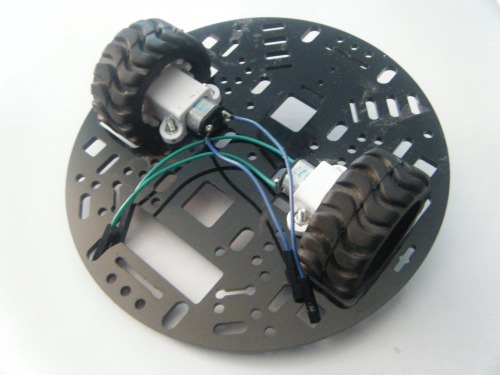
THE BASE:
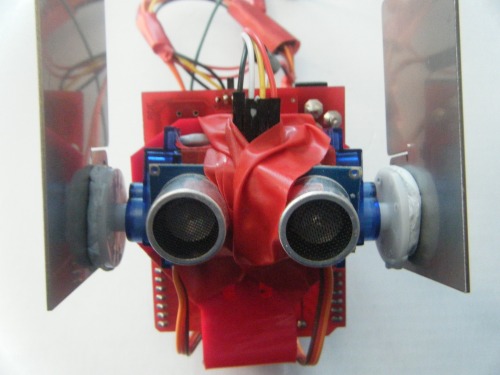
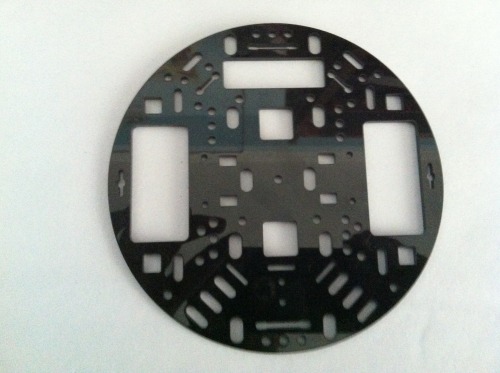
Fightron stands on a circular acrylic plate which is borrowed from my PID line follower
And for moving around, Fightron used a pair of zippy micrometal motors, the same motors that i have used on my PID line follower and mini obstacle avoider.
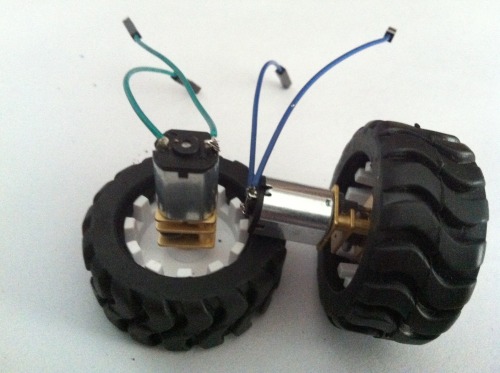
Mounting the motors on to the chassis is as easy as it gets.
For controlling Fightron's movement, i required motor drivers. As mentioned earlier, i used the TB6612FNG motor driver. I connected the output pins of the motor driver to the motors and the input pins of the motor driver to the digital pins of Fightron's brain.
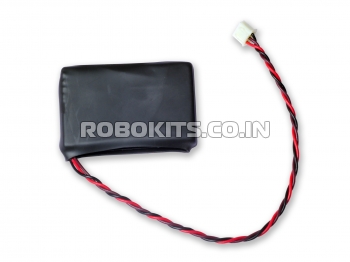
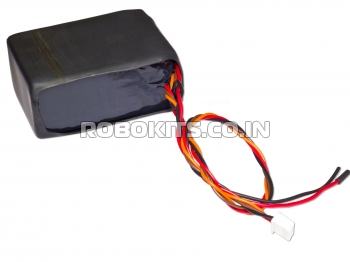
POWER SUPPLY:
I used two separate power supplies for Fightron.
A 7.4 V Li-on battery for the motors.
And a bulky big 11.1 v Li-on battery for powering the microcontroller, servos, HC-SR04, and the motor driver.
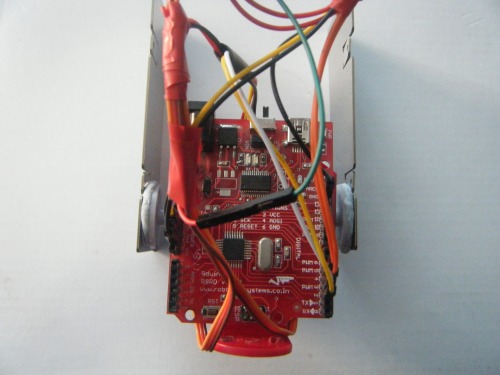
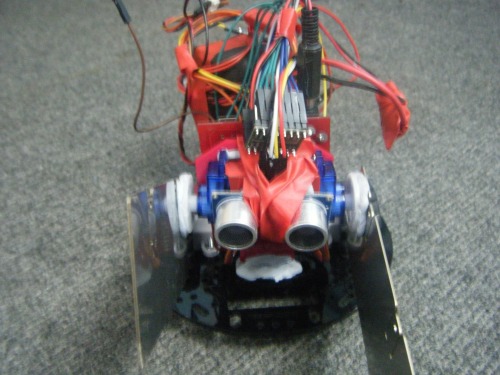
That was it, I assembled everything in place, the body the chassis with some more Blu-tack, tangling wires with some red electrical tape and connected the batteries. This was Fightron's final look:
This was the code Fightron used:
#include <NewPing.h>
#include <Servo.h>#define rightMotor1 4
#define rightMotor2 5
#define rightMotorPWM 3
#define leftMotor1 12
#define leftMotor2 13
#define leftMotorPWM 11
#define motorPower 7#define TRIGGER_PIN 8 // Arduino pin tied to trigger pin on the ultrasonic sensor.
#define ECHO_PIN 9 // Arduino pin tied to echo pin on the ultrasonic sensor.
#define MAX_DISTANCE 200 // Maximum distance we want to ping for (in centimeters). Maximum sensor distance is rated at 400-700cm.NewPing sonar(TRIGGER_PIN, ECHO_PIN, MAX_DISTANCE); // NewPing setup of pins and maximum distance.
Servo rightArm;
Servo leftArm;void setup() {
Serial.begin(9600); // Open serial monitor at 9600 baud to see ping results.
rightArm.attach(10);
leftArm.attach(6);
pinMode(rightMotor1, OUTPUT);
pinMode(rightMotor2, OUTPUT);
pinMode(rightMotorPWM, OUTPUT);
pinMode(leftMotor1, OUTPUT);
pinMode(leftMotor2, OUTPUT);
pinMode(leftMotorPWM, OUTPUT);
pinMode(motorPower, OUTPUT);
}void loop() {
delay(50);
unsigned int uS = sonar.ping(); // Send ping, get ping time in microseconds (uS).
Serial.print("Ping: ");
Serial.print(uS / US_ROUNDTRIP_CM); // Convert ping time to distance in cm and print result (0 = outside set distance range)
Serial.println(“cm”);
if ( uS / US_ROUNDTRIP_CM > 15 || uS / US_ROUNDTRIP_CM == 0) { // if no obstacle seen within 15 cm, just move forward
forward();
}
else if (uS / US_ROUNDTRIP_CM < 15) { // if something is seen within 15 cm, move forward as well as attack
rightArm.write(180); // attack by alernately rotating the servos and moving the blades up and down
leftArm.write(60);
delay(200);
rightArm.write(100);
leftArm.write(0);
delay(200);
}
}void forward(){
digitalWrite(motorPower, HIGH);
digitalWrite(rightMotor1, HIGH);
digitalWrite(rightMotor2, LOW);
analogWrite(rightMotorPWM, 70);
digitalWrite(motorPower, HIGH);
digitalWrite(leftMotor1, HIGH);
digitalWrite(leftMotor2, LOW);
analogWrite(leftMotorPWM, 70);
}
As of now, Fightron 1.0 runs and knocks a fairly light object if it sees it. It’s Fightron 1.0, so definitely, it is in line for some upgrade soon. I plan on turning this fellow into more of a Bi-pedal fighter than just a two-wheeler.
Thanks for reading guys!
Ashim
Knocks Objects Around the House
- Actuators / output devices: Micrometal geared motors, SG90 servos
- CPU: Arduino
- Power source: 7.4v Li-on, 11.1V Li-on
- Programming language: Arduino Wiring
- Sensors / input devices: HC-SR04 Ultrasound
- Target environment: indoor
This is a companion discussion topic for the original entry at https://community.robotshop.com/robots/show/an-obstacle-knocking-robot-fightron-1-0
