SMS Alarm System (Magnetic Contacts) Using Arduino and 3G / GSM Shield

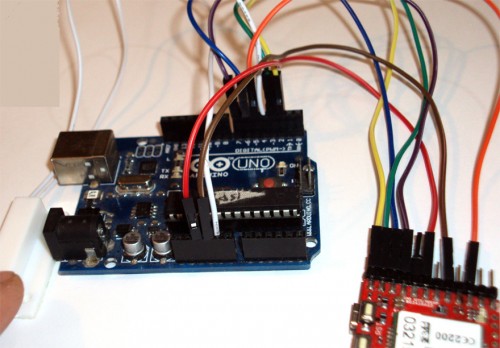
This project will show you how fast you can build your own alarm system capable of supervising one or more magnetic contacts and inform you via SMS of the "burglar event". You even have the possibility to control (ENABLE/DISABLE) the alarm system remotely, via SMS commands.
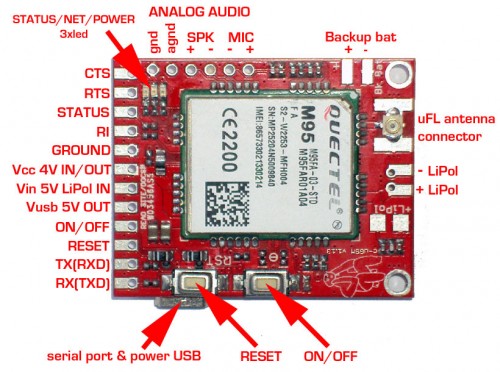
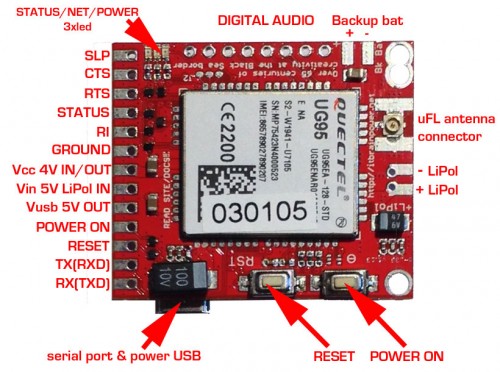
For SMS communication purposes one of two pin to pin compatible c-uGSM and d-u3G shields, can be used in this project. The first one it is a quad band GSM only (world wide compatible) and has support for 2SIMs and the second one is SINGLE SIM 3G only (North American version) / 3G+GSM (European and rest of the world version). These shields are compact with dimensions of 1.25"x1.57"(31.75x39.88mm) / 1.35"x1.57"(34.29x39.88mm) respectively, weigh around 10g, have USB support (communication and powering), auto level 3-5V digital interfaces and an integrated Lithium Polymer charger.
Parts needed for project:
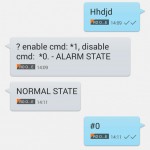 #0 DISARM the SMS ALARM SYSTEM, #1 ARM the SMS ALARM SYSTEM. Any other SMS, makes the ALARM reply with a sort of "help message".
Any replied SMS appends the SYSTEM STATUS REPORT as: "ALARM STATE"/"NORMAL STATE".
TUTORIAL and SOFTWARE ARE PROVIDED WITHOUT WARRANTY. USE IT AT YOUR OWN RISK.
Originally published by Dragos Iosub & itbrainpower team
- Arduino UNO
- c-uGSM - dual SIM GSM shield [micro], or
- d-u3G - 3G/UMTS shield [micro] (Europe / North America)
- Magnetic contact(s)
- 5V Power source
- Lithium Polymer battery or aditional 4V Power source
- SIM card (BTW: using this project, your GSM/3G provider may charge you supplementary fees)
- GSM / 3G antenna
- 0.1"(2.54 mm) row header
- connecting wires and cables
 #0 DISARM the SMS ALARM SYSTEM, #1 ARM the SMS ALARM SYSTEM. Any other SMS, makes the ALARM reply with a sort of "help message".
Any replied SMS appends the SYSTEM STATUS REPORT as: "ALARM STATE"/"NORMAL STATE".
TUTORIAL and SOFTWARE ARE PROVIDED WITHOUT WARRANTY. USE IT AT YOUR OWN RISK.
Originally published by Dragos Iosub & itbrainpower team
Thanks for helping to keep our community civil!
Notify staff privately
You flagged this as spam. Undo flag.Flag Post
It's Spam
This post is an advertisement, or vandalism. It is not useful or relevant to the current topic.
This post is an advertisement, or vandalism. It is not useful or relevant to the current topic.
You flagged this as spam. Undo flag.Flag Post


