

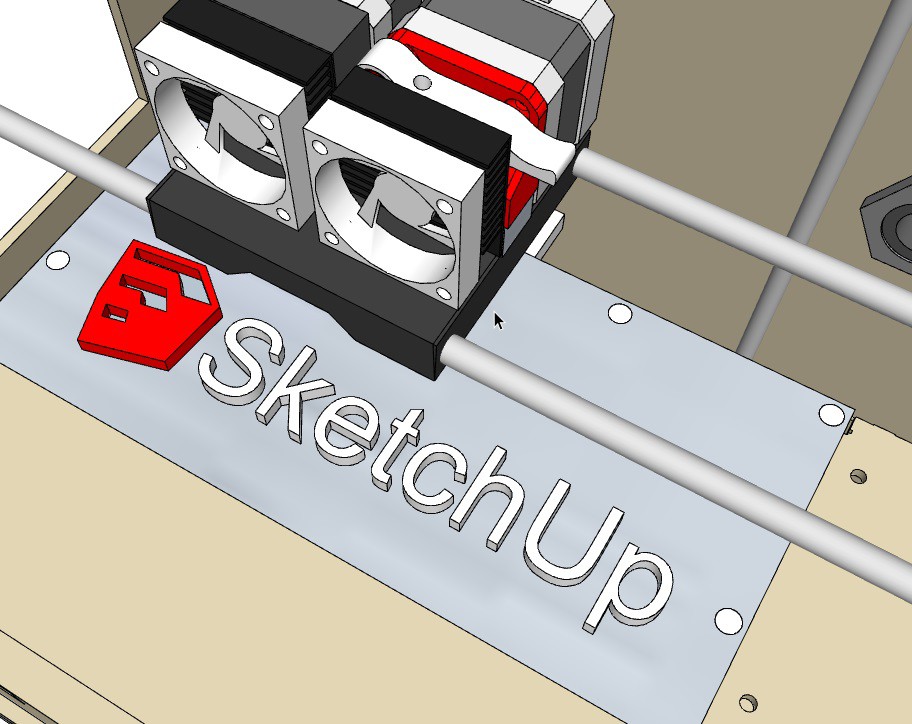
Sketchup 3D CAD & 3D Printing

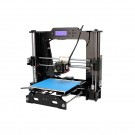 Afinibot A3 3D Printer Afinibot A3 3D Printer |
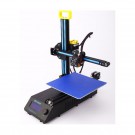 Afinibot A9 3D Printer Afinibot A9 3D Printer |
 101Hero 3D Printer 101Hero 3D Printer |
 UP Mini V2 3D Printer UP Mini V2 3D Printer |
- Choose a 3D CAD software
- Learn to use said software to create 3D objects
- Export the object to stereolithograph (.stl) format
- Import / open the part in a slicing software
- Change the parameters of the build
- Print the part
Sketchup Basics
As of 2017, there are two versions of Sketchup: Sketchup: Make is for personal and educational use, and Sketchup: Pro for educational and professional use. Sketchup Make is free while Sketchup Pro is $695 (still a bargain when considering how much work went into its design). For this article we will refer to Sketchup Make, which is compatible with Windows and MAC operating systems. Download and install Sketchup: Make (free) then choose which approach you prefer to take: either finding and printing other people's 3D models, or creating your own: A) I want to print other people’s models.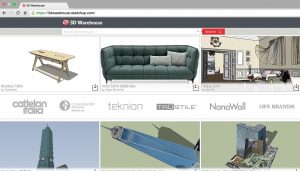 Sketchup Warehouse
- If you’re eager to see what other people have created in 3D, run the software, choose any template and click “Start Using Sketchup”.
- Go to File at the top left of the screen, and then choose 3D Warehouse -> Get Models
- A new window will open with a search bar at the top. Feel free to search for whatever model you’d like to see.
- Once you have found the model, either click the download button (hollow box with a down arrow) or click the part itself, then “download”.
- Choose “Load this part directly into the Sketchup Model”.
- You will now need to place the chosen model within your (albeit empty) “world”. Left click at the intersection of the three axes
- Depending on the complexity, the part may take a few moments to load. Note that the units / scale may be entirely wrong, and the part may need to be resized.
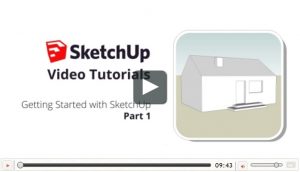 Sketchup Video Tutorials
Stereolithograph format (.stl)
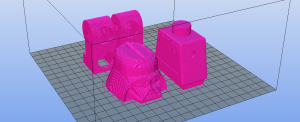
Sketchup: Make does not directly save to .stl format, so an extension needs to be installed. There are many STL import / export programs for Sketchup: https://extensions.sketchup.com/en/search/site/STL A very good one is: https://extensions.sketchup.com/en/content/sketchup-stl Install this extension using the instructions on the page. This will allow you to import .stl files and also export to .stl format. Alternatively, you can browse for the extension via Sketchup directly by going to Window -> Extension Warehouse and search for “Sketchup STL”. Once installed there should be a new menu item under File called “Export STL” just below “Print Setup”. With your model on the screen, click File-> Export STL. Choose the export units, which are ideally the same units you chose during the template selection process, choose ASCII and then “Export” and choose where this new file (separate from the actual model which is unaffected) is to be saved. Note that you are now free to use any .stl model you find online, not just those within Sketchup: Warehouse. There are many 3D CAD warehouses where you can get 3D models, including 3DContentCentral. Files from GrabCAD (another CAD repository site) can be converted either using the SimLab SolidWorks Importer for SketchUp extension (free trial) or a trial version of SolidWorks e-Drawings to convert from .sldprt to .stl.3D Slicing Software
 Slicing Software
- Slicing: The software automatically slices the model into many layers and creates the necessary code (tool path) to create each layer in the correct order.
- Settings: It (should) have your printer’s maximum print speed (in three dimensions) as well as the filament extrusion speed, nozzle temperature, build volume and other printer-specific settings.
- Support Structure: The software “knows” if there is overhang (i.e. areas of a model which would require support since they are not connected to the base) and creates the necessary break-away support structure
- Infill: The program fills in any hollow / voids with a plastic “infill” structure which can go from 0% (i.e. completely hollow) infill to 100% (completely full of plastic) infill. Note the higher the % infill used, the more plastic will be used and the heavier the part will be. On the other hand, parts with more infill tend to be stronger. The infill structure itself is often created automatically by the software and tends to be a honeycomb or other good “weight to strength” shape. Some software allow you to choose among a selection of infill structures.
- Rafting: You have the option to create a “raft”; a raft is a thin structure created at the base of the part (using the same plastic) which allows it to more easily stick to the printing bed to prevent warping during the build. Normally the raft structure is meant to be easily broken away from the part after completion.
- Model Placement: Place the model within the 3D environment and scale it as needed. If your units for the template, export and import were all the same (ideally millimeters or inches), the model should appear to scale within the slicing software. If not, you can choose to scale it within the slicing software or go through the procedure again.
- Print: The slicing software normally communicates with the printer to start the printing process, or allows you to save the code to an SD card which can be read by the printer
Thanks for helping to keep our community civil!
Notify staff privately
You flagged this as spam. Undo flag.Flag Post
It's Spam
This post is an advertisement, or vandalism. It is not useful or relevant to the current topic.
Report Reason
This post is an advertisement, or vandalism. It is not useful or relevant to the current topic.
You flagged this as spam. Undo flag.Flag Post
✅ Your Post Has Been Submitted Successfully!
Your post is currently under review by our moderation team. The review process usually takes up to 48 business hours.
You can track your post's status in the "My Content" section of your profile. Once approved, it will be published and visible to others.

Thank you for contributing to our community!