

My 8x16 led matrix

UPDATE: 6 Oct, 2013
Ok, I have been too lazy to update this as this was done a month or so ago. I hereby declare this project complete. It is now bigger and better! Below are some photos and a video of the completed matrix and driver board(click any picture for a larger view)-
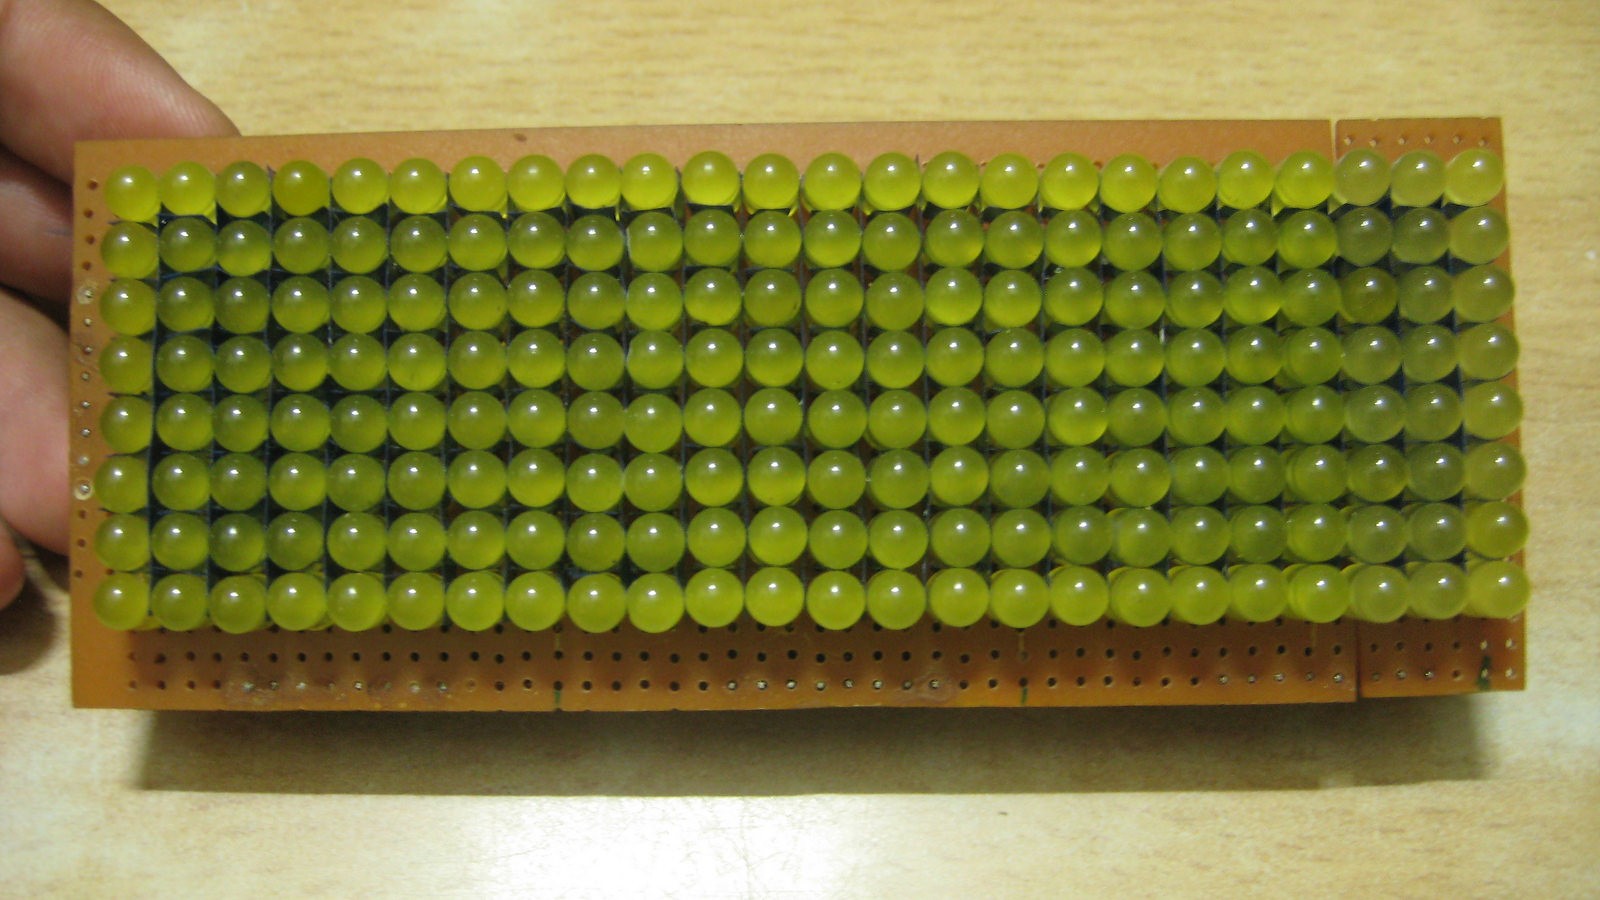
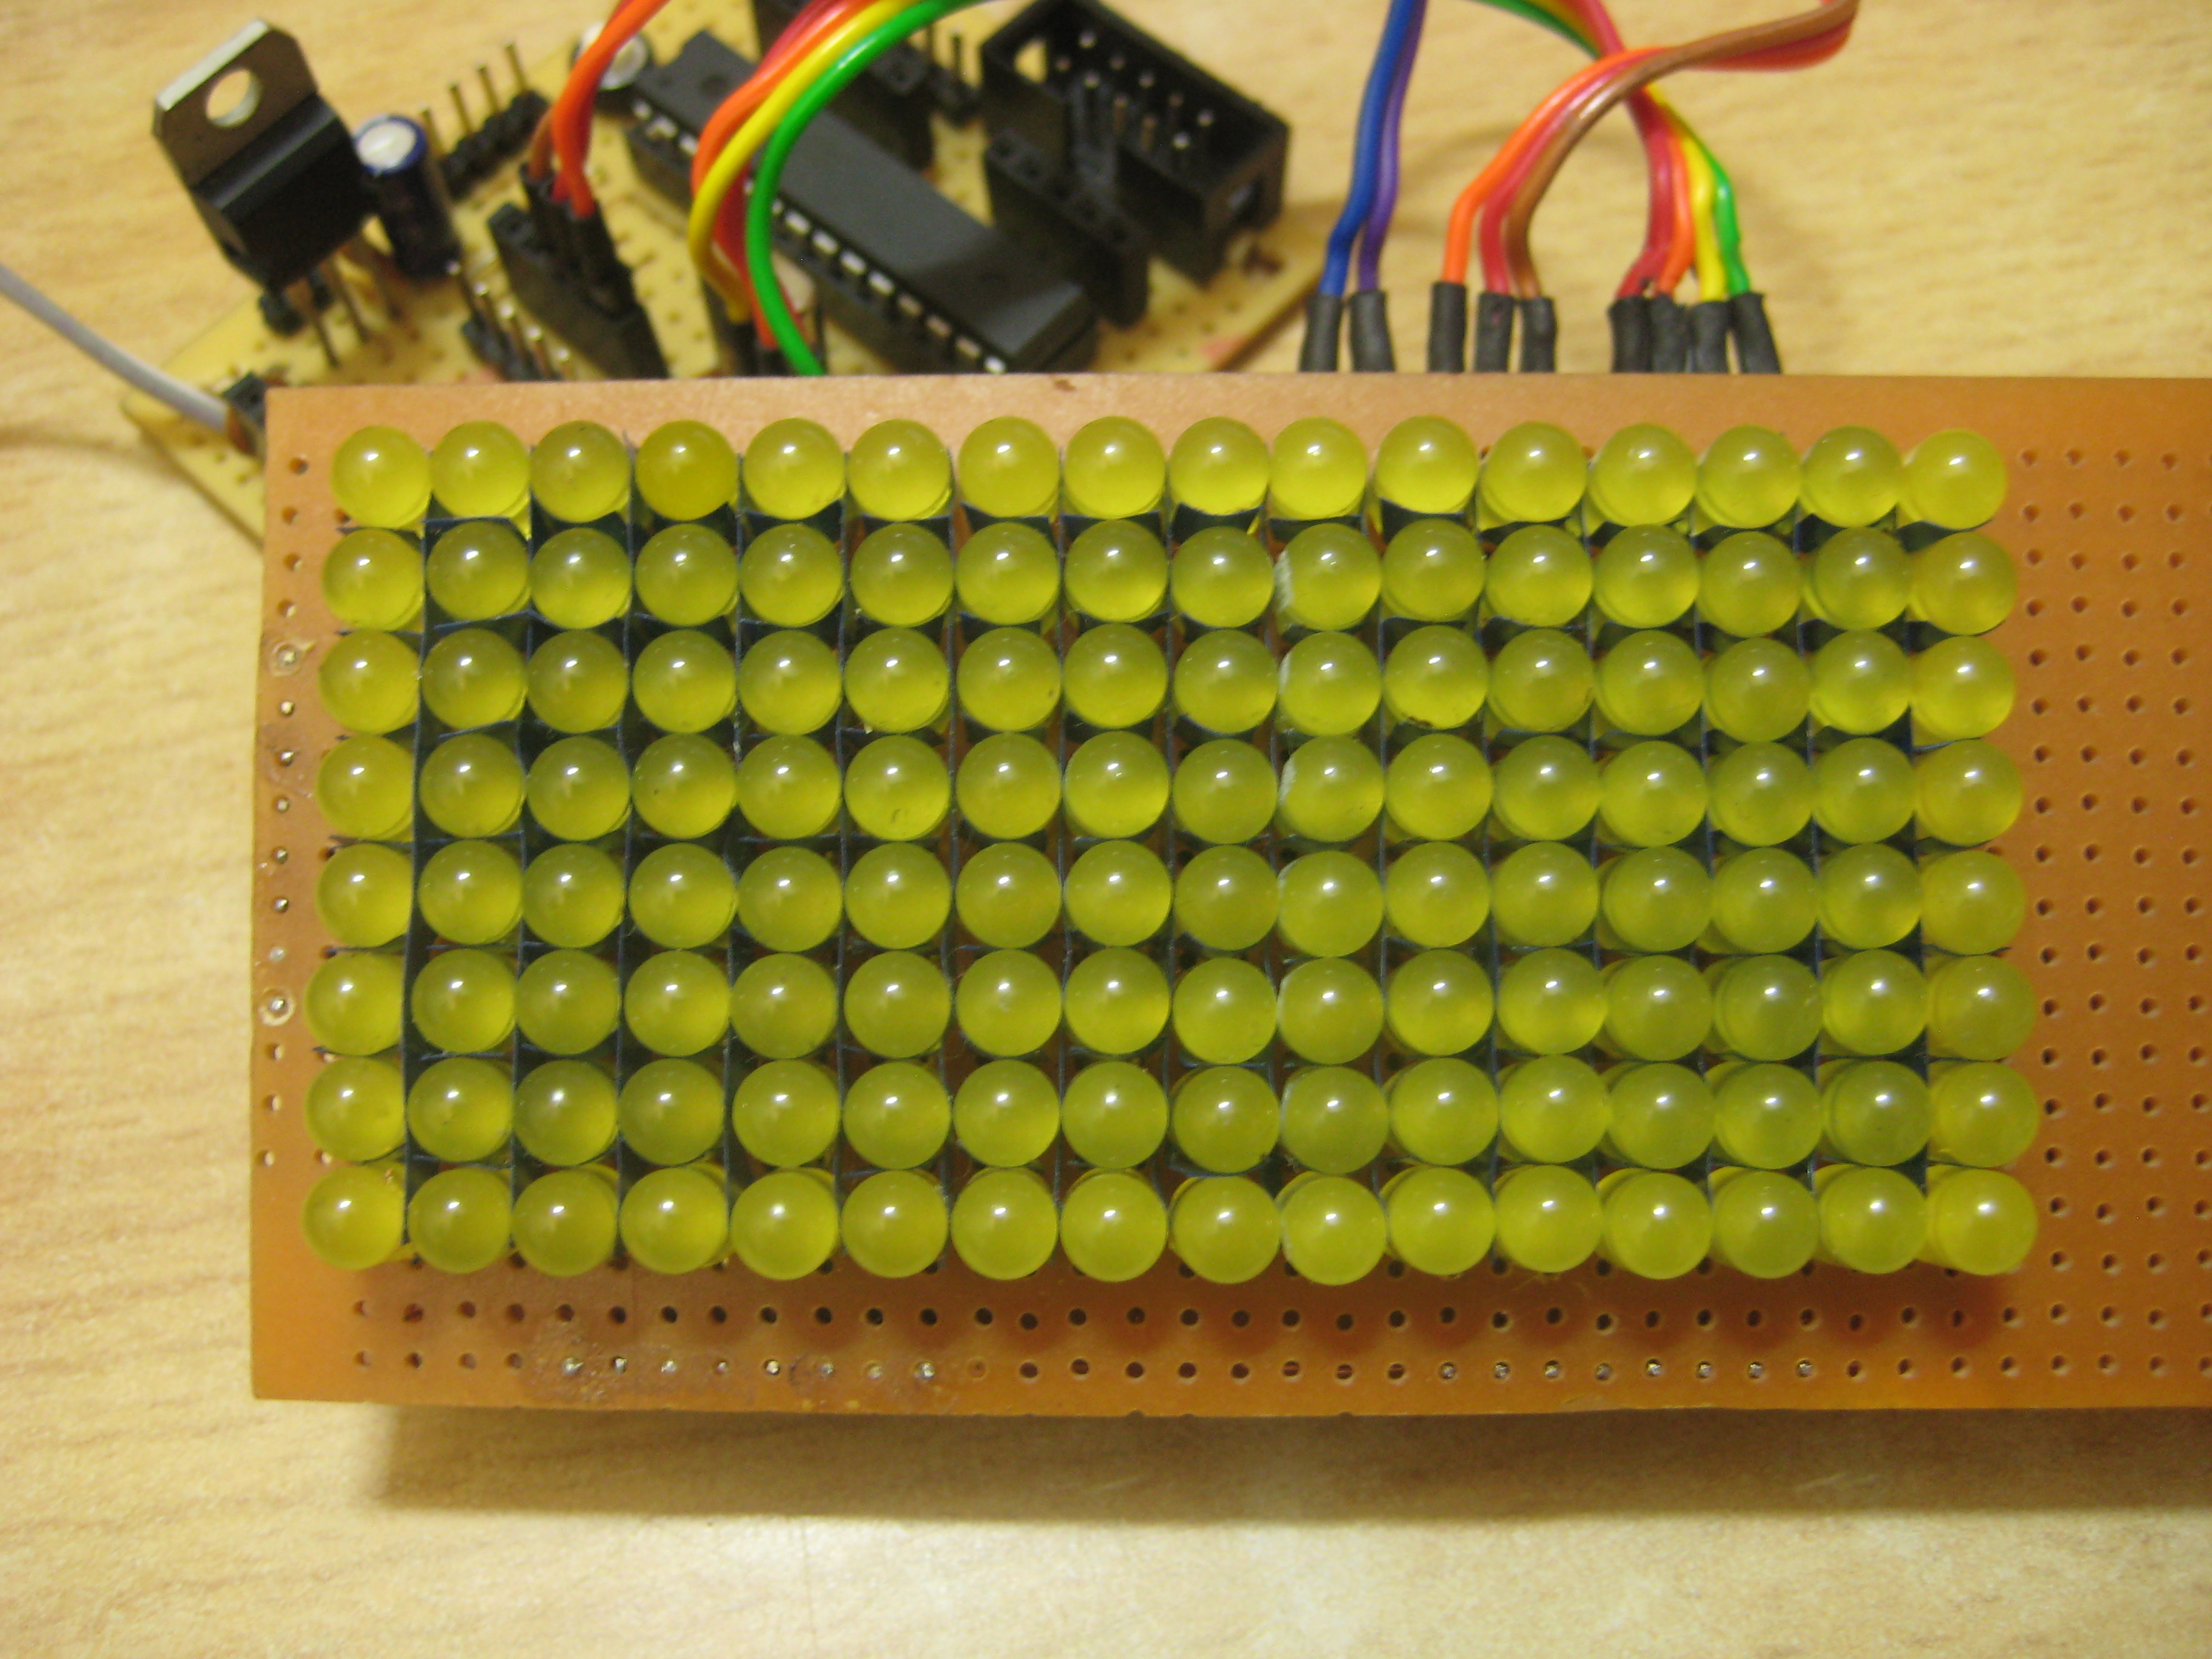
The Matrix-

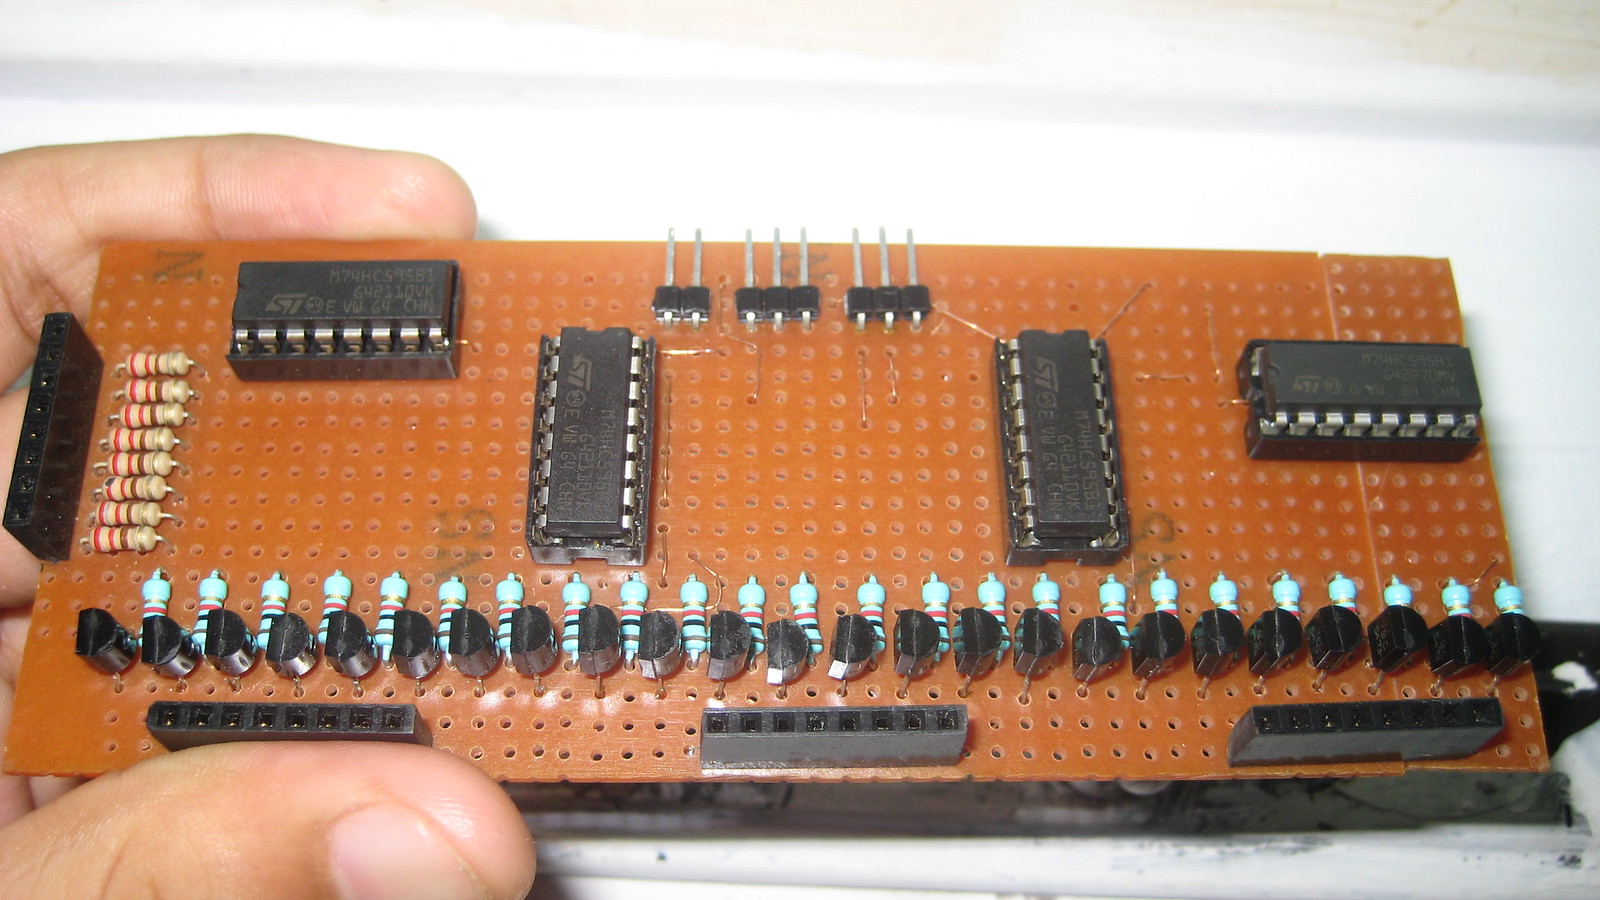
The driver board (front) -
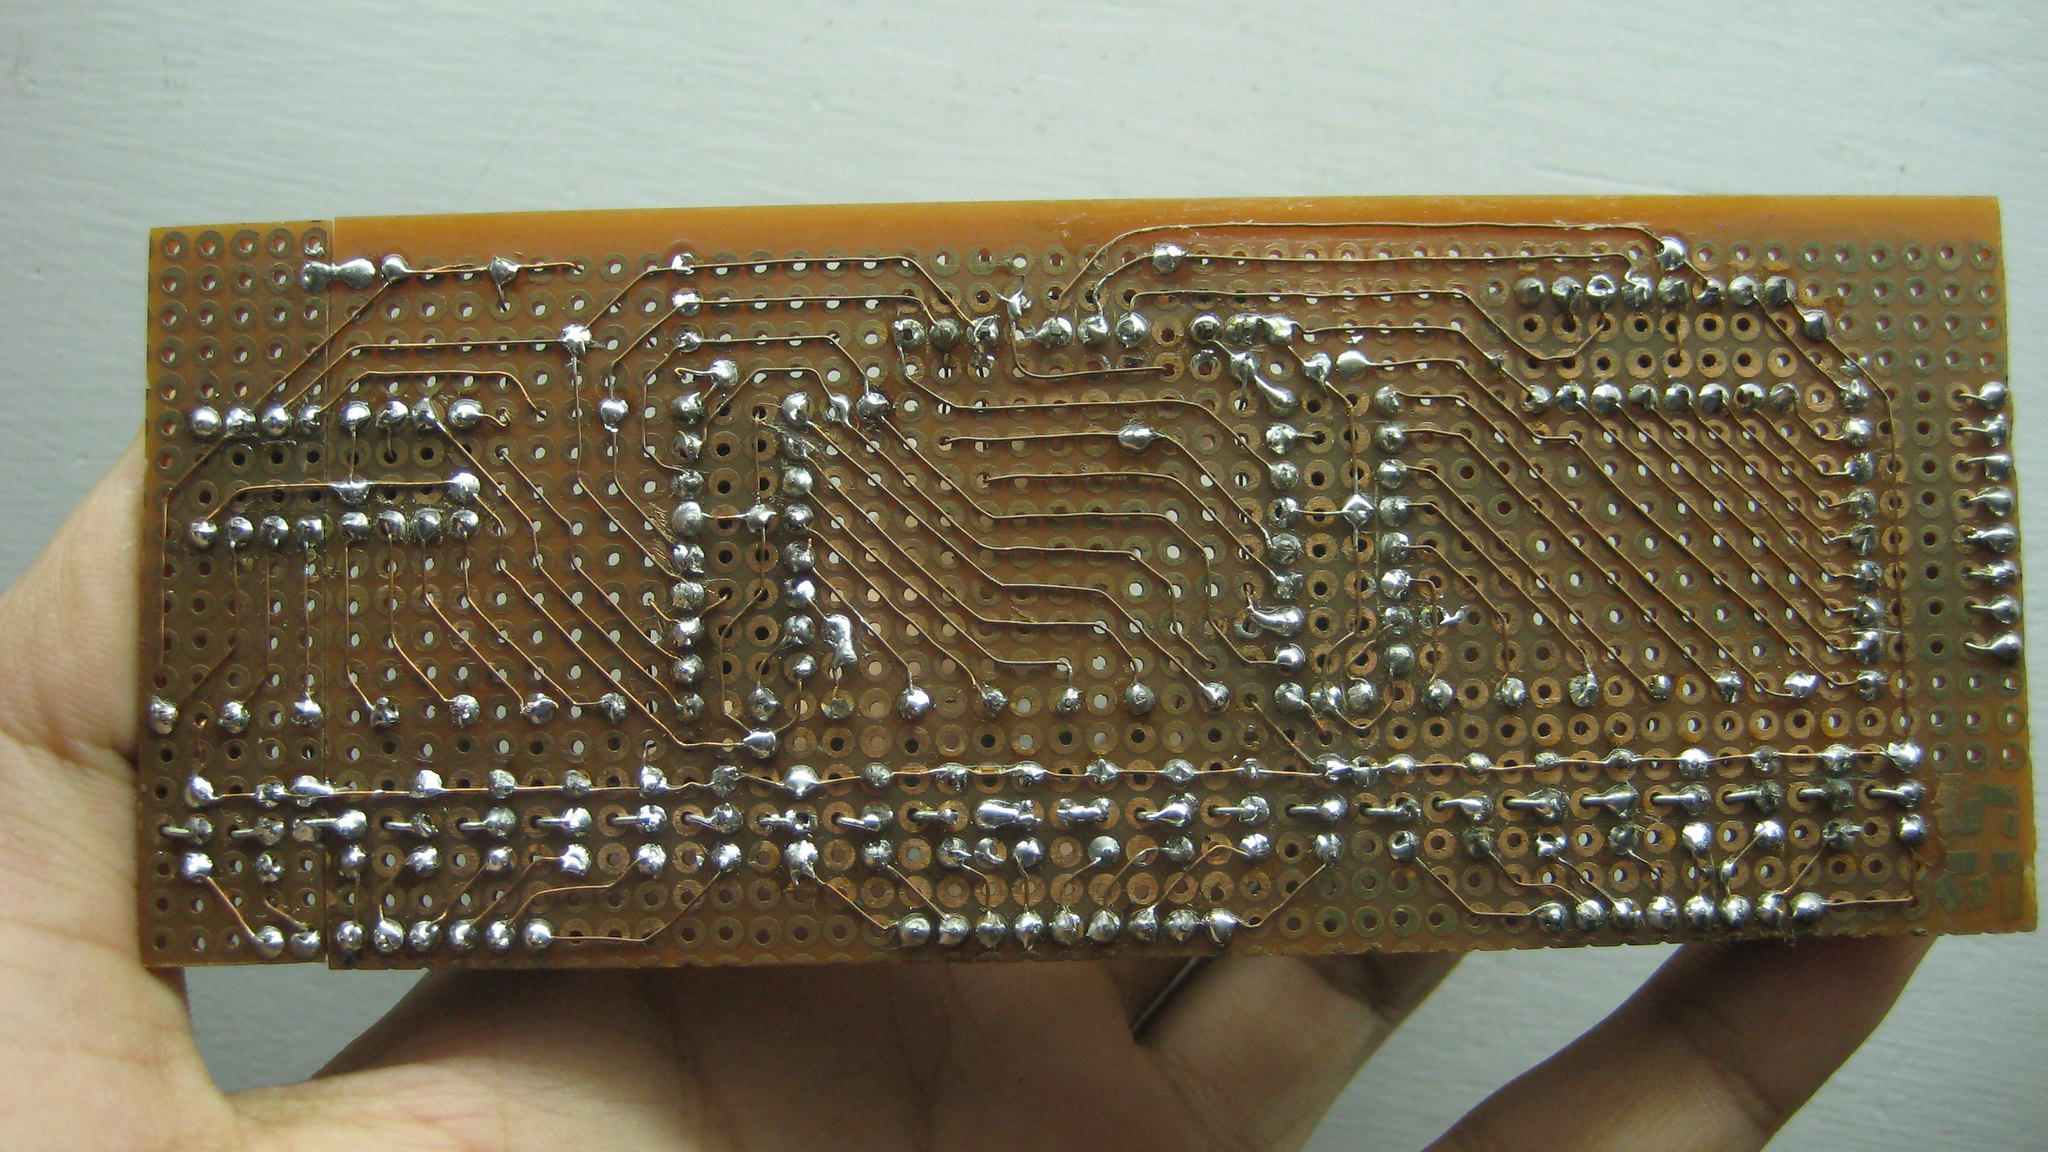
The driver board (back) -
Hi everyone,
This is my first blog post and is about a 8x16 led matrix display i made a few days ago. I like leds and stuff made with them. I had been thinking about making this for a long time and i finally decided to start making it after seeing this awesome robot facial expressions project by Dickel. Then i saw a lot of videos of led matrices on youtube scrolling texts, displaying animations (even a game of snake and tetris here on this page) seeing all this i got even more excited about this and started to find resources, parts etc.
I googled for some tutorials etc., saw many of them on instructables and other sites. I understood the basic working principle of these displays. Saw a few examples but all seemed to implement a different method to controll the leds and they obviously had different code examples to work with their own hardware and circuit. I understood almost all the circuits in these tutorials but not a single code fully! (yes really) So, i decided to make everything on my own from the starting, the circuit, the code and the hardware everything the way i wanted.
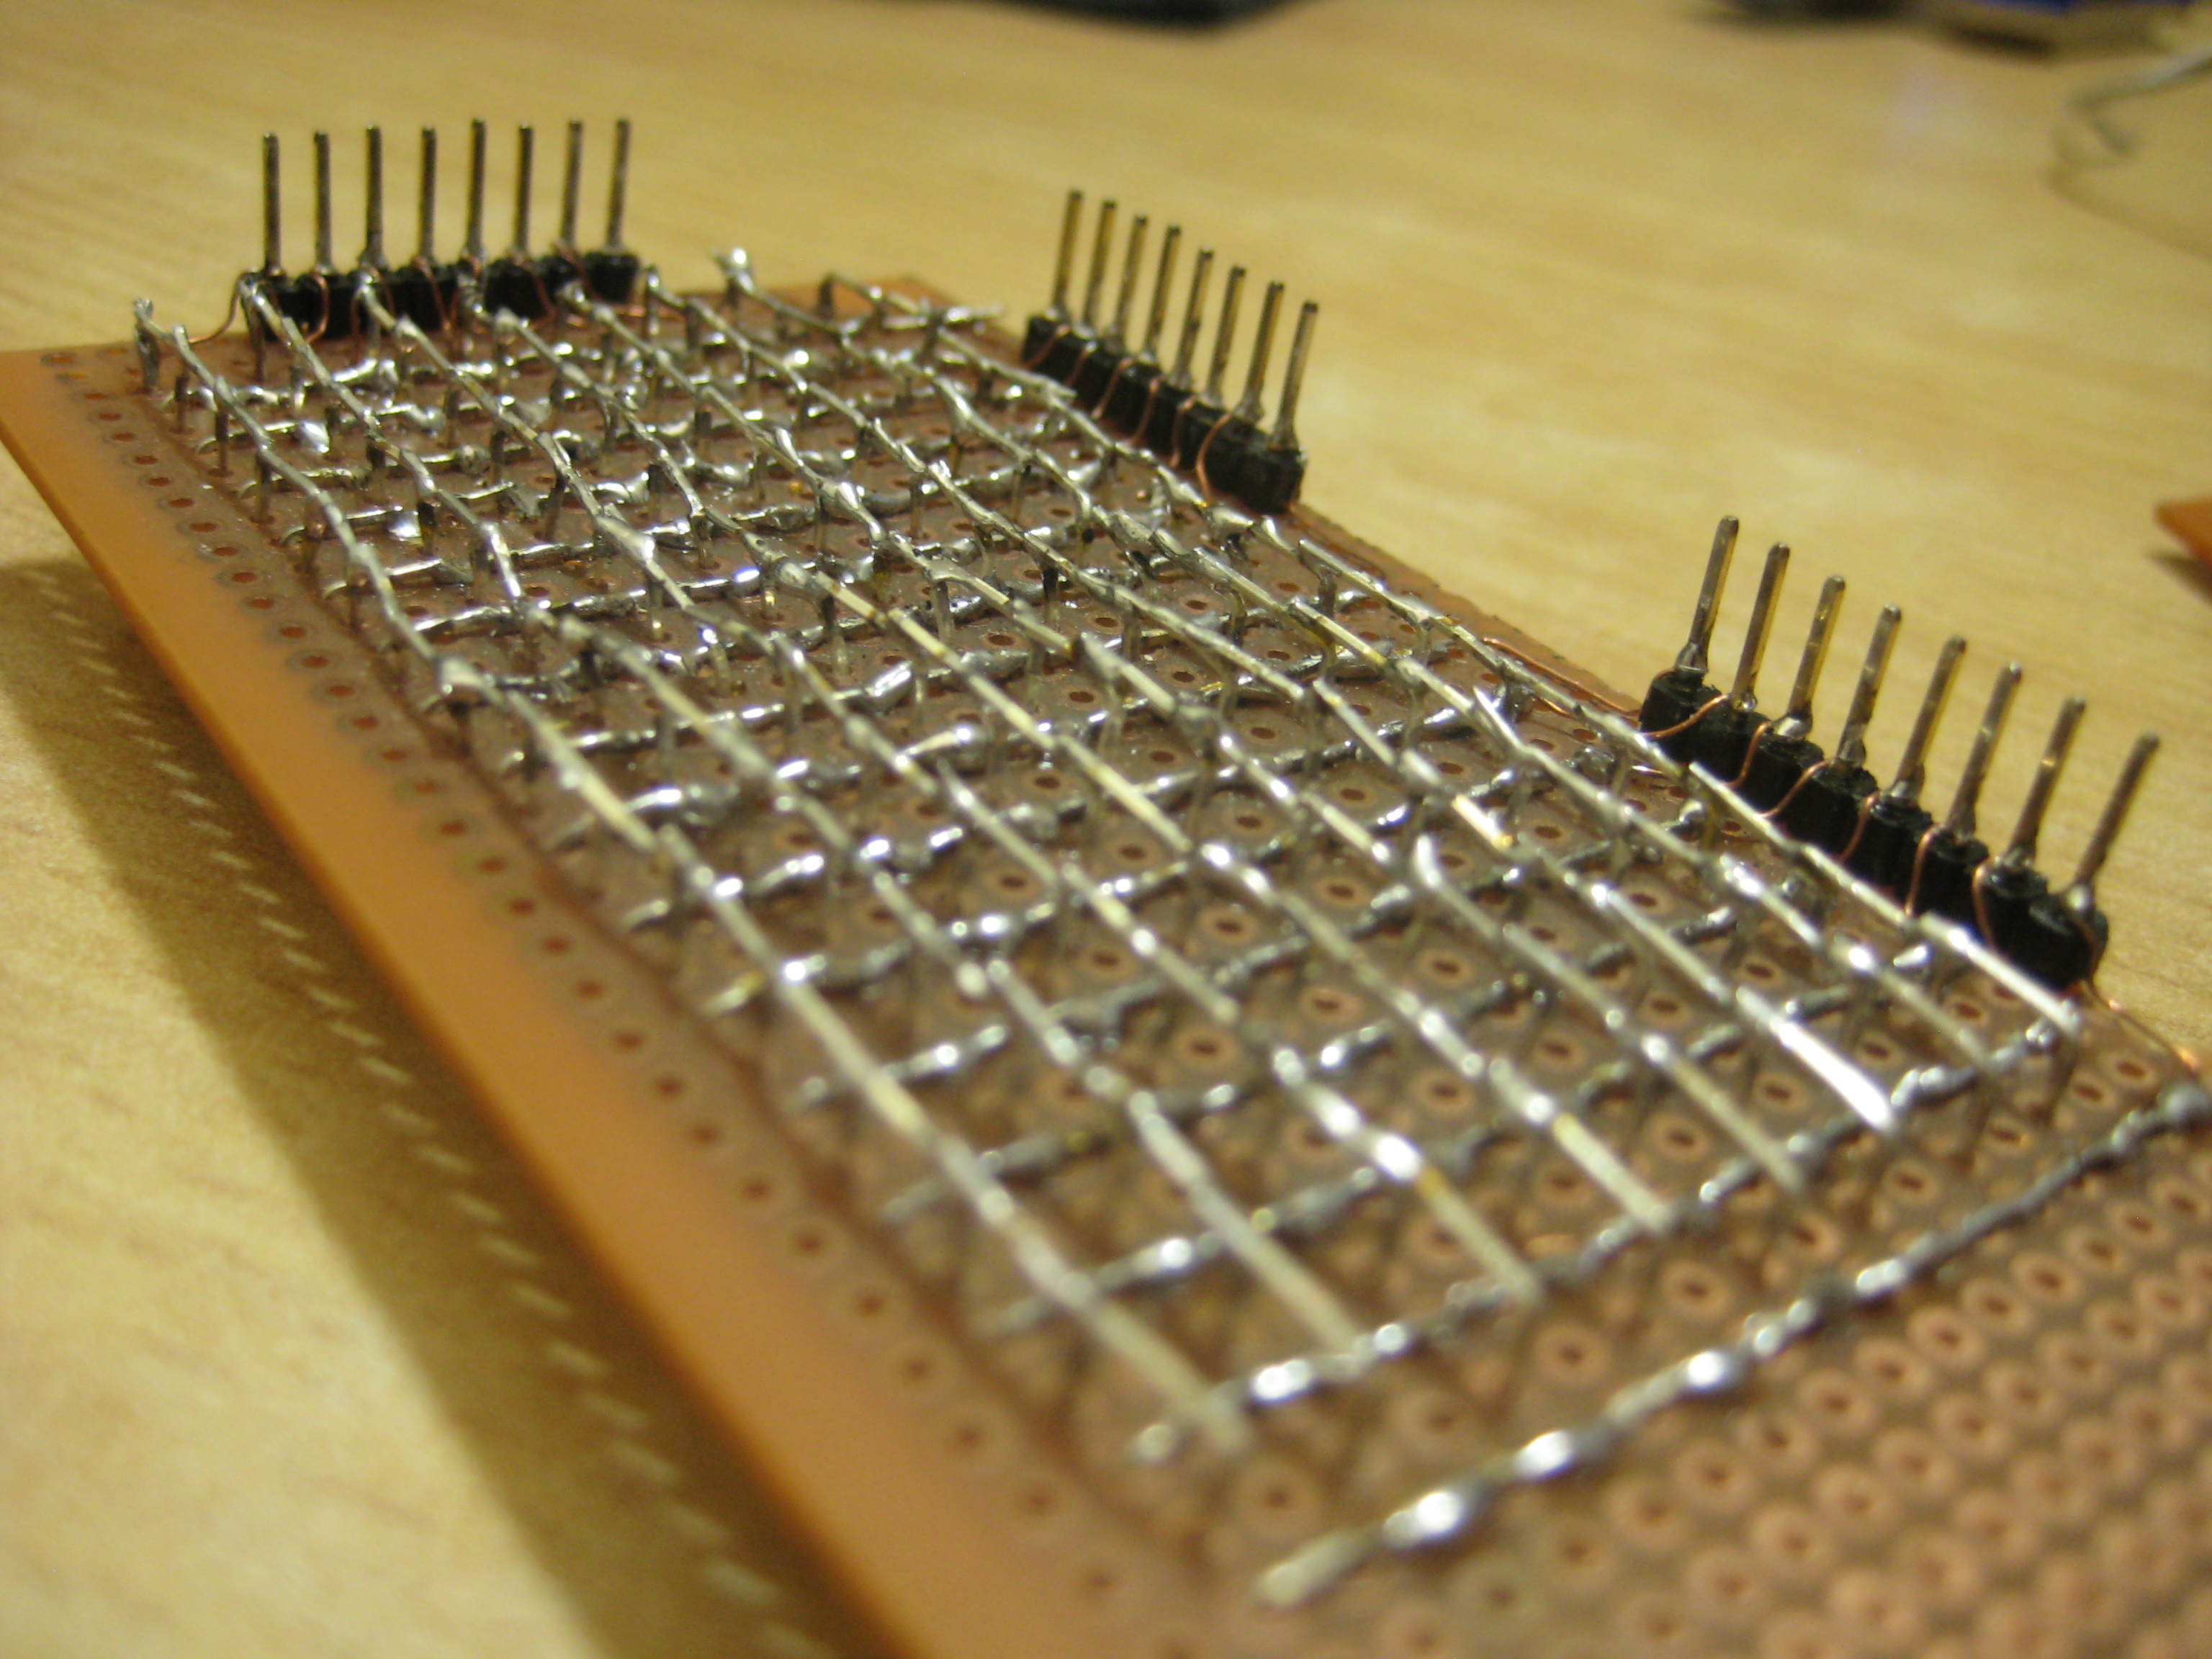
I started with the leds part. I couldn't find a readymade matrix so decided to make my own. I took a protoboard as usual and some leds and just 'placed' them on the protoboard just to see how it will look like when completed. I felt the leds are not much close to each other and it wasn't looking good so i decided to place the leds end to end. I tried to do so but the 'base' of the leds was a little wider than 5mm which was stopping them to stand straight on the board. To overcome this problem i had to reduce the diameter of the base of 128 leds! after this i again placed some leds on the board and made one of them glow. A new problem arised, the light from the glowing led entered the adjacent leds and it seemed as if they were glowing too! this was annoying. I needed to stop the light from escaping or entering somehow so i sticked small cutouts of an opaque insulation tape between leds in a row and long strips between columns. However the best and the easiest method for this would be to paint the leds in black colour or something but this also worked perfectly :)
I finally soldered the anodes vertically and the cathodes horizontally-
(Click any picture for a larger view)
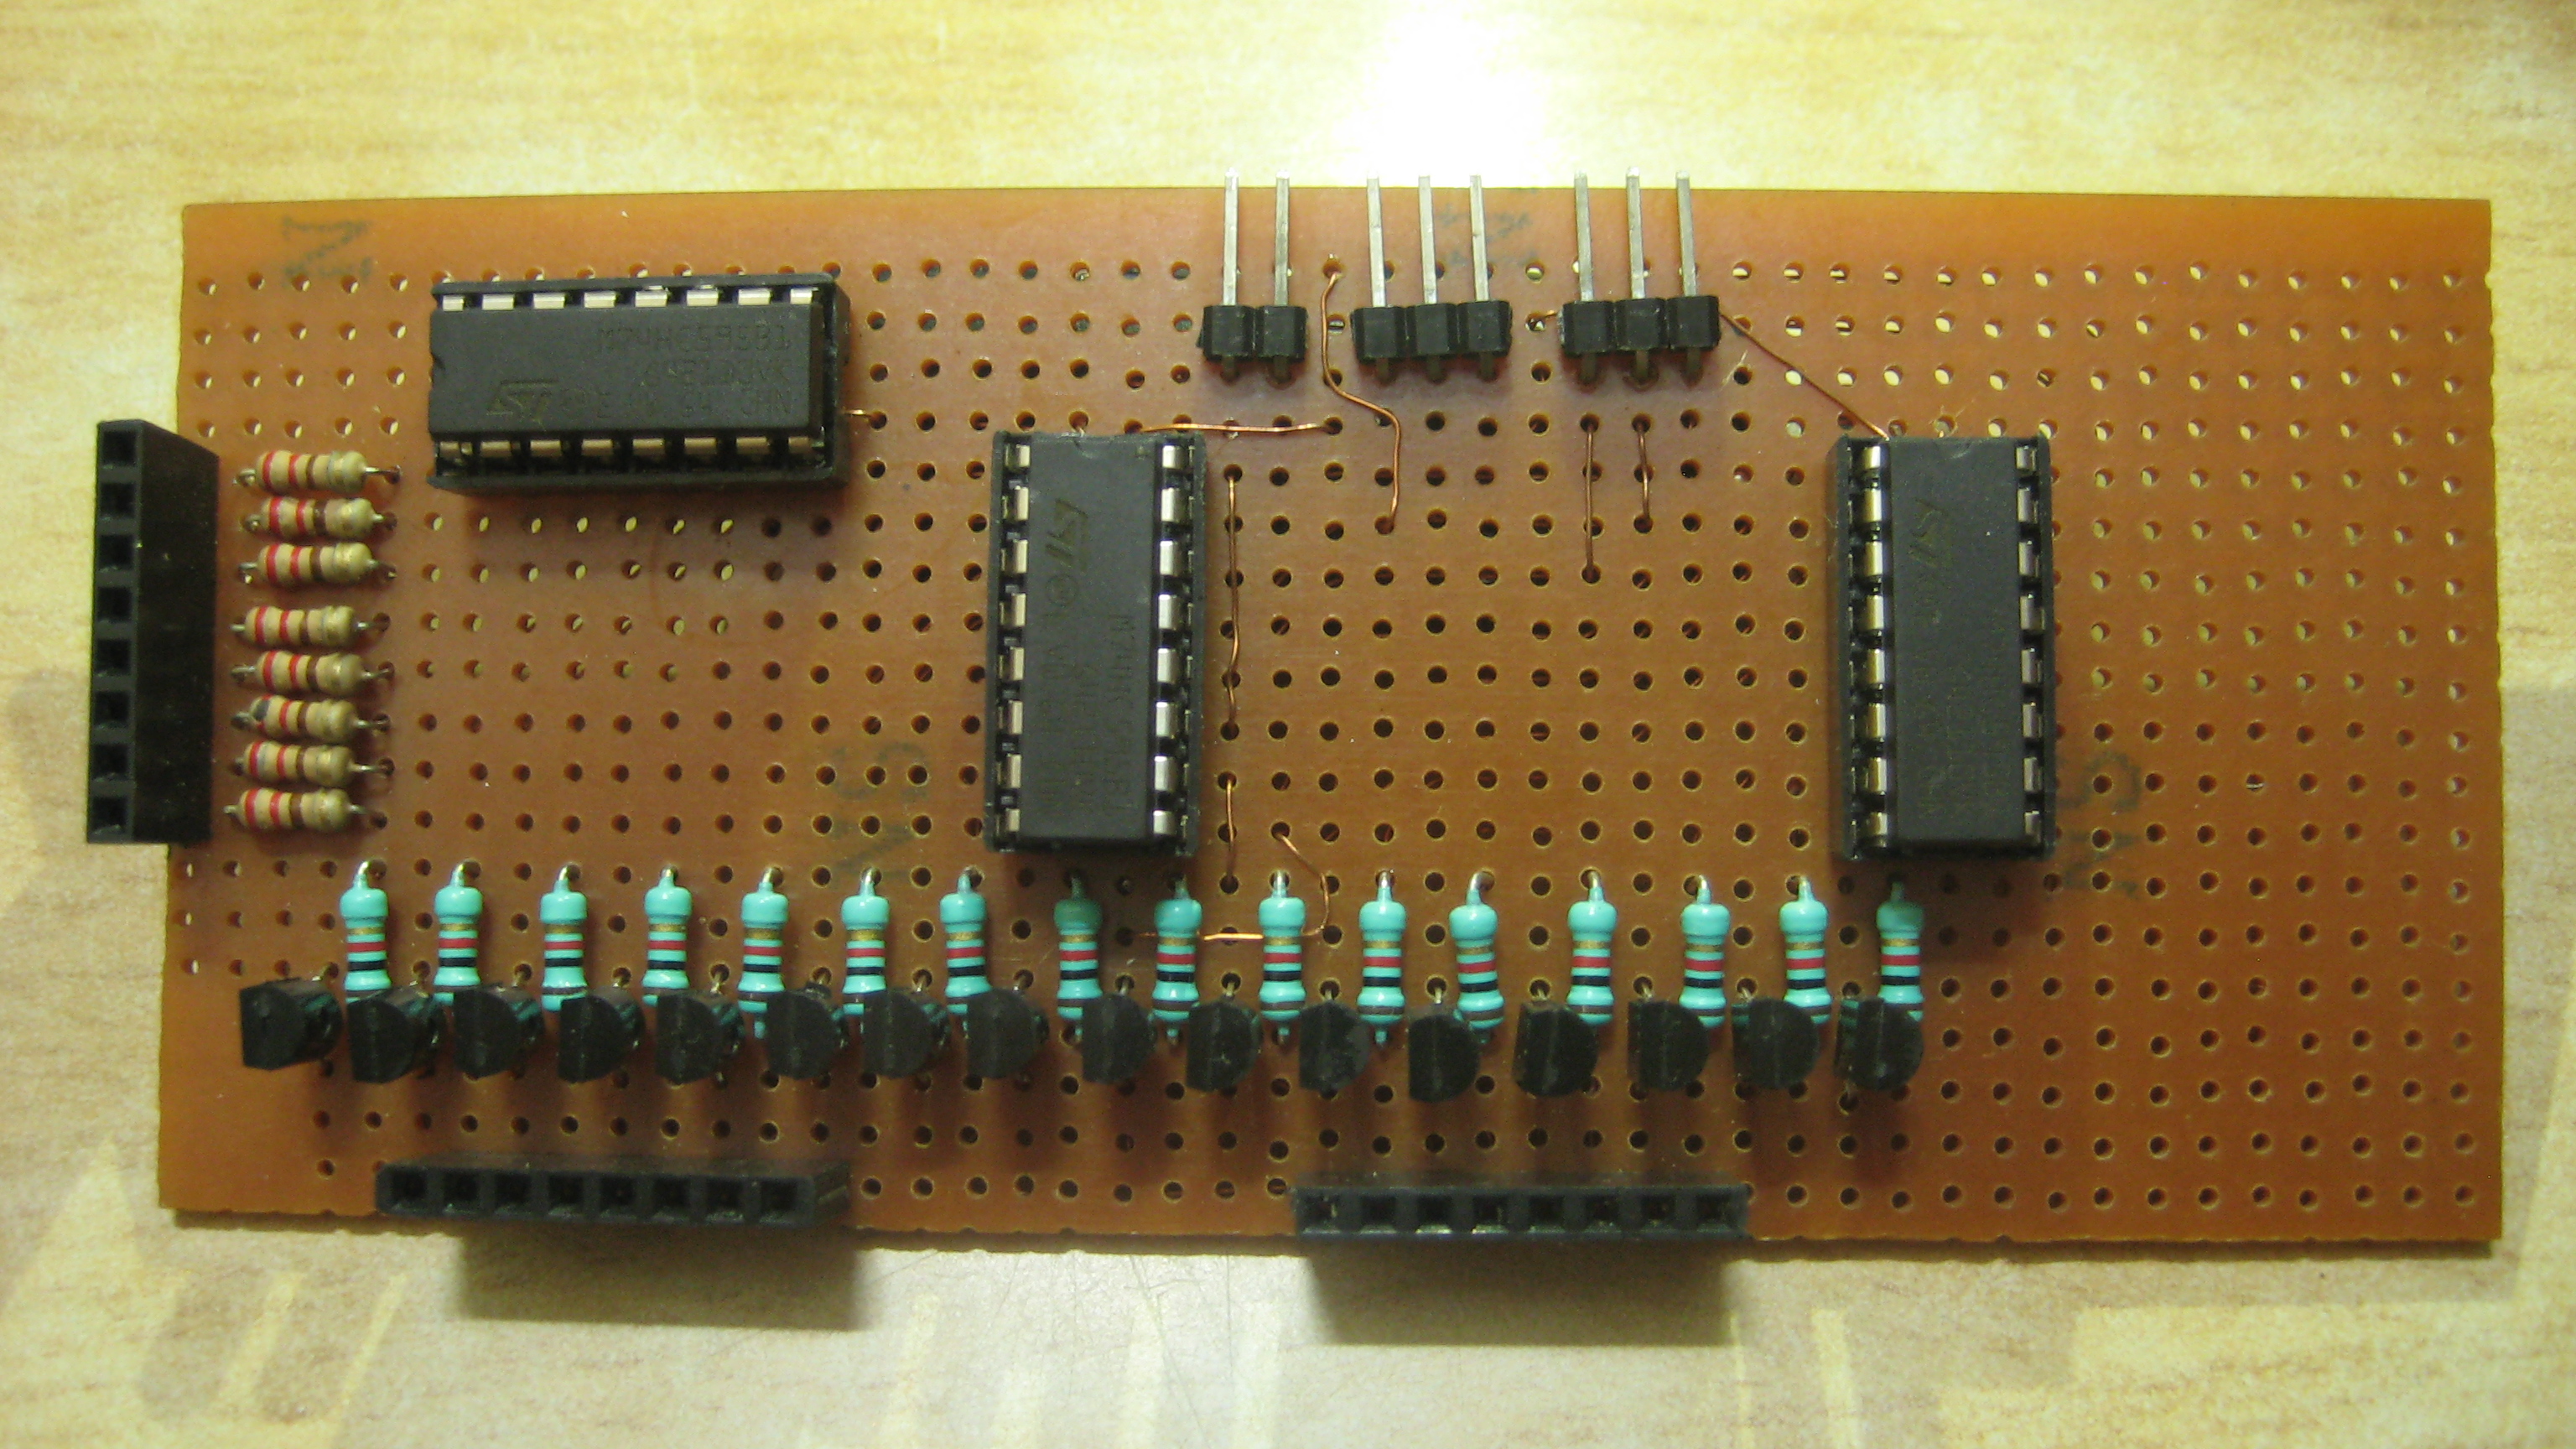
Now the driver board. I decided to go with the column scanning method. In simple words, at any instant only the leds of a single column are 'active' but the columns are scanned at such a fast rate that to human eyes it seems as if the whole matrix is lit. So turn a column high and turn the corresponding rows low to glow leds and display a single 'frame' (as in a video) then the next column and its corresponding rows, then next....... The rows and columns are controlled by three 74HC595 shift registers (two for 16 columns and one for 8 rows) which are controlled by an arduino. I used 16 bc547 transistors to switch current in the 16 columns.
Here is the picture of the top side of the board-
Here is the bottom of the board-
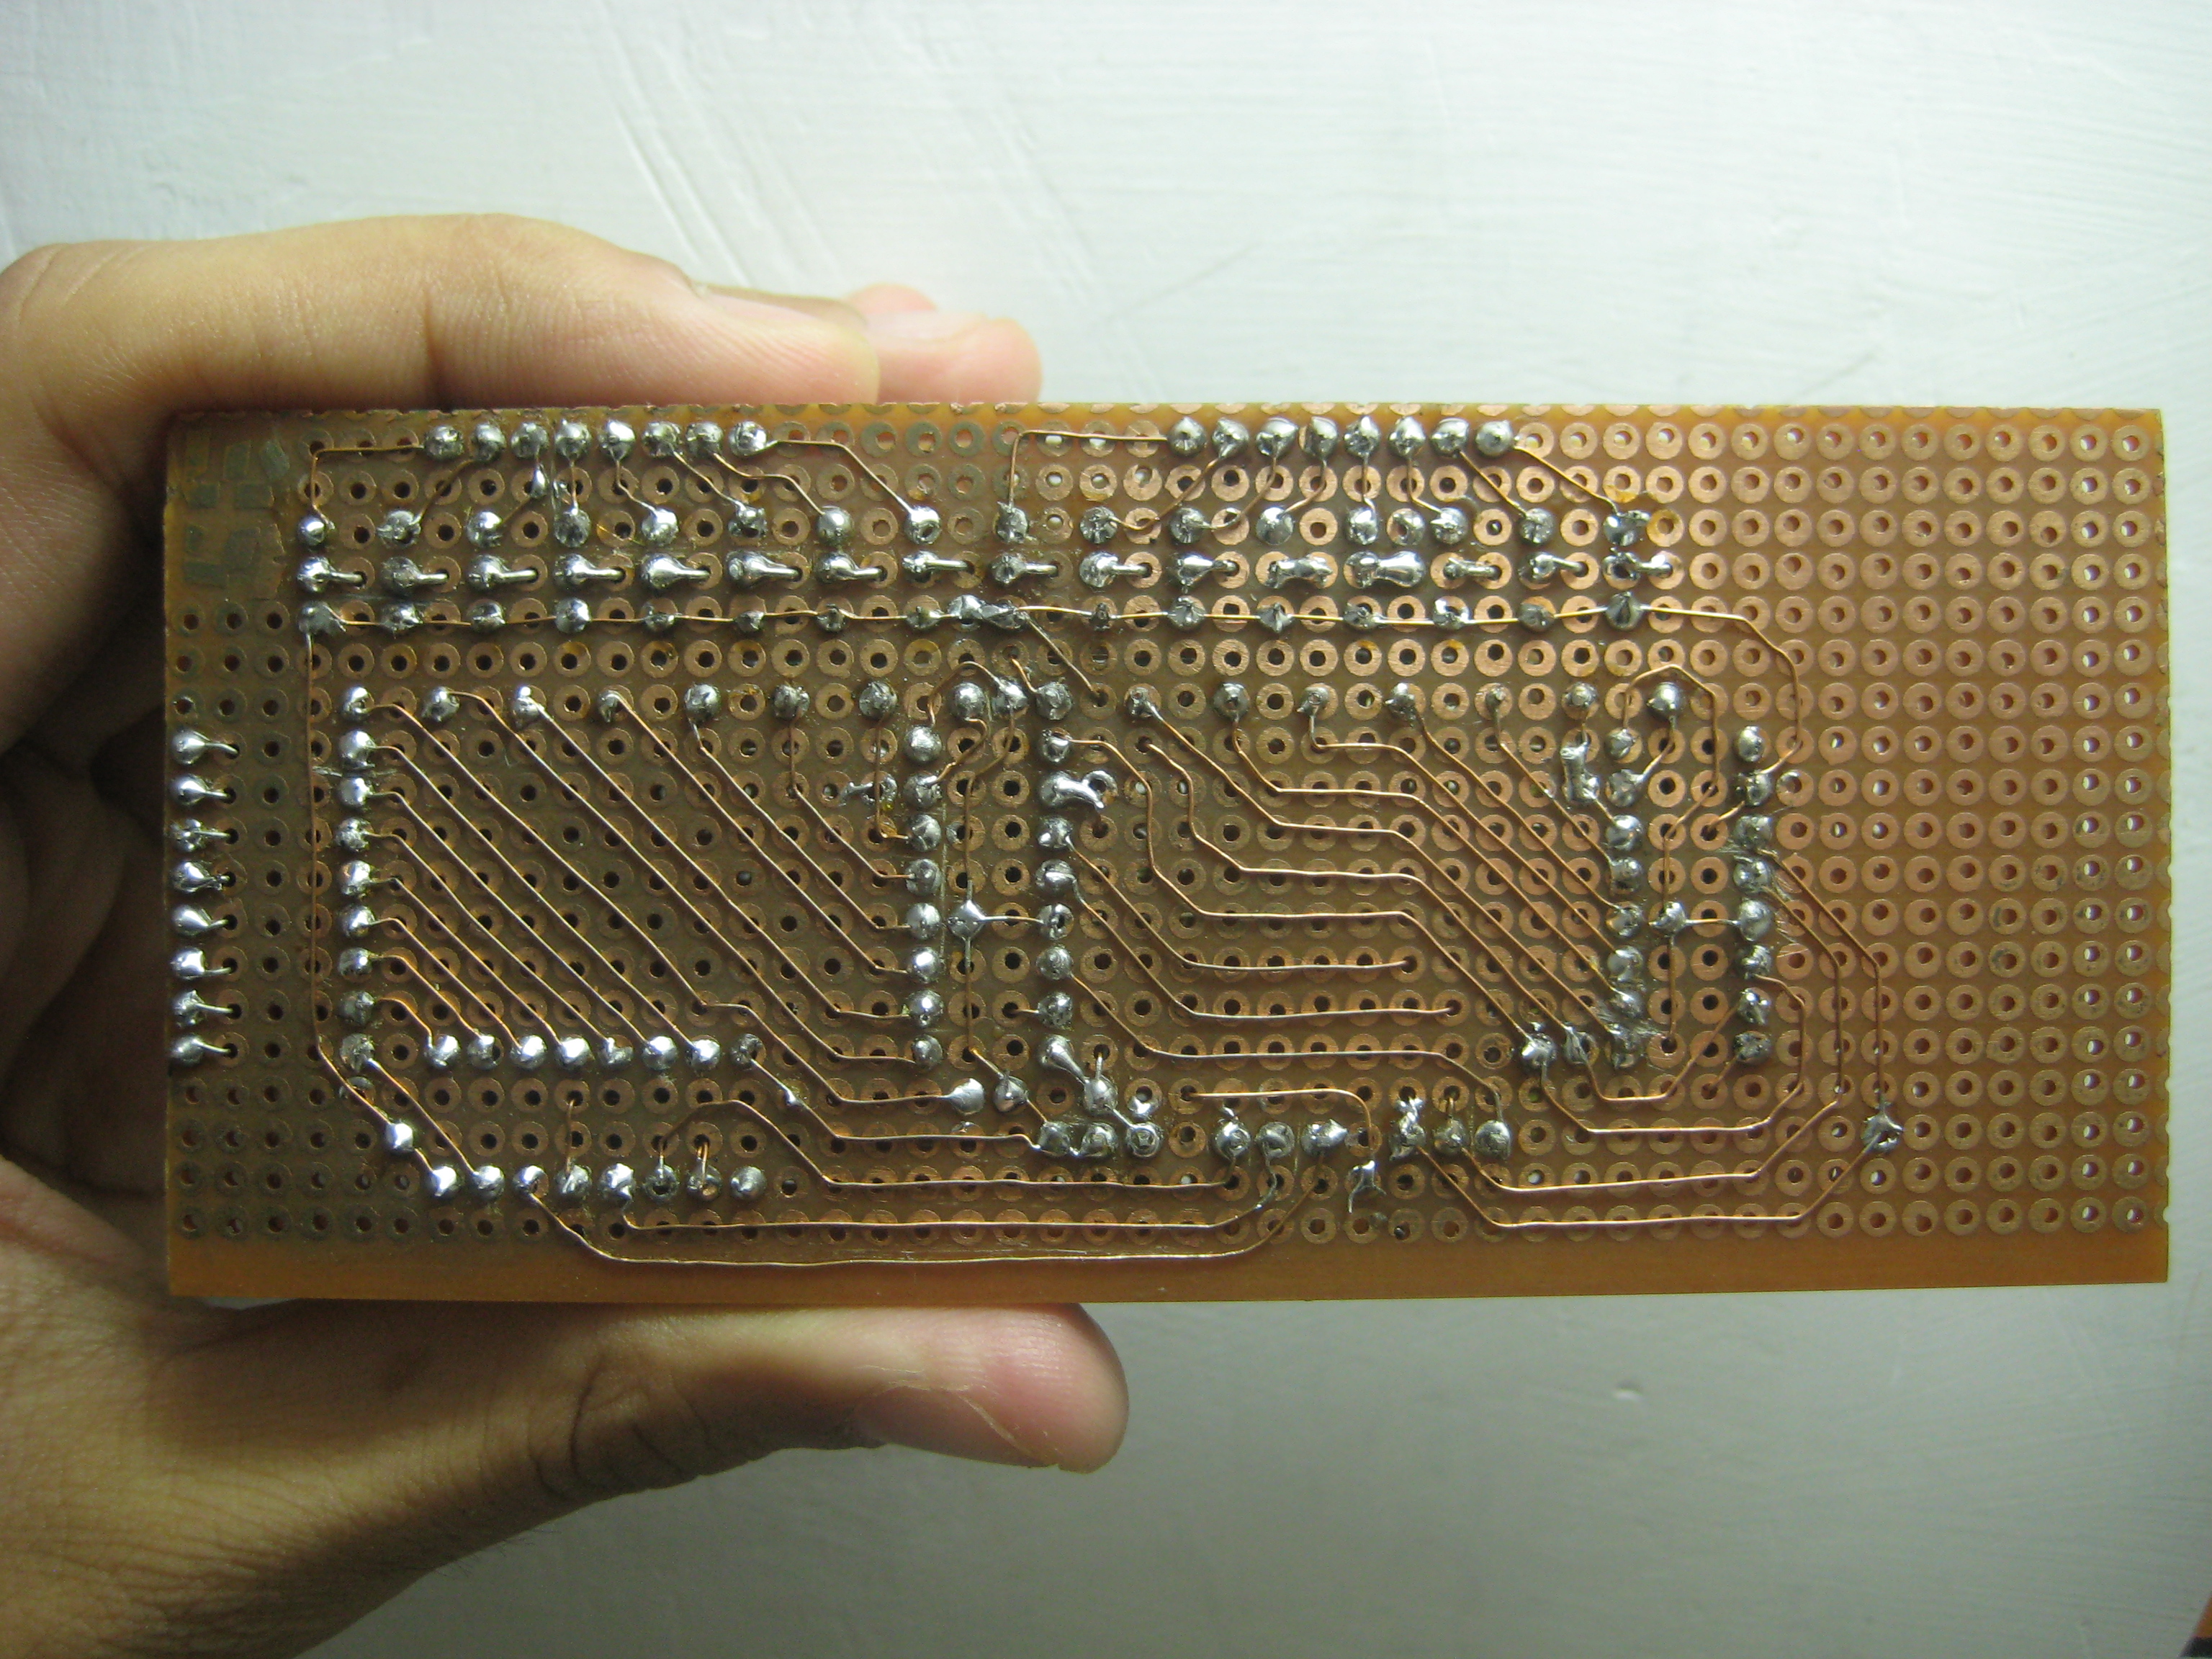
I was never proud of my soldering skills :p I still can't believe i made this board, all the copper wires are unenameled and i got them from a piece of home electrical wiring. I am going to coat the bottom with some silicone sealant etc. so as to prevent any shorts and smokes :) I usually make all the boards for my robots and things like this and i really like PCB designing. I am obviously not an expert in this and you may find mistakes in the baord but i believe this skill improves by experience and this board has added some to mine.
The next was the most difficult part- 'The Code'. I started trying to display some static characters etc. and as my understanding grew about how everything was working i finally became successful in making some text lines 'scroll' ! :D
I really wanted to share this project of mine with you guys beacause this is something completely made by me from the starting to the ending, the circuit, the code, the choice of components etc. This actually makes me feel proud. I really enjoyed making every bit of this and seeing it working perfectly at the end gives you so much satisfaction and joy :) and most importantly this made me learn so much about both the hardware and the coding.
Thank you for your time and i hope you liked it.
Any thoughts, advices, comments, suggestions are welcomed :)
Sanchit
Thanks for helping to keep our community civil!
This post is an advertisement, or vandalism. It is not useful or relevant to the current topic.
You flagged this as spam. Undo flag.Flag Post
Your post is currently under review by our moderation team. The review process usually takes up to 48 business hours.
You can track your post's status in the "My Content" section of your profile. Once approved, it will be published and visible to others.

Thank you for contributing to our community!