DFRobotShop Rover Tutorial - Control With Android App / Bluetooth
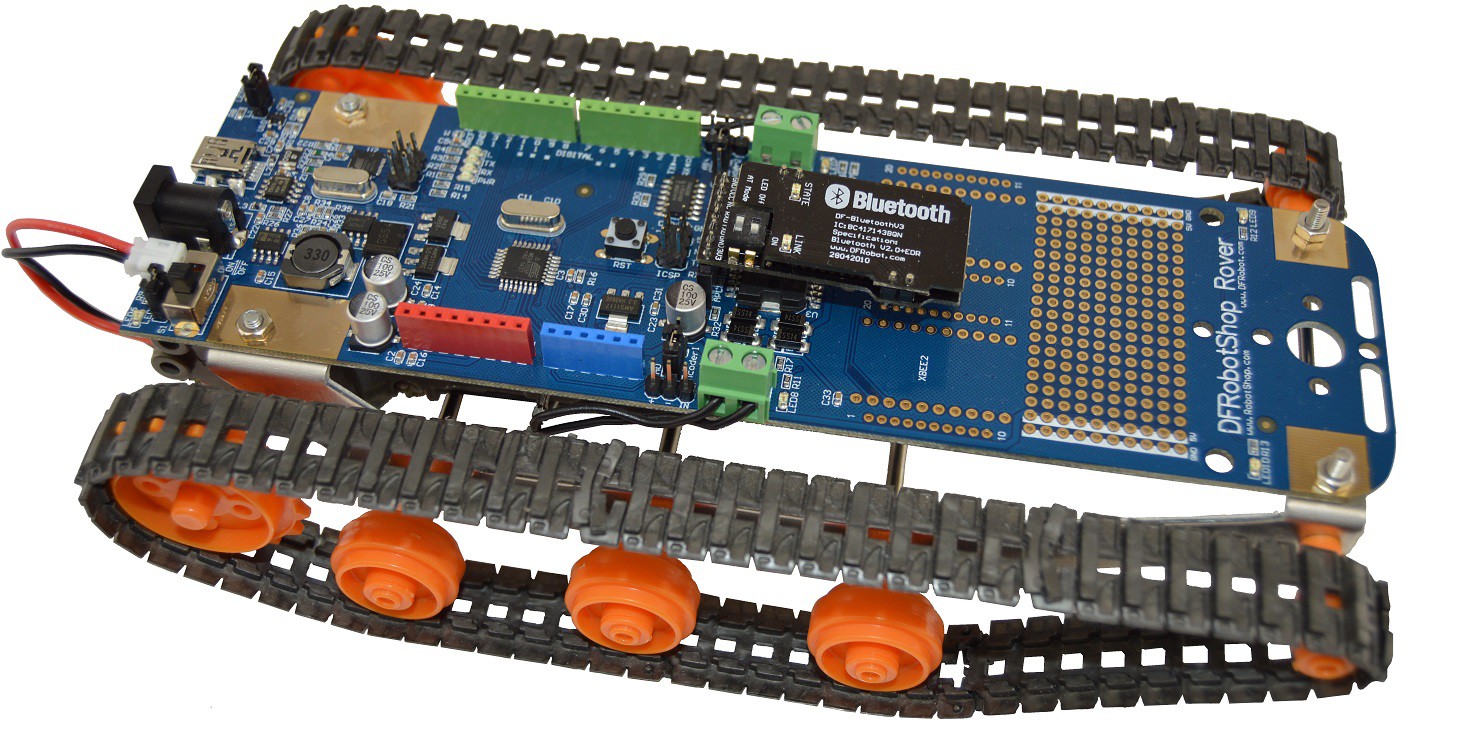
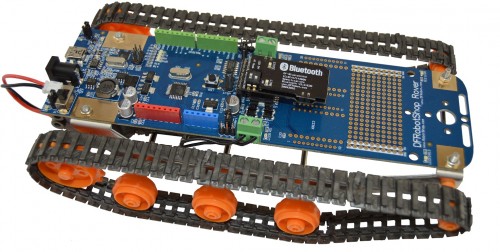
The DFRobotShop Rover products have been out for a while and we have received many questions since then on both our support center and on our forum. One common question we get is how to control the rover using a smart phone / tablet?. This tutorial will cover a simple Android-based solution to make this happen for you and your rover!
 ) to test the rover. Make sure to select a baud rate of 9600. Send 'W', 'S', 'A', 'D' to move the rover forward, backwards, turn left and turn right. Send any other key to make the rover stop moving.
Once you are done uploading / testing the rover, simply disconnect the USB cable and replace the DFRobot Serial Bluetooth Module on its socket.
Requirements
- DFRobotShop Rover v2
- DFRobot Serial Bluetooth Module
- Android platform (Phone or Tablet) running Android version 2.3.3 and up
- Arduino IDE
Programming the Rover
You can download the code for the Rover v2 here. Extract the files to a folder and go into the folder named "tank_wasd_keyboard_control". From there, open the .ino file. If you have the Arduino IDE installed, it should automatically open the file. Make sure your rover is connected via USB to the computer and that you have the proper Arduino Uno drivers installed. Go to the Tools menu in the Arduino IDE and ensure you have the right board (Arduino Uno) and the right COM port selected. Make sure to remove the DFRobot Serial Bluetooth Module before uploading code to the rover. Click the Upload button and wait for the process to finish. Once the upload is complete, you can optionally use the Serial Monitor (from the Tools menu or using the top-right corner iconBluetooth Pairing
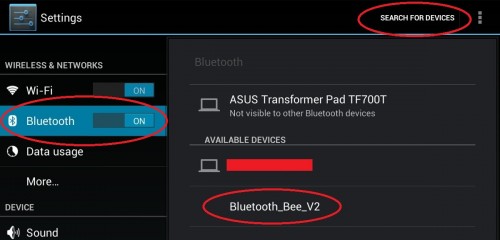
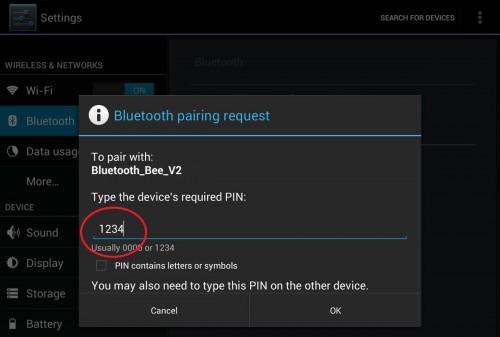
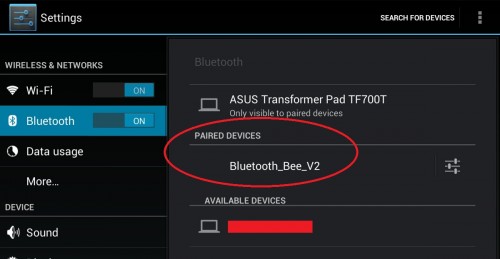
From your Android device home screen, open Settings. Go to the Bluetooth category. Make sure the rover has the Bluetooth module on and that the Rover is powered. Also make sure the Android device's Bluetooth interface is ON. If the device does not show up in the list press "Search for devices" and wait for it to show up. It should be named "Bluetooth_Bee_V2". Select this device to start the pairing process. To pair the device, you will need to enter the PIN 1234. Once this is done the module will pair to your Android device. It should now show up in the list under the heading "Paired devices", as seen below.Obtaining the App
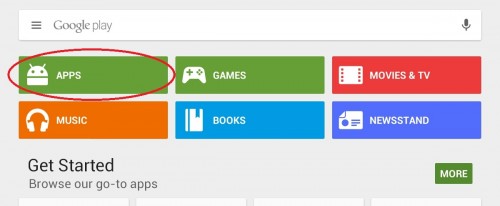
You can obtain the free app here. Note that this app is not affiliated with RobotShop. If you are unable to use this link, please follow these steps to obtain the app: First, open the Google Play app. From there, go to the "Apps" category.Then, search for "Arduino Bluetooth Controller". Press on the app showed above.
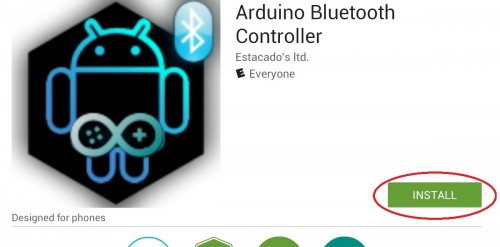
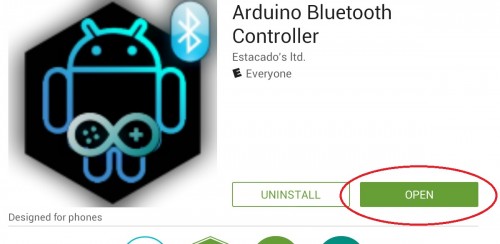
Install the app by pressing the "Install" button Finally, once the app is installed press "Open" to start the Arduino Bluetooth Controller. Before opening the app, make sure the rover is still powered with the Bluetooth module attached and that the pairing was completed successfully.Using the App
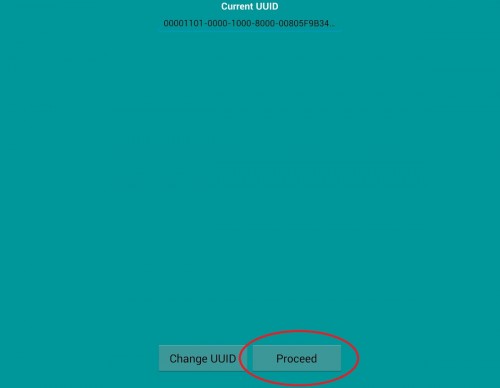
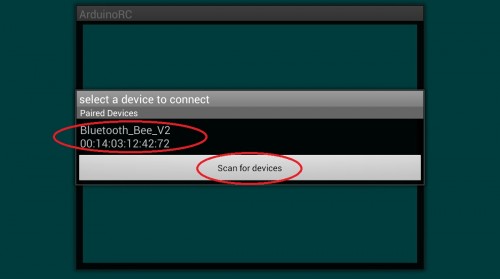
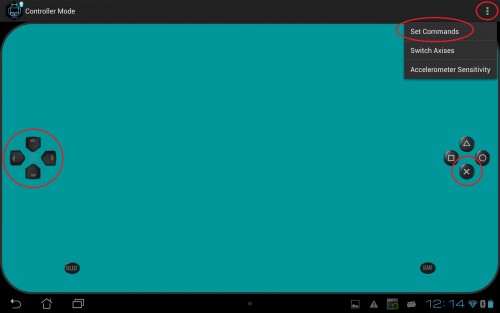
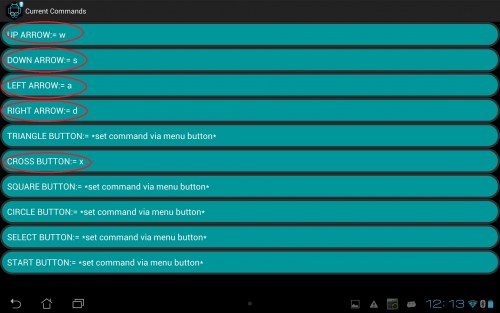
When the app starts, it may request that the Bluetooth to be turned on (if it was previously off). Activate Bluetooth to make sure we can connect to the rover. Next, the app will ask you if you wish to change the UUID. There is no need to change it, so simply press "Proceed" to continue. Select the paired device called "Bluetooth_Bee_V2". If it is not visible, ensure the rover is powered and the Bluetooth module is attached and press "Scan for devices". If the device still doesn't show up, go back to the Bluetooth Pairing step. Once at the mains screen, select "Controller Mode". The view below is what is visible on a larger tablet screen. When viewed on a smart phone, the buttons will be closer together. From the controller screen, select options at the top right and choose "Set Commands". Press each button name and enter the command of your choice. The default commands in the "tank_wasd_keyboard_control" example are 'W', 'S', 'A', 'D' as mentioned previously. Here we chose 'X' as the "stop" command. When done setting the commands, press the back arrow to return to the controller screen. You can now press the buttons on the screen to control your rover remotely through Bluetooth! Enjoy!Thanks for helping to keep our community civil!
Notify staff privately
You flagged this as spam. Undo flag.Flag Post
It's Spam
This post is an advertisement, or vandalism. It is not useful or relevant to the current topic.
This post is an advertisement, or vandalism. It is not useful or relevant to the current topic.
You flagged this as spam. Undo flag.Flag Post


