


zenshin
time to build includes also time i spent playing with arduino before i even started works on the chassis.
price is for motors, motor holders, wheels, Qik, arduino and 2 mini breadboards. i also bought some IR LEDS and resistors, capacitors etc. but those costs are next to nothing compared to arduino and motors :)
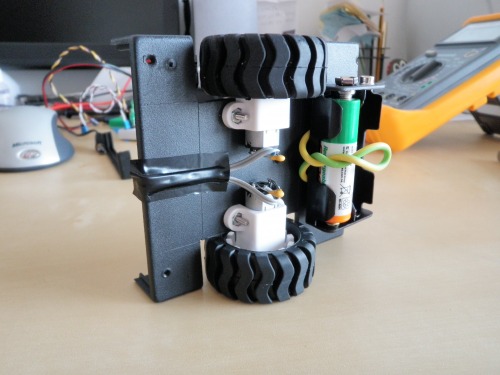
i just started to work on the main body, so that i can put motors and battery packs on it. right now i can start working on the motor control. i tried arduino together qith qik just to turn on the LEDs and it worked, so i hope it will work with motors as well.i attached 3 pictures from current state.
13.7.2009
a bit of craftwork today, i made a tentacle sensor for my new robot from steel string, screw and a piece of universal printed circuit. i will get some pictures later.
14.7.2009
i added video of the motors running. arduino and QIK are not put together yet in one chassis, i just connected them to prove cocept :)
now i can work on making the body stick together and start adding sensors.
18.7.2009
i finally managed to get the HS81 servo moving as i want with my arduino board, it took me some time. :( shame on me! but it will make a nice base for sharp distance sensor.
now i have to wait for the sensors to arrive, they were shipped couple days ago, so i have time to work on the chassis. i tried putting the second battery pack for anouther 2AA on the bot as well as one of the 2 small breadboards but it moved the center of gravity a bit too much forward. i will have to test it, but i am afraid, robot would tilt fwd if slowing down from greater speeds. here are two pics - one with the tentacle sensor and the other showing new stage of chassis.

23.7.2009
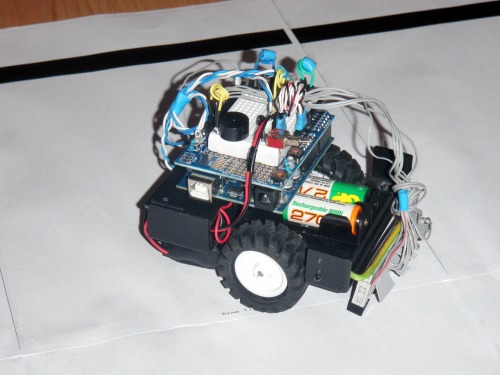
so, i finally managed to put arduino, batteries and one of the breadboards on tha chassis. everything, that was on top of the base is changed now :) so that it will fit into 10*10cm though it is higher than 10cm.
i attached video of the bot moving forward and then back at speed of 30 (if i am right) out of 127 that the controller is capable of.
5.8.2009
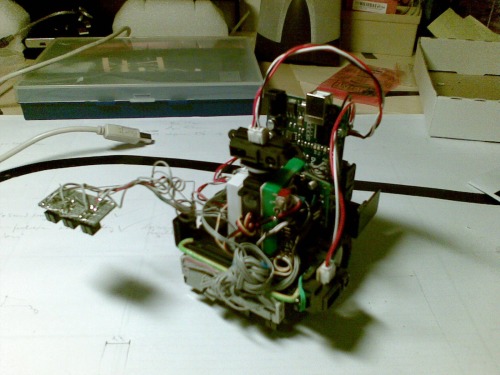
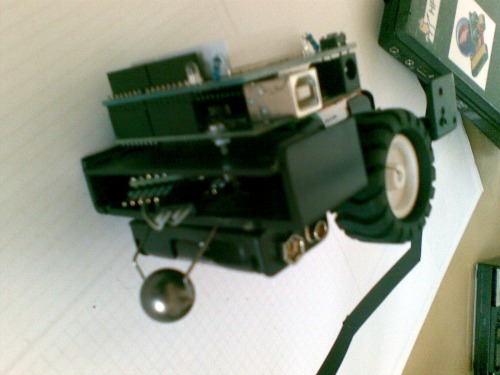
i put all the biog parts (not sensors, but breadboards, servo for distance detector, batteries, arduino) on the chassis. no i only have to add cables connecting arduino ports to the sensorsand sensors themself.
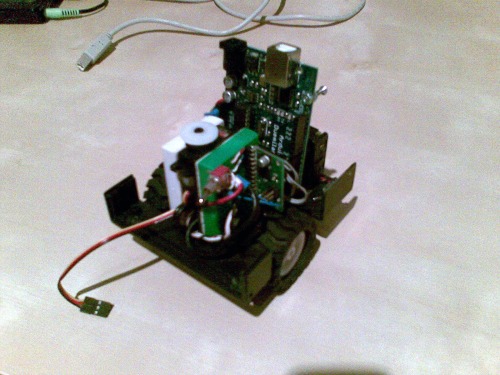
picture is little blurred, i took it with my phone, it was too late to go look for the camera :) better pictures will come as soon as i attach some sensors and test it on the track.
15.10.2009
so, after longer period of time (other 3 months old "biological project" home)i finally moved a bit forward. i connected CNY70 from my previous bot and tried to make arduino detecet the line, well dark spots on light surface so far.
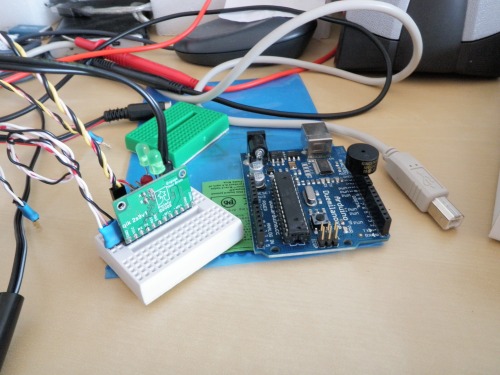
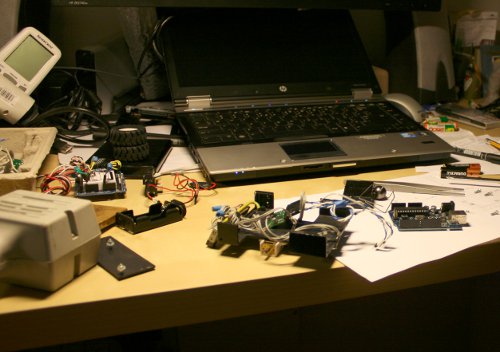
what i found out it that 2 out of 5 CNYs i have were failing (i am not sure, whether emitter part, or detector, they just dont work). attached is picture showing the testing circuitry:
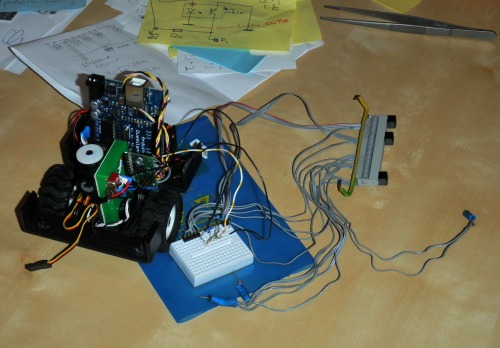
now i am going to work on the placement of those CNYs on the front part, so that they can handle slopes (part of the line following track for next year competition) and adding sharp distance sensors.
1.11.2009
ok, finally i managed to alter HW a bit, so the bot wont get stuck to obstacles with IR sensors and the first run was more than successful. :) max speed was 50 ou of 128.
video is embedded on the top of the page.
17.11.2009
the whole track, no gaps in line, no obstacles. variable speed and if he gets out of track, he returns to the line to the side, where he lost it.
video is embedded on the top of the page.
08.03.2010
so i finally got to do something again :) looking for line after losing it for specified distance.
video is embedded on the top of the page.
04.04.2010
a lot of work done lately, but no time to write about it :) short notes:
- changed from 1.2V rechargeable to 1.5 alkaline
- added 3 more CNY70 to navigate in maze
- found out, that servo and newsoftserial libraried dont work on arduino. at least at the moment, so there will be no servo for distance sensor
- changed spur to some sort of wheel - bead on a string, works much better
- using GP2Y for front obstacle detection and GP2D on the left side to go past the obstacle
17.4.2010
ok, so this is the end of the project :) my next project will be with NXT2.0 which i bought couple weeks back but i plan to return to zenshins core later on, probably for future competition with enhanced base.
couple more info about the final config. for the maze navigation i used 4 CNY70 in the end, but i didn't manage to finish the code to work well and it kept on getting stuck in the maze. as for theline following, 5 CNYs, GP2Y (10-80cm) forward and GP2D (4-30cm) to the side. after second round zenshin was on the second place, in the end he finished on the 4th place with another robot.
video from the competition is uploaded and added to the profile, unfortunately it is not from the successful run. i will try to get that as well and upload it later on.
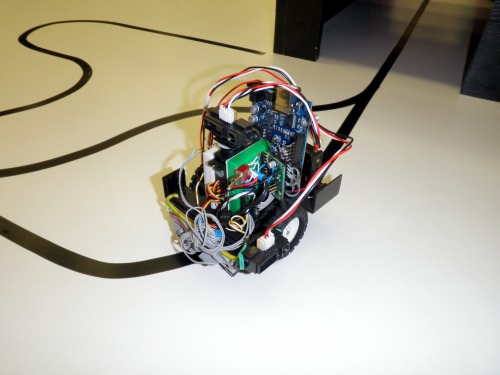
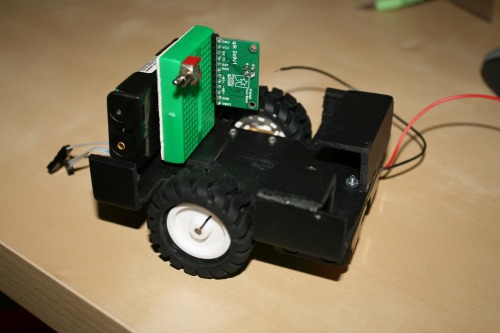
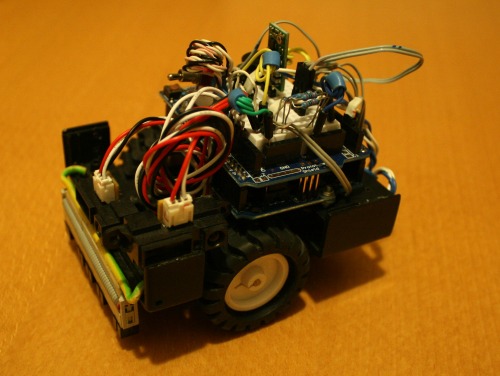
here is picture of the final look for the line following contest, without the arm for maze navigation.
work done, we finished 4/5th on the line follower (2nd palce before the last round... :( ) we'll be there next year though ;), here is the final list: http://www.robotika.sk/contest/2010/vysledky.php
30.9.2010
well, i decided i need to alter the construction of the bot a little. main aim was to move center of mass more to the axle of the weels (thus front) which resulted in need of placing one battery pack front and one on the back. next i bought arduino proto shield so that i can place the breadboard on top of arduino, thus saving some space and moving arduino from upward standing position to more suitable and space saving laying position. here are two pictures showing the new setup.
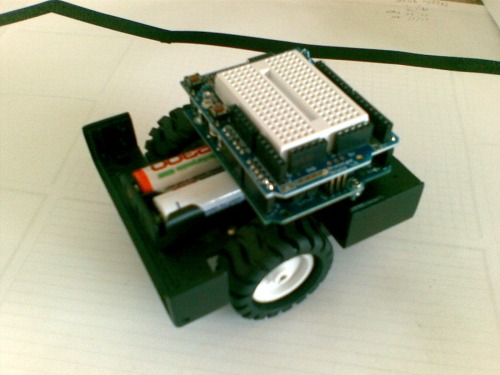
QIK motor controller was moved from the green breadboard in the previous design underneath the arduino, you can see its pins sticking from there.
the plan is to replace the holder for the 5 CNY70 with a bit wider one, maybe puting more of them on it. i will use 2 sharp IR distance sensors from previous version and add 2 more proximity sensors from pololu, so that the bot can navigate in maze (tests with following maze by following the wall from the top werent too successful. :)
17.10.2010
ok, still 5 CNY70s in the same holder, no IR detectors yet, just eough for completing the offline contest (https://www.robotshop.com/letsmakerobots/node/22649)
video of the lap is listed in videos section of this post.
28.3.2011
it's been a long time since i posted any update on this robot. he is almost ready for the line following competition, just some minor tuning. i attached new video and reorder older videos attached to this article.
03.04.2011
so finally i managed to make some maze navigation - simple following of the wall on the left, hopefully, it will work in the maze this saturday. video is on the top of the article.
26.2.2012
ok, it's been a long time. busy year and not a lot of time to work on the robots. but as the date of next competition is released, i had to start working on the upgrades/changes i've planned in the past year:
- pololu adjustable boost regulatorwith only 2 AA needed instead of 4
- changed the third rear wheel to a lot smaller - because of saving space in the maze competition
- changed placement of the CNY70 holder
first i had to dissasemble it copletely and i am putting it together with new/changed parts. i hope to post the images of the final setup shortly :)
4.4.2012
i did some rebuilding, these are the details:
before: 4 AA => 320g
after: 2 AA with pololu boost regulator => 258g so 20% less :)
i changed the way from CNY70 sensors are attached, as well as sharp IR sensors. i changed the caster wheel from big bead (about 12mm diameter) to really tiny one (about 3mm diameter). reason for these changes was to lighten the bot a bit and to make it smaller so that it wont stuck to the maze corners. also i hope to gain slightly more speed and stability in sharp turns thanks to lighter body.
12.5.2012
so i consider this project finished. it hasnt worked that well on this years competition so i decided to completely rebuild the bot and use the arduino and sensors on completely different chassis.
nothing yet, but the plan is to follow line, maybe solve maze
- Actuators / output devices: 2 * 50:1 Micro Metal Gearmotor HP from pololu together with Qik 2s9v1
- CPU: arduino - atmega328
- Power source: 4-5? AA batteries
- Programming language: arduino language based on C/C++
- Sensors / input devices: sharp GP2D and GP2Y, 9 CNY70
- Target environment: indoor flat surfaces with ramps