


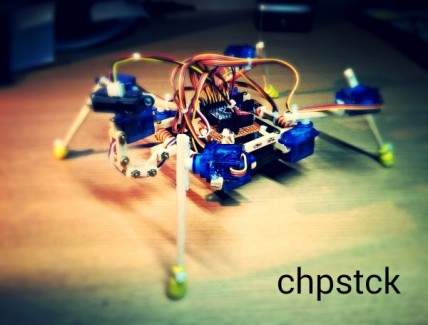
yet another chopstick
So this is my first robot ever.
Why another chopstick robot? Well, simple answer:
When i first started to look into making any kind of robot the price for a kit with metal parts etc. were a bit of a drawback. I didnt want to spend loads of money yet, since i did not know whether i could come up with some code for it or not. And just buying something premade with code already written... well i can go buy me a toy, but where is the fun of creating something then?
When i found lumi's Chopstick Junior 1.0 on LMR i found something that is cheap to make and a good point to start learning how this works and a bit less complex than the king of chopsticks made by OddBot.
Shopping list:
9x 9gram micro servo ~10USD each
1x IR Sharp distance scanner ~ 7USD (i think.. but any distance sensor you have will do...)
1x Arduino Pro Mini 328 5V/16MHz ~ 15USD
1x Batteryholder 4xAA ~4USD
1x pack of M3 brass screws (15mm long i think they are)
1x pack of chopsticks
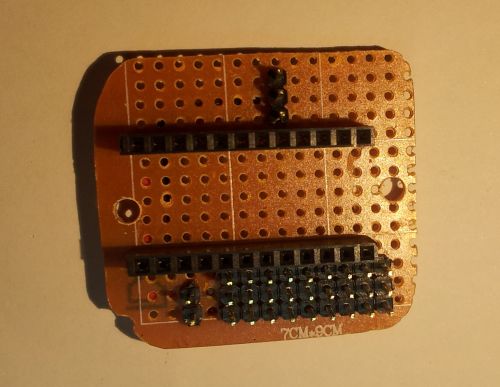
1x scrap piece of proto board
4x ear plugs as feet
bunch of male and female 0.1" pitch header
bunch of tiny zip ties
All parts listed above with a rough price add up to 116USD.
I would say the other parts one can get for less than 10USD extra.
Optional parts so far:
1x mini proto shield for arduino
1x wii nunchuck adapter
1x BlinkM mini LED
4x right angle header pins (for the chuck adapter)
4x straight header pins (for the BlinkM mini LED)
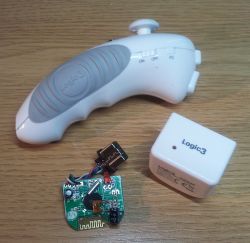
1x wii nunchuck wireless clone from Logic3
1x mini push button switch
1x jumper wire for the button
1x two wire + connector (scavenged from old PC power switch)
2x rubber bands to hold things in place
1x custom cut and grinded piece of PMMA to be the LED diffusor
a bit wire to solder the connections
Replacement parts:
1x 2000mAh LiPo battery and a charger/booster circuit to replace the battery pack
Assemble
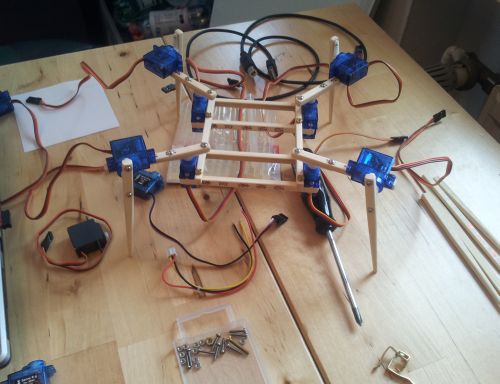
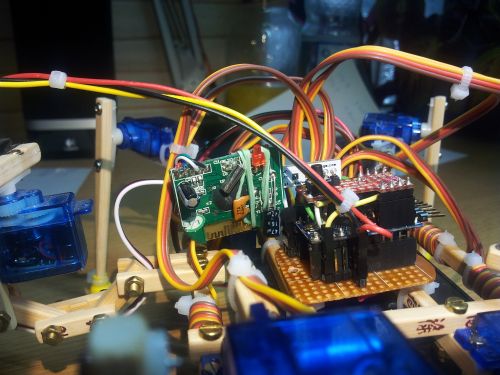
The first part of building this little creeper was quick and i did not take many pictures during assemble.
Basically took the battery box and fitted the body square to match it with some extra space on each side. The lenght of the legs is kinda random. I did not have any specific size in mind. It was more like 'uhm.. lets cut it off here.. looks good...' :D
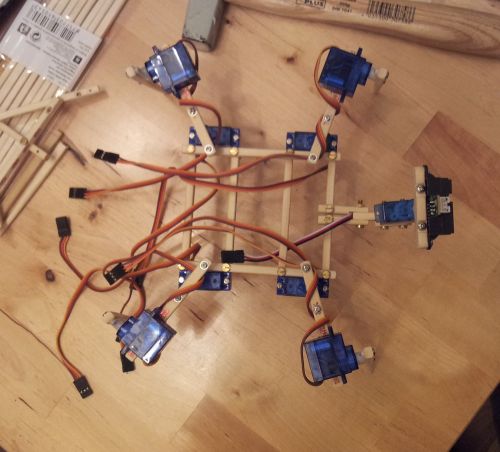
Next time i disassemble the bot ill take a few more picture.
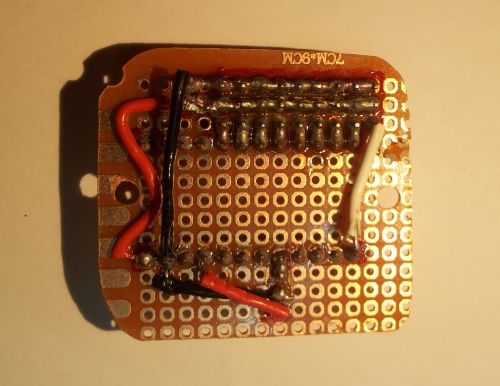
... here is the scrap piece of proto board to hold the Arduino and servo connections ect.
In the meantime it got a switch to cut off the power from the LiPo battery.
Coordinate system and gait
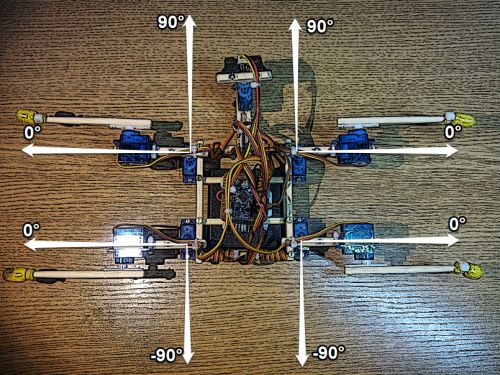
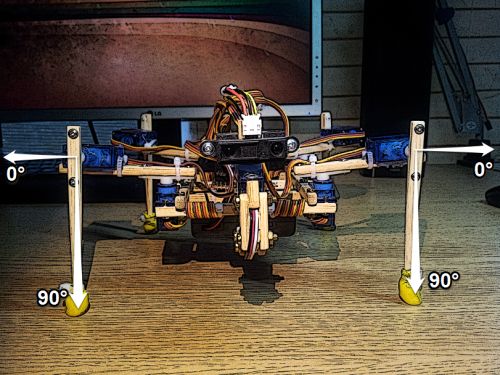
The goal for me was to learn something about different gaits and how to implement them (pff nah.. i wanted to make a cool robot1) After my first try with just one leg move per beat i figured i need a much more independent code from the actual servo values. Thats because they are all flipped to look in the same directions, so sending '90 deg' to both front hip servos wont make them go to the same position looking from the robots point of view. That made me put all servos into their own coordinate system with a maping function.
After implementing this coding went easier, because the coordinate systems are mirrored... well i will have to draw a picture i guess. Or you take a look at the source code, there is a bit of ascii art to explain the coordinate system and servo naming convention (yeah got bored at work hehe).
The first gait i programmed was funny to watch but not stable nor fast... maybe i upload a video of it when i find some time to reprogramm the robot again.
The second gait (4 beat walking) looked so promising, i even turned it by 90 degree to make the bot move sideways like a crab.
The picture on the left showing the legs movement during gait transition from this blog so credits to Oscar Liang.
Servo movement is fast enough to look simultaneous in the videos, but in fact it is just one servo moving at a time.
To make the robot walk backwards and sideways i just changed the servo values for each beat to make it walk in the desired direction.
Just to figure out that works.. but is not the kings way of walking.
Why? Well.. the forward walking pattern is made for walking forward. If i want to use it to walk backwards i have not only to change the servo values but also the sequenzing of the servos. Say if forward will move the front left leg first.. backwards has to move the rear right leg first. So i also turned the servo sequenz to match the walking direction and this looks much better.
Only thing left towards preprogrammed walking gaits it the turn on the spot.. that still needs improvement.
The code should be easy to adapt to any other 4 legged robot with 2DOF legs. If you have question, just ask ;)
Let the little chopstick critters conquer the world!
upcoming things
- improve code so it wont face down did some work on the gaits..
- improve obstacle avoidance
- make use of the sensor sweep (right now its just show off)
- use wireless wii nun chuk for remote control (currently in shipping yay) works!
- go autonomous if remote does not give commands for x seconds
- learn about inverse kinematics and write code for this robot
Update 20140527
uploaded source code
and added two pictures about the robots coordinate system
the nunchuk arrived in the mail today aswell..
so happy coding time :D
could not resist to pull the reciever apart :)
Update 20140529
Got the nunchuk working. Had a hard time figureing out how tho... since its wireless and non OEM :D
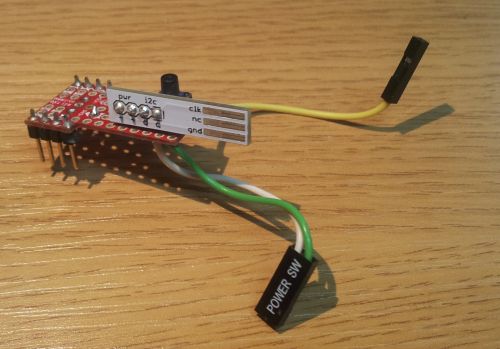
To make it work the reciever needs to be powered up and then linked to the nunchuk before you can initialize it in code.
So it looks like i need a init push button now. Well if i want the reciever in place, robot brain surgery is neccessary.
Time to take pictures too ;)

Update 20140601
Had the time this morning to finish implementing a rough draw of the nunchuck code.
Video is going to be uploaded.
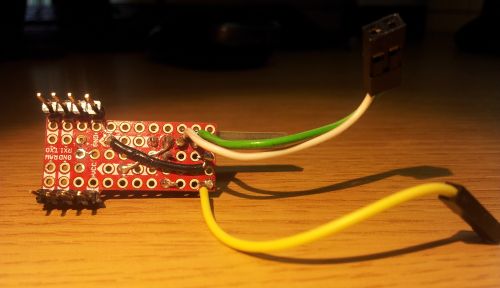
To use the wireless nunchuck receiver it has to be powered up and then connected to the nunchuck and then initialized in code before it works propper. Therefore i made the little shield to hold the receiver and a little button to trigger the initialization in code.
Everything put together back on the robot. But not fixed yet, because i have a feeling taht i might do some soldering soon again :D
New ideas include either a RGB LED or only one or two LEDs to indcate the status of the robot. Like during remote control its green. If the robot sees an obstacle it turns LED red, takes over control, avoids the obstacle and hands control back to the user inndicated by green LED. I will think about that during next week hehe.
Further improvements to the code to fully integrate the nunchuck are neccessary tho.
On a side note... controlling this robot is so funny.. i think i will implement that in everything that i ever build :D
Update 20140607
Bought a I2C BlinkM mini RGB LED to add some color feedback, a bunch of rechargeables (its eating normal batteries..) till my polymer lithium battery arrives (2000mAh LiPo and charger/booster board for around 30 USD).
Improved the walking code to minimize body contact with ground. The left and right turn move need more improvement still.
It looks like one foot is a tiny bit longer.. the robot is running in significant circle instead of walking straight. Also the one ear plug is teared to shredds already.. i need a better solution for that i think.
Videos and pictures follow as soon as i get hands on the ordered stuff :D
Update 20140629
Had some time to hook up the LED to the little shield. Simply attatched to the same I2C wires as the nunchuck is. Works like a charm.. but is really bright :)
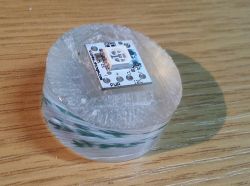
So first on the list was to make/find a nice cover to scartter the light a bit more uniform. After several attemps with different materials i could find at home, i took a piece of PMMA rod from work. These stuff is crystal clear when new.. this is used and garbage.. but good enough for what i need. So cut off a about 1.25" disc to get me started.

With the disc cut off it was a cutting and milling job and finnaly some grinding to get it in shape.
Lets make the hole for the LED first...
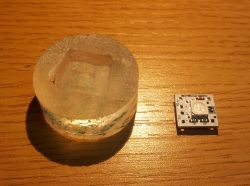
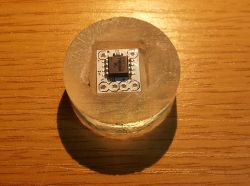
And then cut off and grind the top to a nice dome like shape.
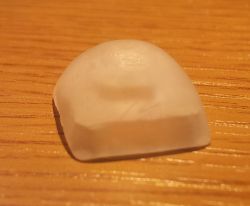
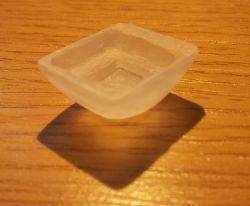
It has a loose fit on the LED, because i wanted to get it off without destroying the LED (little thing is kinda expensive). For final assembly i will use a bit of removable model making glue (which wont harden through and can be peeled off).
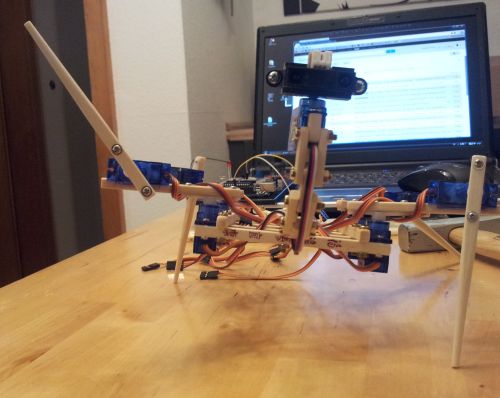
As you can see in the picture i moved the neck more into the body frame due to center of gravity related stability issues. Maybe i make it a long neck again and add some sort of tail as counter weight for it :D
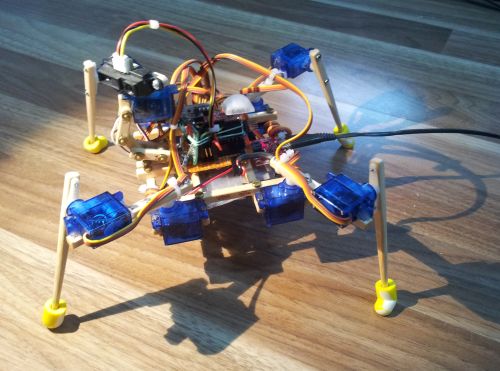
The LED can be programmed and therefore is independent from the robot brain chip. So there is no worrie to make the LED pulse while the robot takes care of walking and looking for obstacles. At the moment the LED pulses red if there is an obstacle detected. Green for remote controll available. Also the obstacle avoidance routine overwrites the remote controll already, indicated by the red pulse.
The little red LED you can see in the picture is from the nunchuck remote. Steady red indicates a successful connection.
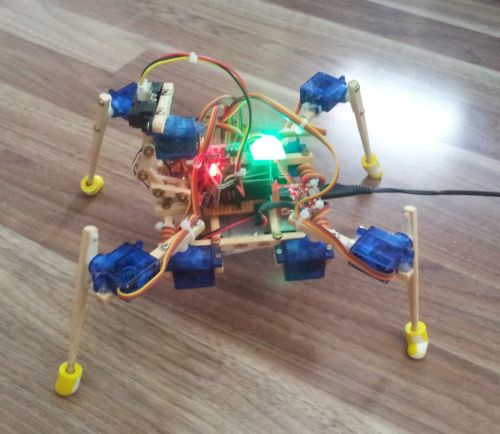
This version is equipted with the LiPo and the charger/booster circuit.. black USB cable to charge the battery.
Something i wasnt aware of is that the battery controll circuit draws little but energy if the robot is turned off. And by turned off we talk of a switch that cuts the power line between protoboard and battery circuit. Still leaving the battery attachted to the circuit and therefore draining low over time (yeah i think i didnt touch the robot for two weeks and it was empty). Not that big of a deal. But next revision wil have the power cut between battery and this controll circuit.
If any of you folks knows of a better way to cut the power and not drain the battery, please let me know... I am happy to learn :)
Update 20140816
I had some time to finalize (for now) the robot during holidays.
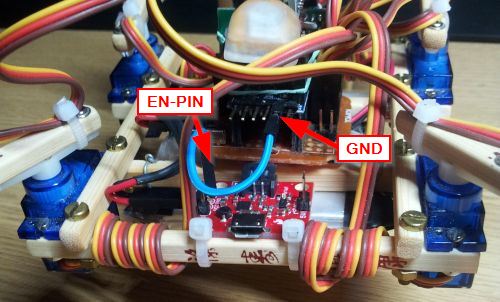
The power problem solved it self by simple RTFM :)
There is a enable pin that if grounded disables the whole chip and therefore doesnt drain any power... But since i didnt want to rip all apart and solder again, i just put a jumper wire from that EN-pin to GND from the arduino.
The gait for turning on the spot was a tad slow, and after watching a movie... i figured to turn like a tank would do the trick.
So one side walks forward while the other side goes in reverse. It's a but funny to watch because the gait is not statically stable for the front legs (see the new video).
The new source code is uploaded as well.
The nunchuck control got some new features as well. Read the list below. Beside the new control features the robot gets bored after 15 sec without commands from the nunchuck. After 30 sec it enters the autonomous state and walks way using the obstacle avoidiance.
Obstacle avoidiance is now much more responsive. Now checks after each leg move instead of only checking after a full move cycle.
Nunchuck commands:
No Button
Joy Left: turn left
Joy Right: turn right
Joy Up: forward
Joy Down: reverseZ-Button && C-Button
Joy Left: decrease move delay
Joy Right: increase move delay
Joy Up: increase step delay
Joy Down: decrease step delayZ-Button
Colour indicator -> white
Joy Left: crab left
Joy Right: crab rightC-Button
Colour indicator -> white
Joy Up: body up
Joy Down: body downColour indicator pulsing
blue: booted up, but nothing to do
green: remote control
magenta: automomous
red: obstacle detectedColour indicator flickers
red/orange: boredColour indicator solid (while changing parameters)
green: min value reached
red: max value reachedColour indicator flashing
7x white: nunchuck initialized
I had loads of fun building this and also learned alot. Now moving to different projects for a while. Nothing to do with robots but still arduino controlled electronics :D
Thanks for reading LMR :D
creep around, avoid obstacles, autonomous and remote controlled