


YellowBOB
Hey! Here is another guy in the BOB army! :) This time Yellow one! So, it started when I was watching photos of the BlueBOB by TinHead. My daughter saw it and started to shout: "Doyit, doyit" that means "Robot, robot" in baby language :))) So, I had yellow ABS already fed into hot end, and I said to myself: "Why not! Let's have YellowBOB! :)". Digged a bit and came down to original BOB by K120189. Parts printed pretty good, had trouble only with biped brackets. After seven failed attempts I did rotate them to maximize base surface and printed separately from each other. I have attached modified files in case someone will find them useful. Now that God have created Solarbotics to be in Calgary, missing parts (Ping and Servos) got delivered next business day, and I was ready to start building: 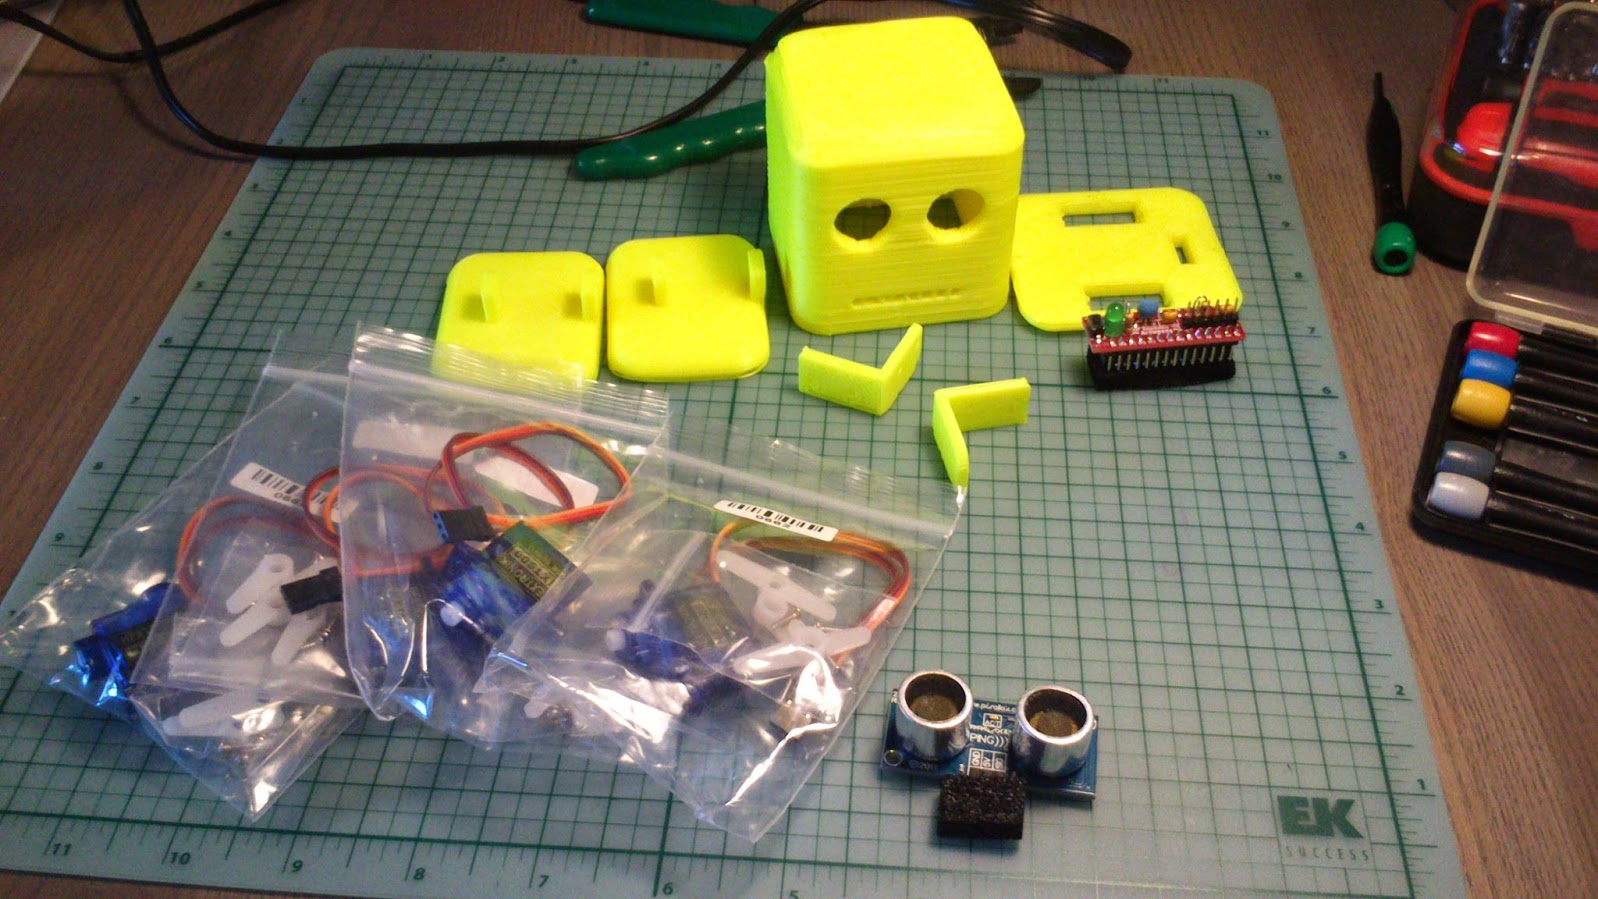
Main parts used:
- Set of 3D printed parts
- Ardweeny as brain
- Parallax Ping)))
- 4 x 9g Servos
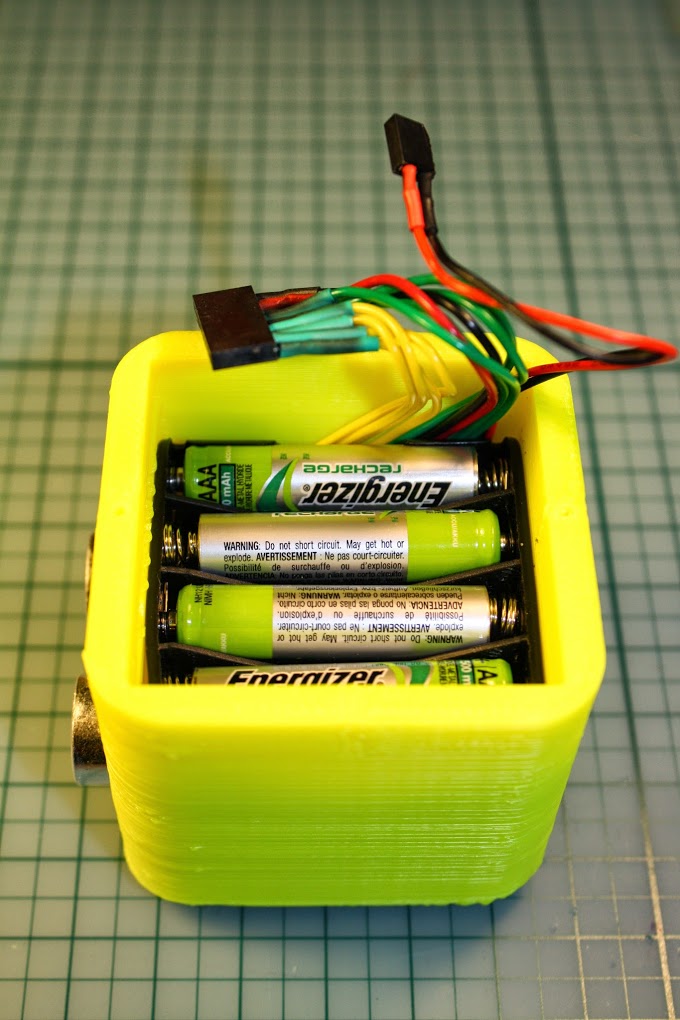
- 4AAA battery holder
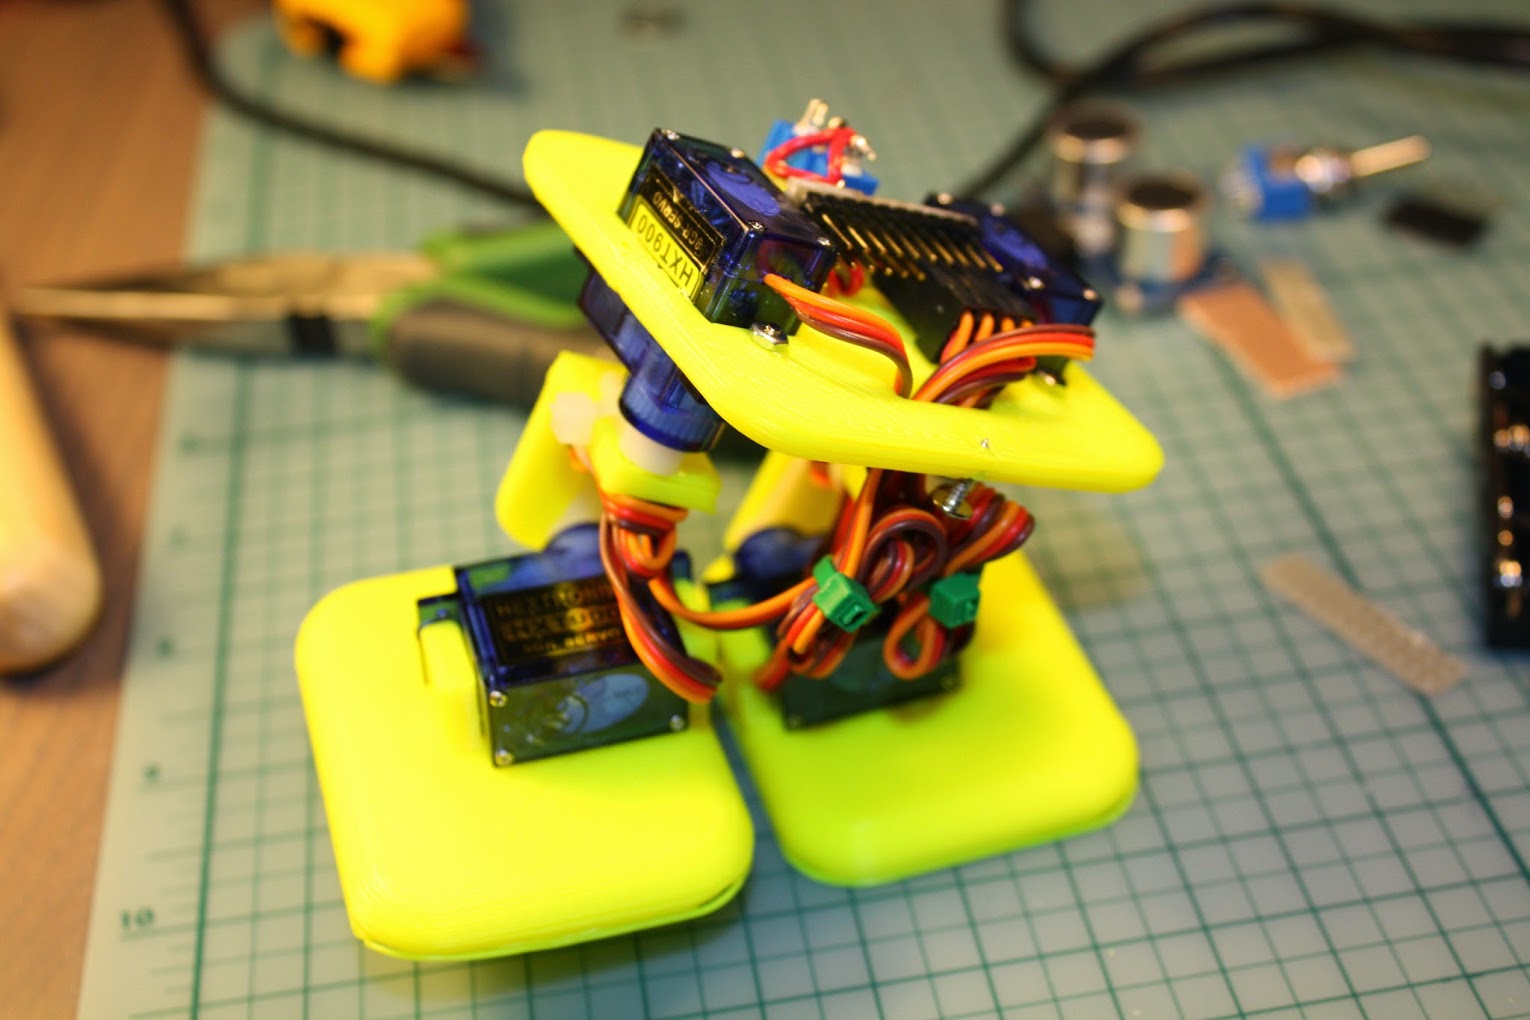
Have to say the design is very good, all fit nicely! Legs assembled:

And mount them under the base:

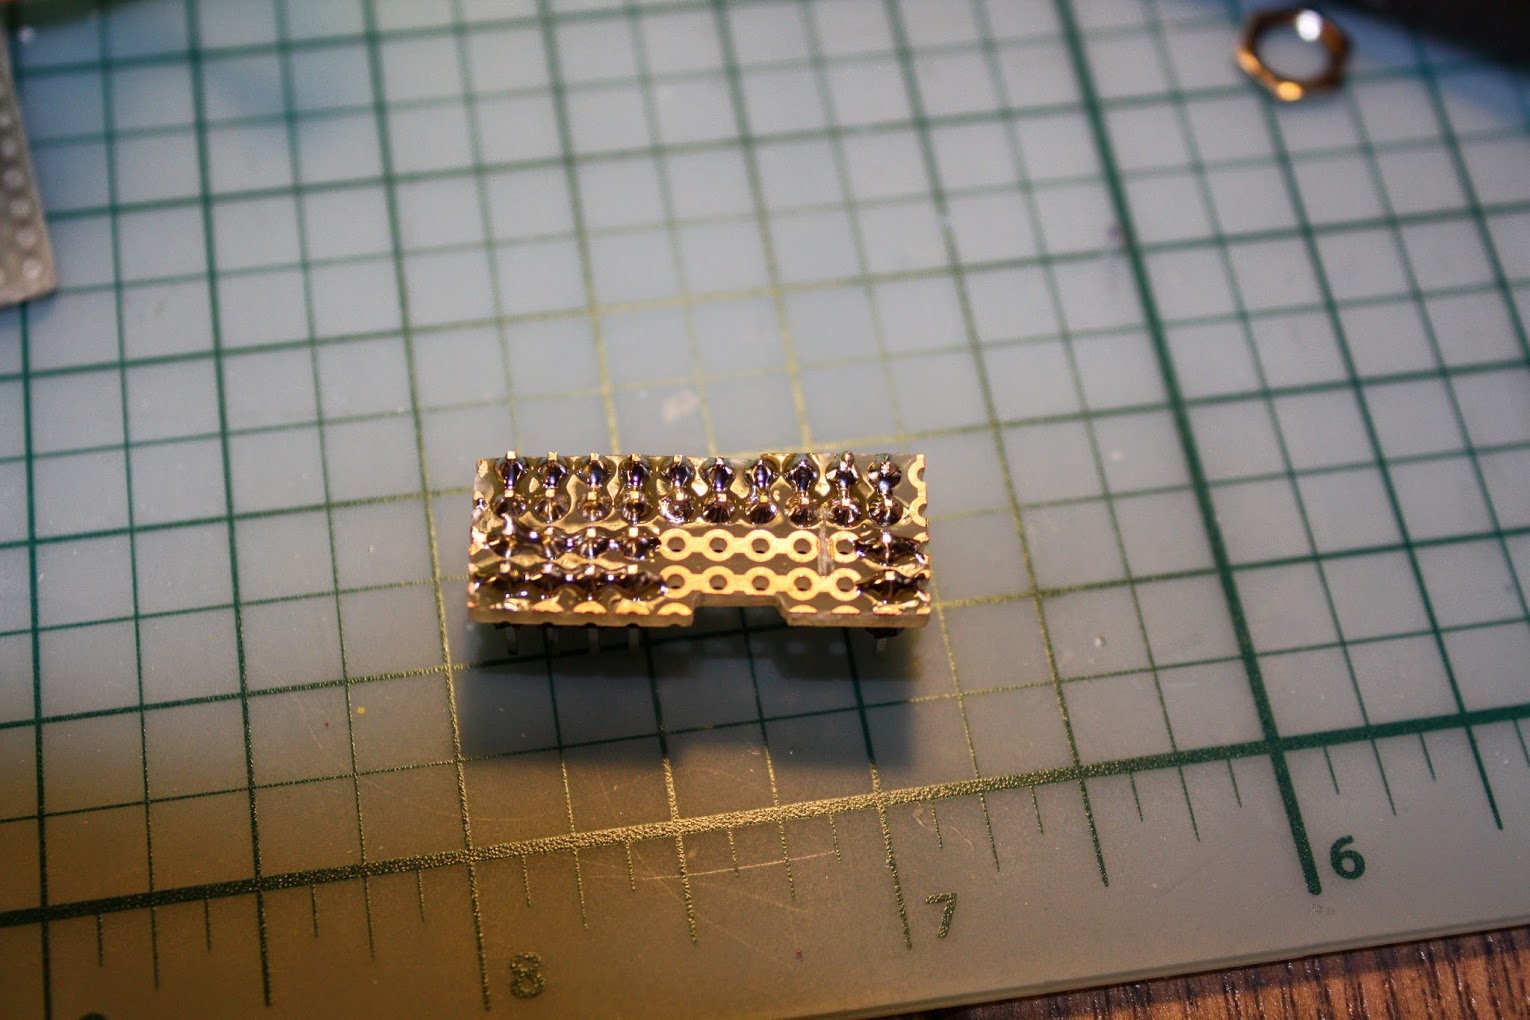
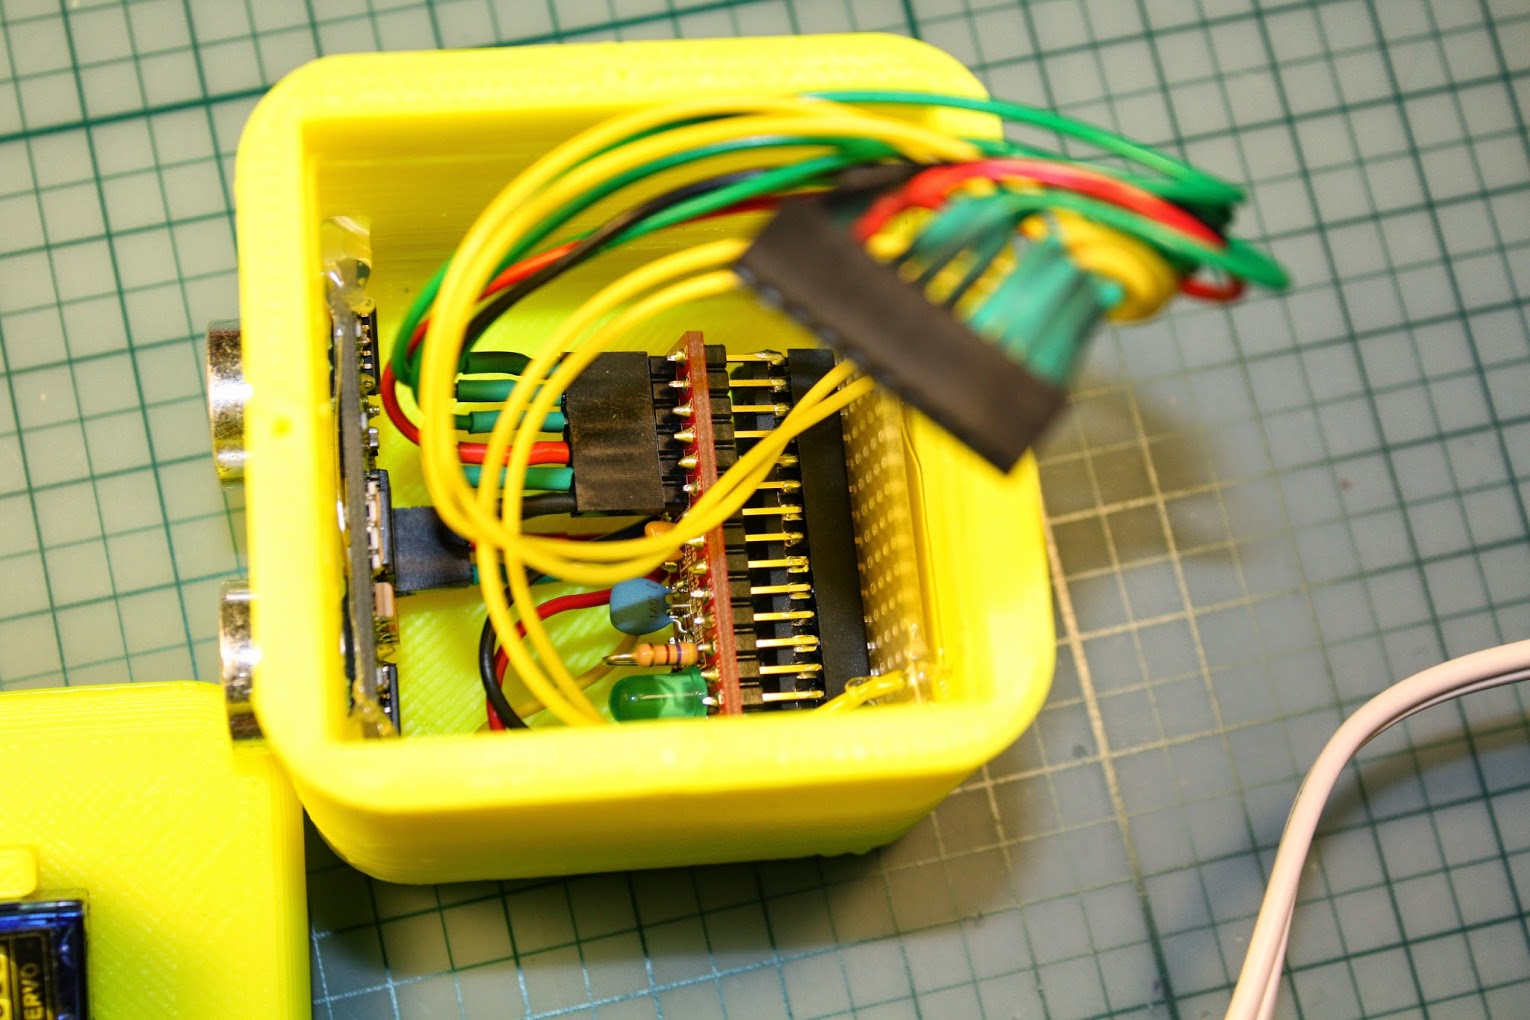
Then I had to figure out how to arrange the rest of components, as I was going to fit everything inside. After a bit of playing around and doing dry fits, I decided to mount Ping and Ardweeny inside the top part of the BOB's head, then would come batteries (4AAA holder fits really snugly) and it all had to be able to disconnect in order to put top and bottom of the robot apart. Here what I came up with. This is the junction PCB which will connect everything together. It also features programming pins:
And this is how it looks on the base:
And with wires hooked up:

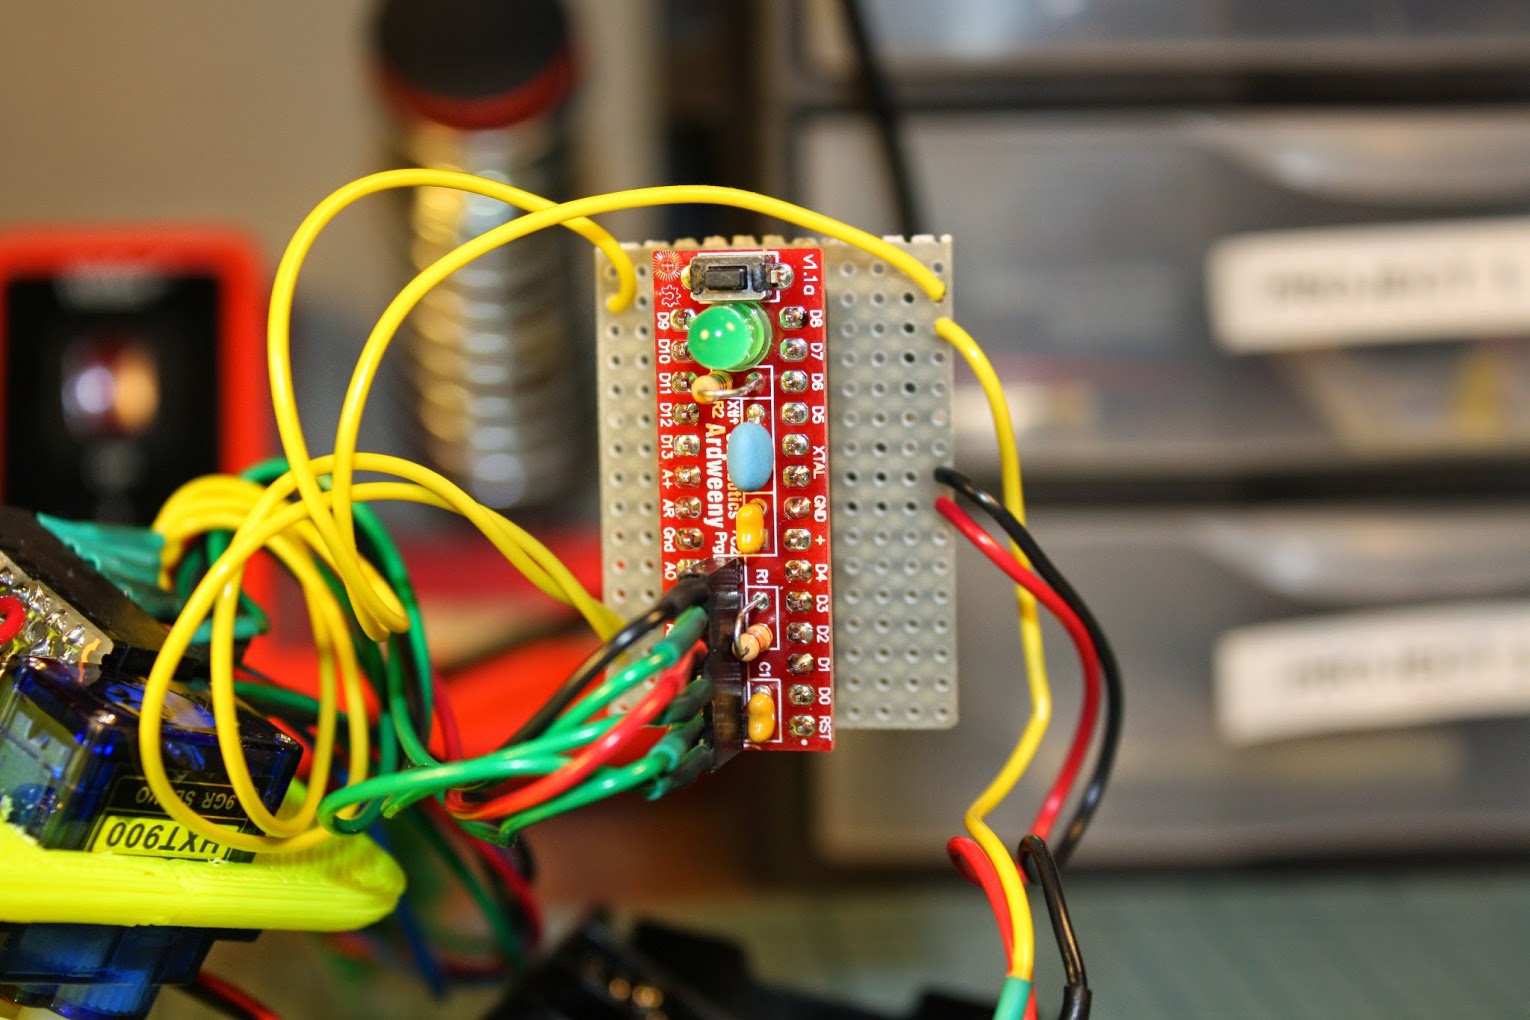
Then comes the Ardweeny mounted on its little protoboard, so I could remove it if I need it for another project:
Here is Ping and brain mounted inside the head and held in place by few little blobs of hot glue:
Now add the power. Battery pack facing out, so batteries could be replaced with only separating head from the base:
Then came programming and adjustment. BOBs code is based on work of Protowrxs (TED). It worked for me with just a few little adjustments. They include pin arrangement for Ping and tuning of servos' limits (see his code).
I also thought that I have found the most interesting place for power switch:

But after watching CtC's video I understood I was not the first one :)))
Here is YellowBOB complete and ready to serve:
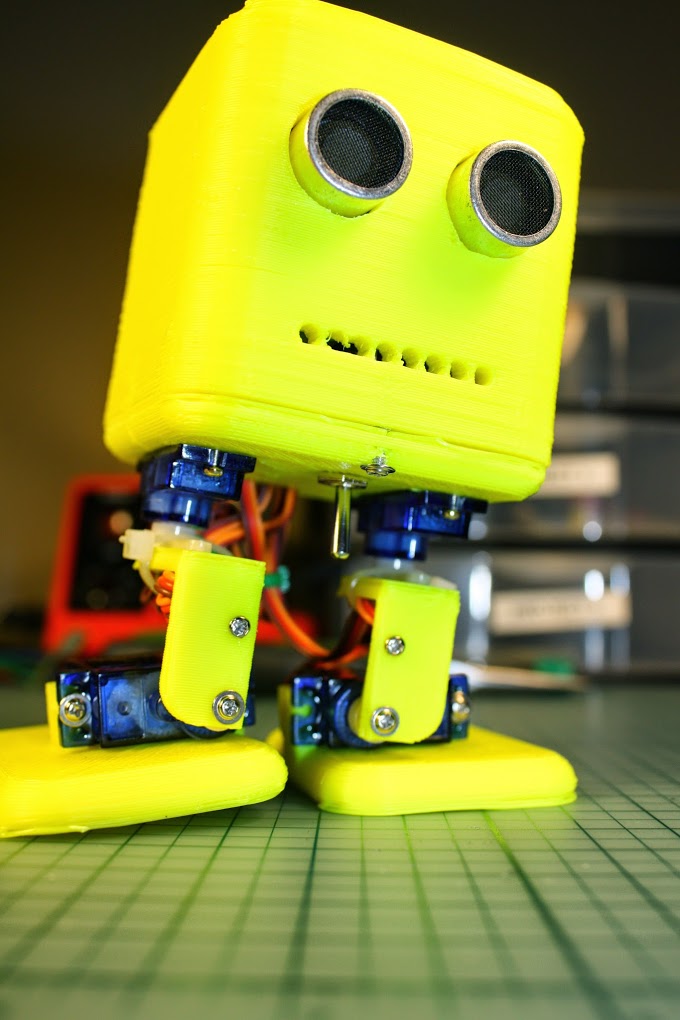
At the top of the page you can watch the video of YellowBOB making his first steps :)
All in all it was really fun project. I'd like to thank guys who developed this and would recommend everyone to build their own BOB, whatever color he is :)))
Wander around
- Actuators / output devices: 4 x 9g Servos
- Control method: autonomous
- CPU: Ardweeny (Atmega328)
- Power source: 4 x AAA rechargables
- Programming language: Arduino C
- Sensors / input devices: Parallax Ping)))
- Target environment: Smooth Surface