


YAWH: Yet Another Wall-E Hack
Hi Everyone.
Update: I've got Wall-e mobile and sensing objects. Lately I wired up a dual battery supply. Separate batteries for his servos and cpu. Once his servo batteries get low, he switches to use his cpu batteries for both servo and cpu. The one test I did on the switch over was successful, not even a movement interruption. Wiring up the sound board now, so Wall-e can "talk". Next will be wiring up and testing the microphones. Oh, I also have the LDR's attached, when it get's dark now, Wall-e goes to sleep. Wakes up with light.
I was inspired by DJ Sures (http://atomic.speculation.org/index.html?page=52) to create an autonomous robot using the Interactive Wall-E toy. I'll be adding a few extra sensors to it, light sensors in the eyes, mic's on each side. Also made the eye LED's tri-color so they can change color when he gets mad. This robot won't be mapping the floor, just random roaming, avoiding obsticales, generally staying in a lighted room (he's afraid of the dark), and heading towards any noise he hears (curious)..
Many thanks again to DJ Sures.
Connecting servos for arms and head
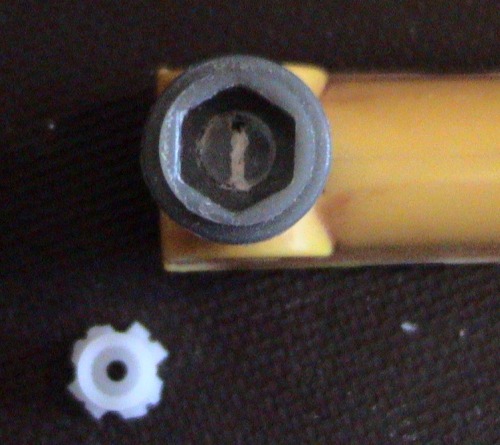
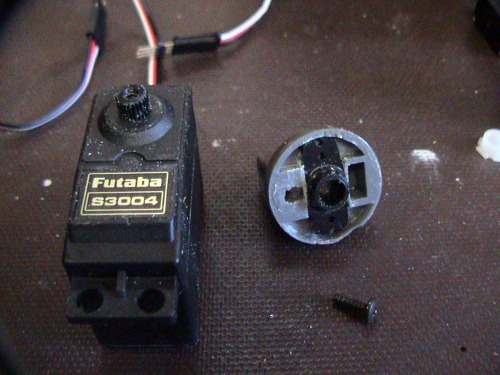
As can be seen in this picture, the plastic "stub" in the arm socket was ground down and the servo connector was clipped to fit.
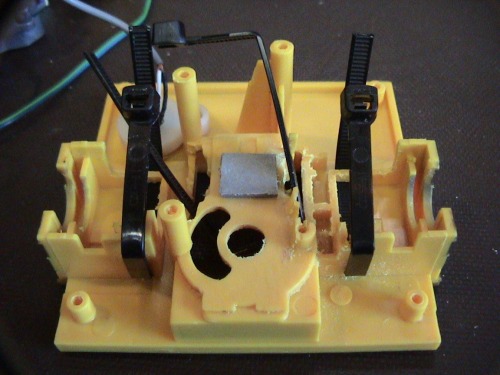
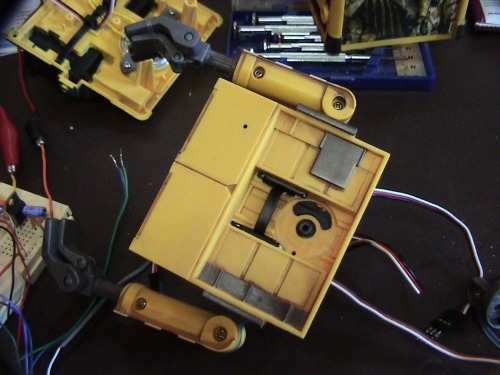
The arm supports were then cut away to fit the servos
And the servos just slide in. Tie wraps used to hold them in place.
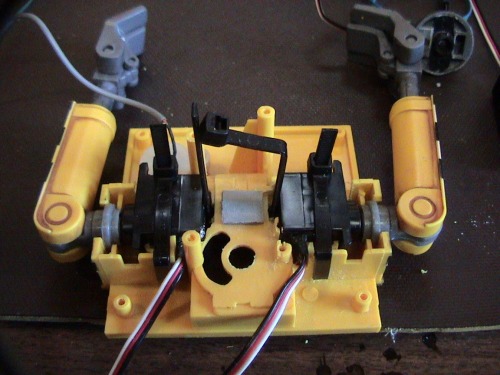
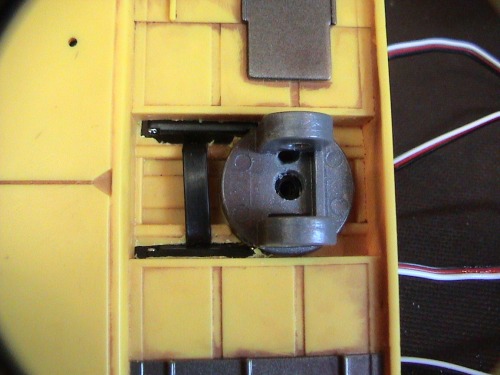
Just enough room left for the head servo.
I cut a slot on the underside of the head support to hold the servo connector. This I glued in place
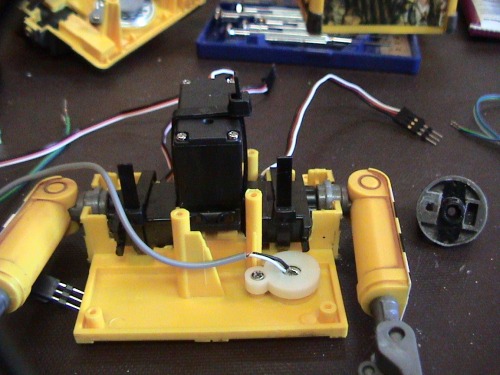
Here is a top view of the Wall-e with the head servo inplace waiting for the revolving head support. You can see were I had to cut the casing because of the arm servos. Just enough room!
And here is the view with the head support attached. It is attached to the servo with a screw through the centre hole. The revolving support just barely touches the arm servos, should be fine though.
Random roaming with light and noise sensors and sound effects
- Actuators / output devices: speaker, servo tracks, servo arms, servo head, tri-color LED eyes
- CPU: Picaxe 28x1
- Power source: 4 AA batteries for servos, 4AA batteries for cpu
- Sensors / input devices: Sharp GP2D120 IR sensor, 2 LDR, stereo mic's, DS1821 Temperature sensor
- Target environment: indoors