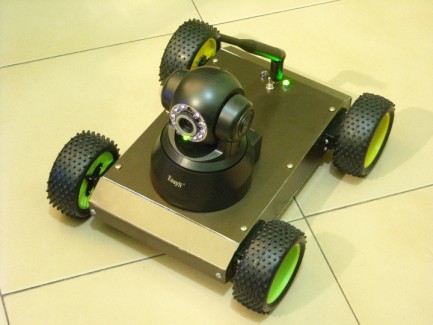
WiSpyBot
Hey Robot builders!!
This is my second robot using arduino. I tried to make a robot controled via webpage or processing App using a Wi-Fi router to connect arduino ethernet shield and IP Camera to PC/SmartPhone with Wi-Fi.
First video
Controlling the robot using app in processing.
Second video
Testing the app in processing with the robot and the camera ip separately.
At the end of the video broke one wheel, Opps!
The robot control is very simple, i have used the GET variables to send the robot's movements.
- Forward = http://192.168.10.150/f
- Back = http://192.168.10.150/b
- Left = http://192.168.10.150/i
- Right = http://192.168.10.150/d
- Stop = http://192.168.10.150/s
In case to lose the connection has also used a timeout of 1.5 sec. in arduino board to stop the robot.
For control the camera, I used a program (charles) to hack url commands. The most important are:
[MOTION]
http://192.168.1.126/decoder_control.cgi?command=
- RIGHT = 6
- Left = 4
- UP = 0
- DOWN = 2
- STOP = 1
- PATROL_H = 28
- PATROL_V = 26
[CONF.VIDEO]
160X120 = http://192.168.1.126/camera_control.cgi?param=0&value=2
320X240 = http://192.168.1.126/camera_control.cgi?param=0&value=8
640X480 = http://192.168.1.126/camera_control.cgi?param=0&value=32
BRIGHT value = 0 to 255 http://192.168.1.126/camera_control.cgi?param=1&value=96
CONTRAST value = 0 to 6 http://192.168.1.126/camera_control.cgi?param=2&value=6
Electronic & schematics
I used 5 voltage regulators:
- 5 V for Arduino & IP Camera
- 6 V for two servos (Forward)
- 6 V for two servos (back)
- 12 V for router
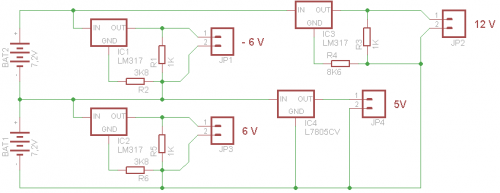
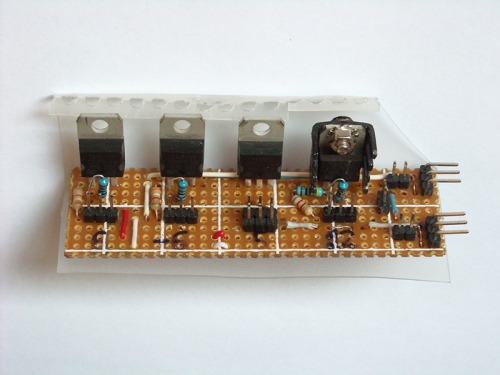
I used this configuration to reduce heat losses from regulators.

But this configuration has a problem, in the scheme is known as -6V but is not a negative votaje. The two servomotors connected to this voltage regulator is imposible connec to Arduino GND.
I solve this problen using two optocouplers for transforming the signal =D
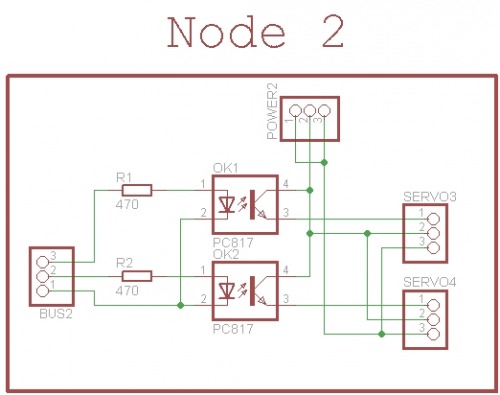
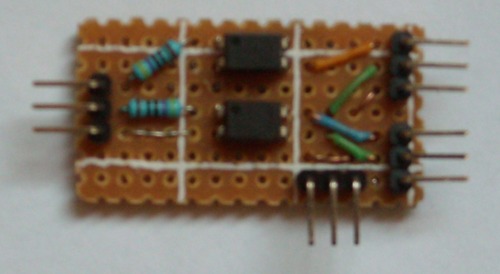
*The "BUS2" is two arduino pins and GND.
Cheap servo wheel !! =)
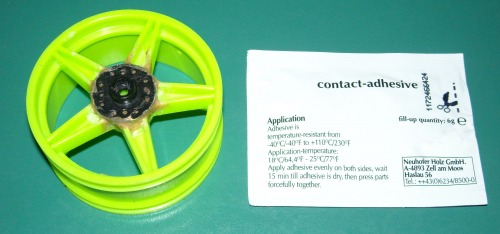
It is 1/10 RC wheel buyed on eBay. I used to stick the contact-adhesiv, but first to stick very strong need to sand the parts and clean them with solvent. Let dry for 24 to 48 hours depending on the humidity and temperature.
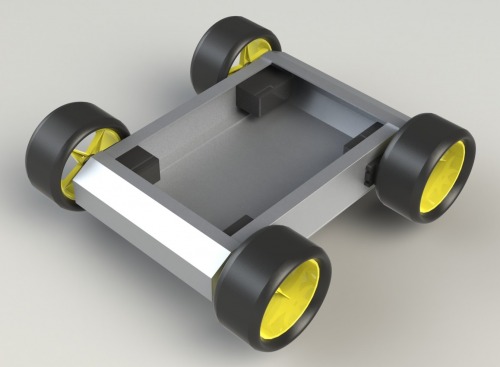
Some photos of the project
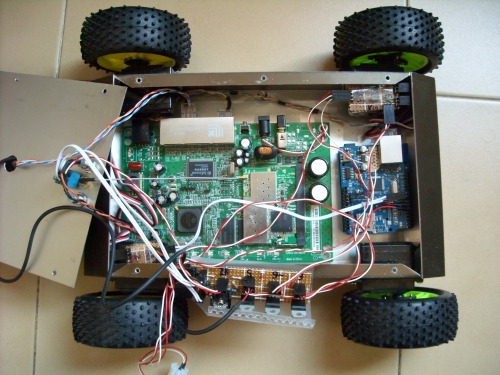
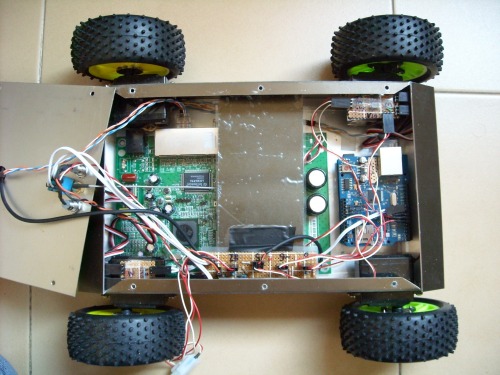
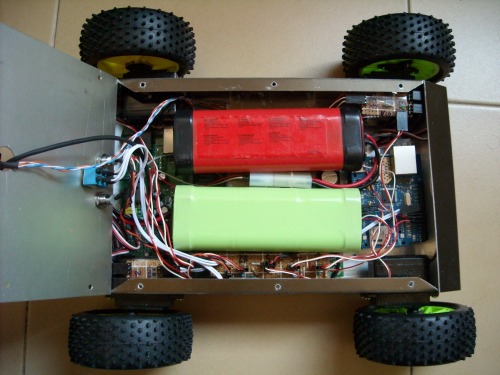
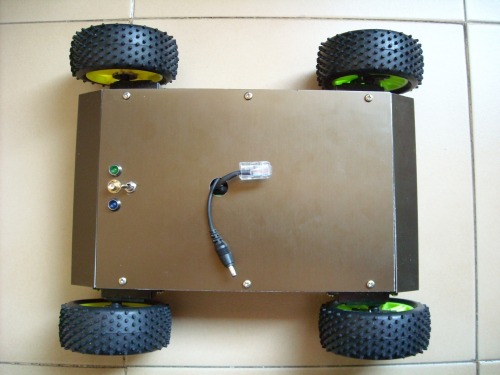
Arduino WebServer ( http://192.168.10.150/app )
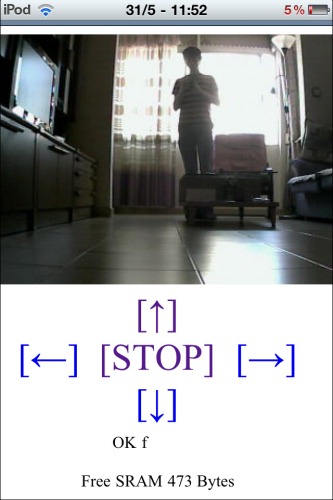
This is my first post and I have to update it with more content soon.
Pending tasks:
- Improve the code to reduce lag
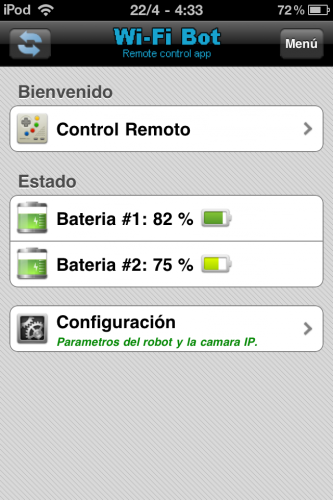
- Make a html app for smartphones
Make Make Robots!!, J.Rodrigo (@javrodara)
Sorry for my good English =)
Spy People
- Control method: Webpage over Wi-Fi or processing App
- CPU: ATmega328P
- Power source: 2 x 7.2V
- Programming language: Arduino, Processing, HTML
- Sensors / input devices: Ip camera


