


Wii NunChuck Project
I have now finished my wiimote project.This remote is now a USB-ready remote to be plugged into and talk to Processing or any other software running on my lappy. In addition, the remote can be unplugged from the computer, powered externally and used as a stand-alone RF remote and a TV remote!
Here are the construction photos:
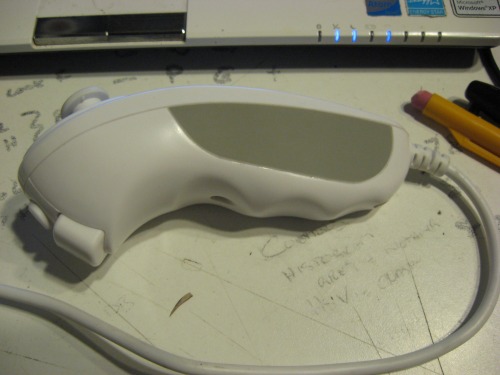
The basic Wii NunChuck
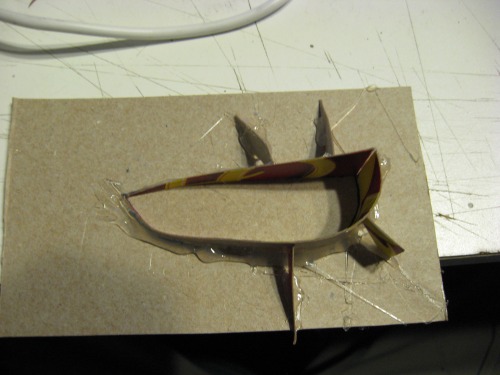
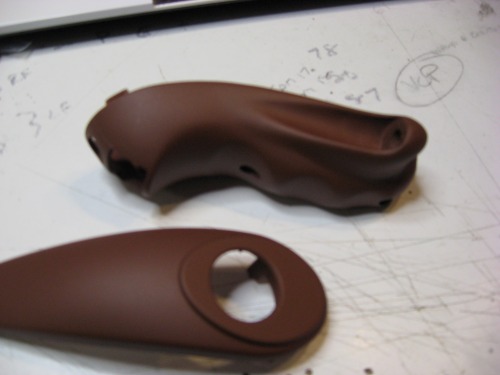
After making a template of the "grippie area" on the side of the remote, I made this "mold"
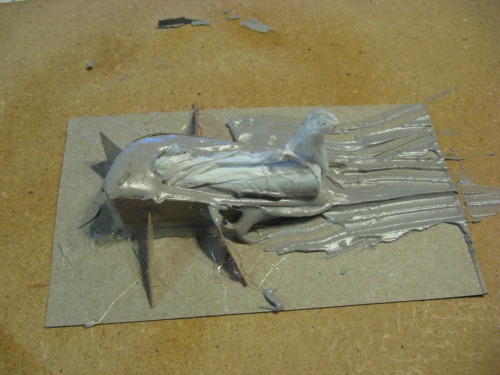
BONDO!!! And a AA battery wrapped in plastic so it wouldn't stick to the bondo
Removed from mold and AA battery "placekeeper" removed
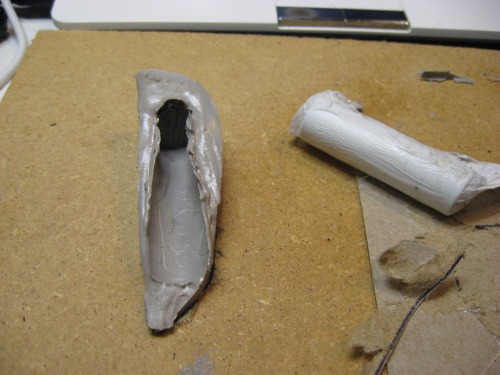
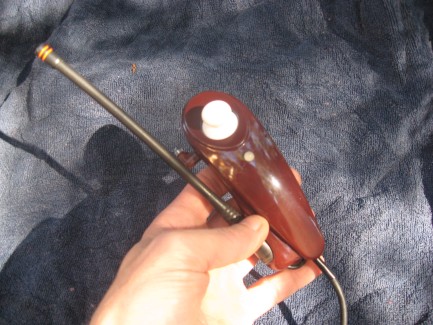
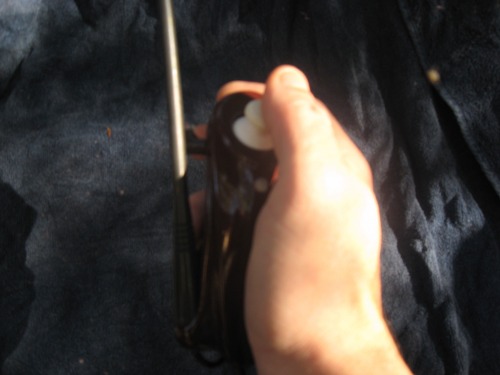
A little shaping and sanding then a test fit of the antenna
Now a test fit of the "antenna pocket" on to the remote itself
A little putty, a little paint and make it what it ain't
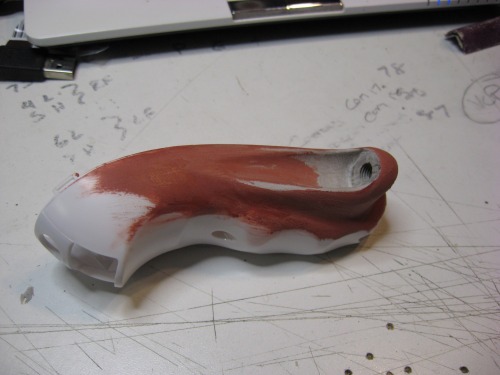
After final sanding and primer
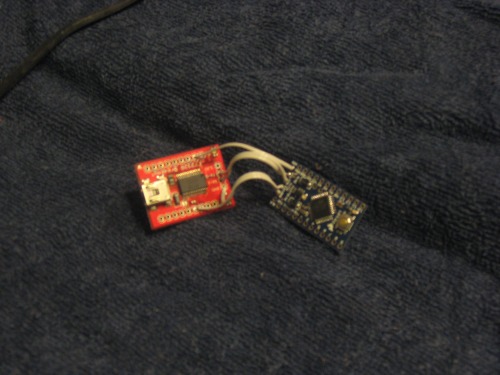
Prepping the Arduino Mini and the FTDI board
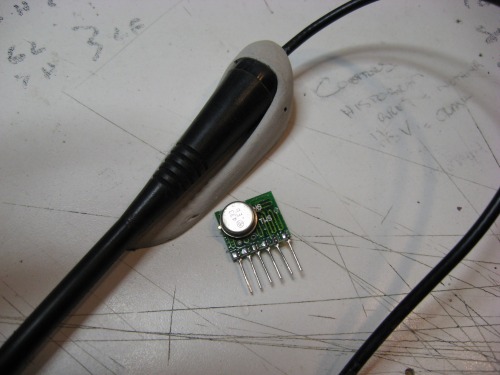
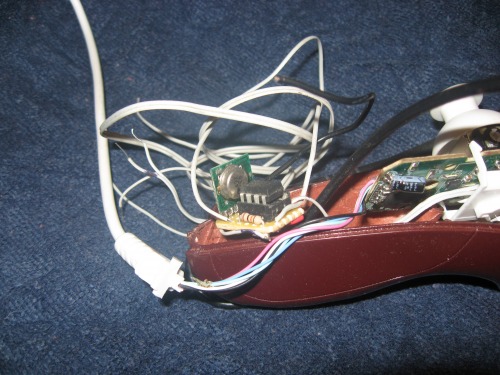
Prepping the 08m and TX unit for install --the arduino and ftdi go in next --Lot of "stuffing" here
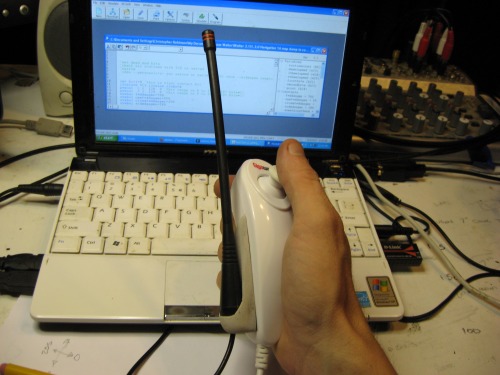
And DONE! All parts fit inside. Note the IR led on the side --I see no reason not to have an extra TV remote on hand
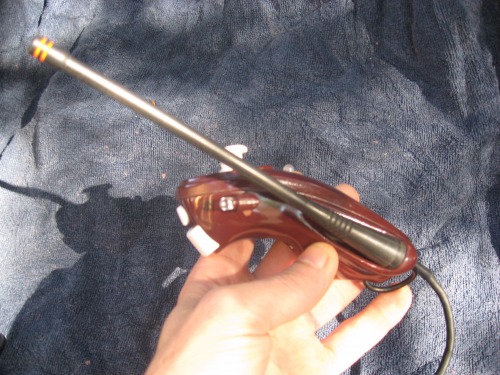
Booyakasha.
Universal remote to talk to Processing
- Actuators / output devices: FTDI sending serial data to computer / RF TX unit
- CPU: Arduino mini 328 5v and a Picaxe 08m
- Power source: USB and USB power via Batteries
- Programming language: Arduino / Picaxe basic