


Wigglebot Bug
Wigglebot Bug is a little robot insect.
Wigglebots the genesis of the robots are analog and use the basic concepts of mechanics to move. They are even more fun when they get together for a different ride. It flashes bright eyes and move in various directions to get tired legs. Just shut it down and after a short rest he is ready to ride again.
Tools that you need:
| Item | Image |
| Soldering Iron | |
| Nose Plier | |
| Cutting Plier | |
| Screwdriver | |
| Super Glue |
Components:
| Item | Qty. | Image |
| Mini-Motor | 01 | |
| Coin Bat. Holder | 01 | |
| 3 Volt Coin Bat. | 01 | |
| Flashing LED | 02 | |
| Switch | 01 | |
| Clips | 02 | |
| Junction | 02 |
How to assemble
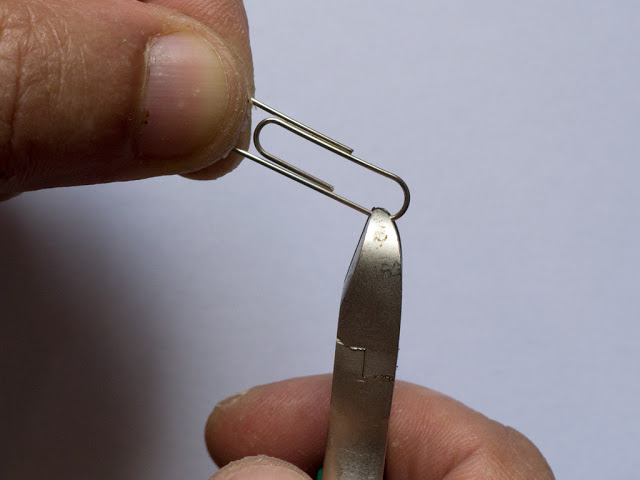
Step 1:
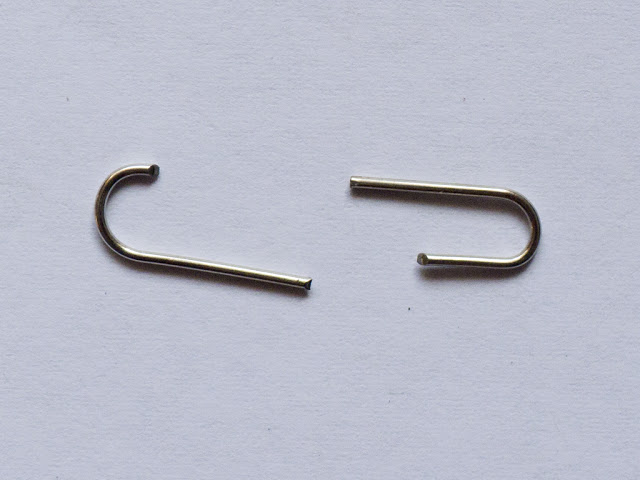
Cut the clips as shown in the images

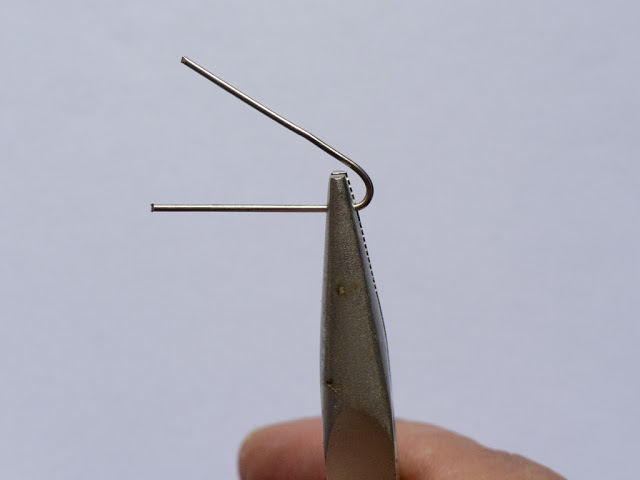
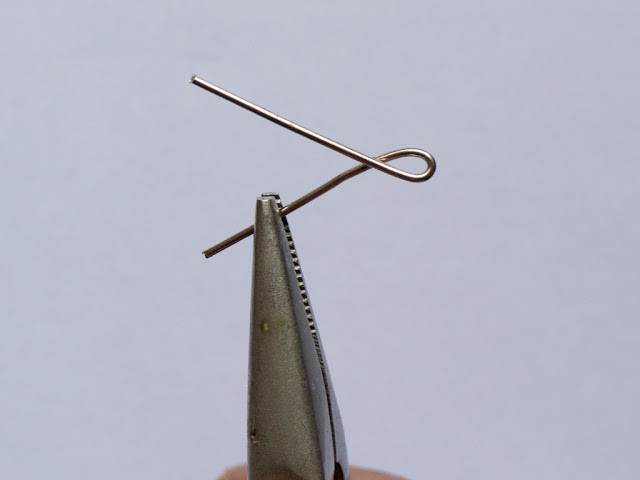
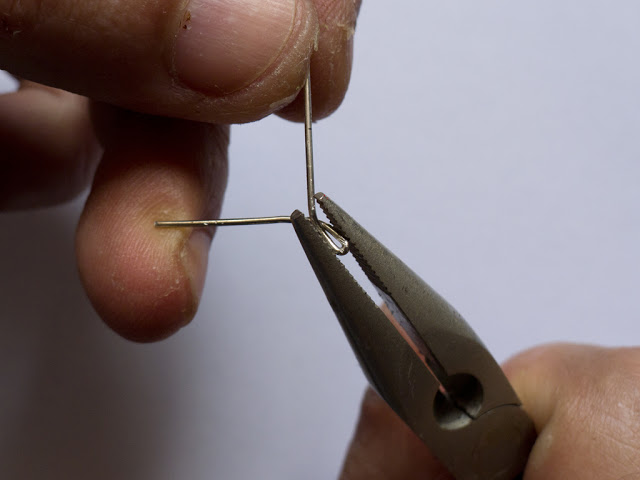
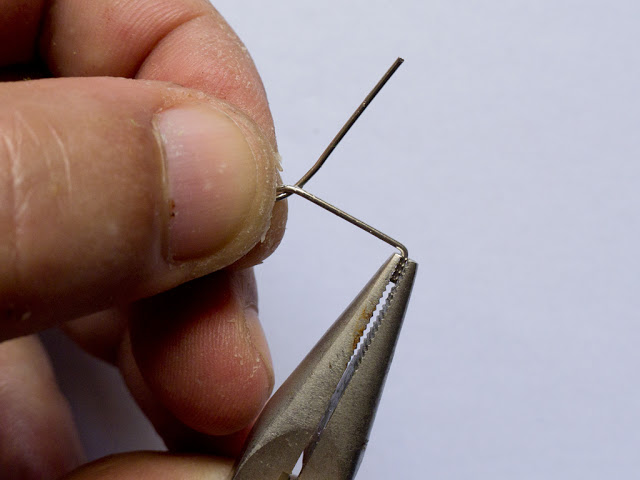
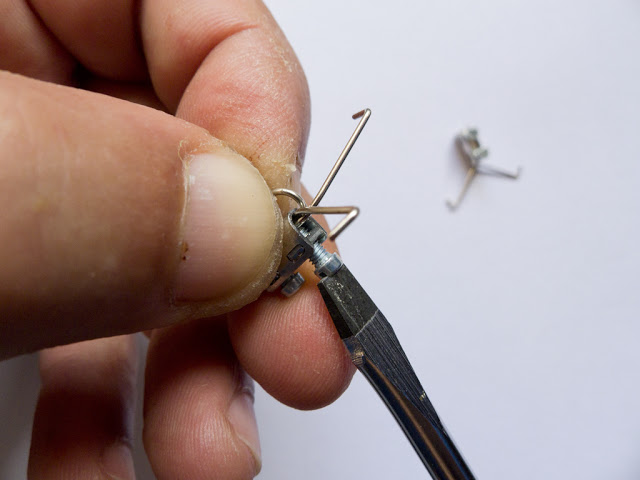
Step 2:
Fold the larger piece of the clip (right in picture above) as indicated.
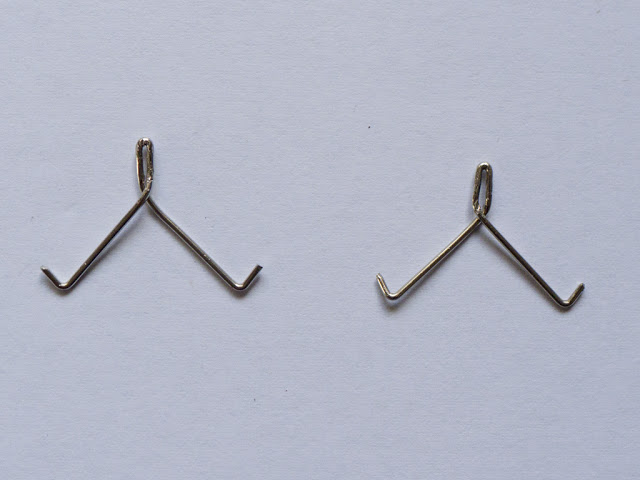
The result will be the "legs" of Wigglebot.
Result:
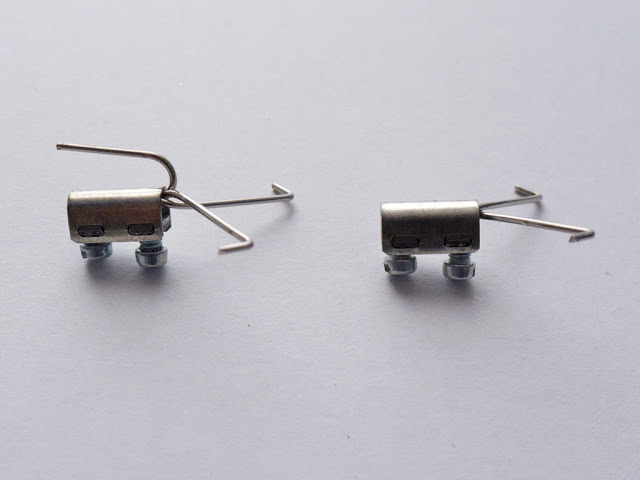
Step 3:
Cut the remaining piece of the clip as shown.
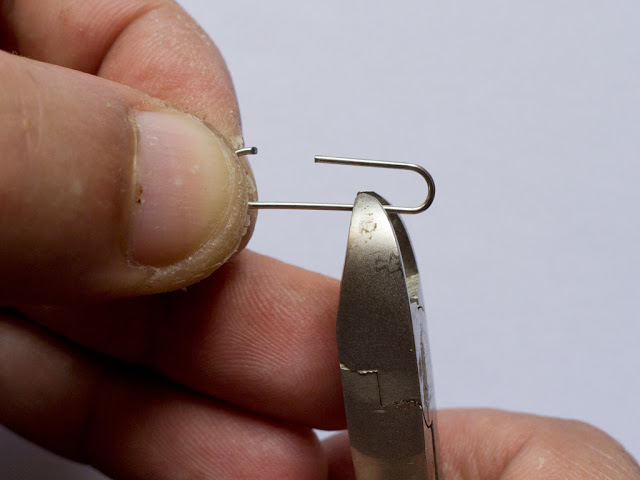
Result:
Step 4:
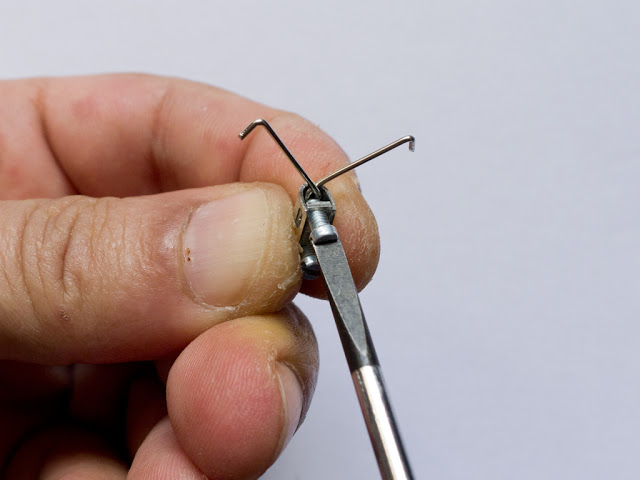
Screw one of the "legs" to the Junction as indicated.
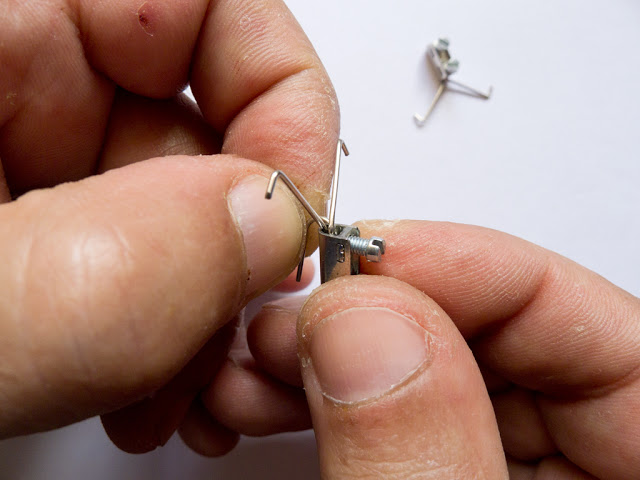
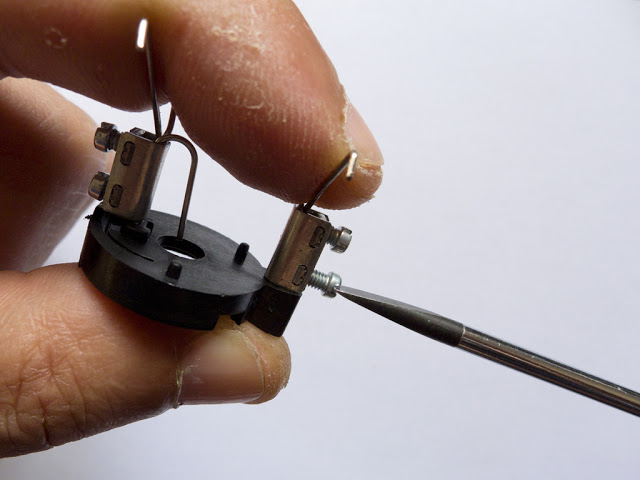
Step 5:
Screw the second "leg" + remaining bit of the clip to the other Junction as shown.
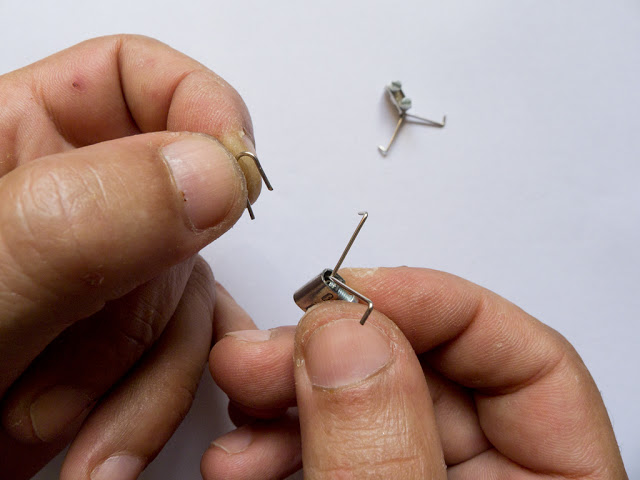
Result:
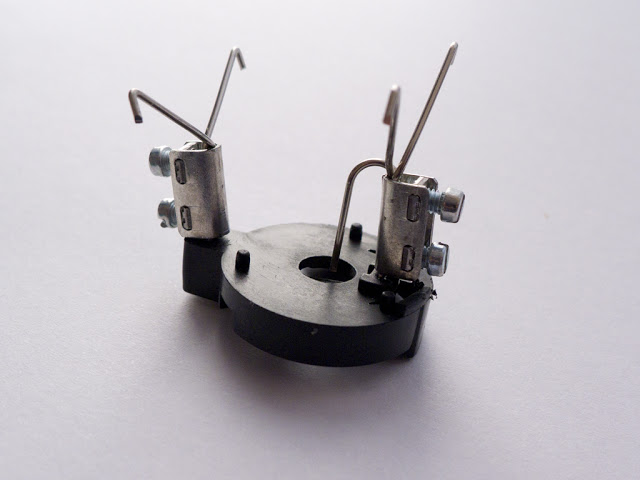
Step 6:
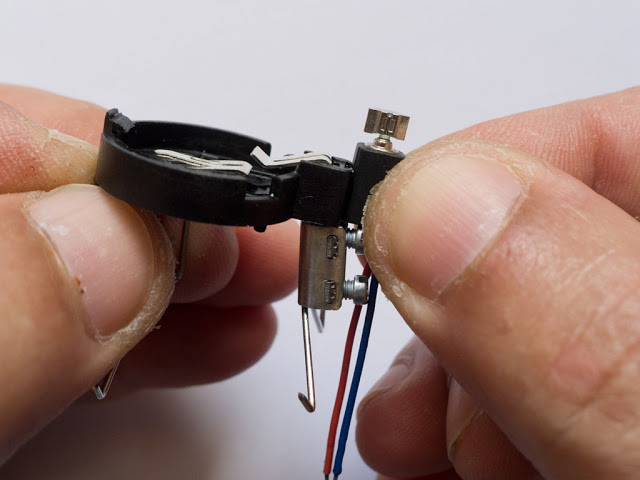
Screw the "legs" to the coin battery holder as shown.
Result:
Step 7:
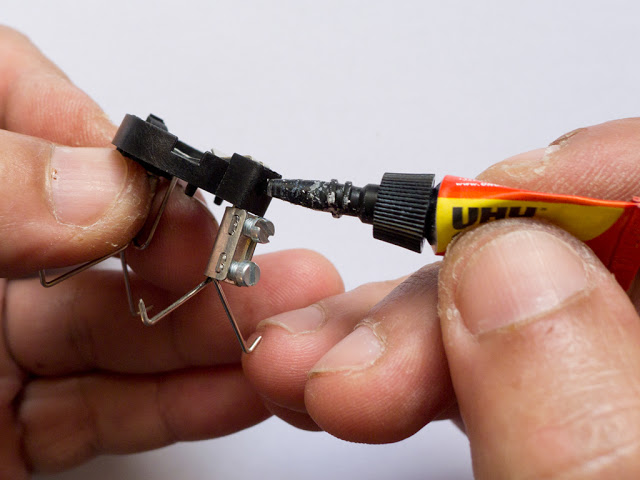
Glue the Mini-Motor to the coin battery holder as shown.
Step 8:
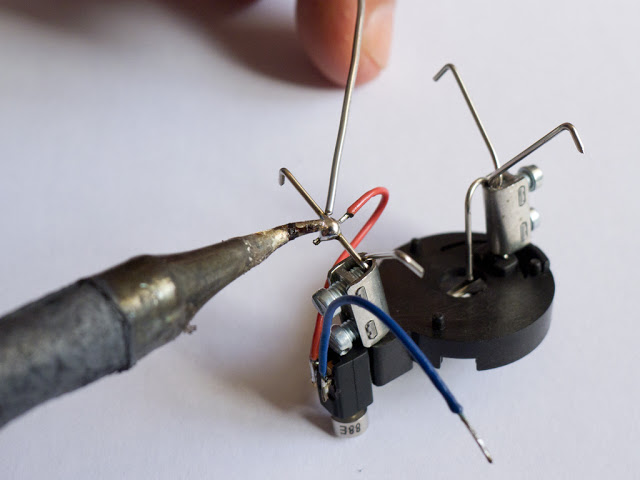
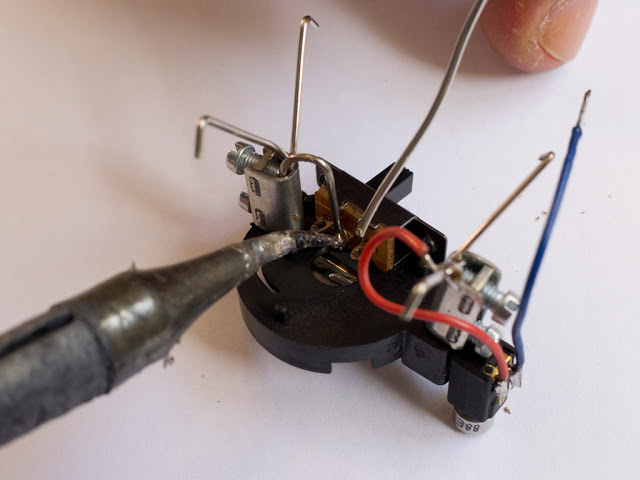
Solder the red wire of the Mini-Motor "leg" as indicated.
Step 9:
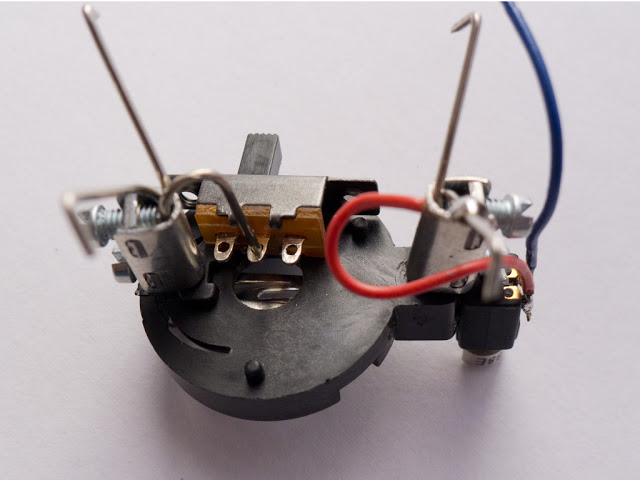
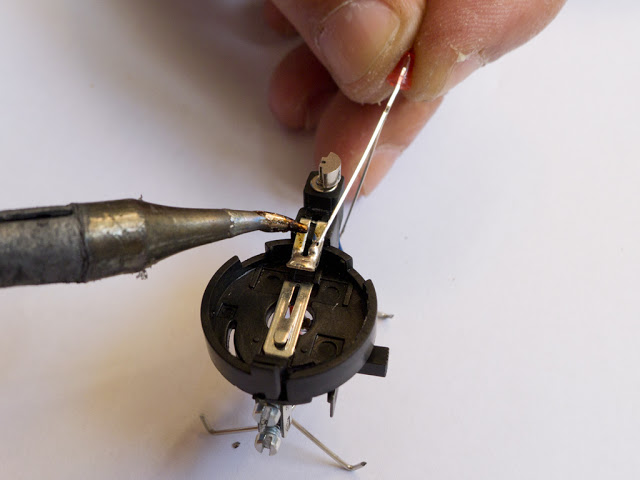
Insert and solder the switch as shown.
Step 10:
Solder the blue wire of the Mini-Motor on the switch as shown.
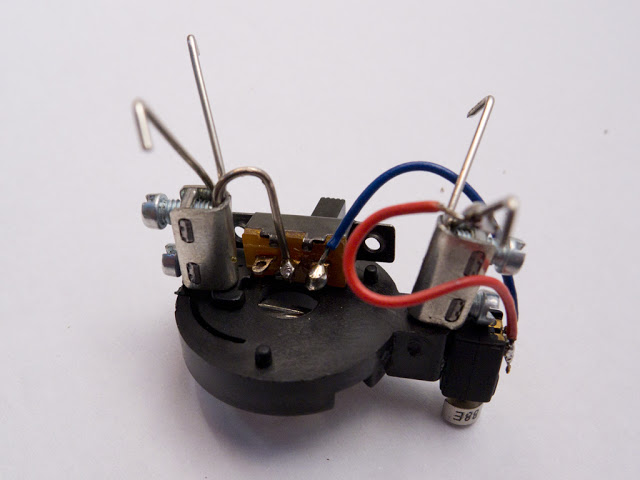
Result:
Step 11:
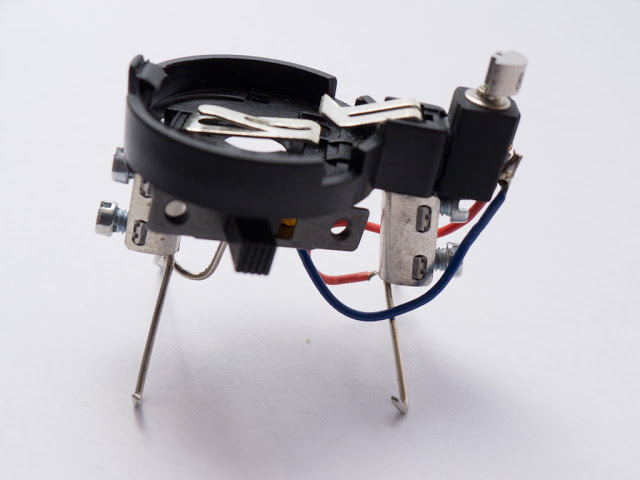
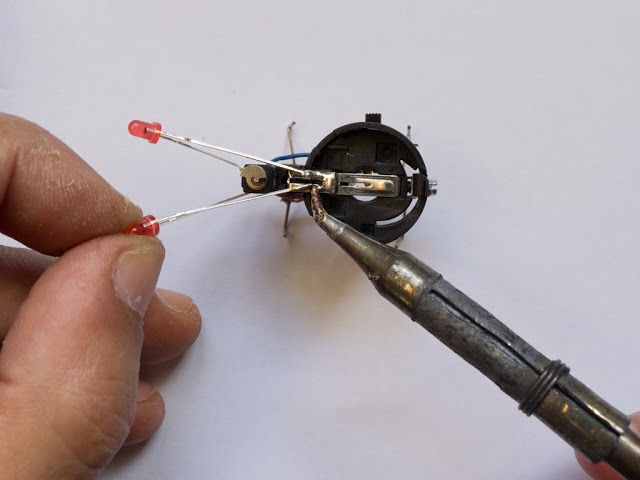
Solder the longer terminals of the LEDs at the top of the battery holder as indicated.
Result:
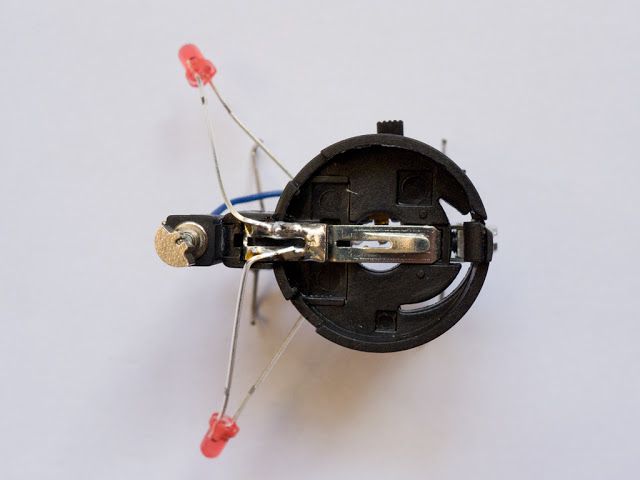
Step 12:
Solder the shorter terminals of the LEDs at the bottom of the battery holder,
on the same terminal of the switch where the blue wire is, as indicated.

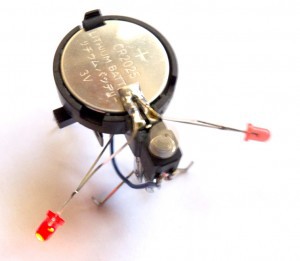
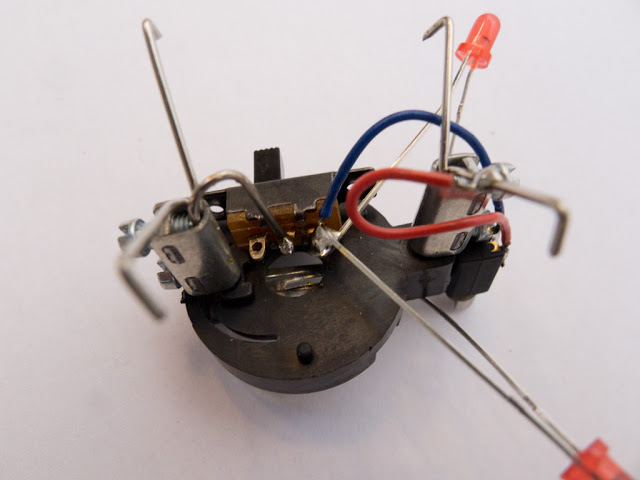
Result:
Last step :)
Insert the Battery in Battery Holder.
Your Wigglebot BUG is ready to take a ride! Switch on and have fun!
