Making a crazy wearable gadget
Mechanics
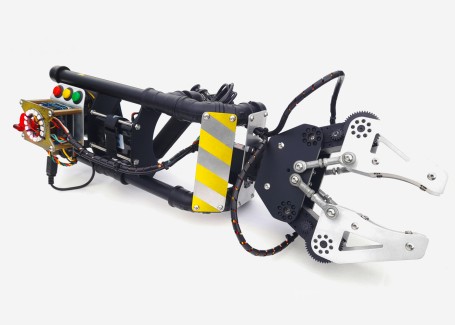
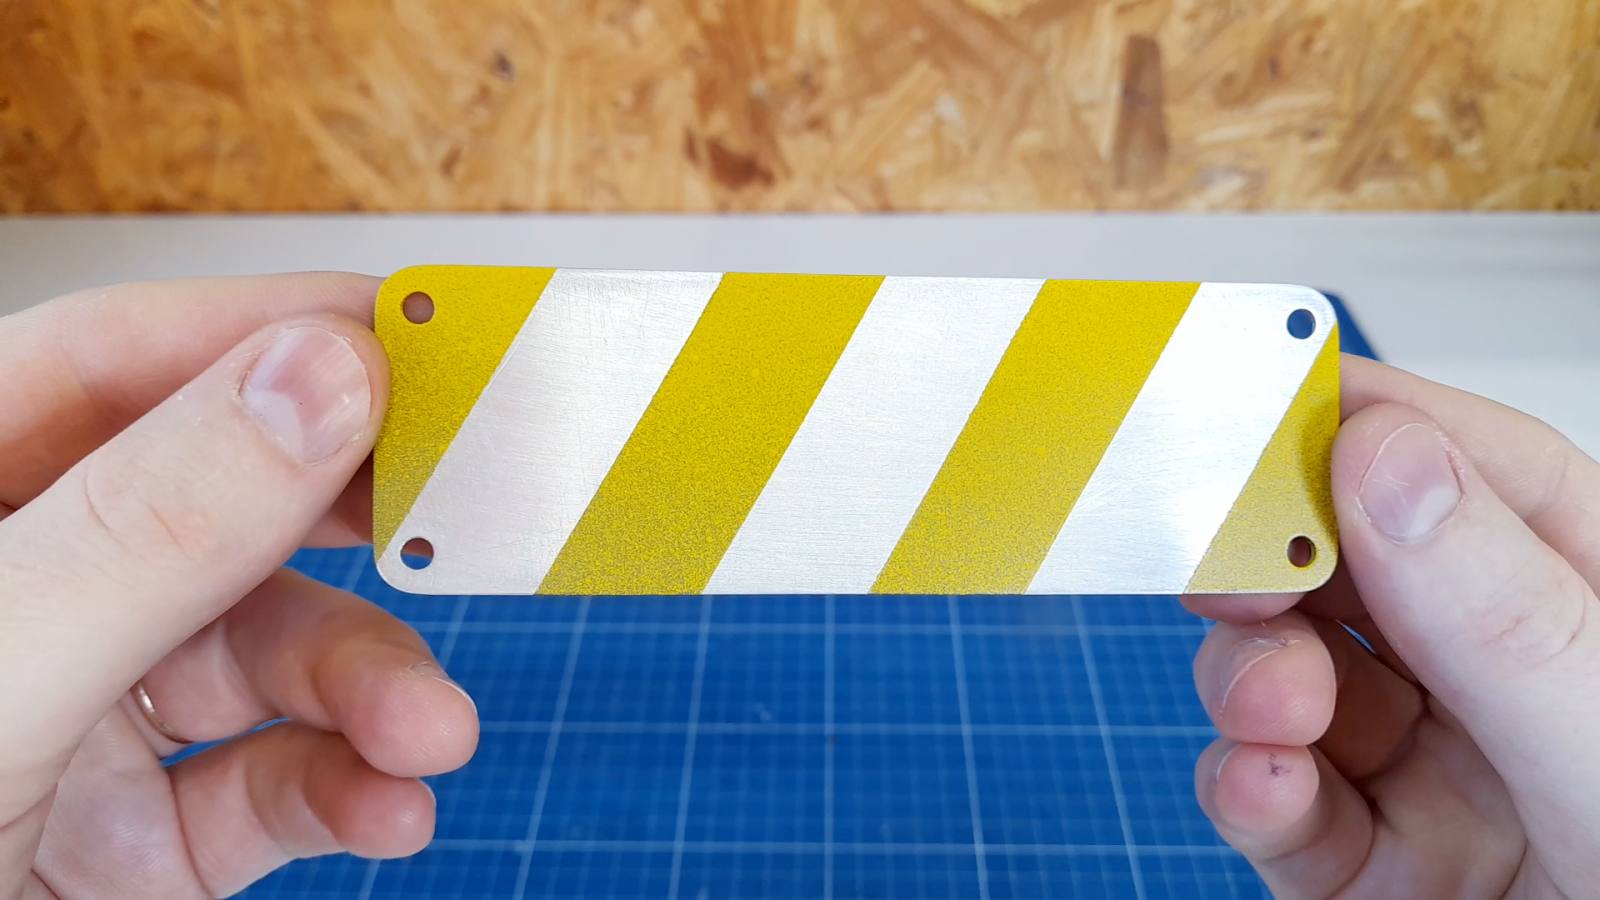
In the picture below you can see all the mechanical parts I created for this project using only manual techniques, with simple tools and affordable materials.
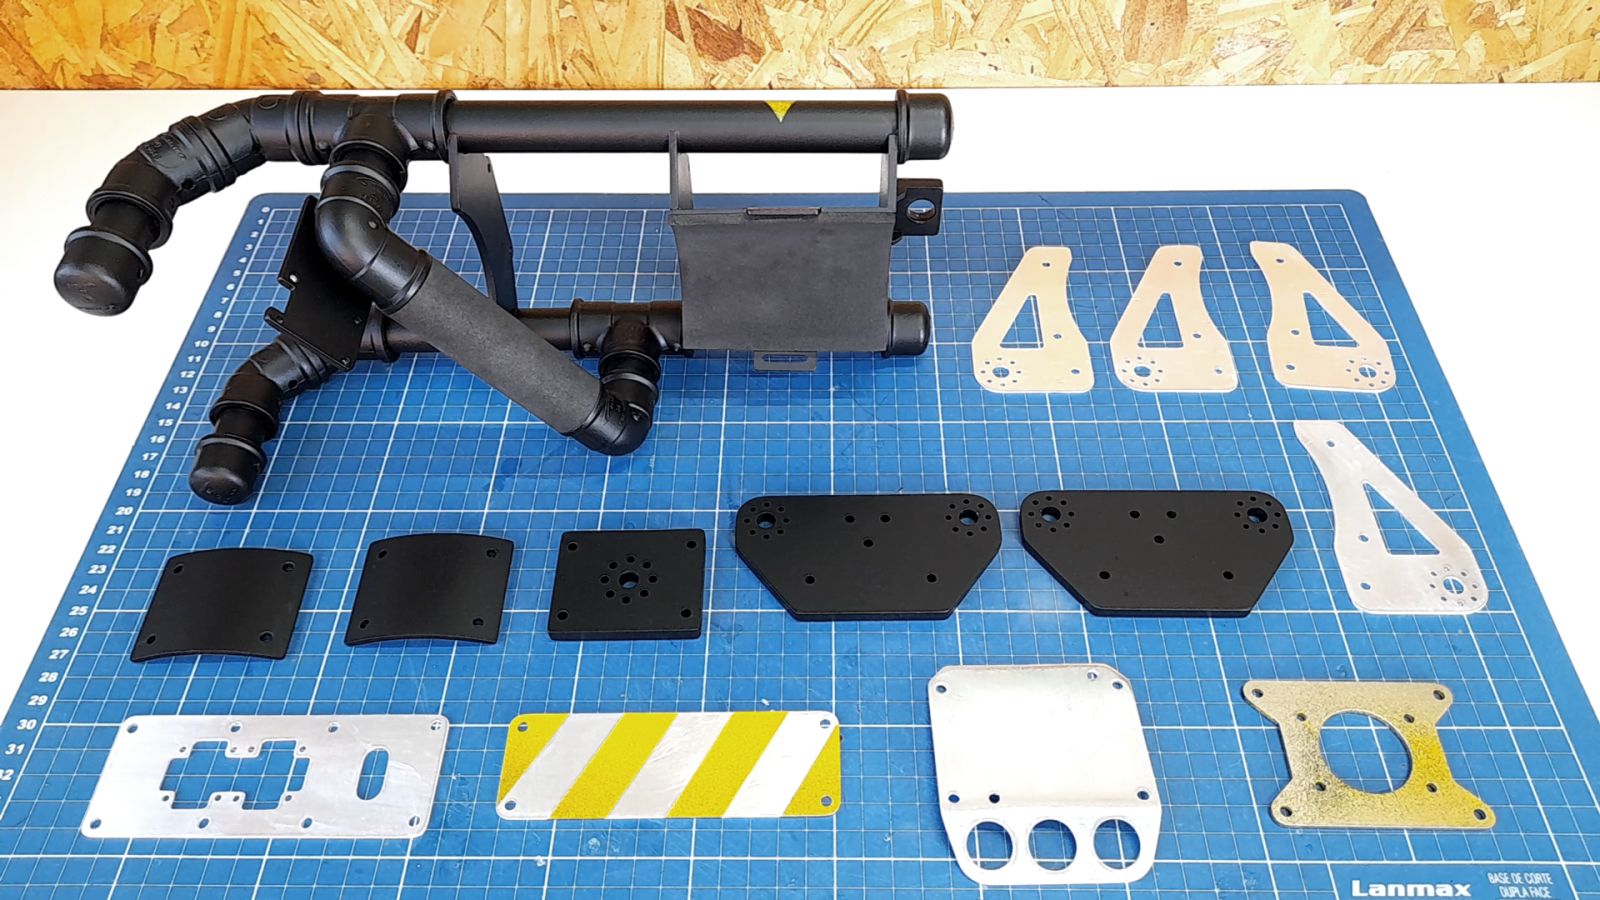
The main materials used in this project were PVC pipes and connections, high-impact polystyrene sheets and aluminum sheets.
PVC: The main structure was built with PVC pipes, which are very easy to cut, and the pieces were joined together with PVC connections and glue.
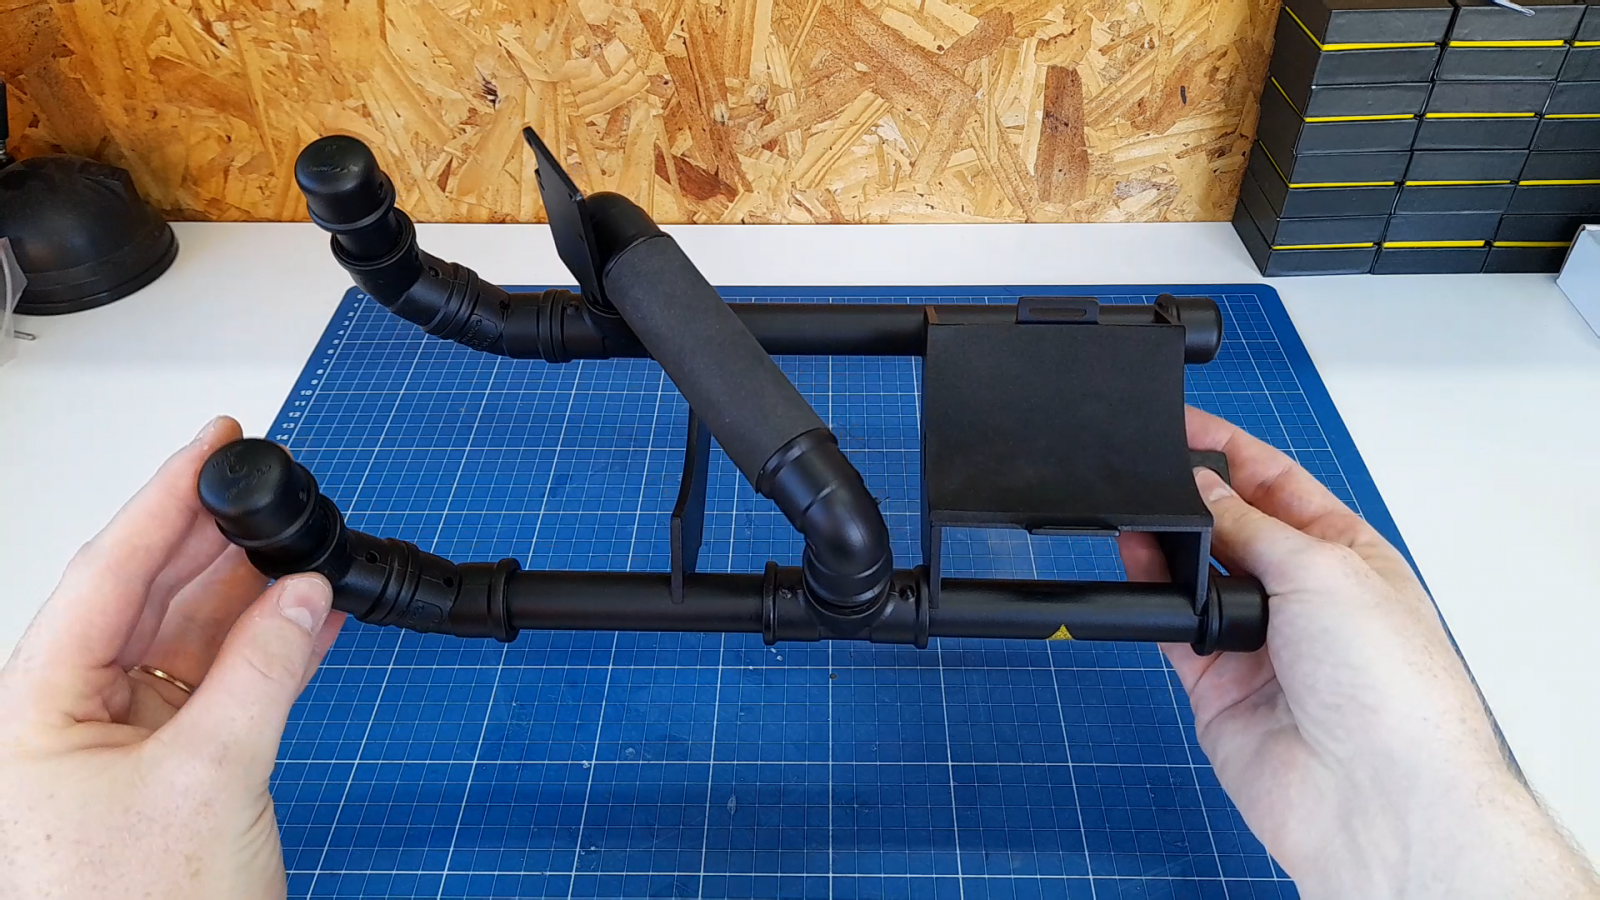
HIPS: I made several pieces with high-impact polystyrene, which takes a little more work, but is also not very difficult to cut. First, I make some cuts using a utility knife with the support of a metal ruler. These cuts weaken the sheet, which is easily broken where I made the cuts. Some parts need several layers of material to achieve good mechanical strength, and are bonded with instant adhesive. Then they are sanded to get a smooth finish and painted.
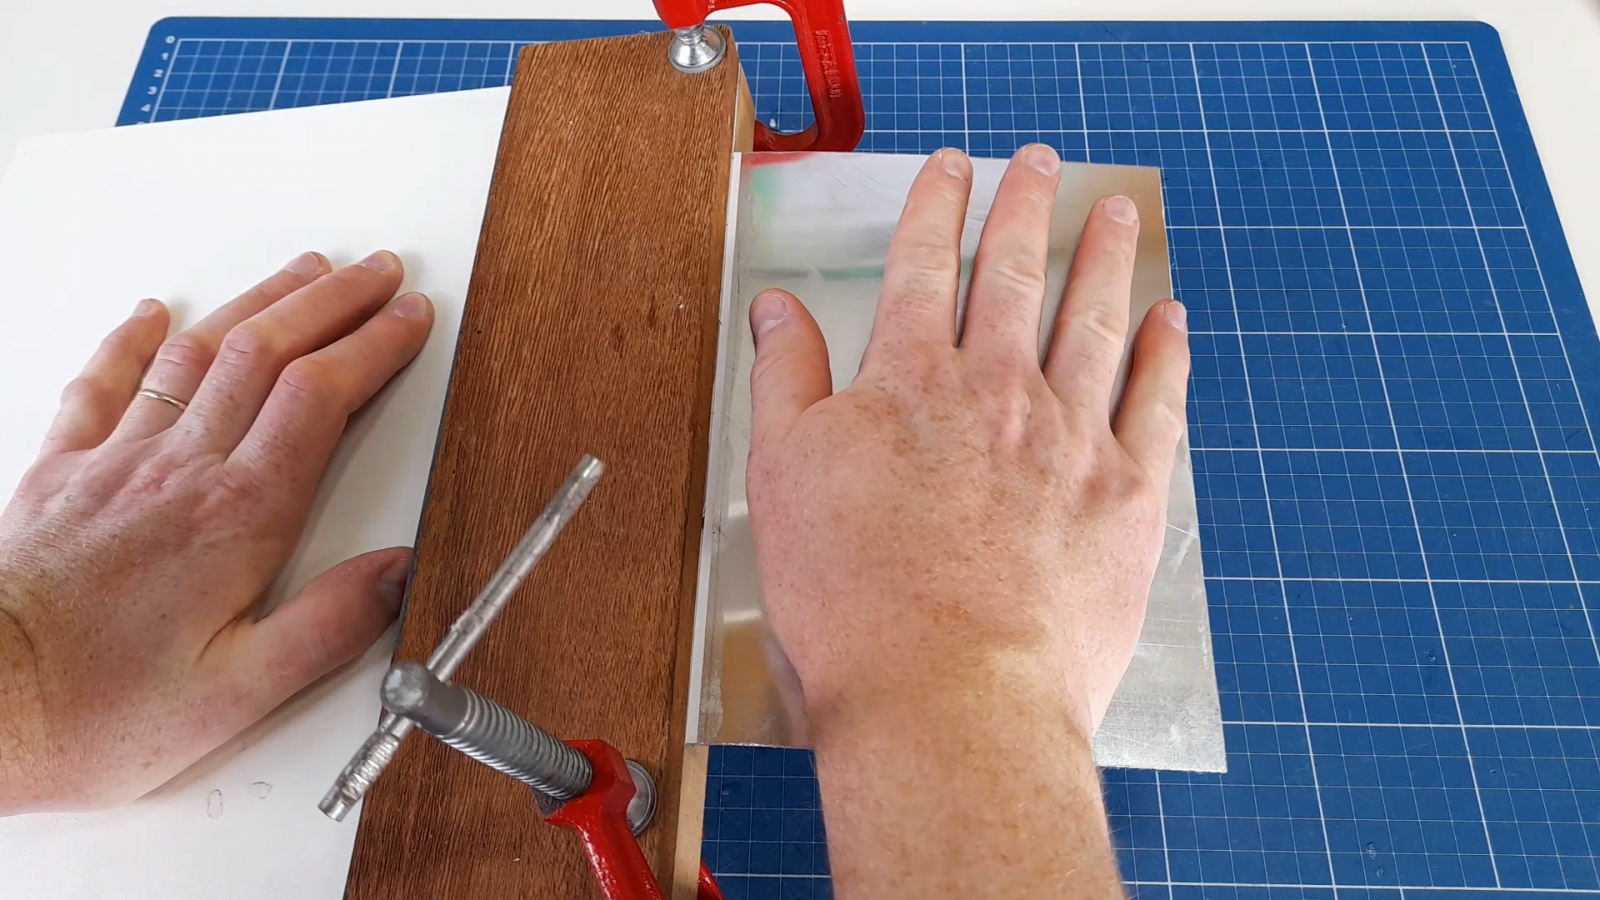
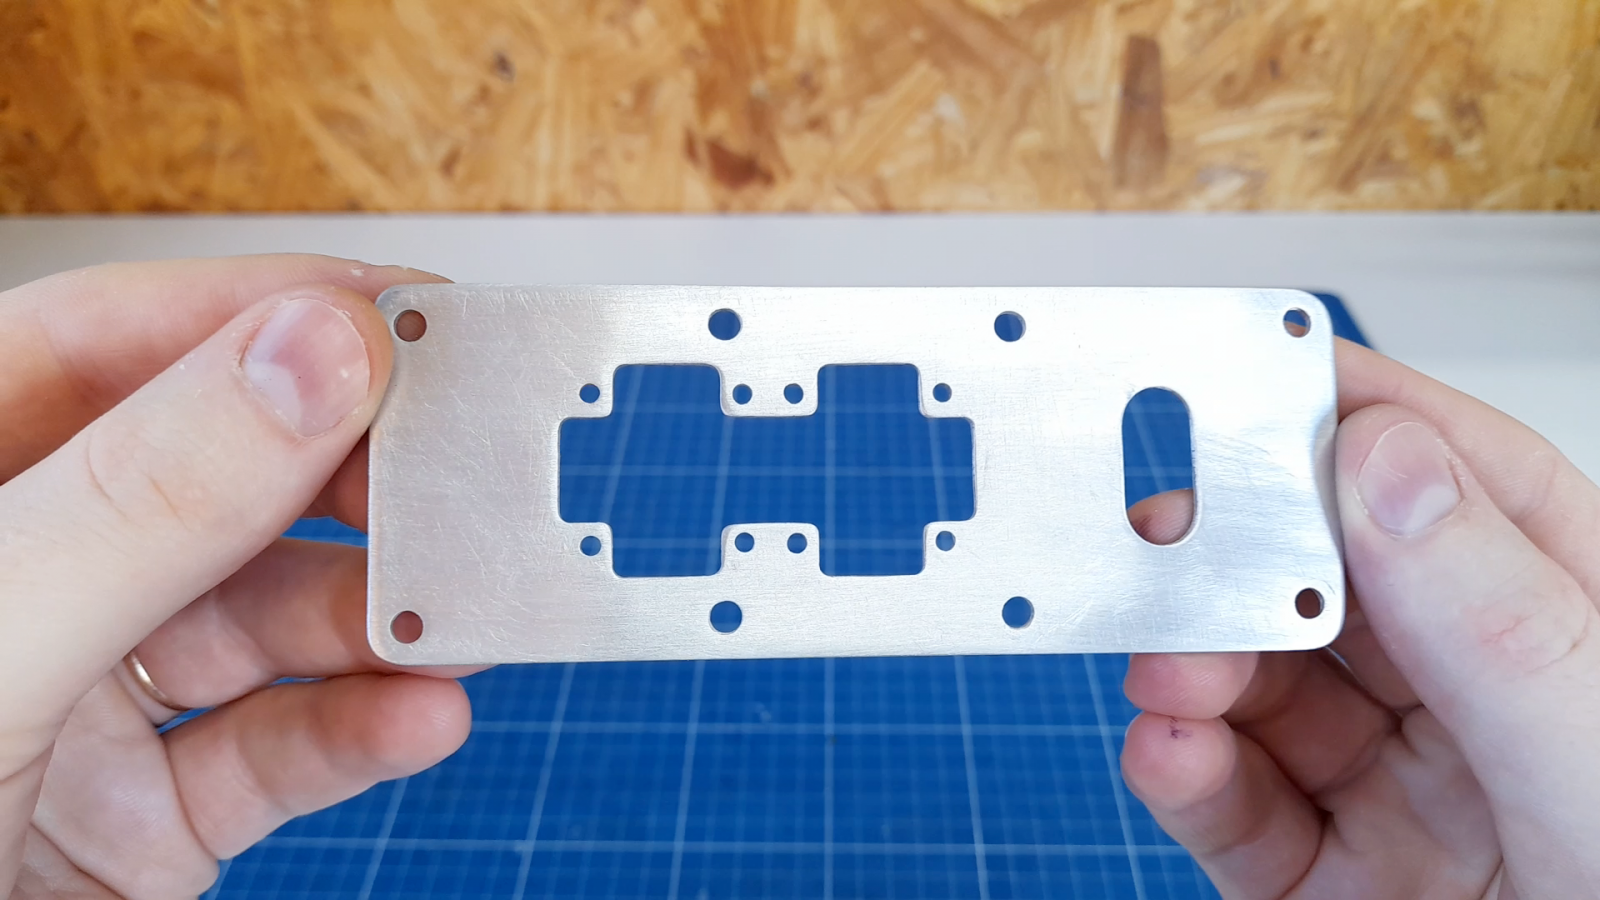
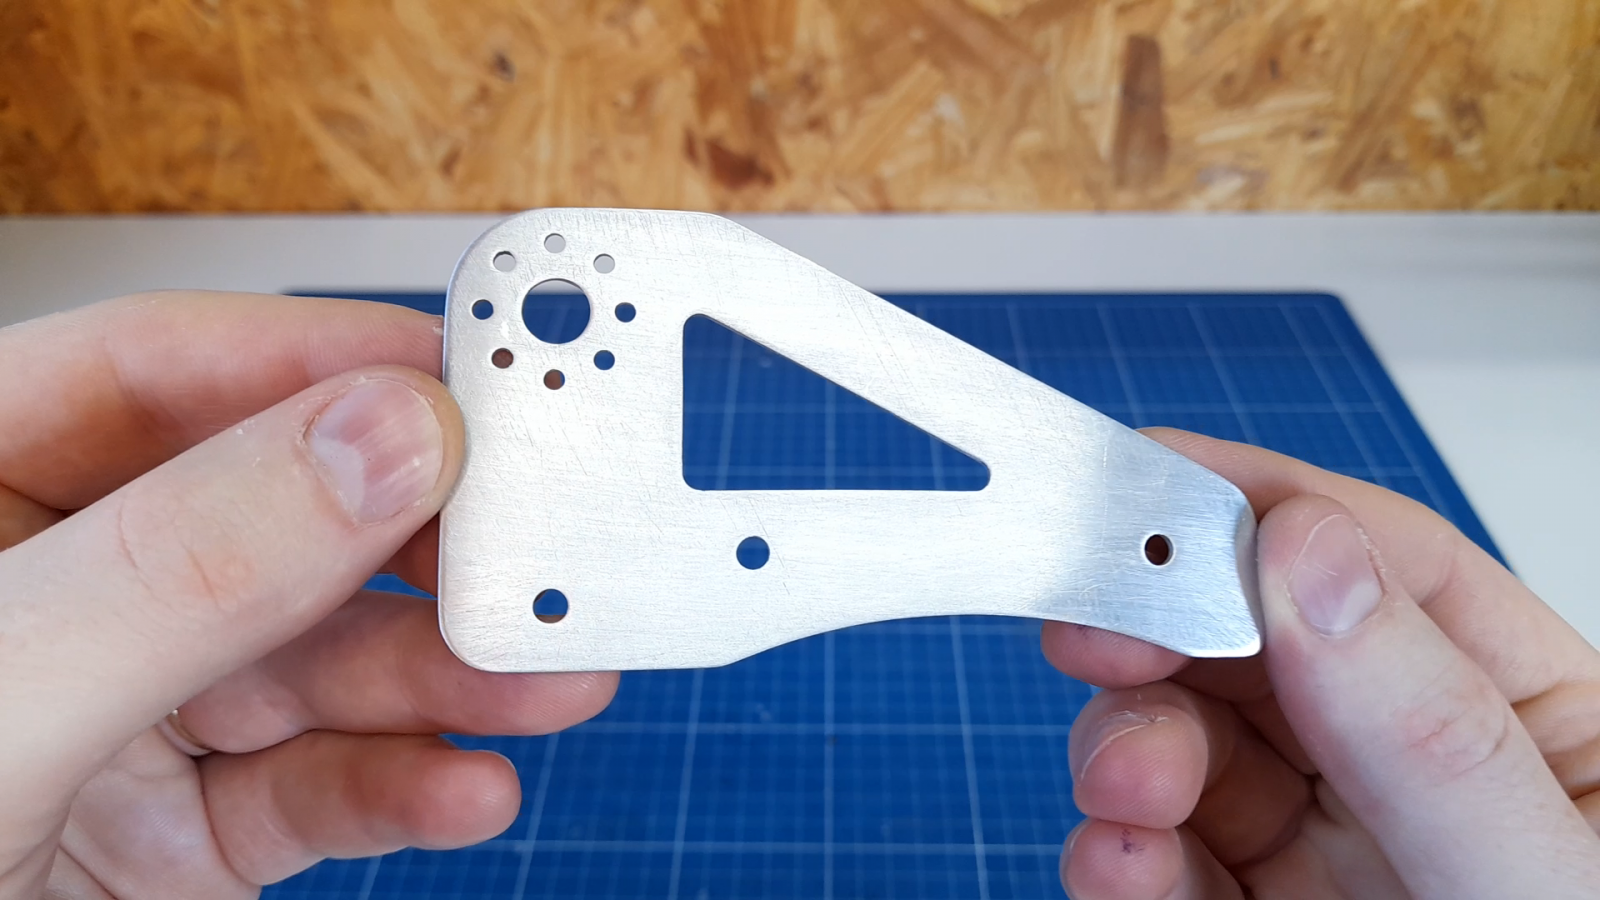
Aluminum: I used aluminum to make some parts that needed greater mechanical strength, and that I also wish they were a little thinner. These pieces were the ones that took the most time. To cut the aluminum, first I make some "cuts" with a utility knife to weaken the sheet where it will be "broken". Then I place the sheet clamped between two pieces of wood, with the cut flush with the edges of the wood. Then I press the sheet up and down, until I break the piece where I had previously cut it with the utility knife. Internal chunks are removed with a drill, drilling several small holes in a row, and then sanding to get a smooth finish.
These turned out to be the parts that most satisfied me aesthetically and mechanically.
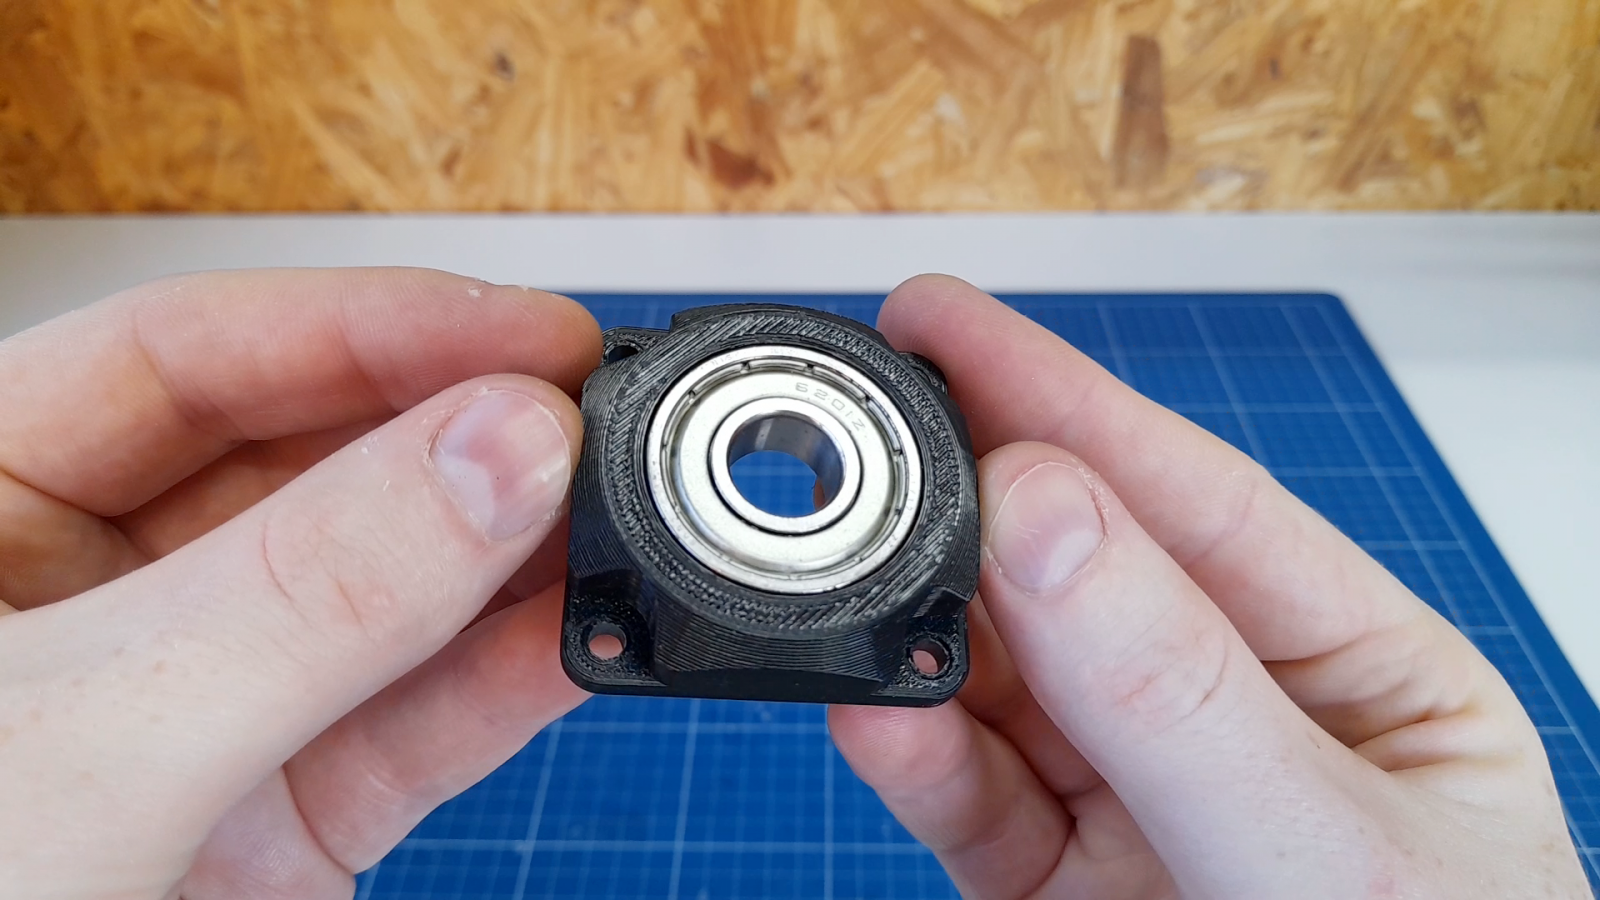
Only a single piece was 3D printed... this bearing block.
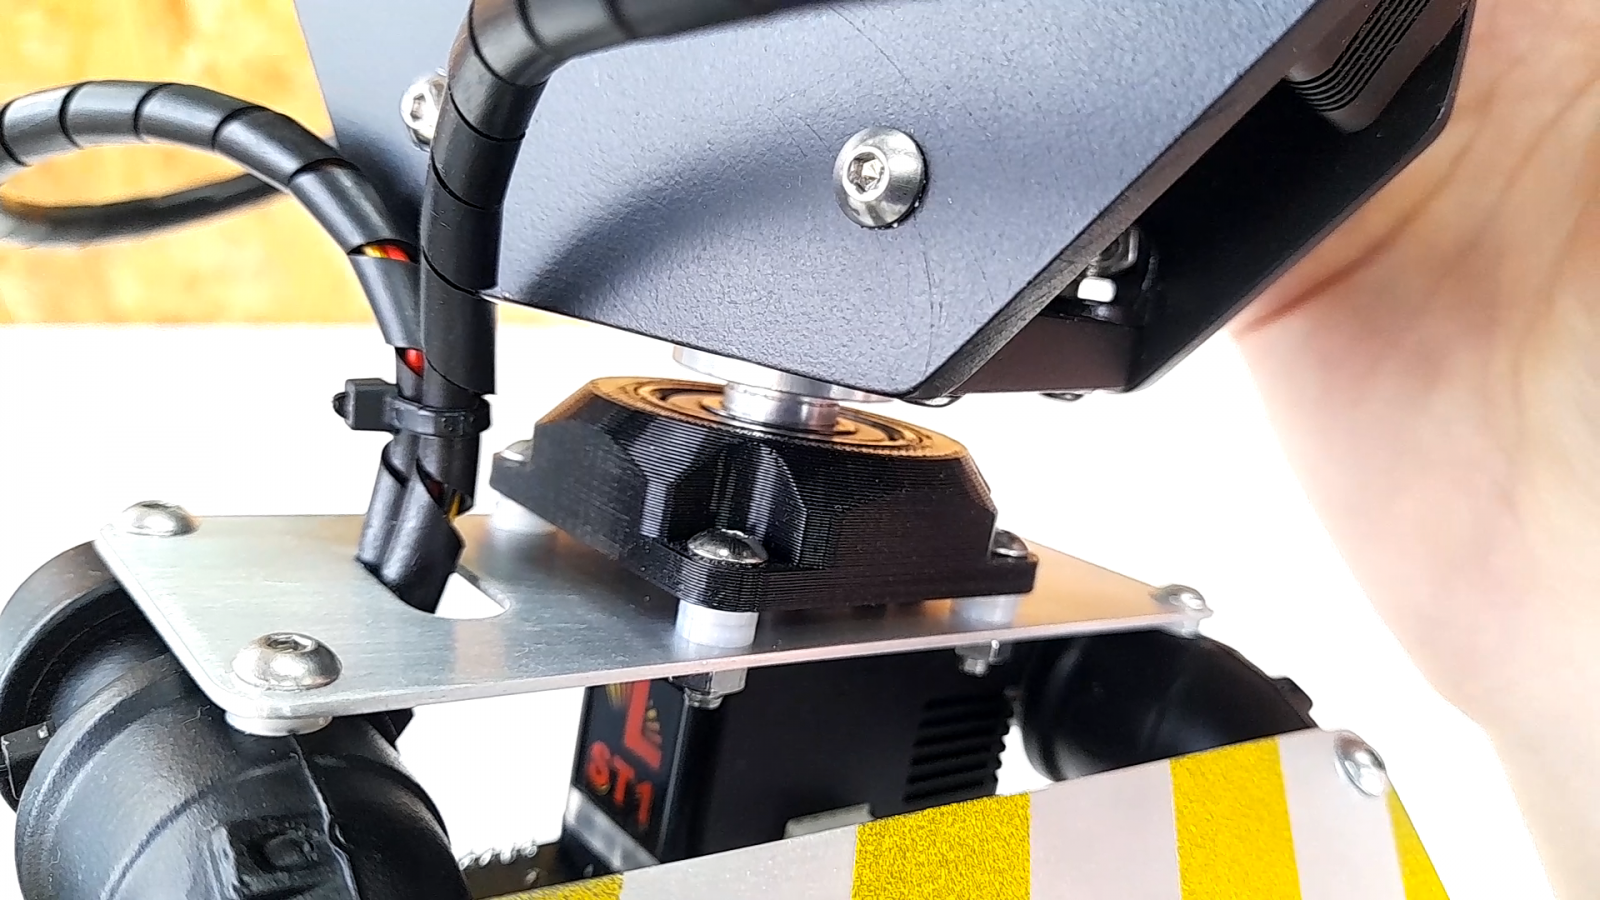
For the movements, I used three Lynxmotion Smart Servos ST1.
Electronics
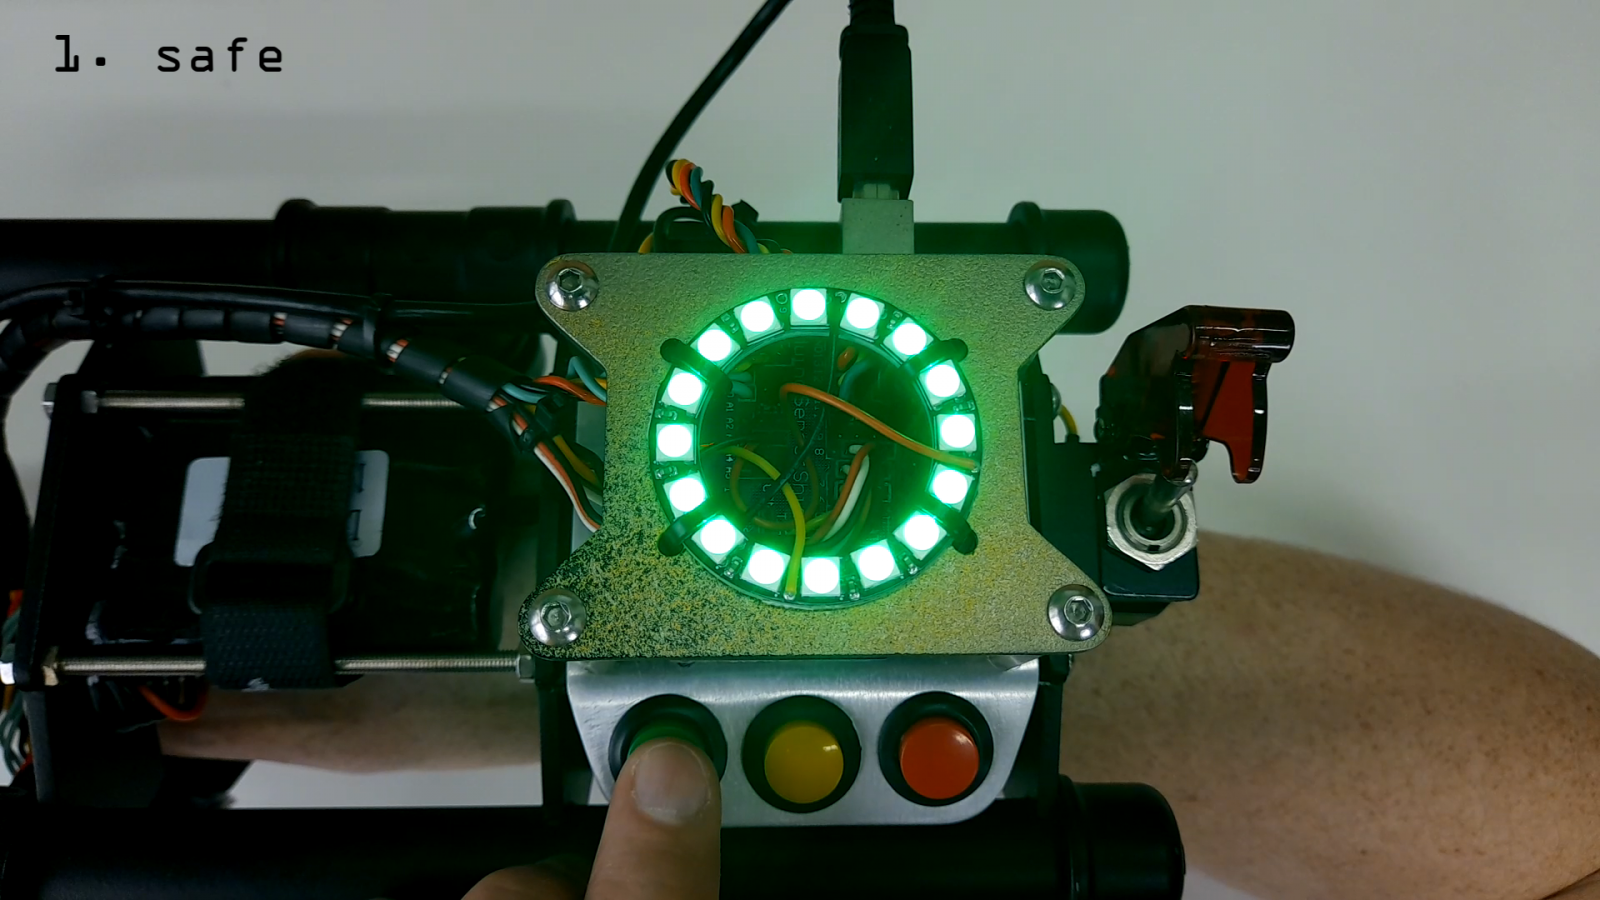
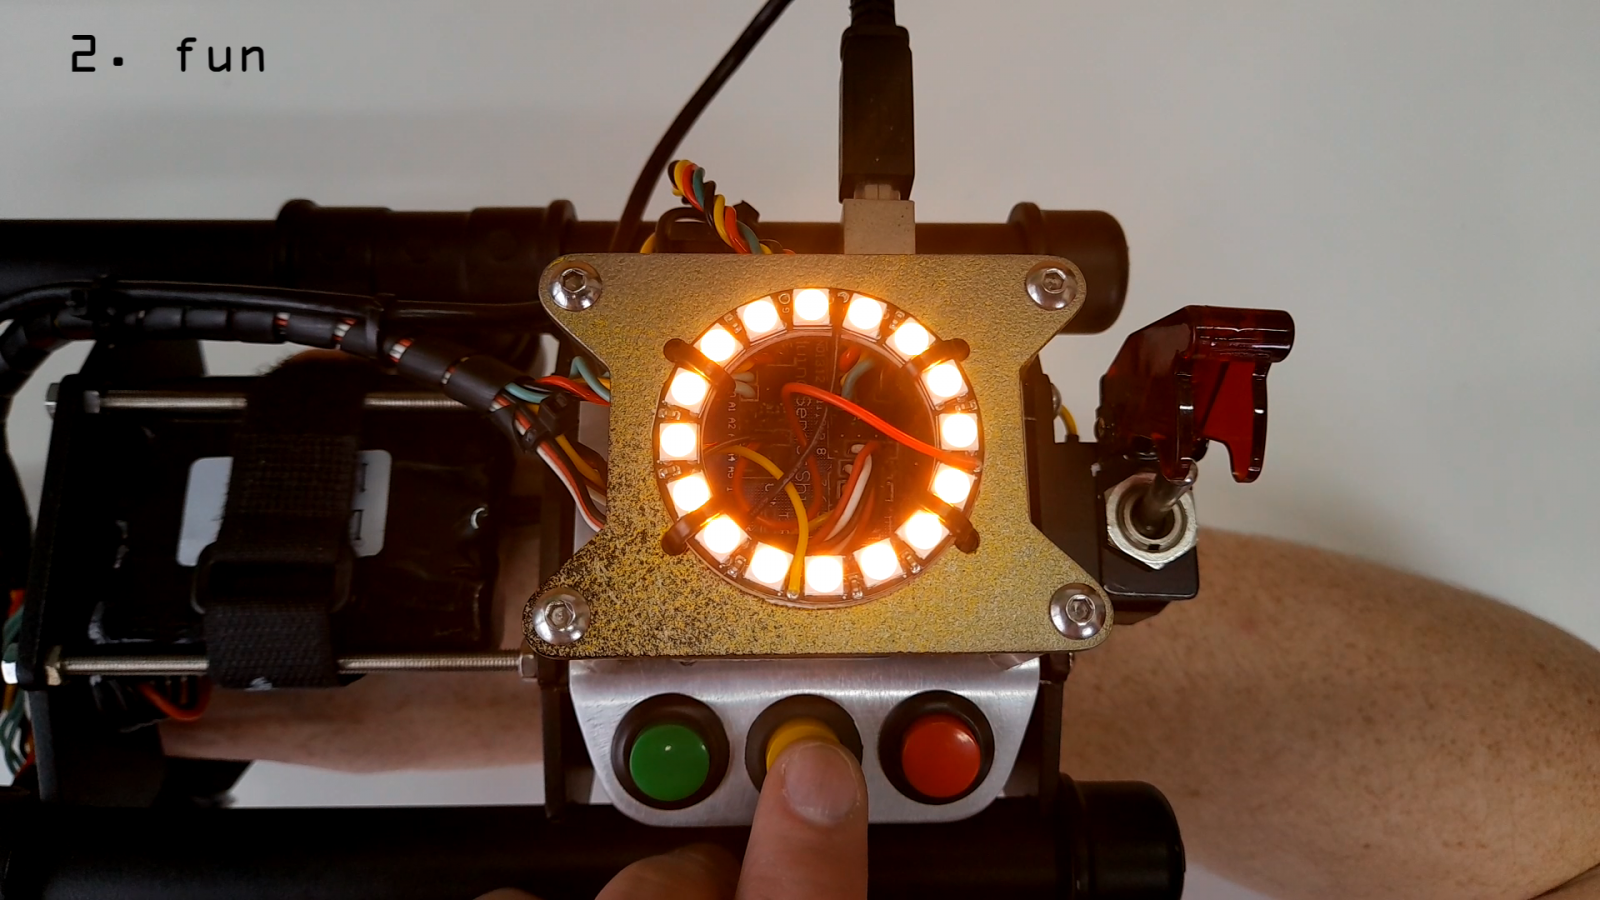
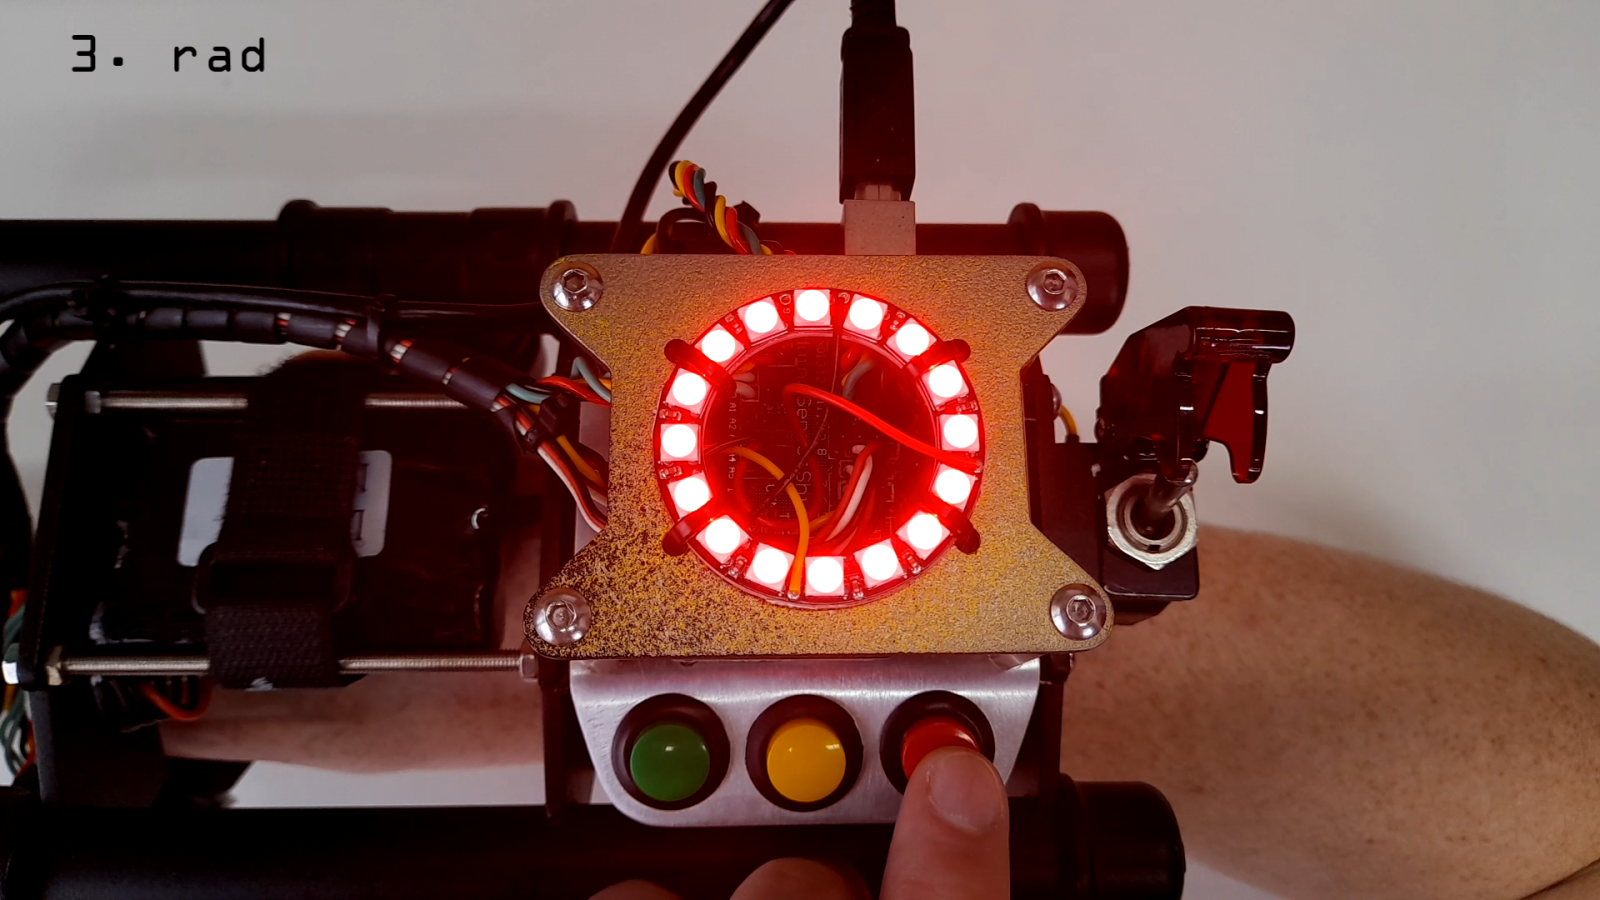
On the electronics side, an Arduino Uno is what controls everything. In it are connected the servo motors (with a sensor shield to facilitate connections), a joystick, three buttons and a NeoPixel ring. The joystick controls wrist rotation and grip opening. The buttons are used to choose the operating mode. And the NeoPixel ring displays the color of the chosen mode.
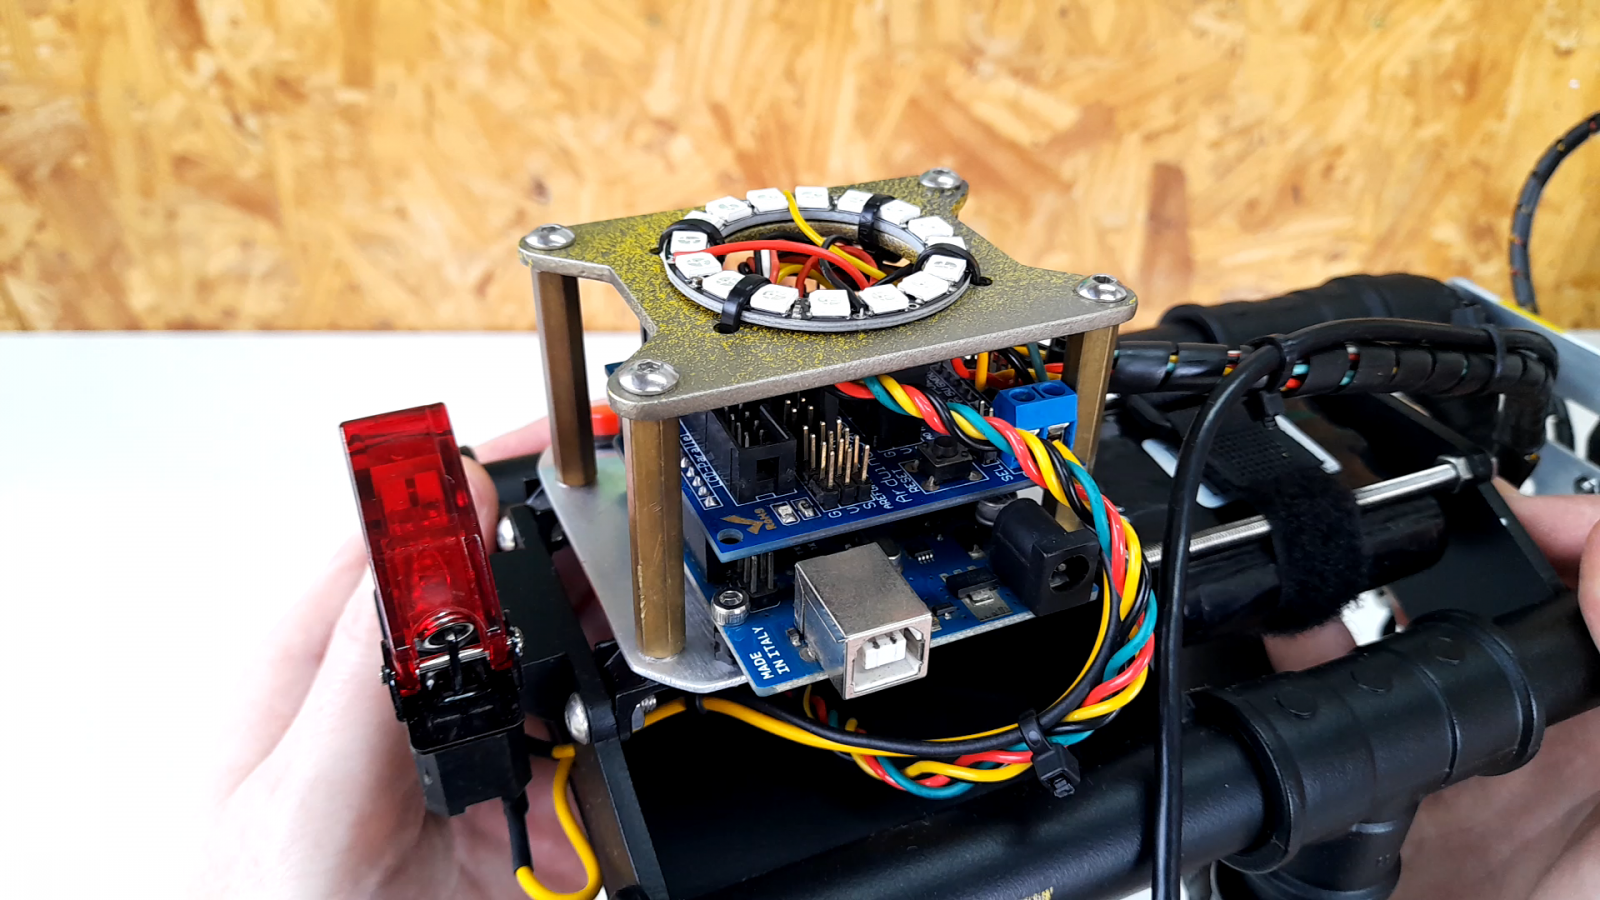
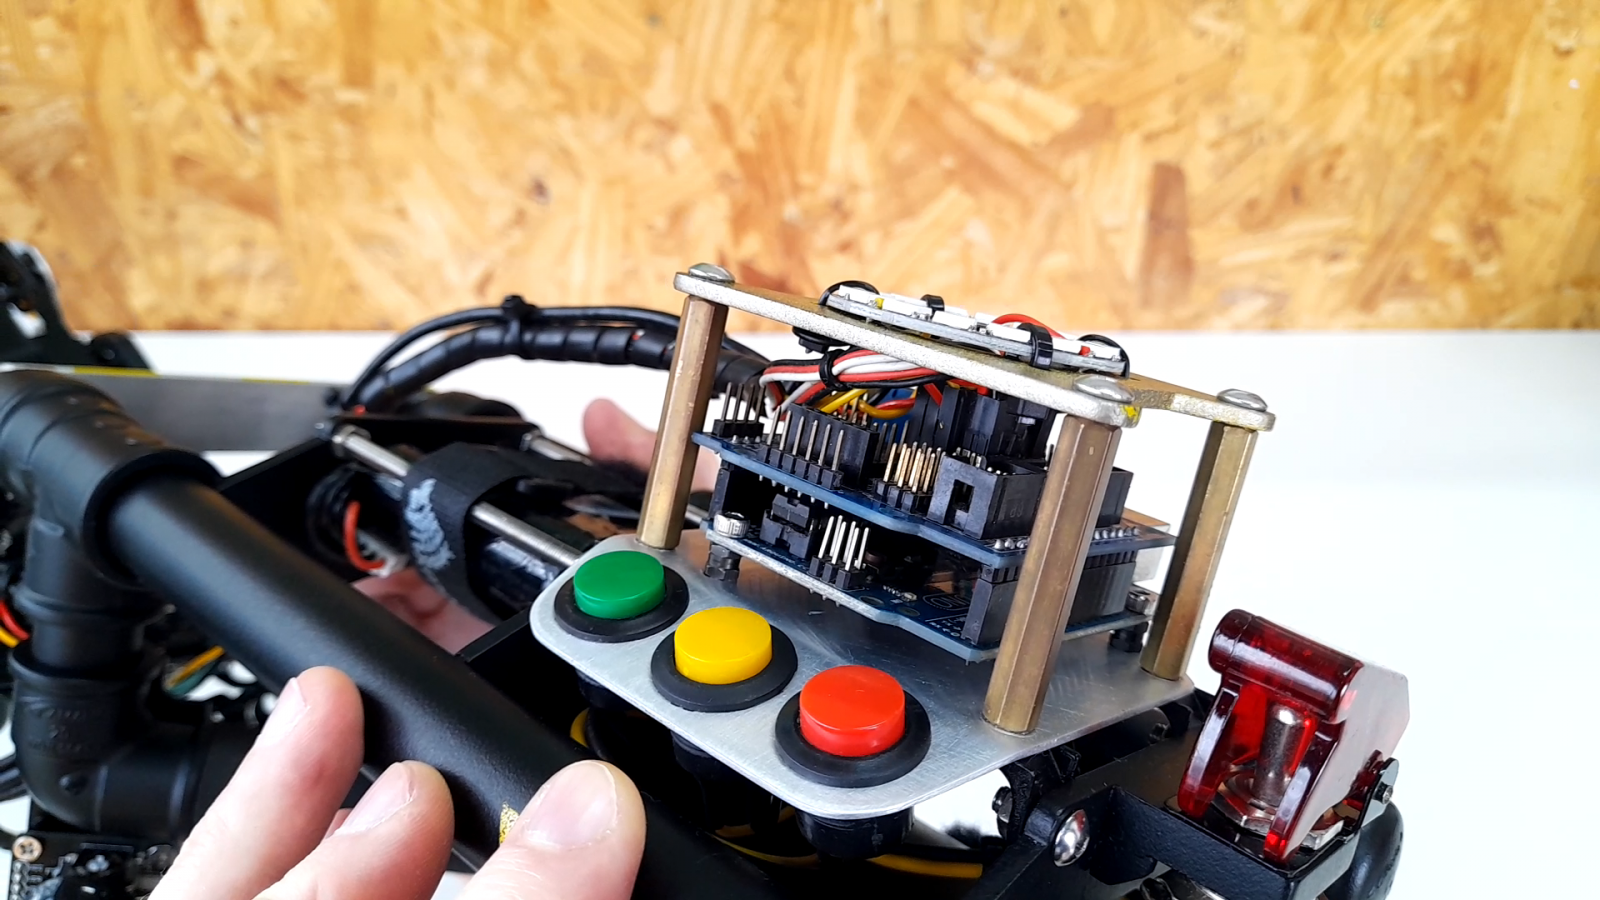
SIDE NOTE: this Arduino Uno was the first board I purchased, and after more than ten years and several projects, it is being used in yet another creation.
Servo motors are powered directly with a 3s Li-ion battery. To power the Arduino, the voltage is reduced using an LSS Regulator Board w/ USB.
Code
The code is very simple... all it does is increment the position of the servo motors according to the joystick value.
I programmed three "operating modes":
"safe": the increments of the servo motors are increased very slowly;
"fun": has an average increment speed;
"rad": is the fastest operating mode. :)
Having fun
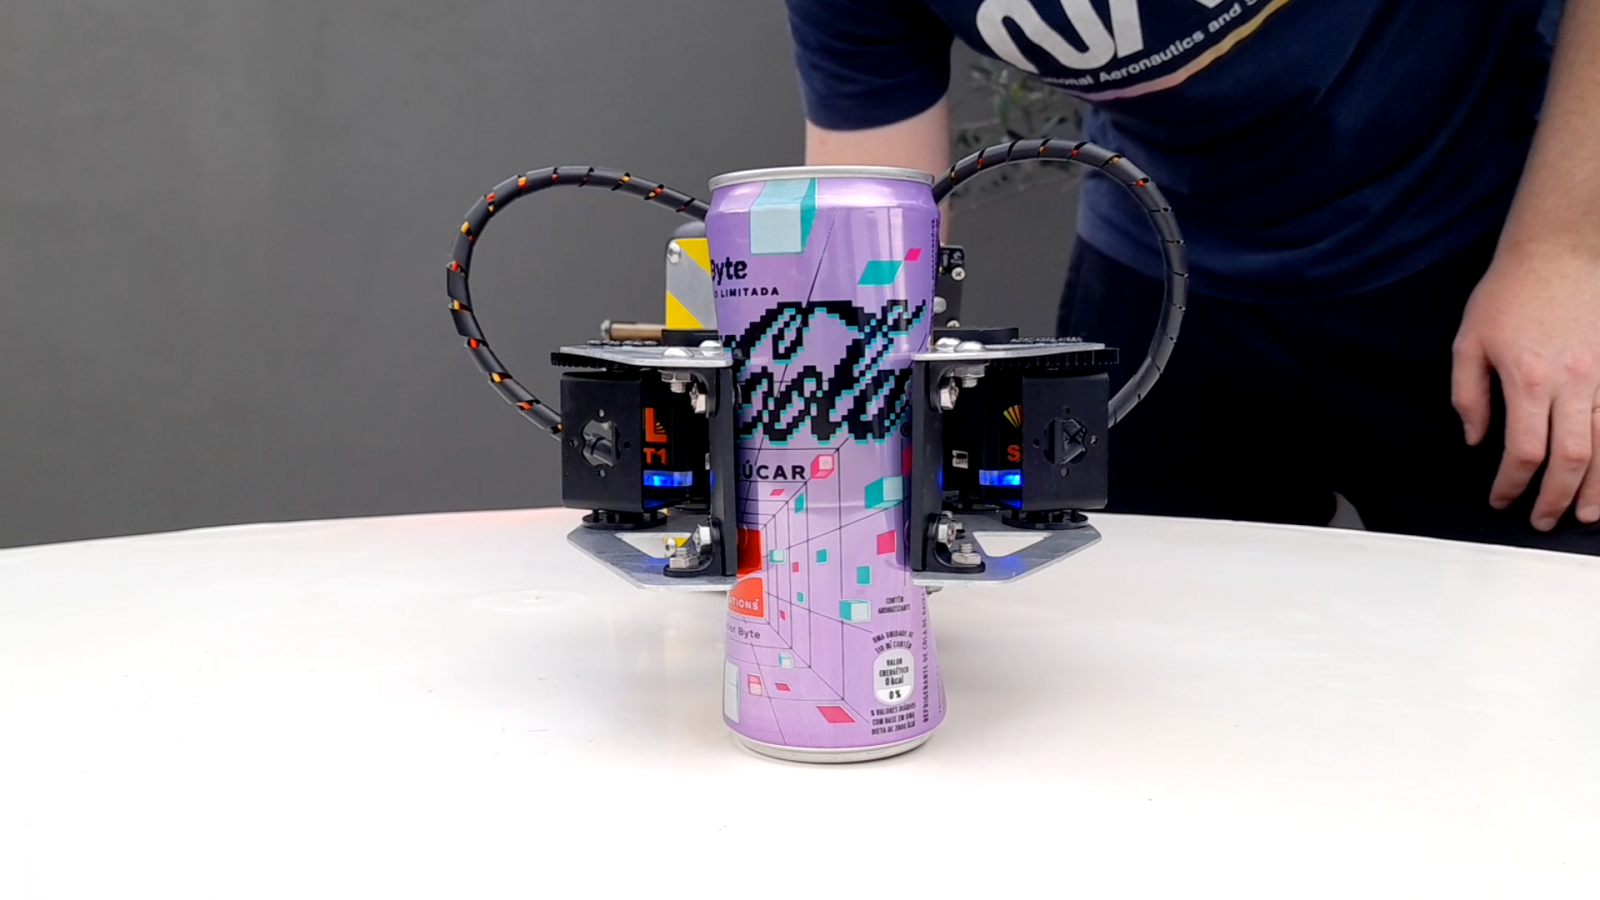
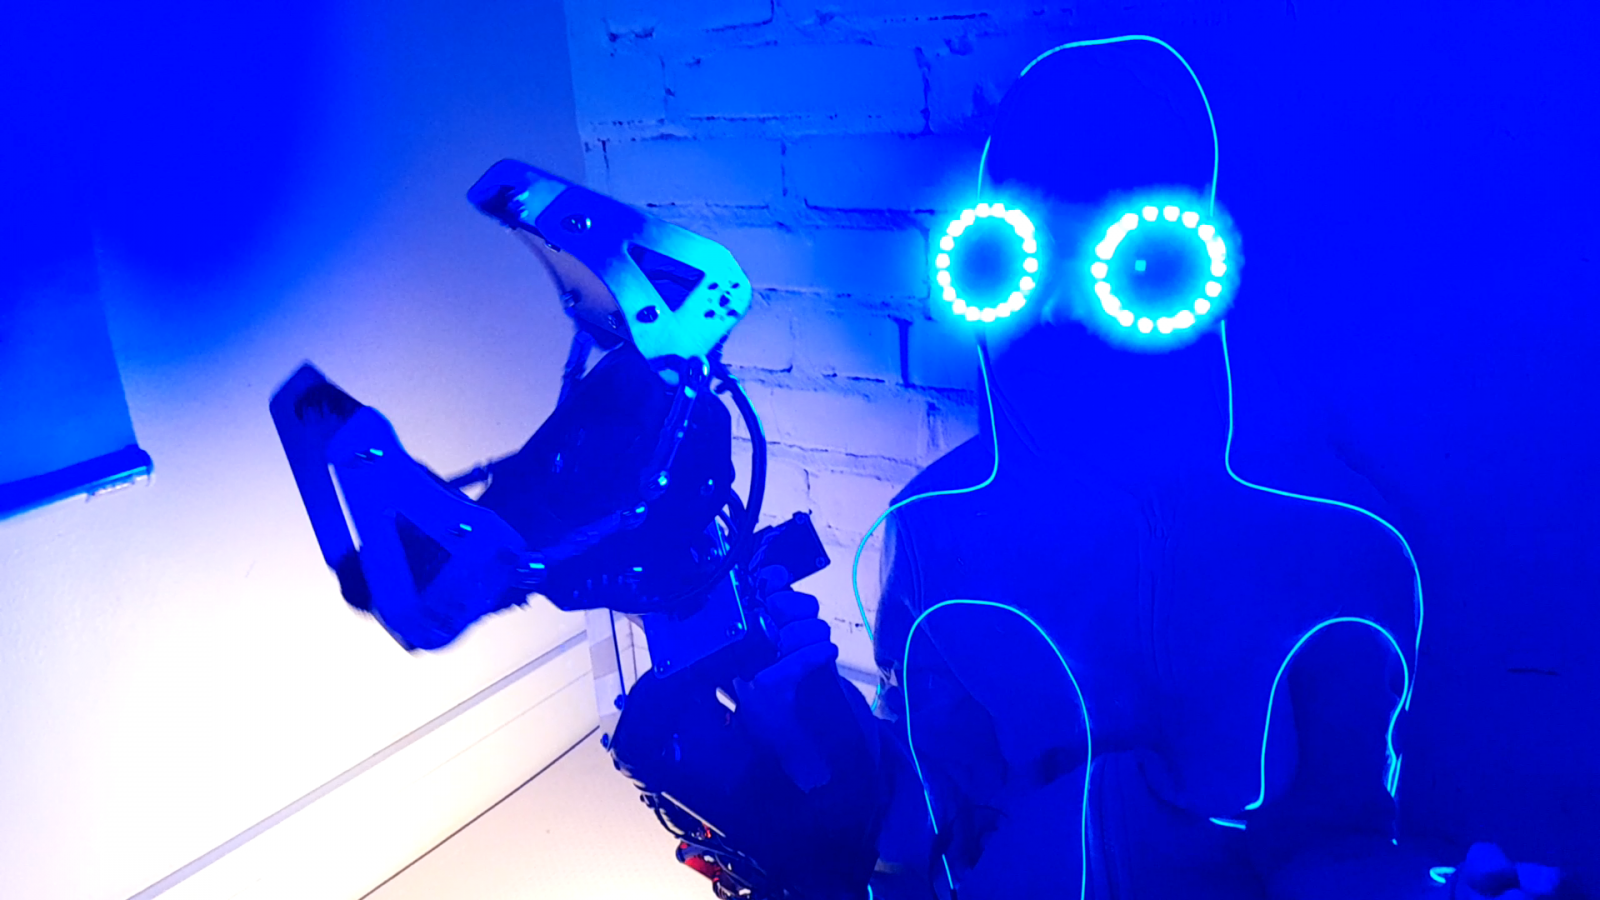
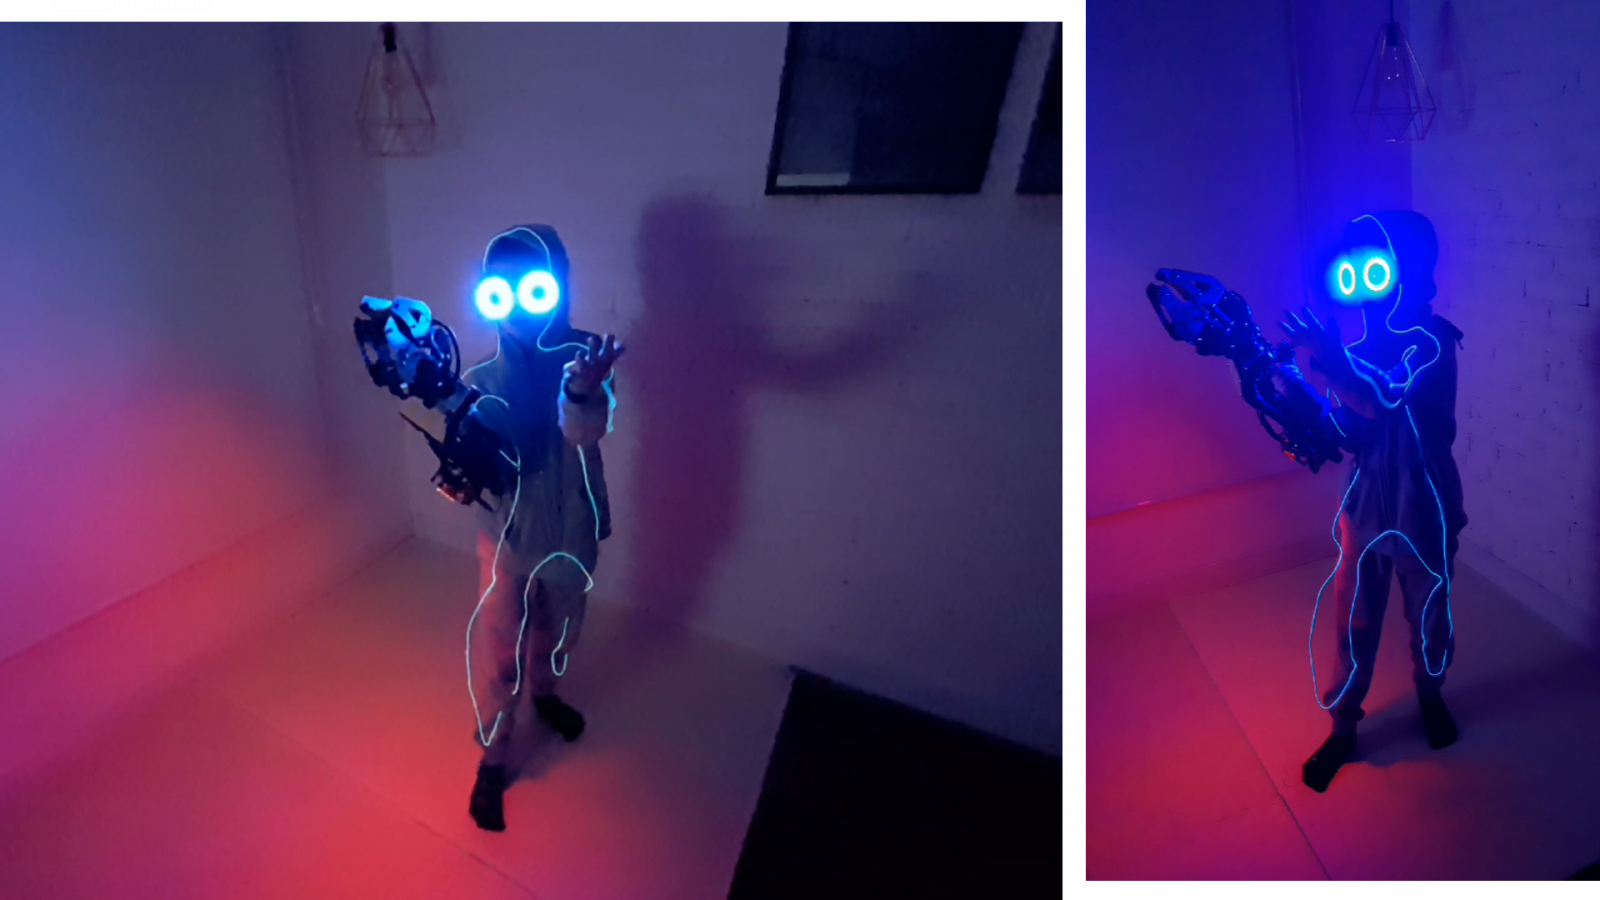
The main goal of this project was to build something that looks cool and is fun... and that was achieved.
Testing it would not have been as much fun without my son Martin participating, with this crazy big thing on his little arm.
