


Voice Control arduino Robot
hello guys..this is our project..
thats called voice control robot thats controlled bluetooth hc-05 via a smartphone app.
The app is developed in such a way that it convert the voice command to text and transfer the text to the connected Bluetooth device.
The bluetooth connected on the Arduino board receives text from the Android app as characters and stored them as string to the assigned String.
There are words pre-programmed (forward, reverse, right , left and stop) to the arduino , whenever the received text matches with the pre-programmed words ,the arduino executes the command that assigned to the words. Arduino can connect to Laptop to monitor serial communication and check the working process and the words received by the Bluetooth.
Step 1: Components
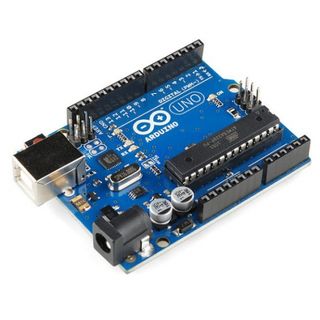


1:-arduino uno
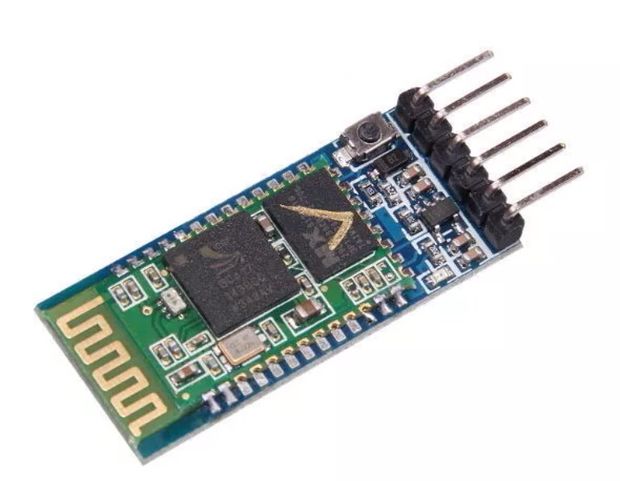
2:-bluetooth hc-05
3:-l293d motor driver(even use as l293d ic)
4:-two wheels and caster wheel
5:-two dc motors
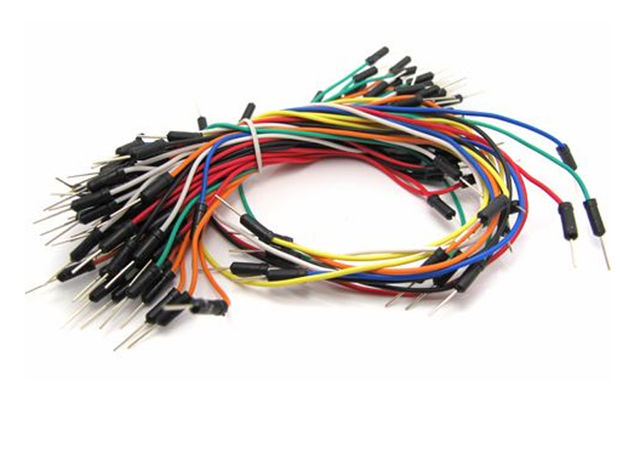
6:-jumper wires
7:-mini breadboard
8:-9v battery(power bank)
9:-battery jack
Step 2: Bluetooth Module Connection
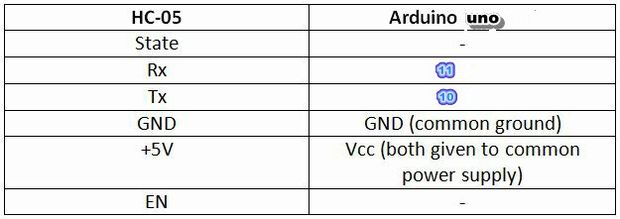
soo
vcc of bluetooth is connect to +5v
gnd is connect to gnd
tx pin is connet to 10pin of arduino
rx pin is connect to 11pin of arduino
Step 3: Circuit Diagram
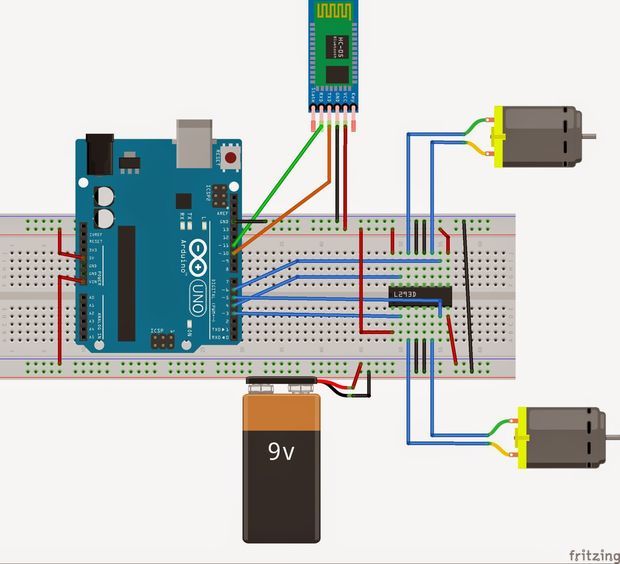
at 1st
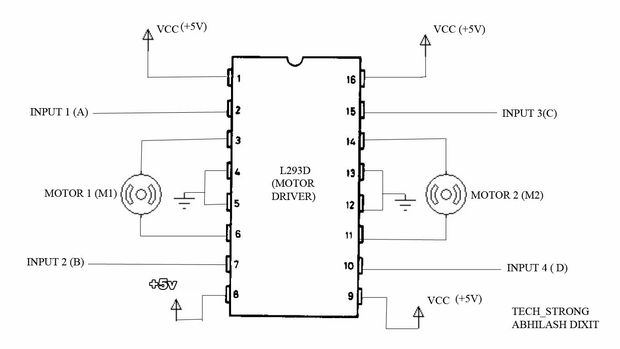
in our project we use as l293d ic but you can use motor driver module thats can easily to make...
so in l293d ic 2,7,10 and 15 are pins as input thats are connected to arduino pin...
in our programming we use this pins
2pin of l293d connect to 8pin of arduino(for left motor 3and 6pin of l293d).
7pin of l293d connect to 4pin of arduino(for left motor 3 and 6pin of l293d).
10pin of l293d connect to 7pin of arduino(for right motor 11 and 14 of l293d).
15pin of l293d connect to 3pin of arduino(for right motor 11 nad 14 of l293d).
+5v of l293d are connet to 9v battery to mini breadboard..
bluetooth module:-
vcc-----------+5v
gnd-----------gnd
tx---------------10pin of arduino
rx---------------11 pin of arduino..
sooooo....connect this pins easily by jumper wires which can make this project so easy..
and dont worry..
Step 4: Uploading the Code
here the code to bellow...
sooo..copy this code and paste in your arduino..
then compile and upload to arduino board..
#include
SoftwareSerial BT(10, 11); //TX, RX respetively String readvoice;
void setup() { BT.begin(9600); Serial.begin(9600); pinMode(8, OUTPUT); pinMode(4, OUTPUT); pinMode(3, OUTPUT); pinMode(7, OUTPUT);
} //-----------------------------------------------------------------------// void loop() { while (BT.available()){ //Check if there is an available byte to read delay(10); //Delay added to make thing stable char c = BT.read(); //Conduct a serial read readvoice += c; //build the string- "forward", "reverse", "left" and "right" } if (readvoice.length() > 0) { Serial.println(readvoice);
if(readvoice == "go") { digitalWrite(8, HIGH); digitalWrite (4, HIGH); digitalWrite(3,LOW); digitalWrite(7,LOW); delay(100); } else if(readvoice == "back") { digitalWrite(8, LOW); digitalWrite(4, LOW); digitalWrite(3, HIGH); digitalWrite(7,HIGH); delay(100); } else if (readvoice == "up") { digitalWrite (8,HIGH); digitalWrite (4,LOW); digitalWrite (3,LOW); digitalWrite (7,LOW); delay (100); } else if ( readvoice == "on") { digitalWrite (8, LOW); digitalWrite (4, HIGH); digitalWrite (3, LOW); digitalWrite (7, LOW); delay (100); } else if (readvoice == "hello") { digitalWrite (8, LOW); digitalWrite (4, LOW); digitalWrite (3, LOW); digitalWrite (7, LOW); delay (100); }
readvoice="";}} //Reset the variable
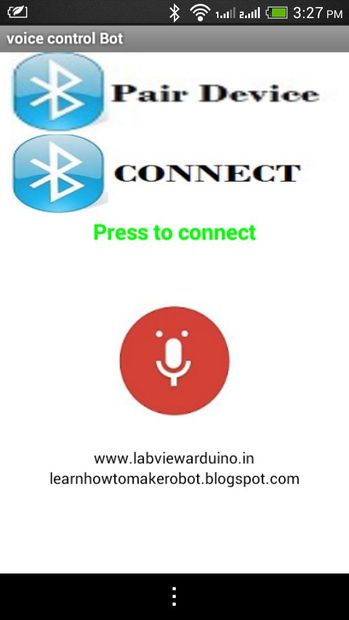
Step 5: Connect to Bluetooth Via Smartphone Android App
here this link..this app are devloped using MIT app inventor..
https://www.dropbox.com/s/m6p9wzmw5cd664y/voicebot...
then when it install in your android smartphone..open the app
voice control bot app:-
pair device to your phone to hc-05...
and connect to your phone...then lets play.
go------for forward
back-----for backward
up-------for left
on-------for right
hello-----for stop
Step 6: Result
here the video link in action..this video can make easily this project..
so guys follow this link of our channel....s_r tronics
soooo...subscribe our channel to stay tuned with us..and likes also..and do comment in inbox..
https://www.youtube.com/watch?v=1cweNiJtA-w