


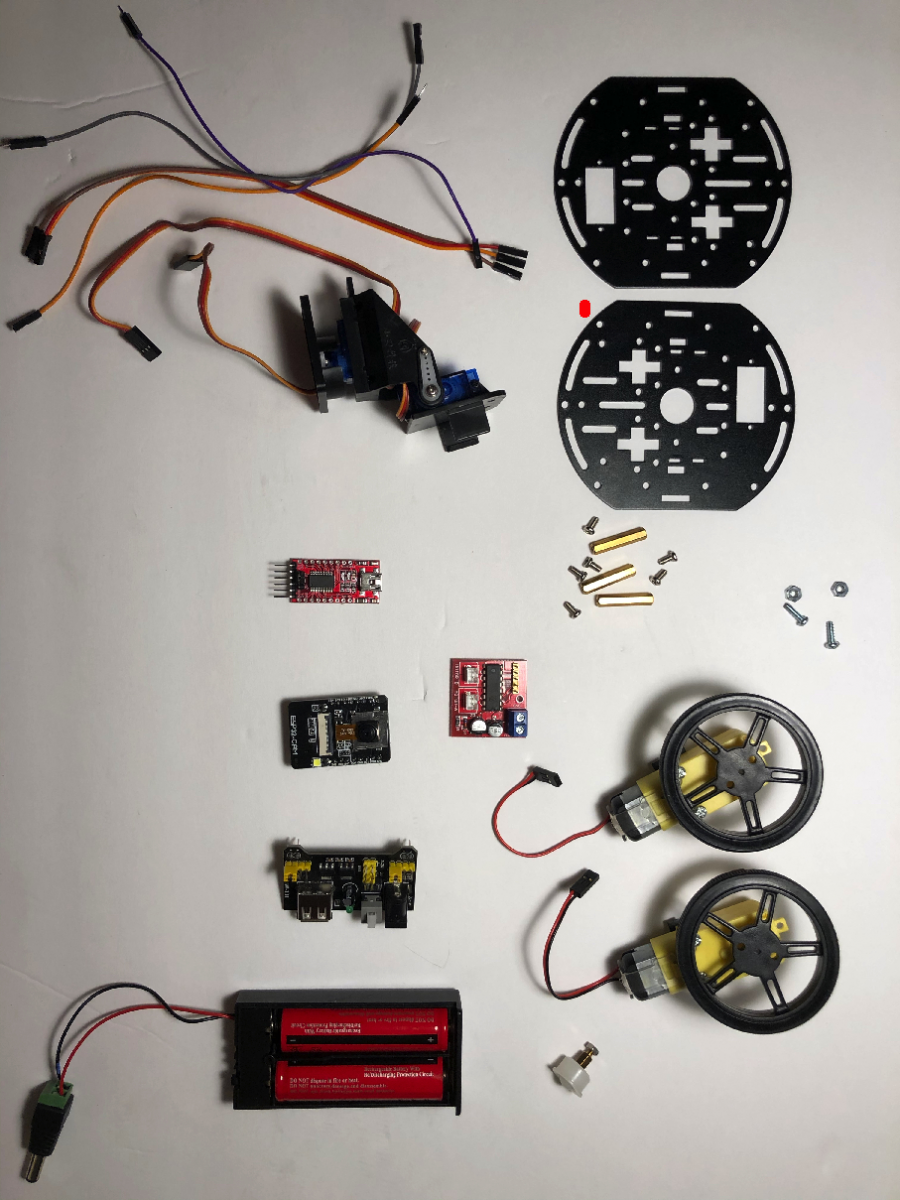
Parts List:
ESP32-CAM x1
FT232RL FTDI Mini USB x1 - for uploading a code to the ESP32-CAM
Dual Channel DC Motor Driver L298N x1
Adafruit (PID 3244) Mini Round Robot Chassis Kit - 2WD with DC Motors x1 - I used this chassis, but you can make your own or buy any other available chassis. What we need here is wheels and DC Motors
18650 Battery Holder x1
18650 Battery x2 (as an alternative four AA batteries and its holder can be used instead of 18650 batteries)
Mini Pan/Tilt Platform w/ 2 SG-90 Servos x1
MB102 Breadboard Power Supply Module x1
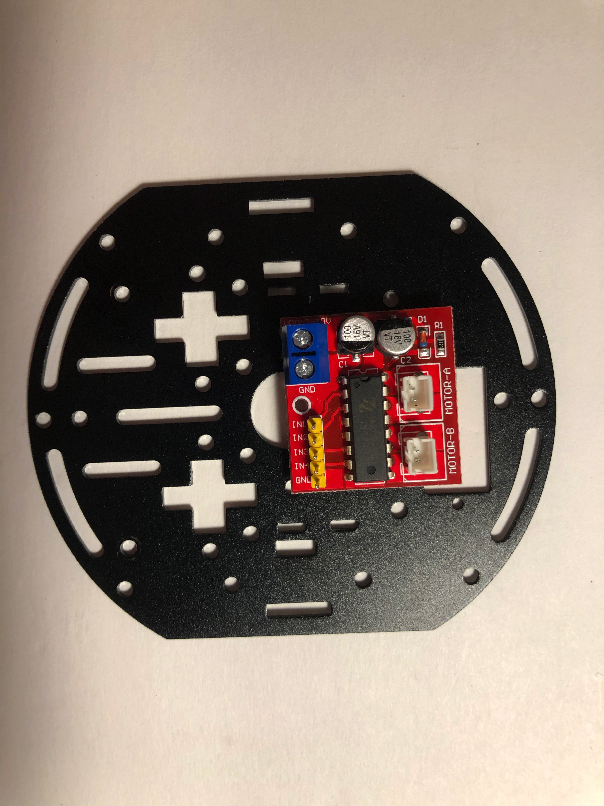
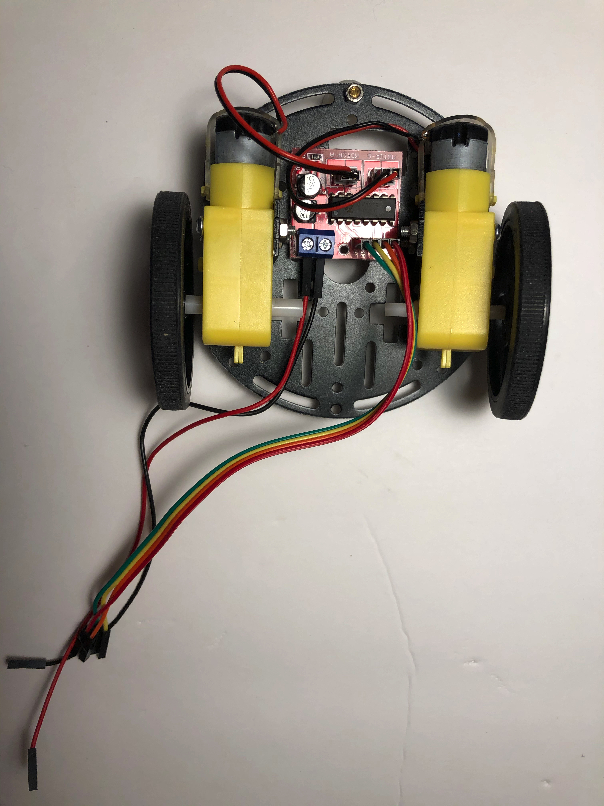
Assemble the robot chassis with two DC motors, 3 wheels and mini L298N motor drive controller. Use use a mounting tape to attach the motor drive controller to the platform.
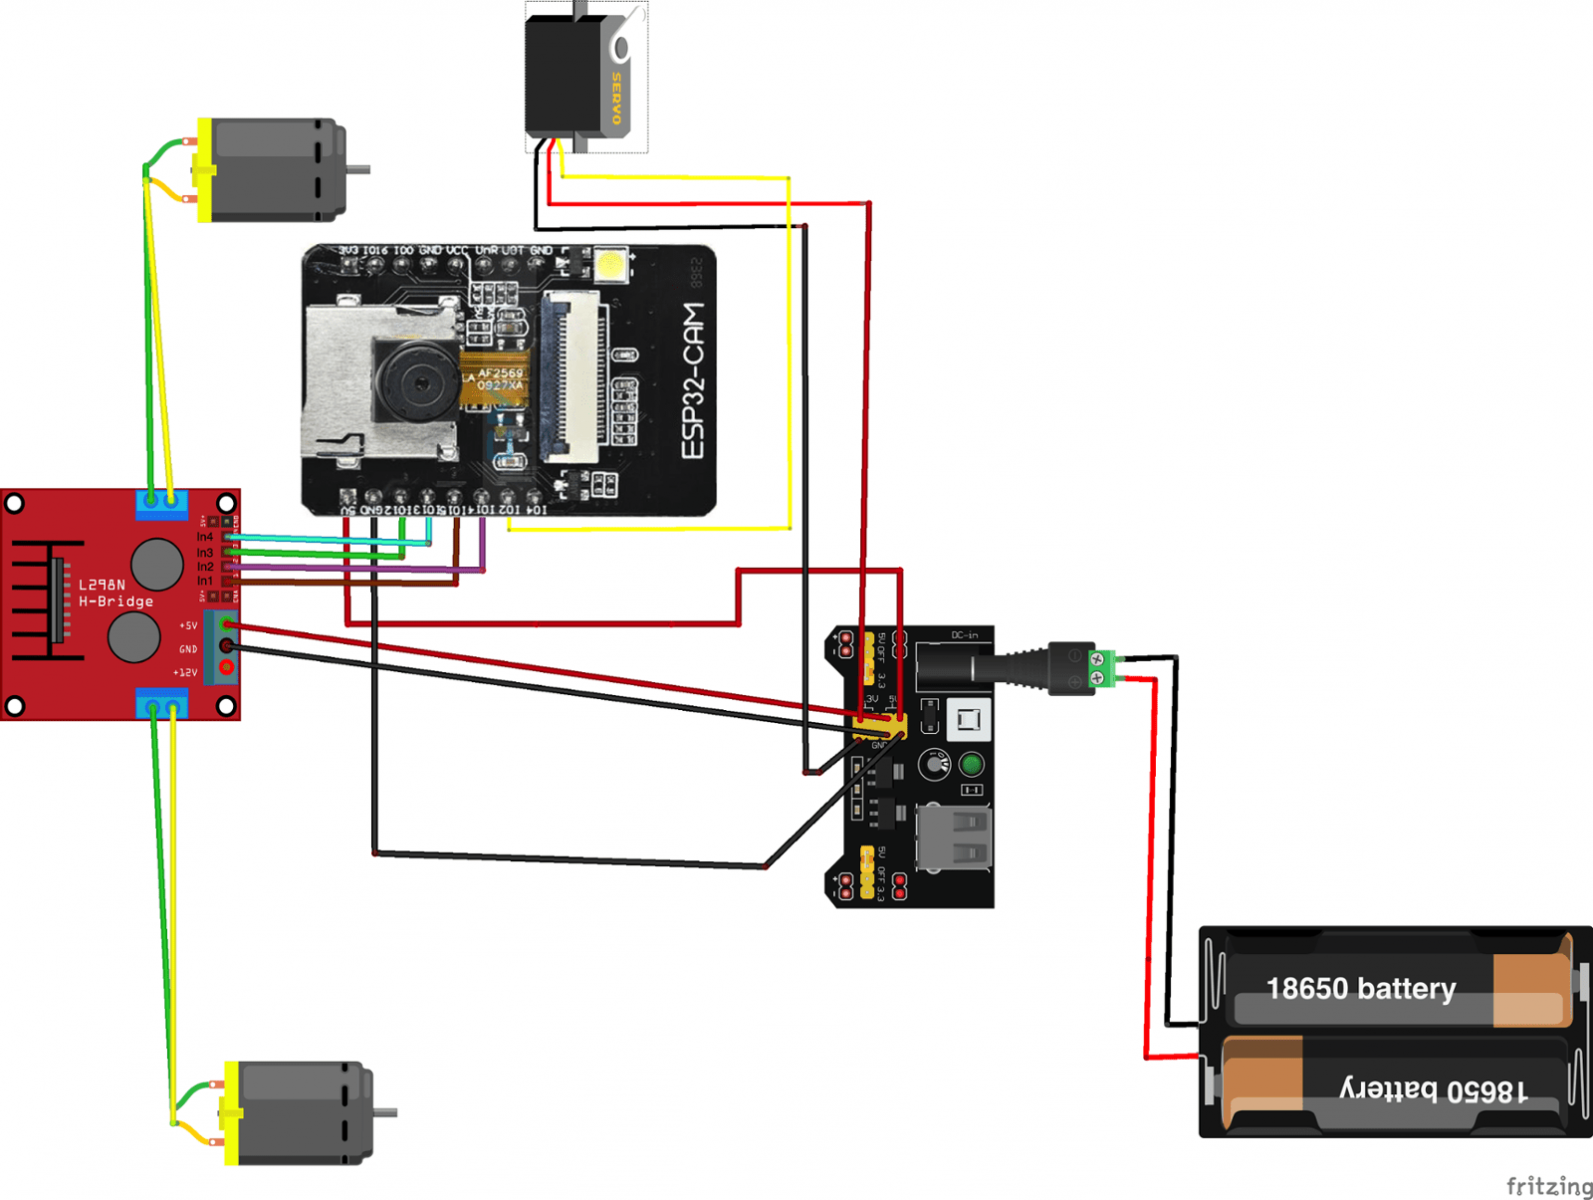 Connect wires as shown on the schematic.


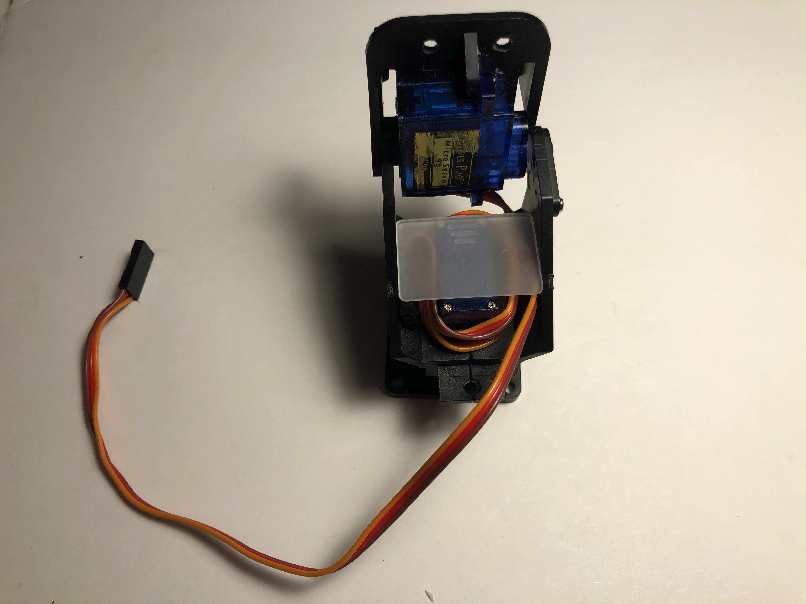
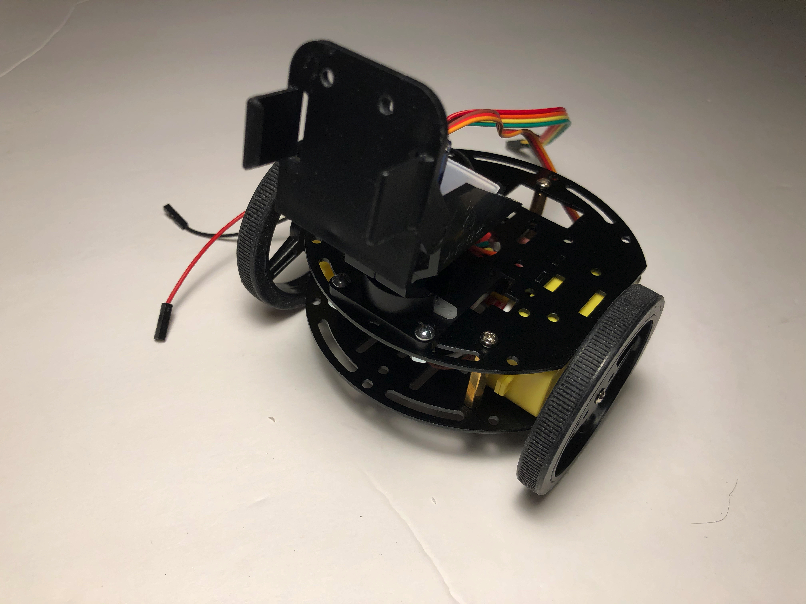
Pull out the wires through the top of the chassis platform. Organize cables from the SG-90 servos at the Pan/Tilt platform. In this project we need only a Tilt servo.
Attach the Pan/Tilt to the top of the chassis platform.

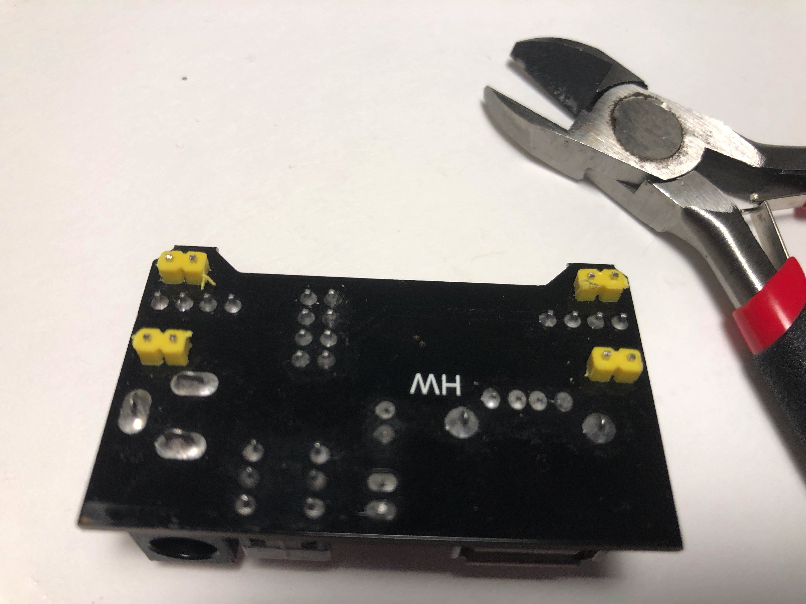
Using MB102 Breadboard Power Supply Module is optional. You can always take 5V and Ground for ESP32-CAM and servo motor from the L298N motor driver, but I found that with the MB102 it is much more convenient. The power supple module has a power button and gives you more flexibility with wiring.
In order to attach the module the the chassis platform, I removed the pins on the bottom of the MB102. Then, I attached it to the top of the chassis with double sided mounting tape.
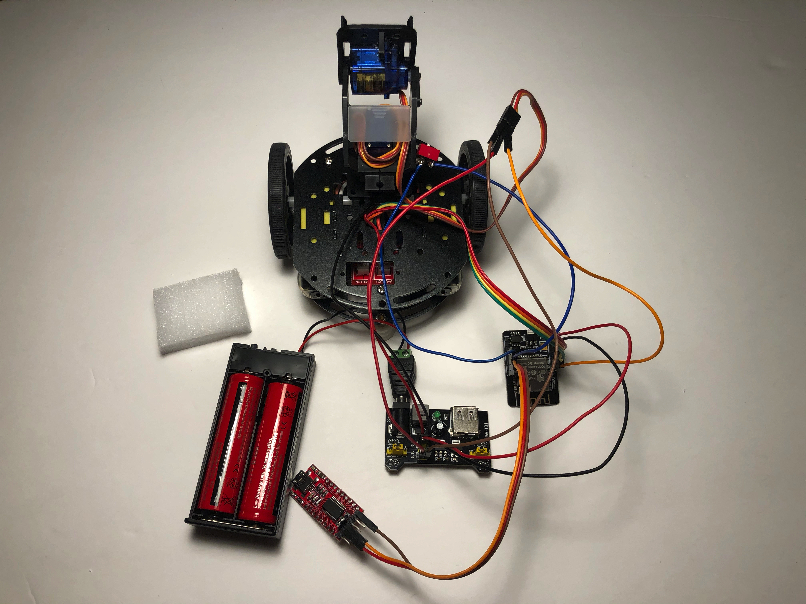
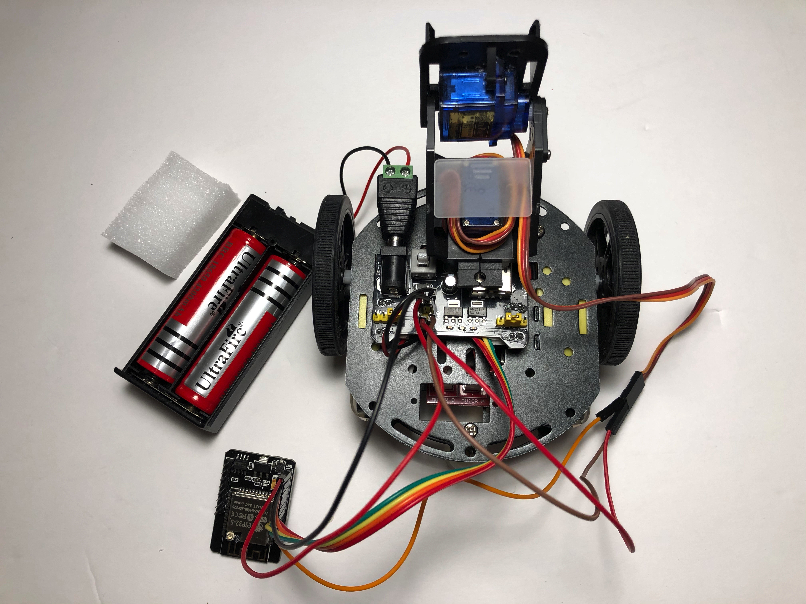
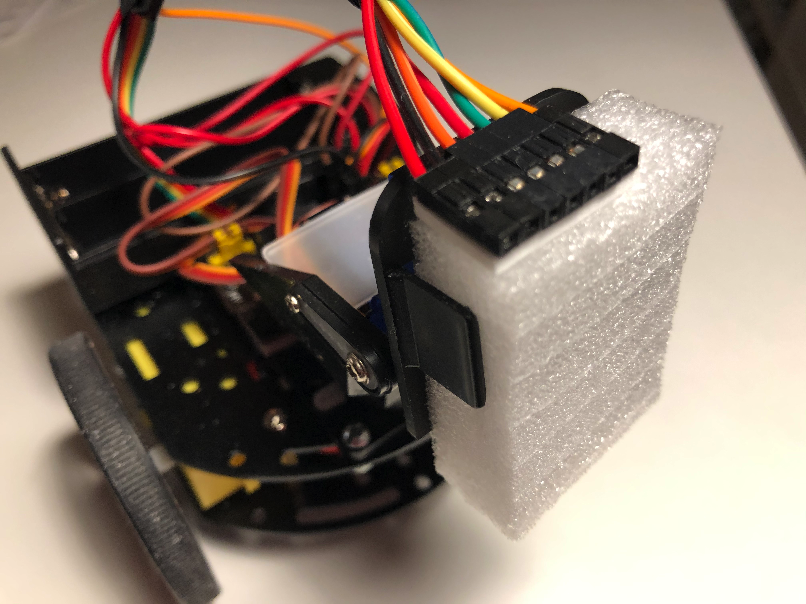
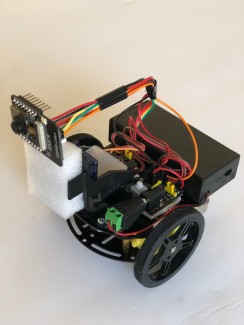
Connect all parts using the schematic. Use a piece of foam and double sided mounting tape to attach the ESP32-CAM to the Pan/Tilt platform.

Install the ESP32 Add-on on Arduino IDE:
Follow one of the next tutorials to install the ESP32 add-on, if you haven’t already:
Installing the ESP32 Board in Arduino IDE (Windows instructions)
Installing the ESP32 Board in Arduino IDE (Mac and Linux instructions)
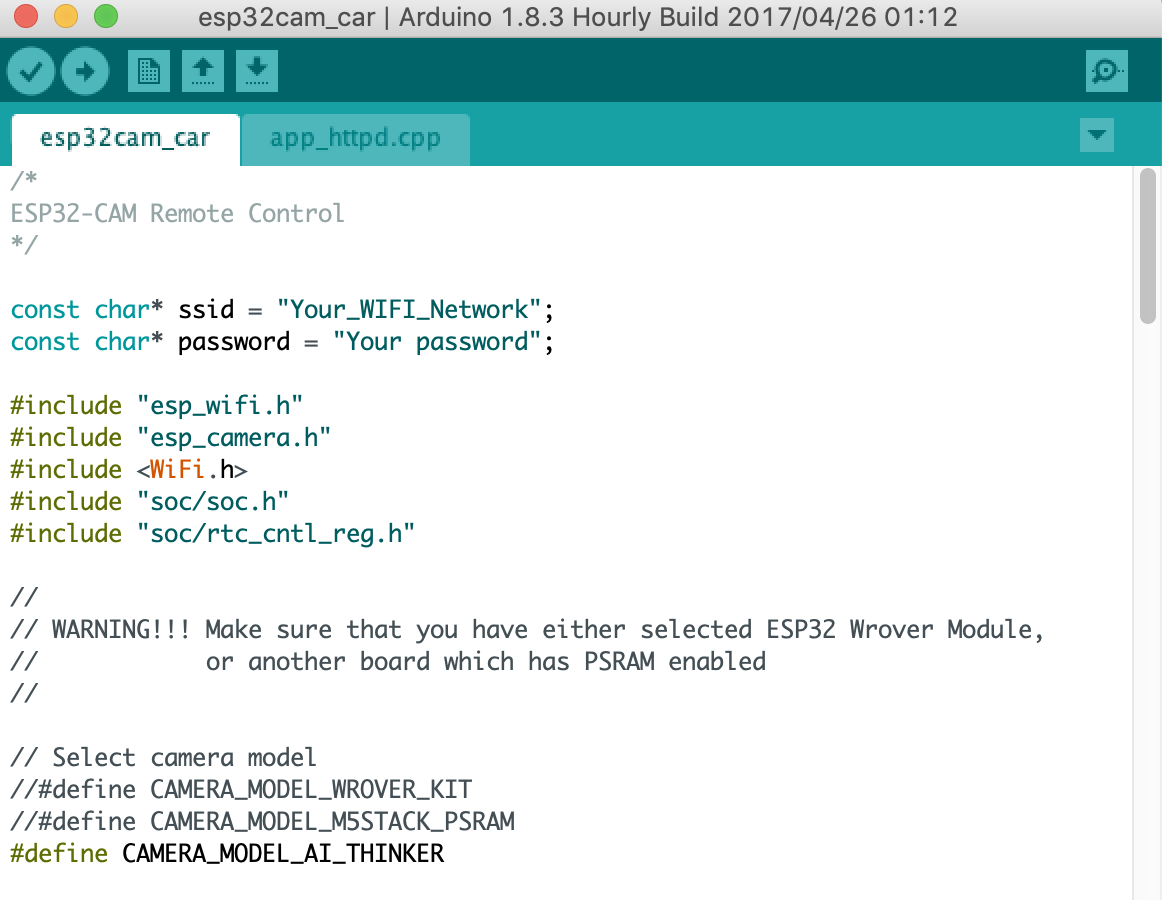
Make sure that you have two tabs with code in the Arduino IDE: esp32_cam_car and app_httpd.cpp as shown on the screenshot.
Before uploading the code, you need to insert your network credentials in the following variables:
const char* ssid = "Your_WIFI_Network"
const char* password = "Your_WIFI_Password"
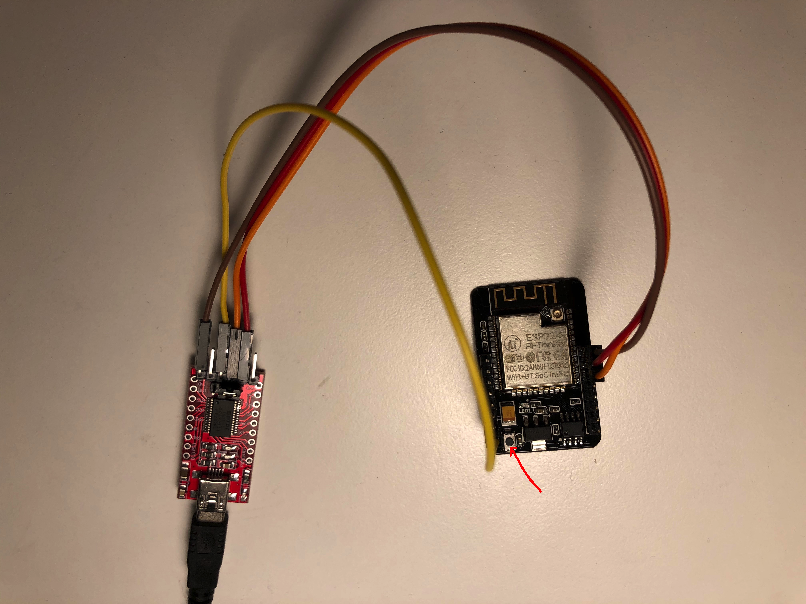
Connect the ESP32-CAM board to your computer using an FTDI programmer. Follow the schematic diagram.
Important: GPIO 0 needs to be connected to GND so that you’re able to upload the code.
Press the ESP32-CAM on-board RST button before uploading the code. Run Arduino IDE and click Upload to build and flash the sketch to your device.
After uploading the code, disconnect GPIO 0 from GND.
Open the Serial Monitor at a baud rate of 115200. Press the ESP32-CAM on-board RST button. The ESP32-CAM IP address should be shown in the Serial Monitor.
Disconnect the ESP32-CAM from the FTDI programmer.
Connect the ESP32-CAM back to the Pan/Tilt platform, turn on power and press the ESP32-CAM on-board RST button.
Download the App from here
Run the App on your iPhone, enter the ESP32-CAM IP address and play with the robot!
You should open up your router settings. (google how to do this for your router). There you will find some settings, including something along the lines of Forwarding or Port Forwarding.
The important thing to note here is the "Port Range" and the "Device" or "IP address".
In "Port Range" you should type 80-81.
For "Device" you should select your ESP32-CAM device. In some routers you should put the IP address of your ESP32-CAM instead of a device name.
Go to www.whatsmyip.org and copy your IP. Use this IP in the App when you are outside your home network.