


Turtlebyte
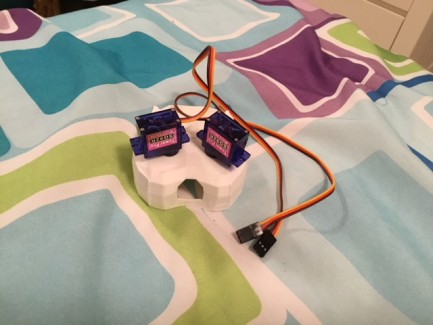
3/23/18- Big update. First of all, I had 3D printed a custom chassis that ended up being too small for hardmouse's leg design. This meant that to preserve my print (and overall design,) I will have to scrap those awesome-looking legs. So sad, but I imagine I'll find a use for them someday. Anyway, the chassis is small because I'd like to fit a Raspberry Pi Zero in it (and I just like compactness!).
So after the fact, I toyed around with using the servos as legs directly. I tried modifying some plastic gears and gluing them into holes in my chassis. Then, I put screws through the gears into the servos, giving them something to "hold on to". This worked well for one servo, but not for the other- it was still too loose.
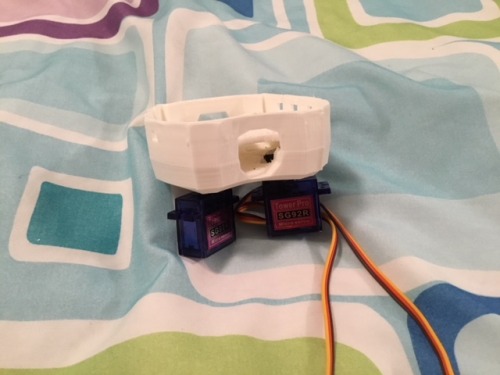
That brings me to my final solution- simply using the servo horns that came with the servos. I placed the horns into the chassis' holes, and screwed them into the servos on the other side.
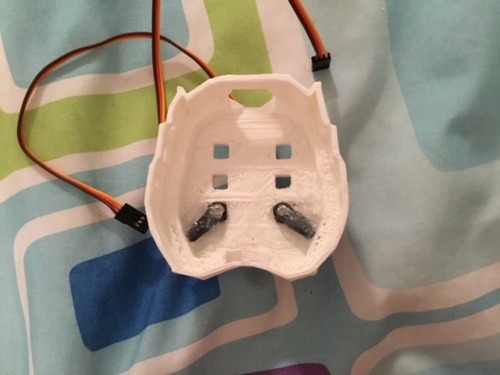
I used some hot glue to hold the horns in place.
I plugged in one of the servos for a test, and lo and behold, it moved exactly as I intended it to, as can be seen in the (as of this post) most recent video.
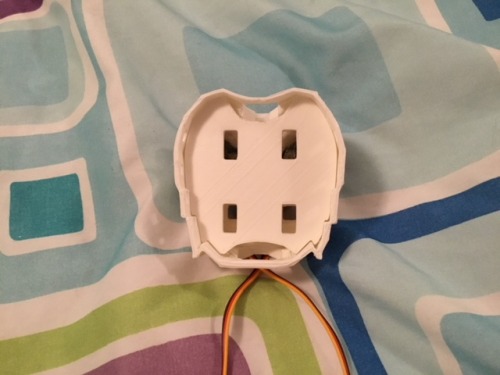
I even made a separator for the chassis to (eventually) keep the batteries and the Raspberry Pi Zero (which I now wish to use instead of Arduino) apart.

I had to sand it down quite a bit, but now it works like a charm!
Next: Finish the legs, make some of the chassis holes larger (for the wires,) make and print the spikes... Lots left to do, but it's so much fun! See you all next time.
----------------------------------------------------------------
3/6/18- Just finished the front legs! Woohoo! I did several test runs on one of them, the most recent being documented in the video. But I screwed up the movement range in the test Arduino sketches, since the servos can no longer rotate fully. I hope I didn’t strain the servo too bad...
————————————————————
2/27/18- Hello again! So I now have a 3D printer, and am currently experimenting with it. The leg pieces you see are downloaded and printed, while I will be practicing making and printing my own pieces for this robot as well. The reason for its name? It will hopefully look a lot like a trilobyte-turtle hybrid when it’s done.
A reeeally rough digital sketch of the original design is provided as an attachment.
The name and design have changed, however. It will now be a proper quadruped (thanks to a 3D-printable robot chassis,) though the head and “shell” will be mostly the same. I also would like to add a simple “tail” of sorts as a semi-continuation of the shell (no actuators required).
I will try to update again soon- stay tuned, and thank you for looking!
Autonomous robot pet
- Actuators / output devices: Servo motors
- Target environment: indoor