


Trainable Robotic Arm
Hello LMR,
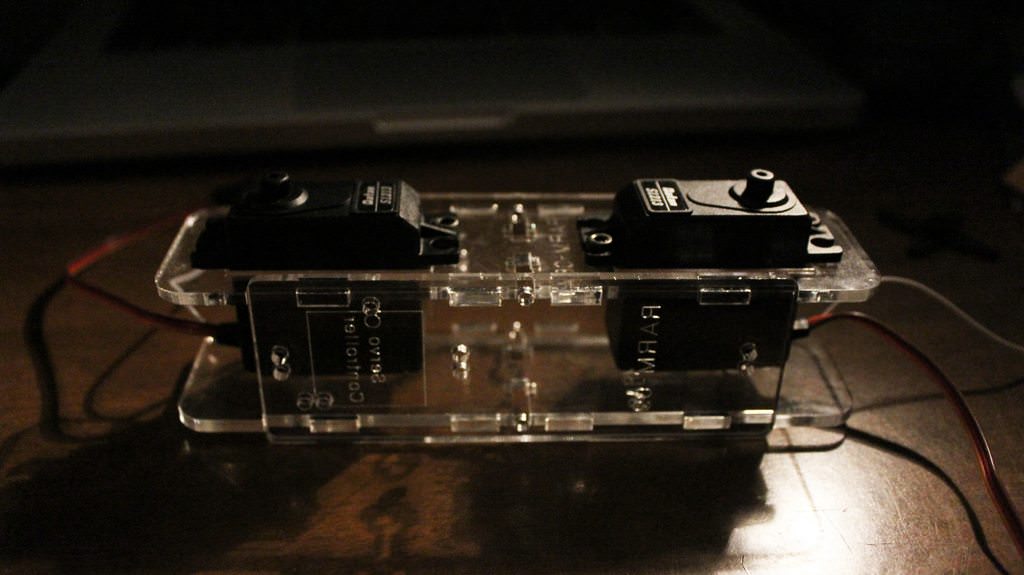
This is my six degree's of freedom robotic arm. I am building this for my schools science fair but Im also building it because I love robotics. Anyways the accyrlic pieces were laser cut from my schools laser cutter and I got the file for the pieces of thinigverse, specfically here: www.thingiverse.com/thing:387 . Instead of using 6 average hobby servos, like a regular robotic arm would have, I used six of adafruit's analog servos. These servos have an extra wire coming from the servo other than the three wires, Signal, 5v Gnd, that allows the servo to recieve the exact position of the servo. This extra wire that goes to the analog pin creates a closed loop system, so the user can know excately where the servo ended up after you sent it a command. In addition you can use the servo as an input device so a person can hit the record button on the robot and then move the robot to a desired location and then hit the record button again to stop the recording process. The servo values are then stored to the eeprom and can be replayed when the replay button is hit.
Here are some photos of the assembly, I used a combination of 3x10mm screws/nuts, 3x15mm screws/nuts and 3/30mm screw/nuts which were pretty hard to accquire but I ended up ordering them online.

Each piece fits into each other because of the thickness of the accyrlic is 1/8 of an inch and that was taken into account when the person desinged the pieces on the computer.


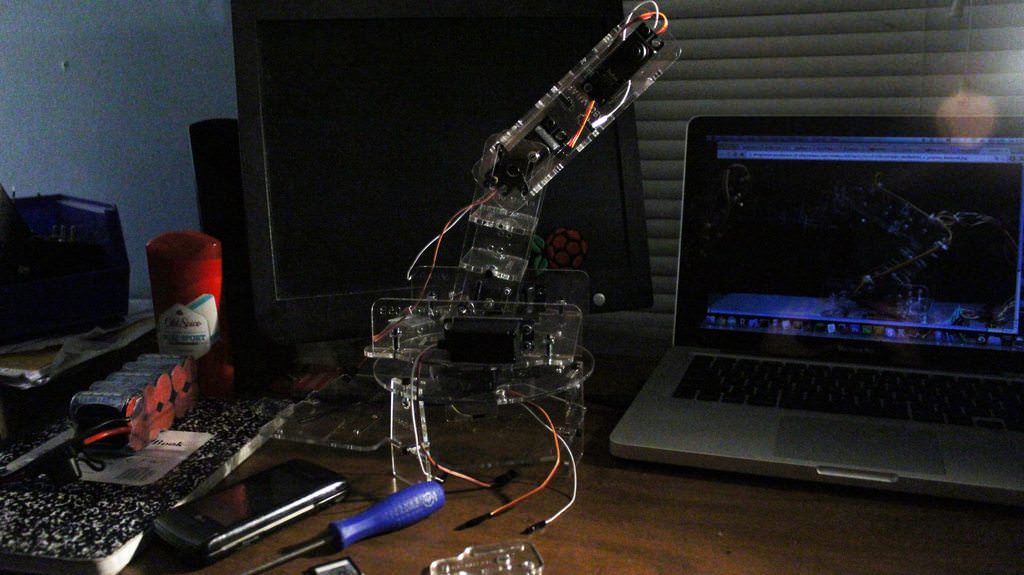

I am thinking about printing a new gripper because the one that I am using now is working as well as I want it to. I am working on the code for the robot now and I will upload a video when I am done.
Pick things up and put them down.
- Actuators / output devices: Analog Servos
- Control method: non-autonomous
- CPU: arduino uno
- Power source: 7.2 nimh battery
- Programming language: C/C++