


Tracer
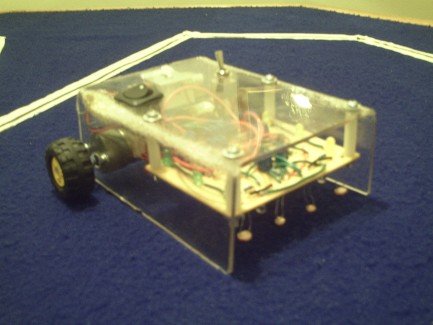
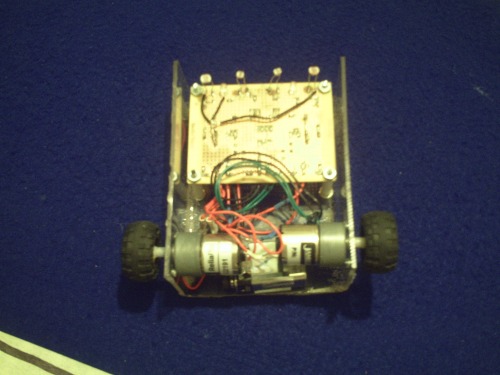
Tracer is a simple linefollowing robot that has the ability to follow light or dark lines. It is able to do this through taking advantage of four photoresistors. The amount of current alotted from each side is tested by the LM393P comparator and reacts respectavely to stay on track. The motors are powered by a set of PN2907A PNP transistors, a fairly simple set up. I also added motor feedback protection by adding some schottky diodes to the motors. (No need to fry a perfectly good comparator). I also added two more diodes, one after the positive terminal of the battery and the other before the negative terminal of the battery, for reverse battery protection. I know two is a bit overkill, but I know a few people who could destroy the bot by inserting the battery in the wrong orientation (You know who you are). Another nice feature are the adjustable headlights to accomodate the sensors for different lighting conditions it is also worth noting that it also has a sensor balencing circuit to accomodate for the variances in the photoresistors. My favorite feature is my "flip-flop" wired switch, which gives it the ability to follow dark and light lines by connecting the motors to opposite motor outputs (Right is connected to left and left is connected to right). For the body I bought a sheet of acrylic and using a blow torch bent it, something I learned off of LMR (Thanks! You know who you are). All in all, not bad for a first successfully built robot.
Light
Top View
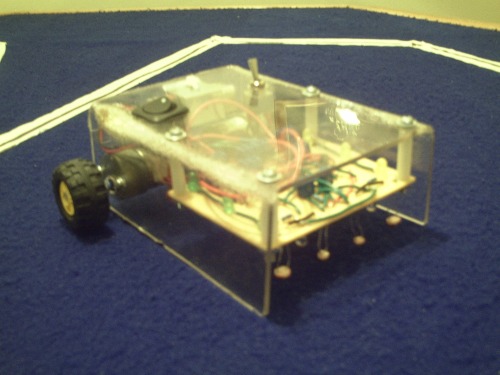
Left Side View
Right Side View
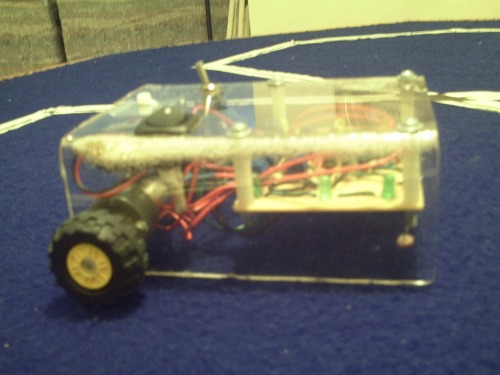
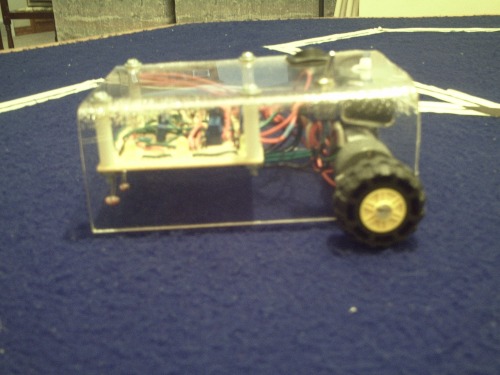
Front
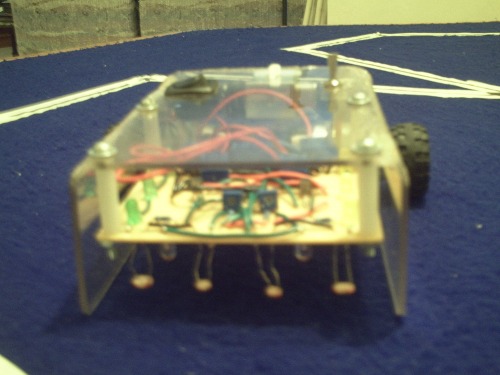
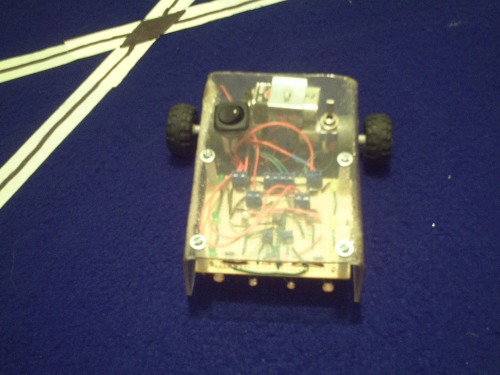
Underbelly
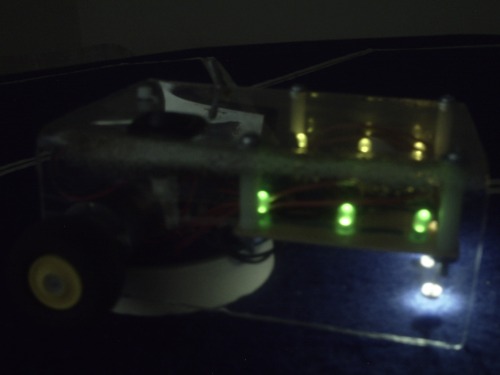
Top (Dark)
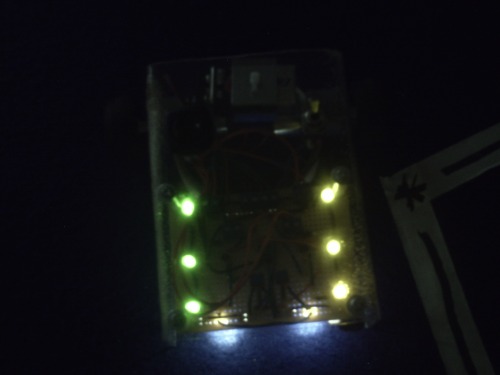
Dark
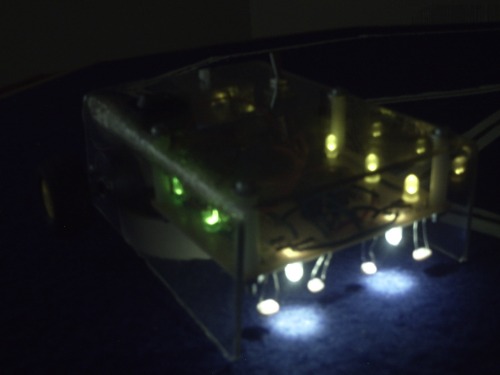
Side (Dark)
Follow Dark and Light Lines
- Actuators / output devices: 2 geared motors
- Control method: autonomous
- CPU: LM393P
- Power source: 1x9v
- Sensors / input devices: 4x Cds Photocells (Photoresistors)
- Target environment: indoor