


Three wheels Robot
This is just a prototype for my code. I have it right now avoid object about 2 1/2 inches away. This is my first robot and first time actually really programming so its not that great. I still have a lot of work to do on the code. I made this robot out of popsicle sticks, dowel rods, rubber bands, super glue, and hot glue. Took me a while just to figure out how I wanted to do it. First I started with some popsicle sticks to get the servos attached together. I'm using Airtronics 94102z servos. I modify them myself which wasn't a pain at all. I actually enjoyed it lol.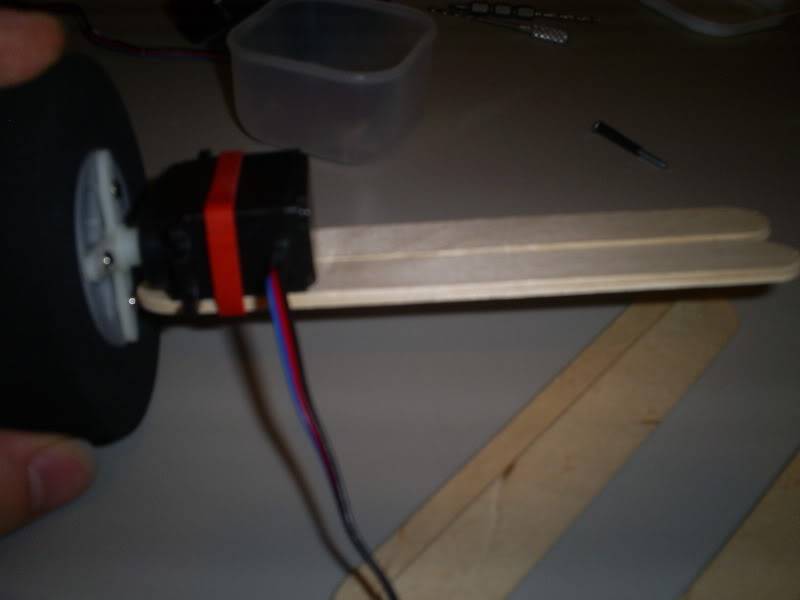
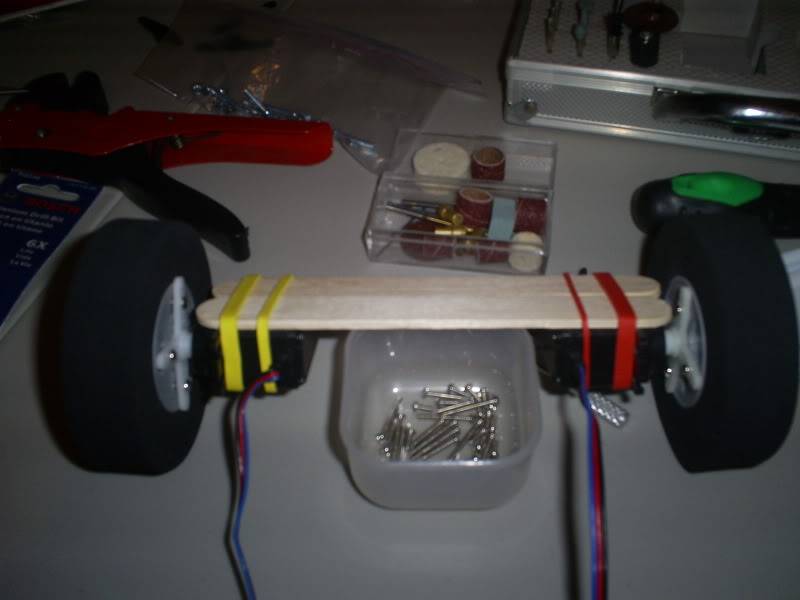
Then what I originally was going to do was give it four wheels.
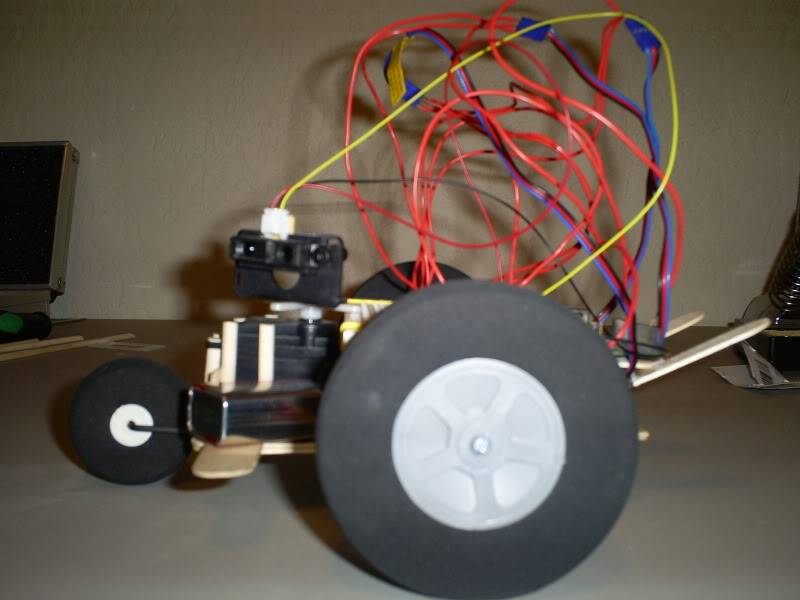
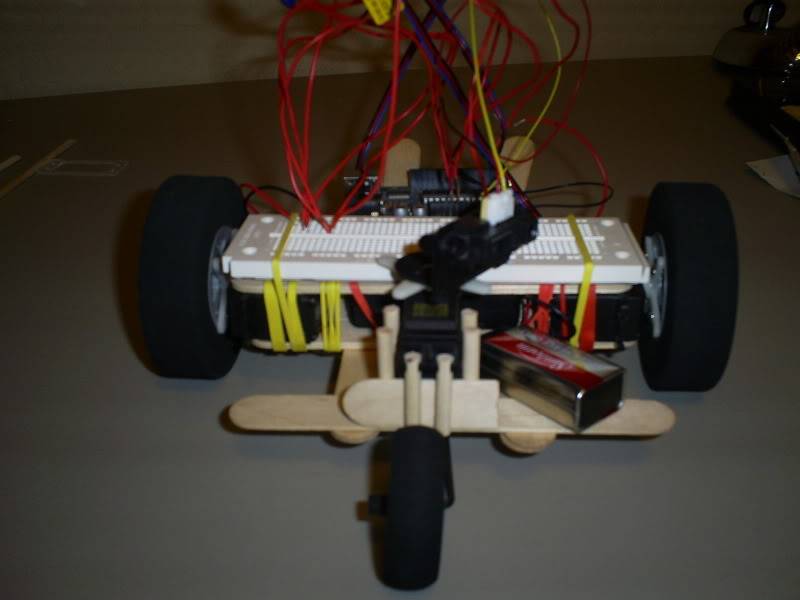
I had to change that for I ran into a few other problems like alot of drag. So I turn it into a three wheeler. The back wheels I got from hobby store which were for airplanes. They are the Lite Flite Wheels and 3 1/4in, which they have really good tractions on them. The wheels I have in front are use for your main landing gears. I use it since I didn't really have to do anything to them but align it up in the middle and hot glue it underneath since it was already connect to a rod.
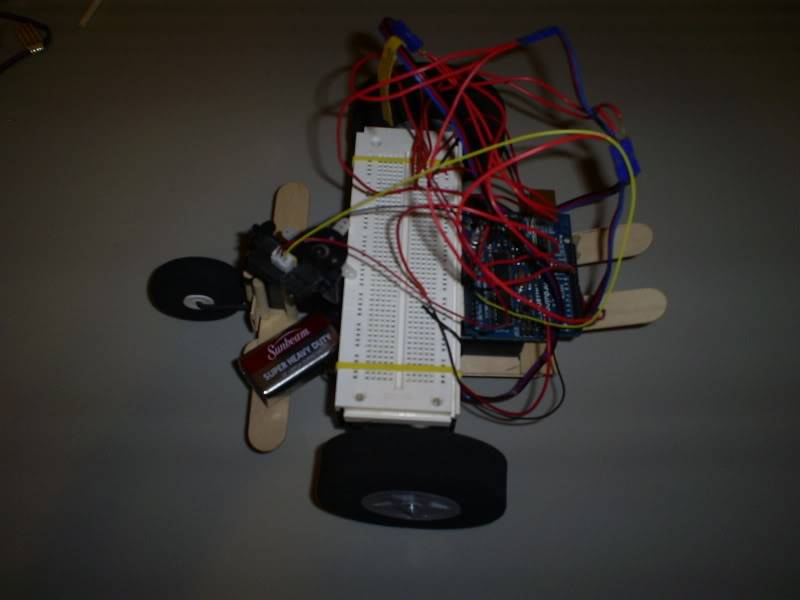
This is the top view, I know lots of wires and a bit of a mess. Actually the way I have it connect is just the 3 servos connected to the 4 AA batteries and I grounded the 3 servos, battery back, and the arduino together. I used a 9v battery to power the Sharp sensor and arudino. So I then grounded the Sharp sensor, 9v battery, and the board together. I figure thats how I was suppose to do it.
As you can see in this picture I have a few dowel rods forming a barrier around the servo. At first it wanted to slide a little to the back so I added two more dowel rods in front which fit right in the two holes. So I place a small piece of popsicle stick in front to make it stay in place. It worked out really good. Anything else you would like to see or I left out just let me know and I will post it. I'm sorry about the bad video, but its the best I can do right now.
avoid objects
- Actuators / output devices: 3 Airtronics 94102z Servo
- Control method: Autonomous.
- CPU: Arduino Duemilanove
- Power source: 4 AA NiMH rechargeable batteries, and 1 9v battery
- Sensors / input devices: Sharp GP2D120 IR sensor
- Target environment: indoor