


The wanderer
Description:
Here is my own little creation.
I decided to build this after I saw “First Robot” that was made by fritsl. I want to thank him and also everybody else who helped me!
This is still a work in progress for a TPE ( secondary school project). It seems to be going well for now as all the components are working. I am still learning the programing code so it only does basic stuff for now, such as drive around and rotate the servo.
At the end of the constrution, I would like the robot to be able to move around while avoiding objects, turn its lights on in the dark, and maybe lift an empty can with an electromagnet or something similar.
Here is the shopping list to date:
- Tamiya Tracked Vehicle Chassis from Tower Hobbies;
- Tamiya Double Gear Box 4-Speed transmission, also from Tower Hobbies;
- Picaxe servo upgrade pack from Tech Supplies (saw a site where you could buy just the yellow chip but can’t remember now the name of the company);
-SRF005 from Robot Italy;
- L293D from Robot Italy;
- Picaxe 28X starter pack from Sparkfun;
- serial programing cable from Sparkfun;
- and some stuff i had laying around.
I will continue to update this page as the work progresses and any comments are much appreciated!
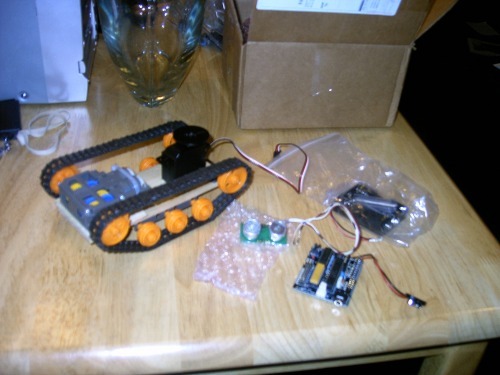
PHOTOS (above and below): Here are pics of some of the stuff that I ordered.
Update: 25/10/2008
Anybody wondering what the mount for the SRF005 is made out of?
Well, that’s homemade plastic! All you need is stryrofoam and petrol/gasoline. The gas dissolves the styrofoam and creats this runny gell-like stuff that has two applications – drying it and using it as plastic to make parts, or using it as “napalm!” Both good options as I see it!
It takes a few days to dry and it forms small bubbles inside; however, if you want to speed up the process, you can coat it in super glue.
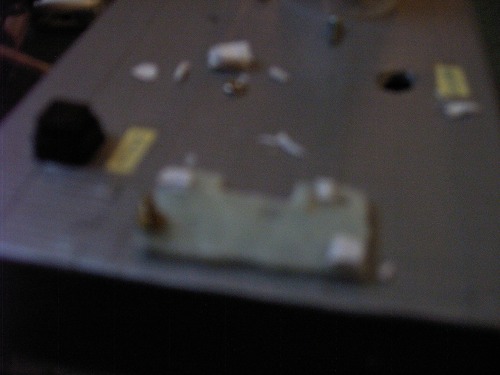
PHOTO (above): Sorry for the picture quality, but I did not have a good camera in the early stages of this project, so this is all the detail you can see. The white bits are to keep the SRF level and the screw at the botom is to attach it.
Update
The actual construction has started! I don’t really have set plans at this point, just ideas in my head . . . .
PHOTO (below): This is a small bit of balsa wood to hold the Picaxe and the batteries to power it. To fix the board to the wood, I used two upside-down screws with spacers on them glued to the wood with cold weld. I used screws so I could take things on and off the board repeatedly without damaging it.
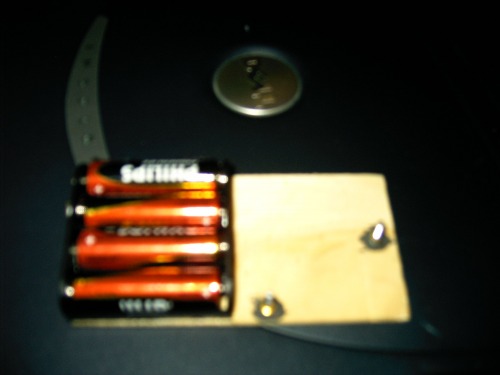
PHOTO (below): The wood board with the chip installed
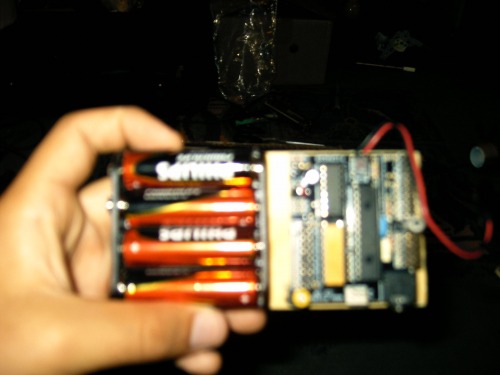
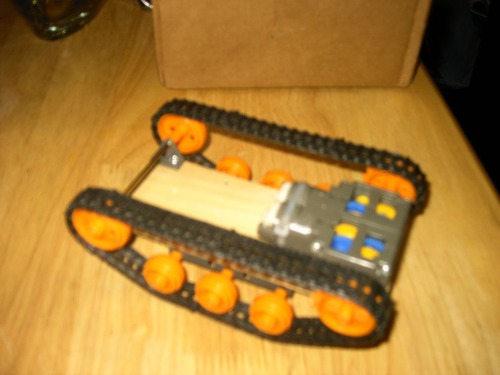
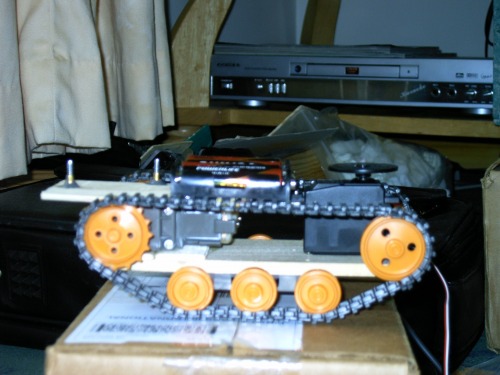
PHOTO (below): The wood board mounted on the chassis with the servo for the head.
Update
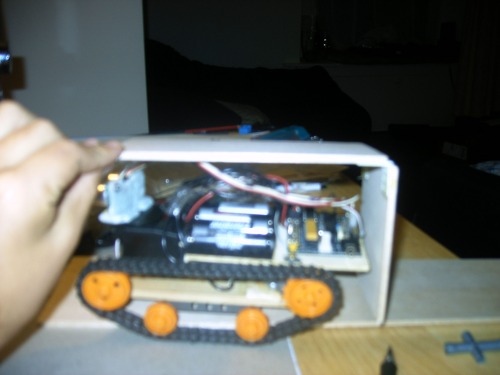
PHOTO (below): It finally looks like a robot, but it is far from finished. Still, it’s progressing! Incidentally, the box it is sitting on is a taser I made! I think this is the scariest thing I have ever made! It still freaks me out! J
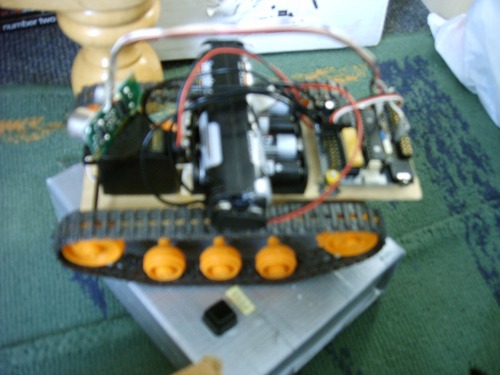
PHOTO (below): Now it definitely looks like a robot! Note the steam engine in the background, my first construction project and foray into mechanical constructions. This robot is definitely a big step up from steam!
Update 10/11/2008
Today I finally got the robot to do something interesting; it can go around objects using over-sized bumper switches to change direction.
Unfortunately, it has a habit of getting stuck in corners. I should teach it to remember its last four moves and if they are repetitive, it should then make a 180-degree turn.
Update 11/11/2008
Now I’m making kind of a second stage for the robot so I can add extra components and other stuff. I’m using balsa wood and RC plane hinges, so it’s simple but sturdy. It shoud be finished by tonight – let’s hope it works!
PHOTO (below): Here you can see the first phase of building the stage, with the balsa wood pieces with the hinges being put together.
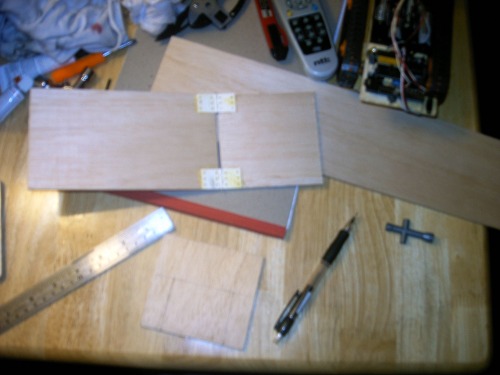
PHOTO (below): The previous piece, plus an extra bit of wood to connect the second "floor" to the robot, and the two small squares on the side add support strength.
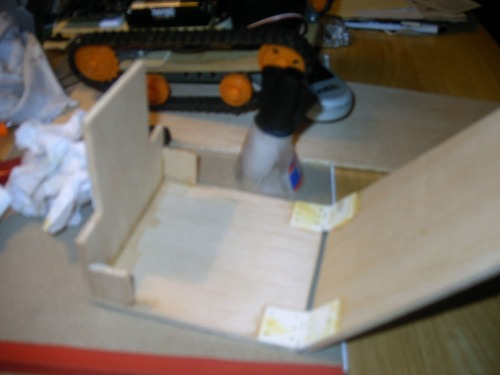
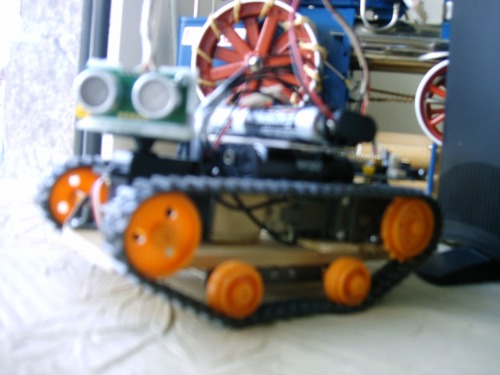
PHOTO (below): This is how it should stand on the robot when completed.
I have almost finished the second “floor" on the robot and it is working great! I just need to add two more supports at the front and that will complete it.
It seems that the extra leverage this construction provides at the back helps the robot climb stuff it that it could not tackle before. It also seems that the weight of the batteries at the front helps the robot get better traction.
The plan is to use this platform for the second power source and, if all goes well, to install some type of arm to give it greater capabilities.
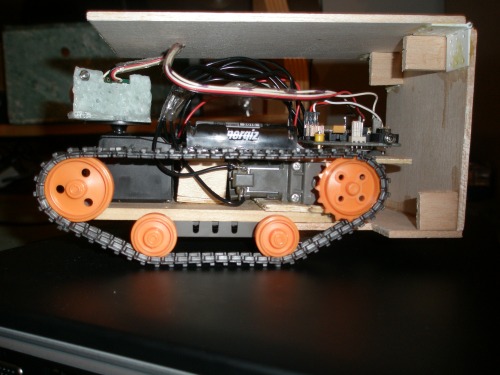
PHOTO (above): The completed second “floor” will allow for the possible installation of an arm and a second power source.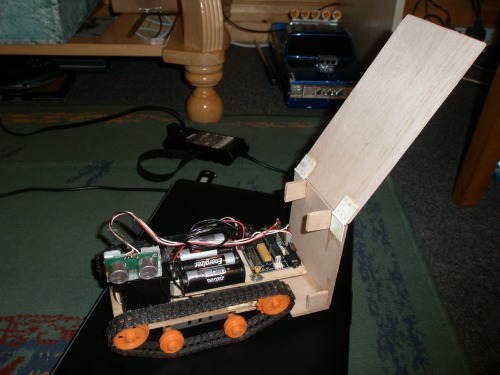
Update
Major work has now been done on the robot! Thanks to info from robologist and others, I learned that the engines were not of the best quality. As you can see in the photos above, it is difficult to get to the motors and the second battery pack was loose and annoying me. What could i do? I solved these problems by making a few important but necessary changes.
The first thing to do was remove the battery pack and all the wood holding it up; thanks to a Dremel, that part was easy!
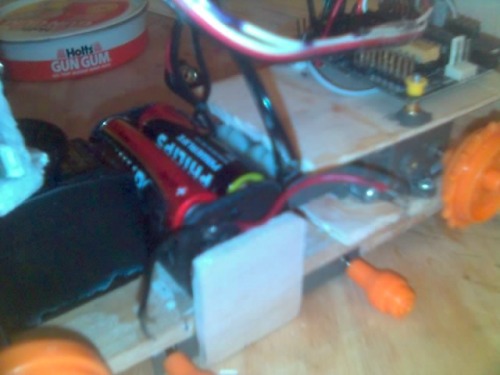
Next was to find a way to fit in the four batteries for the second power source. This was done by using a cube holder and two pieces of balsa wood to keep it from sliding away (see photo below).
Now, where should the power source for the chip go? Well, first of all, why use four batteries when two will work just as well? Since I did not have a battery holder for two cells, I just used the one that came with the chassis kit, by adding a 9V connector and that did the job! That, and three sheets of balsa glued together to rase the batteries over the tracks, and it was ready to go.
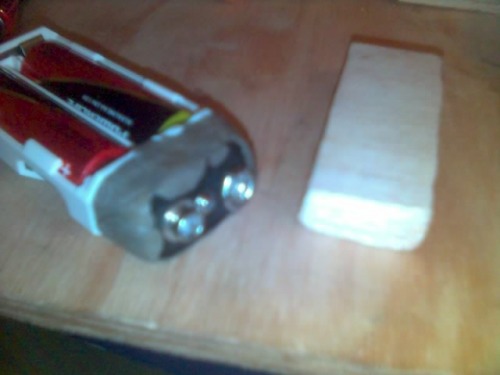
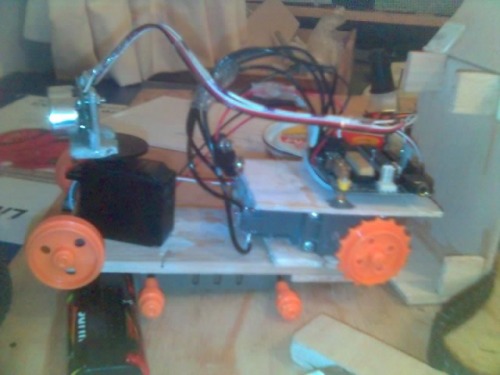
PHOTO (above): The finished product of cuts, exploding Dremel blades, loads of dust, and the smell of burnt wood.
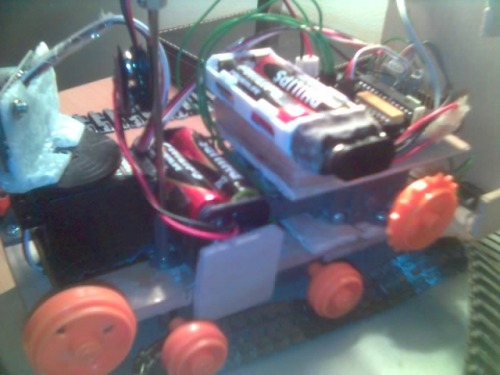
PHOTO (above): I also changed the thick wires of the motors to thinner ones to make it easier to manage the wiring.
Update: 12/04/2009
The robot has changed a lot over time but every change was to make it better.
I finaly switched the stock engines for bretter ones.
Here is a link to some pics:
http://picasaweb.google.com/vincentyegen1/Robot?authkey=Gv1sRgCI3Hoajd4u-MTg&feat=directlink
_________________________________________________________________________________________________________________
UPDATE 01/08/2009
I started this project in the goal of making my very own SHR and I have done it. I might have spent a tad bit more than I wanted to but I am happy with the result so I can't complain.
Avoid object for now
- Actuators / output devices: Servos, FA-130 type motor with a torque of 3V and 114.7:1 gear ratio
- Control method: autonomous
- CPU: Picaxe 28x1
- Power source: 2 x 6V
- Programming language: Picaxe basic
- Sensors / input devices: SRF05 Ultra Sound, maybe a light dependent resistor in the futur
- Target environment: indoor on smooth surfaces