


switchboard car
This is a toy I made for my kids (twin girls age 5) and they had great fun changing the running patterns.
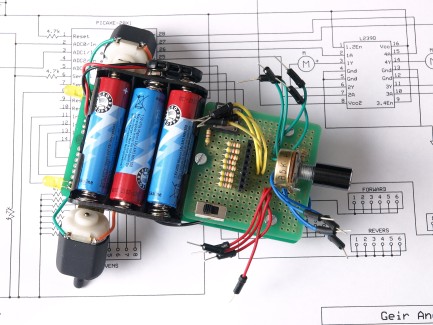
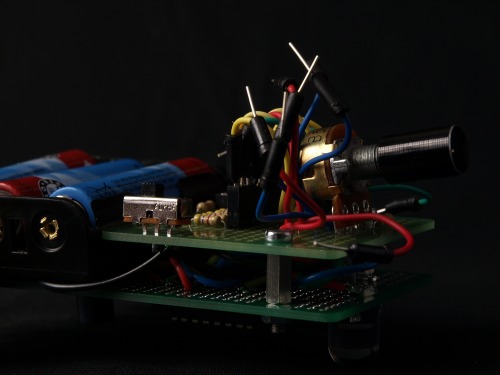
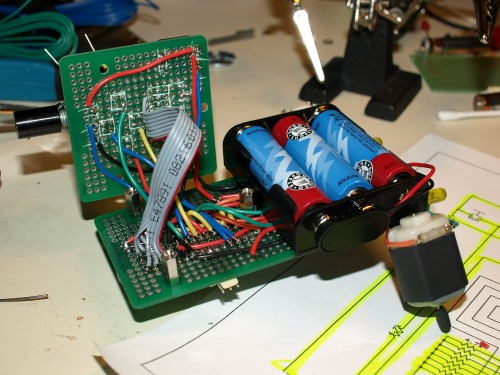
It is programmed by changing the sequence of yellow, green, blue and red wires going into the ‘reader’ which is a normal 8 pin header. The PICAXE reads the header in sequence and turns the motors on/off accordingly.
Yellow = move forward 1 unit
Green = move right 1 unit
Blue = move back 1 unit
Red = move left 1 unit
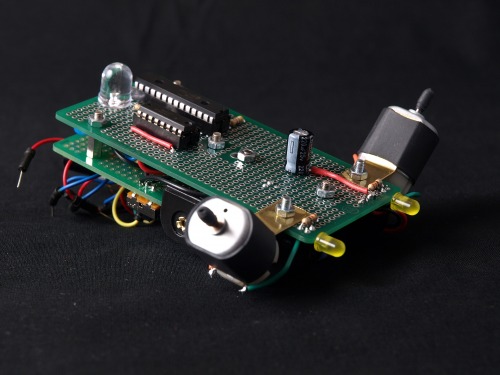
The length of the unit is set by the potentiometer in the back.
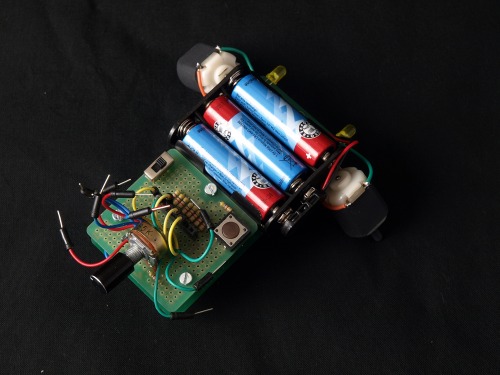
There is an on/off switch and a “Run” pushbutton.
Equipment used it is not much, one PICAXE microcontroller and one L239D H-bridge motor driver.
Drives according to switchboard settings
- Control method: non-autonomous
- CPU: PIXAXE-28x1
- Power source: 3 AA-cells
- Programming language: Picaxe basic
- Target environment: indoor