


Starbot
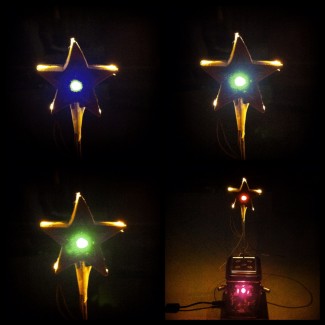
The Starbot is a custom robot made for one of my sons. It is a star that shines and rotates to where the spectator is.
My son found this wooden star-on-a-stick somewhere and played around with it. After a while he came to me and said it would be cool if this star would shine whenever somebody comes close to it.
Bam! Here we go. This is a perfect question for a geek dad. Of course we can! So this little kid and I elaborated a bit more and out came this robot named Starbot.
To him it's important to be able to remove this star-on-a-stick from the holder so that he can continue to play with it when he likes to. This introduced a removeability quality attribute into the mounting. Since this star must be vertical there must be something where the wooden stick can be holded somehow. We found an old aluminium tin that is a perfect match. Thank's to the owner (the mama) we can robotify this tin.
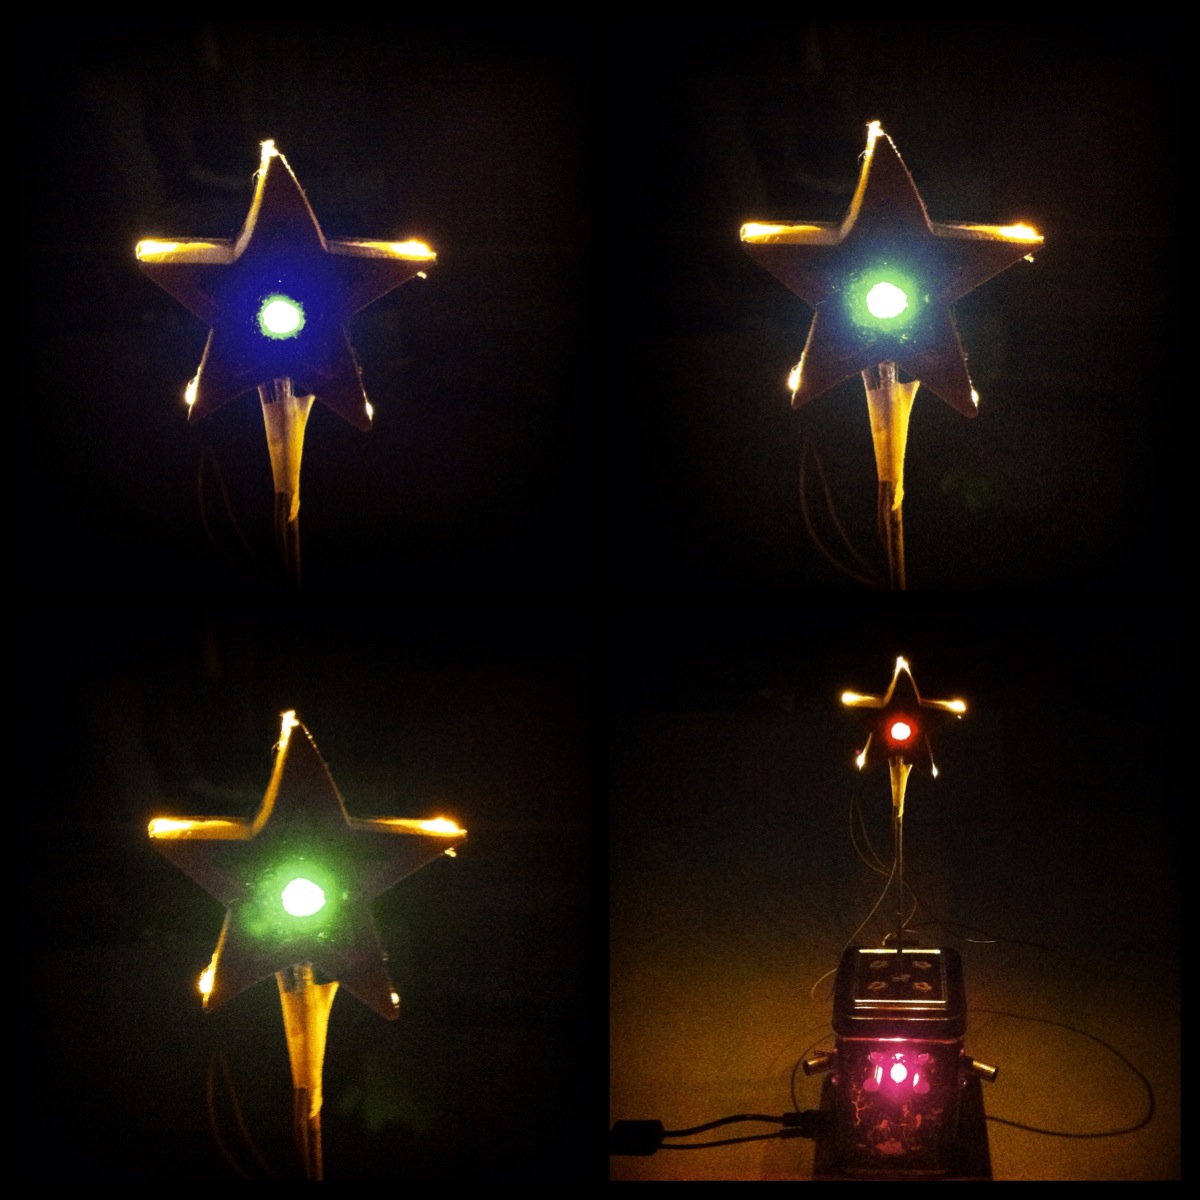
Here some impressions and comments from the making.
The Making-Of
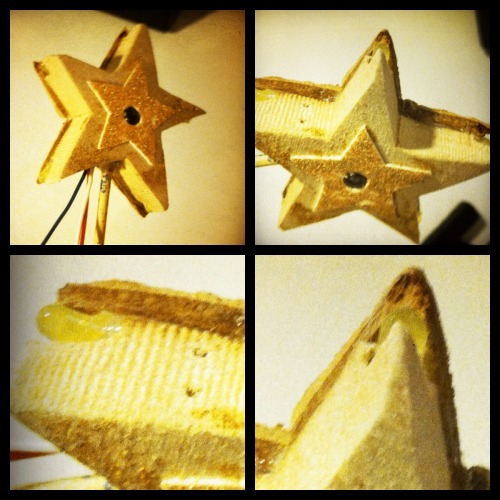
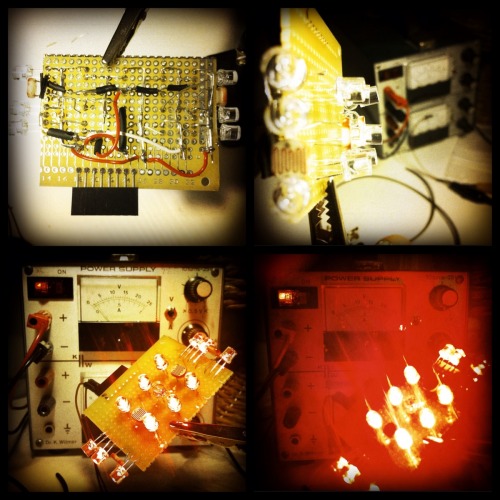
This little wooden star is going to be an wooden star robot. Some electronics had to be embedded into this wood. Therefore I dremled out some channels for the wiring and mounting of the LEDs.
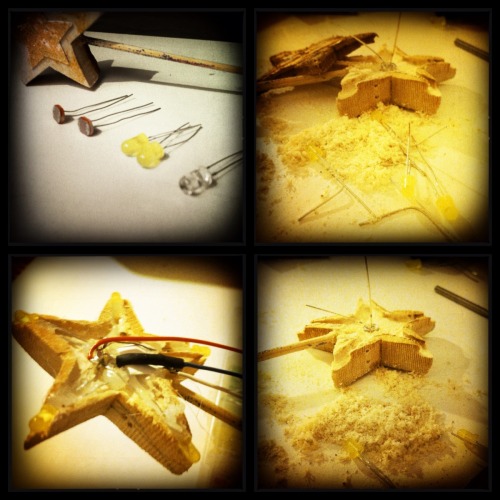
Between GND and VCC I added some paper and hotglue as a dielectricum. Then the wires are soldered directly inside the Starbot.
All the electronics got hidden under the tree bark that I removed first and then hot-glued back again.
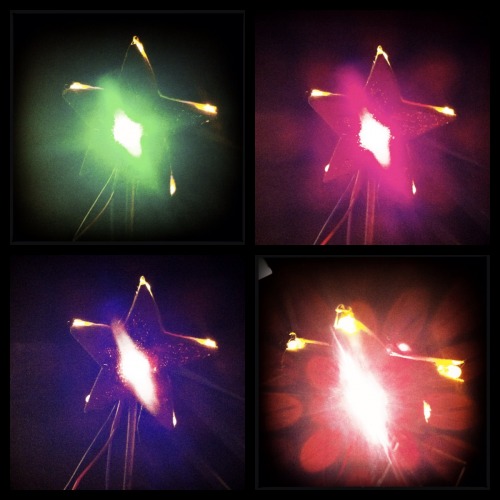
Smoketest: Success. All LEDs behave as expected.
The Starbot has an on/off toggle-switch and a fuse for safety.
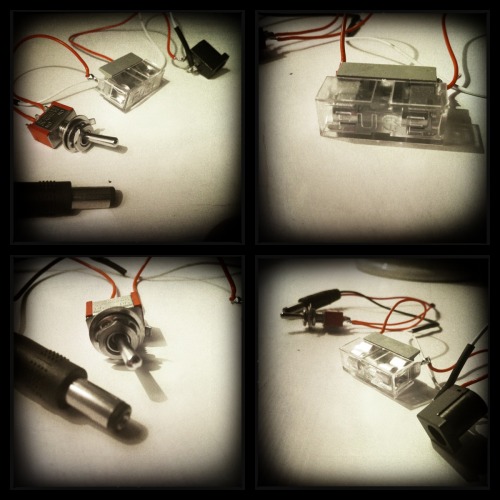
Inside the aluminium tin there is a micro-servo hot-glued to the base. Mounted on this servo is a fixation for the wooden star-on-a-stick.
The fixation is made from a thin and a thick drinking straw and one paper-clip.
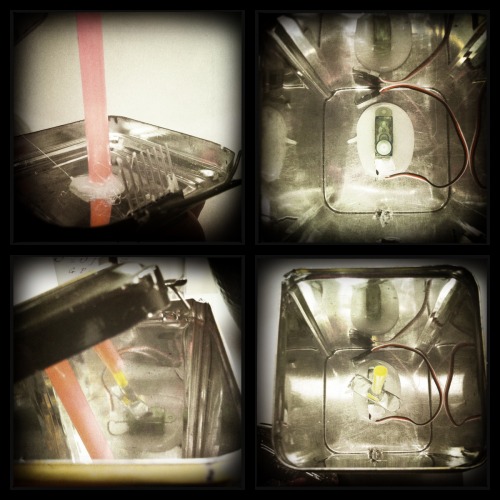
To get motion tracking into this robot I desided to use visible light and its reflection to a LDR to sense where something is. Using visible light is fine for this robot since lights are starish... it visually works a lot better than using IR - non visible light.
This sensor is embedded into the tin. The light shines through holes and gives this desktop robot a special look.
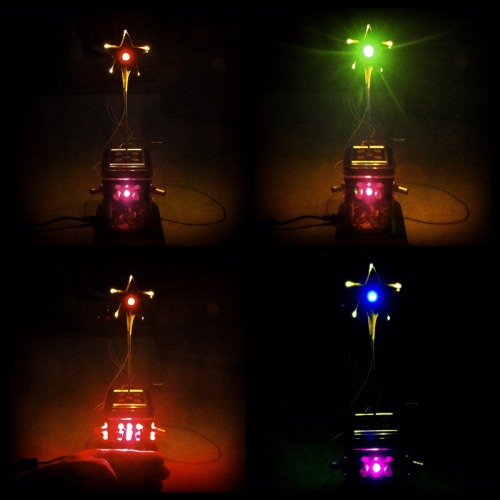
When a hand comes close to the Starbot the red lights go on and the tracking starts.
The software is a cluster of interacting finite state machines that make the behavior of the Starbot.

That was it. A new robot is born. And the boy is happy. Very happy. And the geek dad too.
Used Parts
- 1 x Arduino Uno R3
- 1 x RGB Rainbow LED, slow
- 5 x Yellow LED, 3V
- 4 x LDR
- 12 x Red LED, 5V
- 1 x Pink LED, 3V
- 4 x 1kOhm Resistor
- 1 thin and 1 thick drinking straw
- 1 paper-clip
- 1 micro servo
- 1m cable
- 1 empty PCB
Further Readings
Elaborated Sensor Code for IR Compound Eye
"For the code, I modified the code made by Oddbot"
Simple Arduino Sensor Code for IR Compound Eye
"I got the compound eye working on the Arduino you can find the code I used below."
Dave - "My God, it's full of stars! "
"Desktop robots are becoming more and more popular, ie a companion that breaths the midnight "Rosin" solder flux with you."
FritsLDR
"This is a method of making a robot (or any other piece of electronics of course) sense objects in front of it - only by using light that is also visible to the human eye."
Color the Future
"... So i say "Vote For Visible Light" and Light up your path so people can see you - the more Colours and the Brighter the better."
Shines toward Spectator
- Actuators / output devices: 1 x Micro servo
- Control method: autonomous
- CPU: atmega328
- Power source: Power Adapter
- Programming language: C
- Sensors / input devices: FritsLDR
- Target environment: indoor