


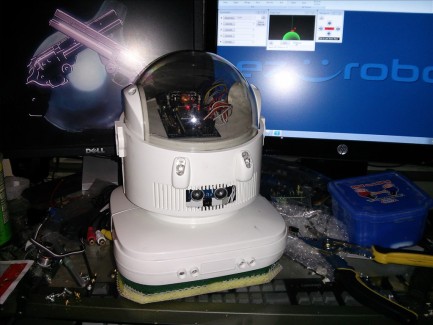
Squeegee Floor mopping robot by Josh Starnes , powered by EZ Robot, hacked Omnibot Jr
Heavily customized Omnibot Jr from Radioshack. Its an 80s model. I have a thing for the old robots. They have character. :)
Aprox costs:
Omnibot Jr $40
Ez Robot EZB V3 ( 2012 model) bluetooth Microcontroller - $70 ( a new wifi 120mhz model is avail now)
- Ez Cam 2.4ghz - $60
- 1 standard futuba S3003 servo- $12
-1 micro HXT9 servo- $6
-L298n H Bridge- $15
-Power Sonic 6 volt 4ah sla - $10
-6v pump- $10
-windshield washer nozzles- $12
- White epoxy paint- $5
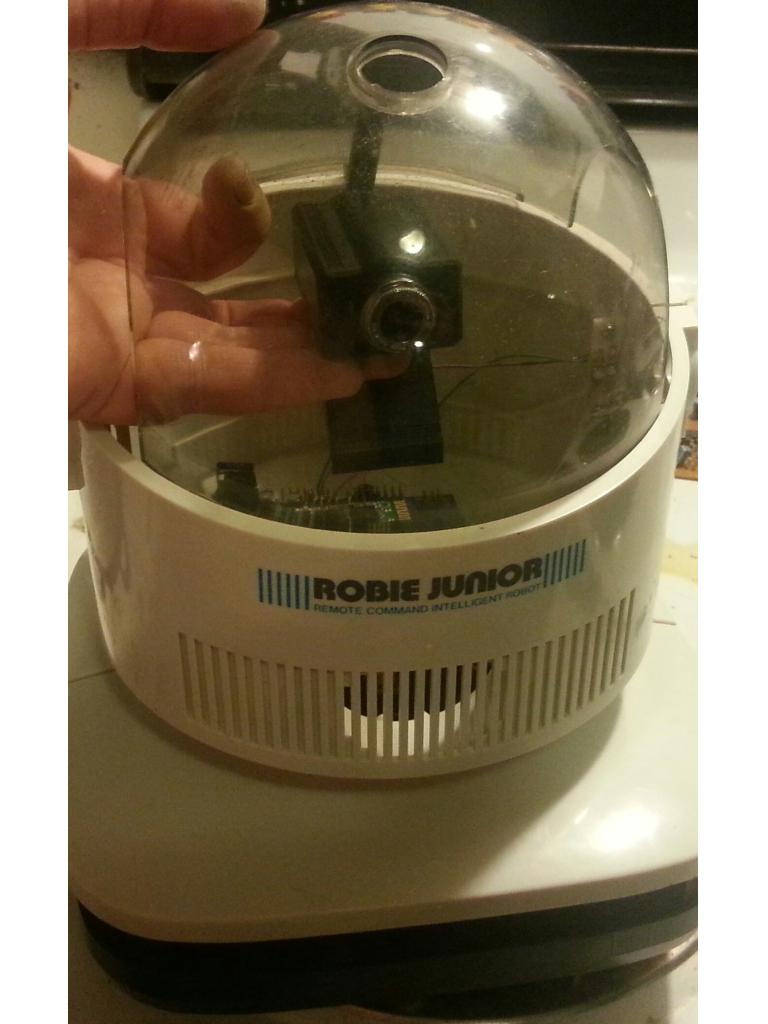
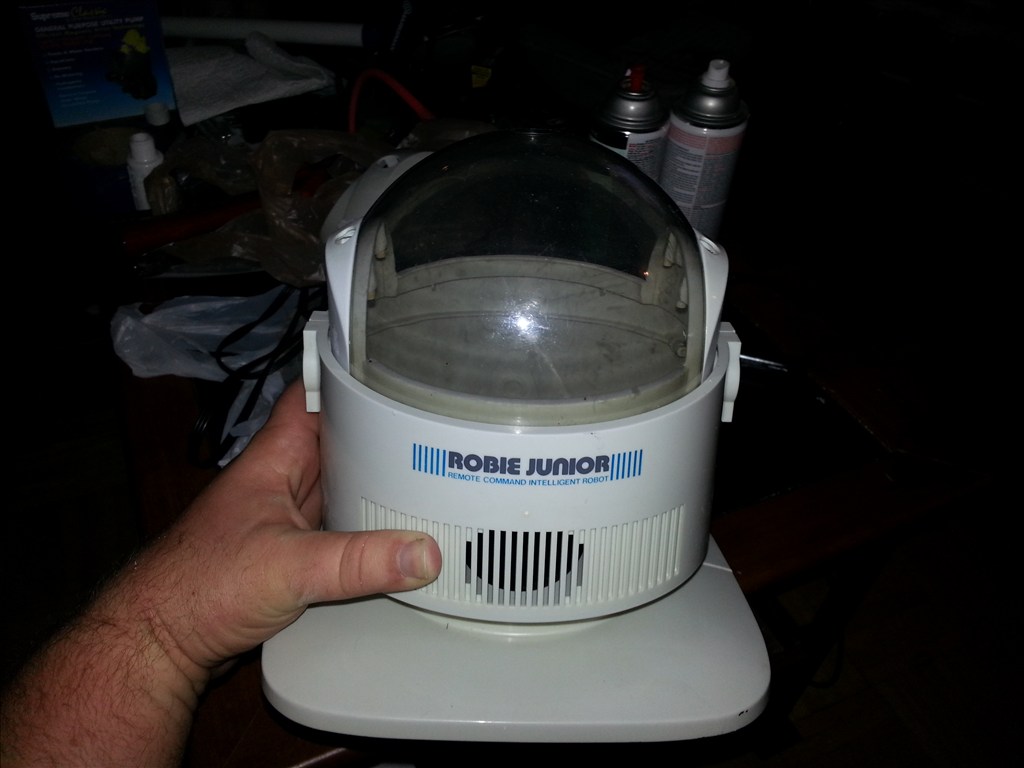
This is a simple project that hopefully I wont over complicate. Since he Squeegee needs to get as close to furniture and the toilet and bathtub as possible this my be a challenge. After all we spend most our time trying to get our robots to avoid the objects in the room. Im giving new life to a radioshack robie jr rc controlled robot.
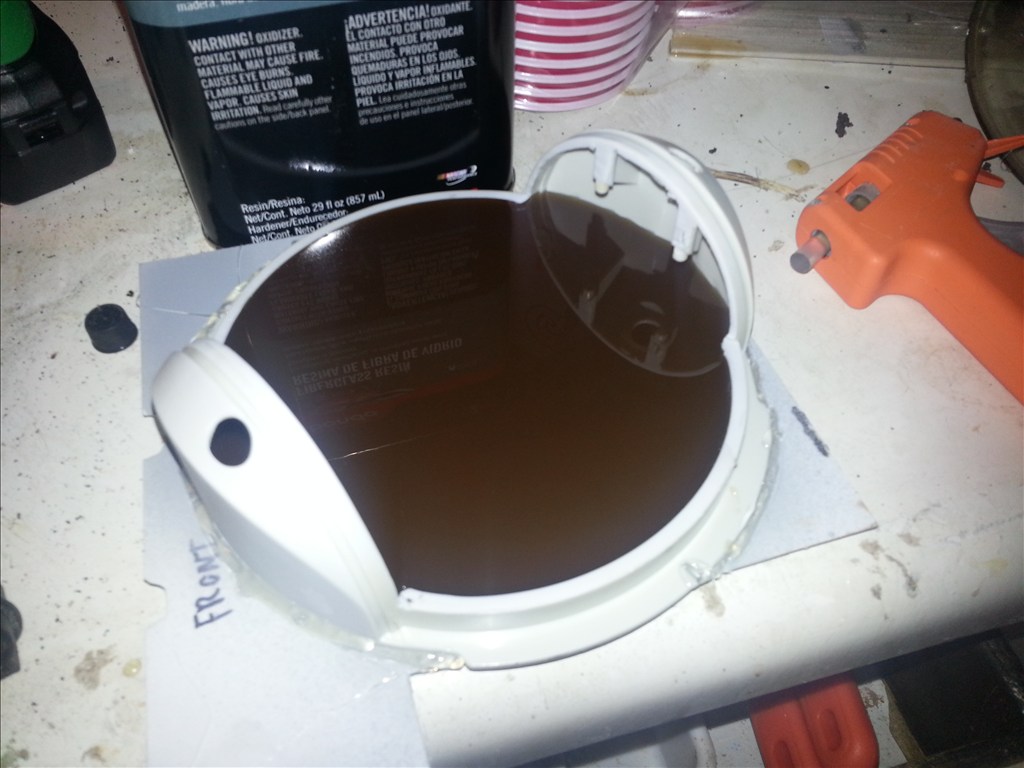
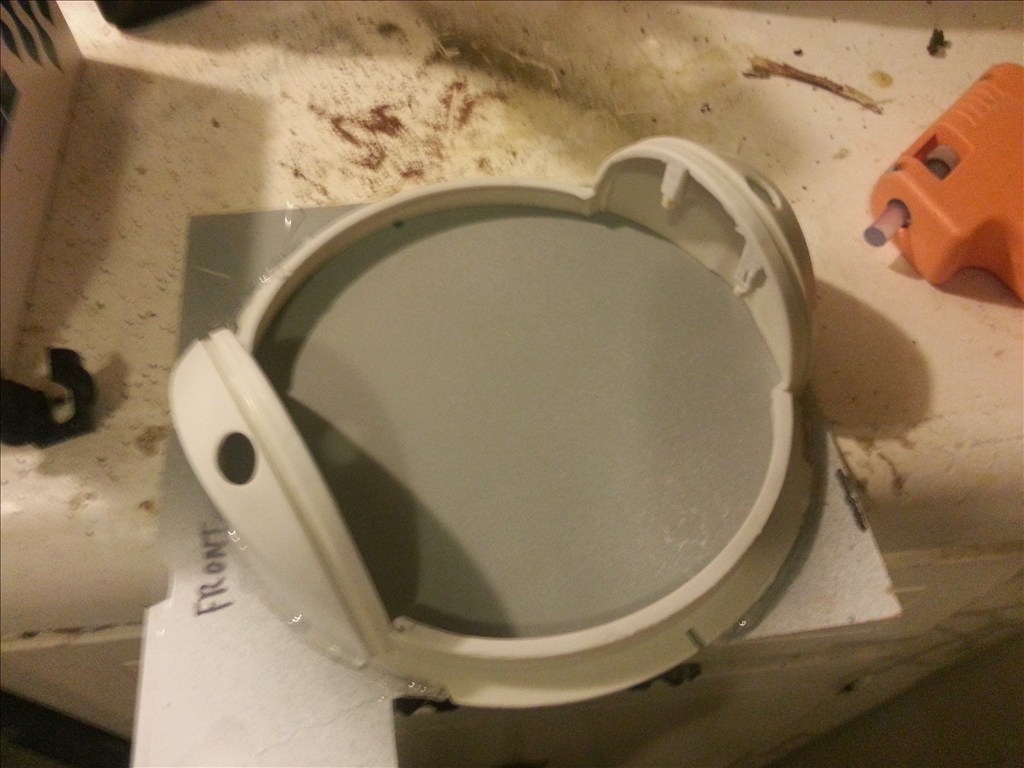
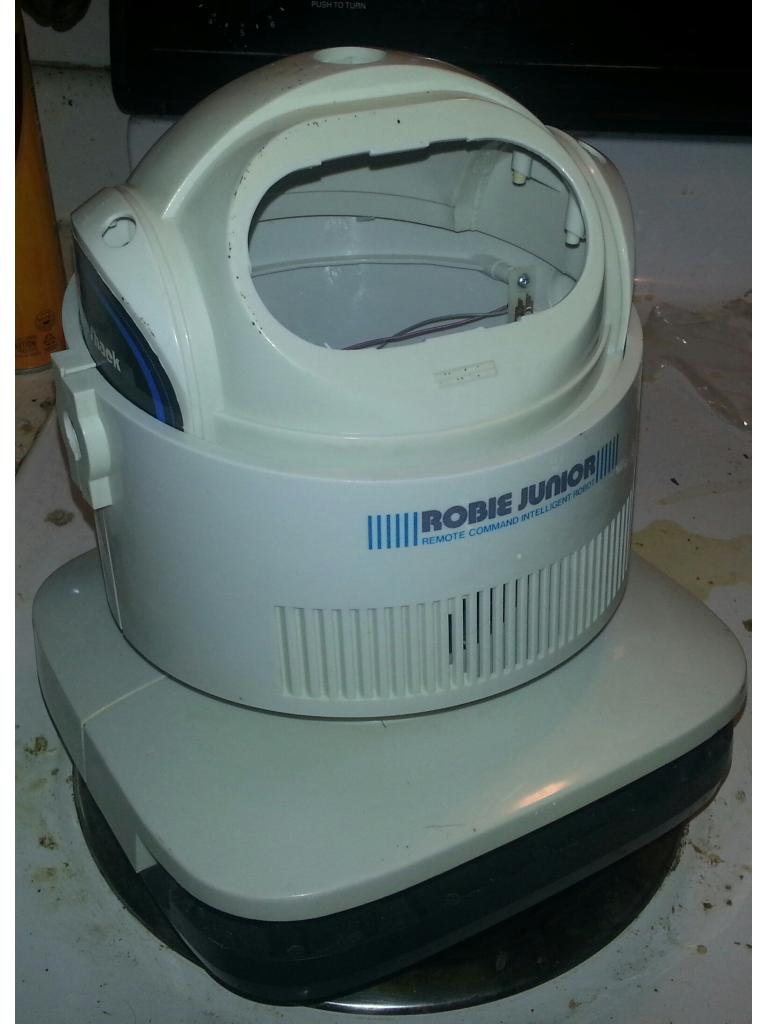 Off comes the dome, I need to protect it becuase they are hard to find. The last time i found one it had lots of scuffs. Maybe I can vacuum mold a replacement that is perfectly clear from plexi or acrylic 1/8"
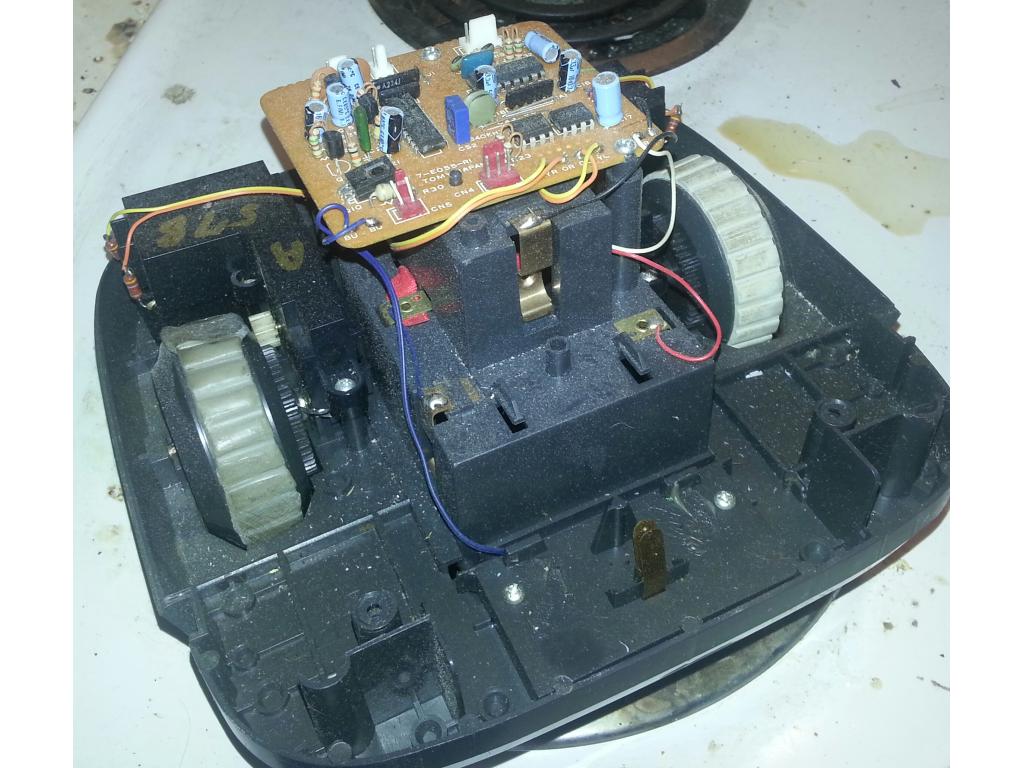
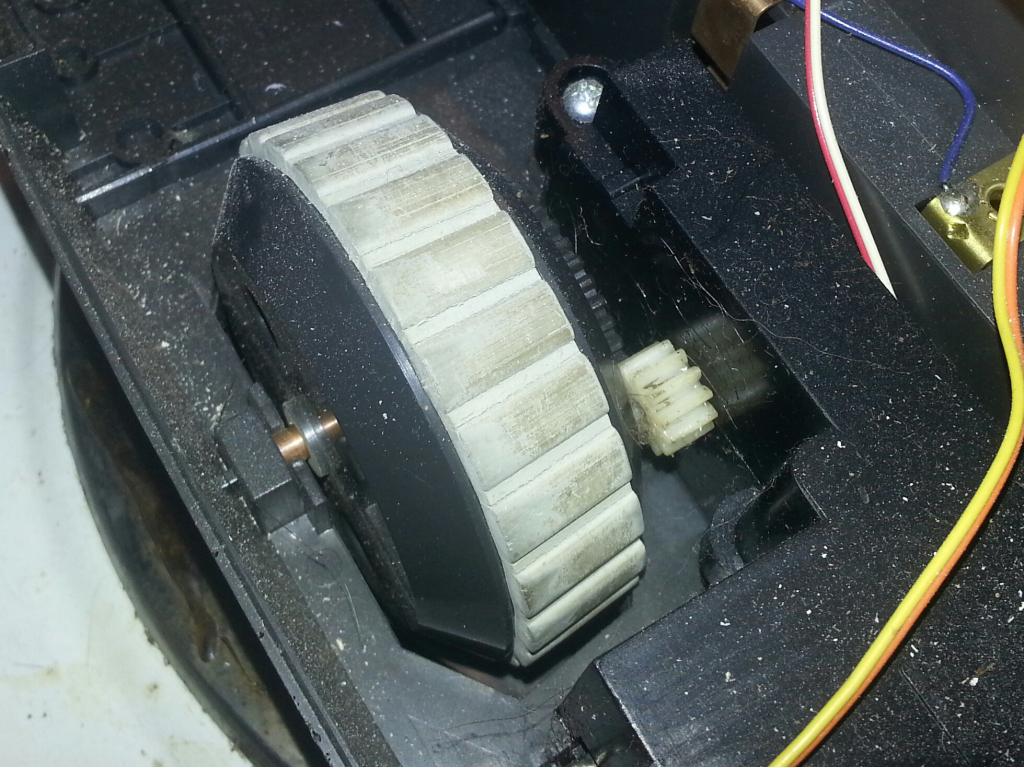
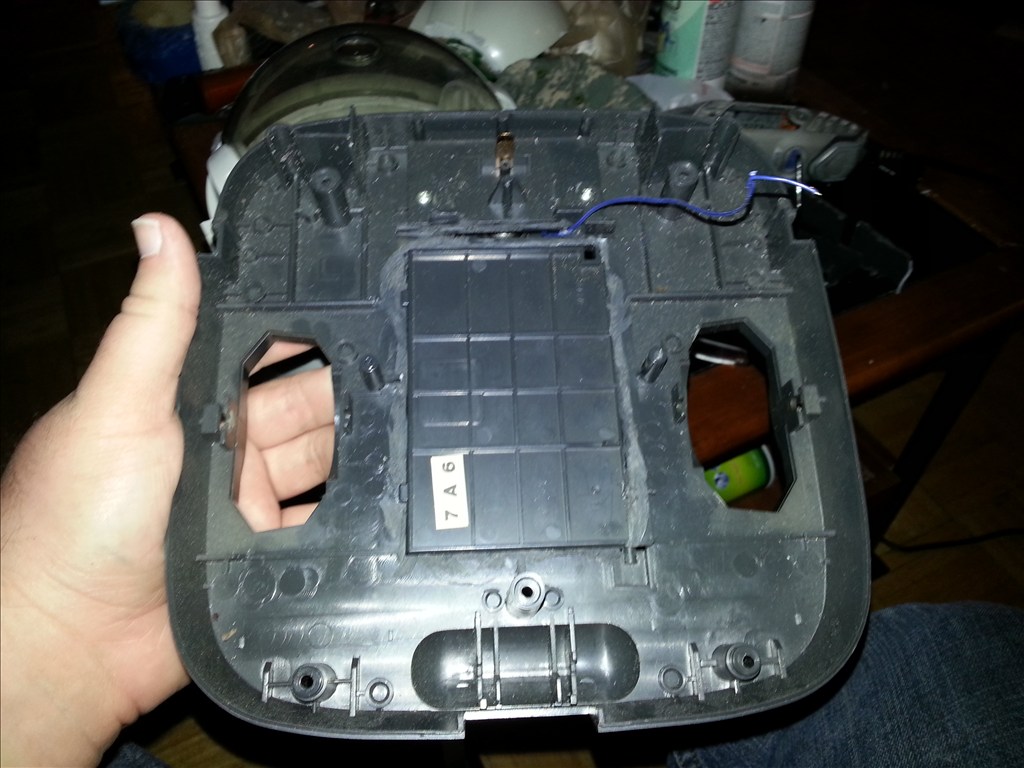
Here is the guts of the original omnibot jr. Not much to the little guy..... yet
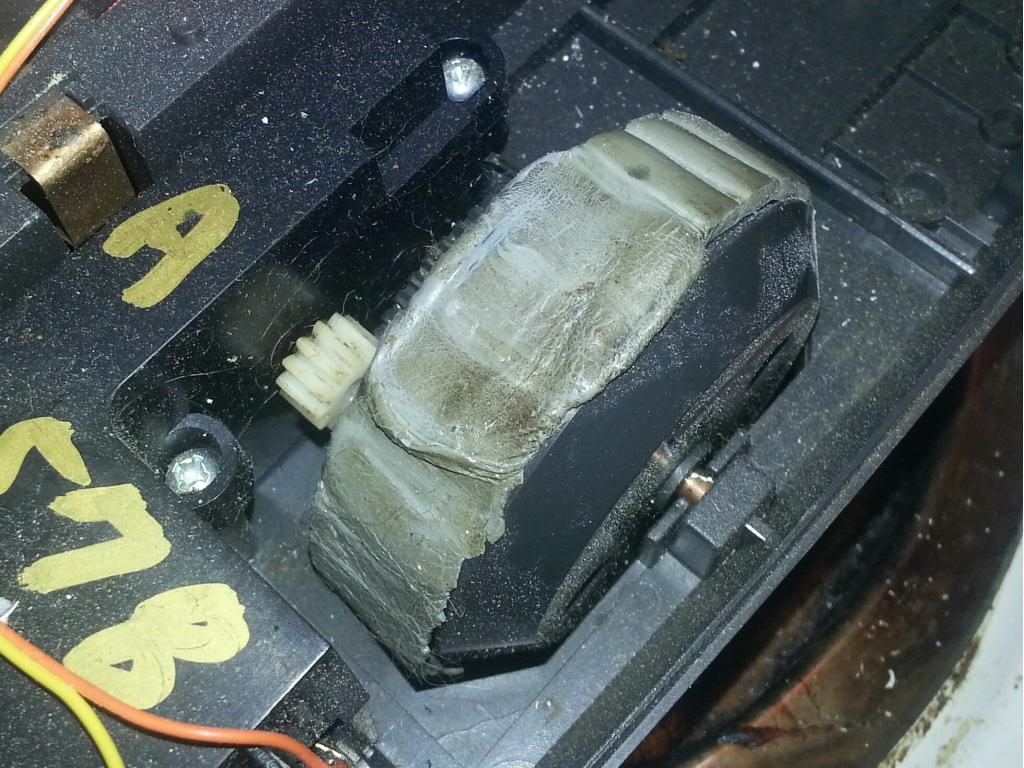
One problem is the flat tire and I dont have a spare to get me back on the road . I made a mold of the one good tire and then replaced them using Grey RTV silicon for a original look. The RTV is a little softer so that results in better grip on otherwise slick surfaces. This is a happy accident.
Ta Da! better tire from TV silicon gasket maker in a tube from walmart.
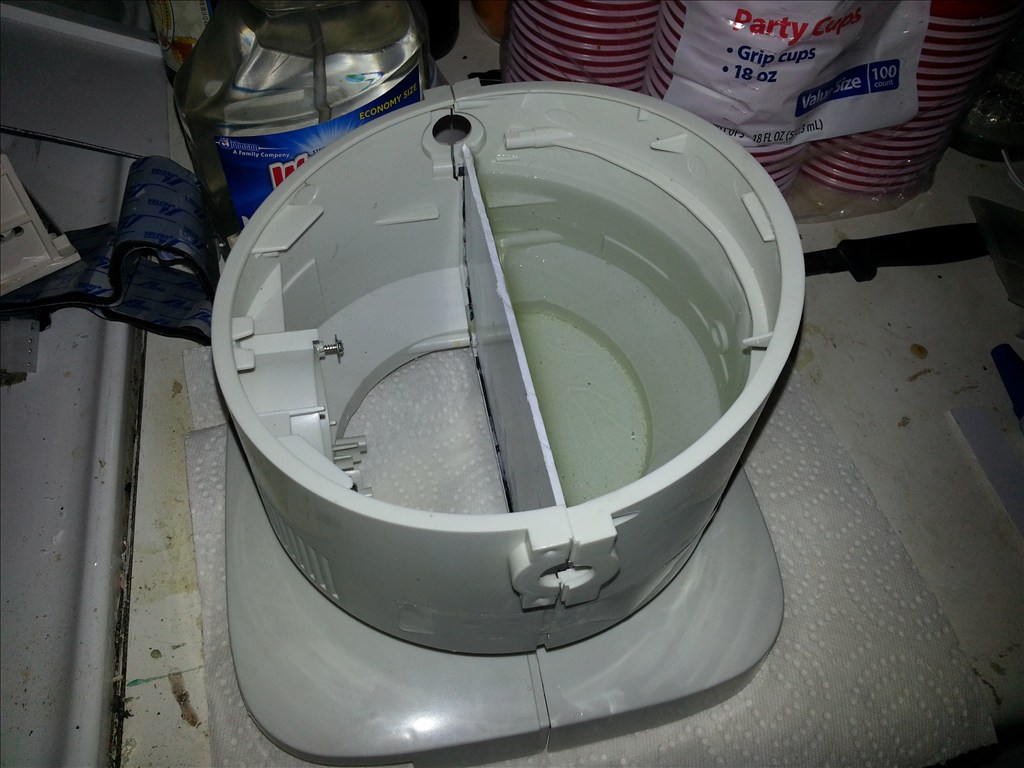
Now that the robot is generally clean we can take a look at how much room I have to work with. A huge section of the robot is dedicated to 8 AA batteries from the original manufacturer. We will see but that could be a possible mountingamounting area for a big lipo battery.

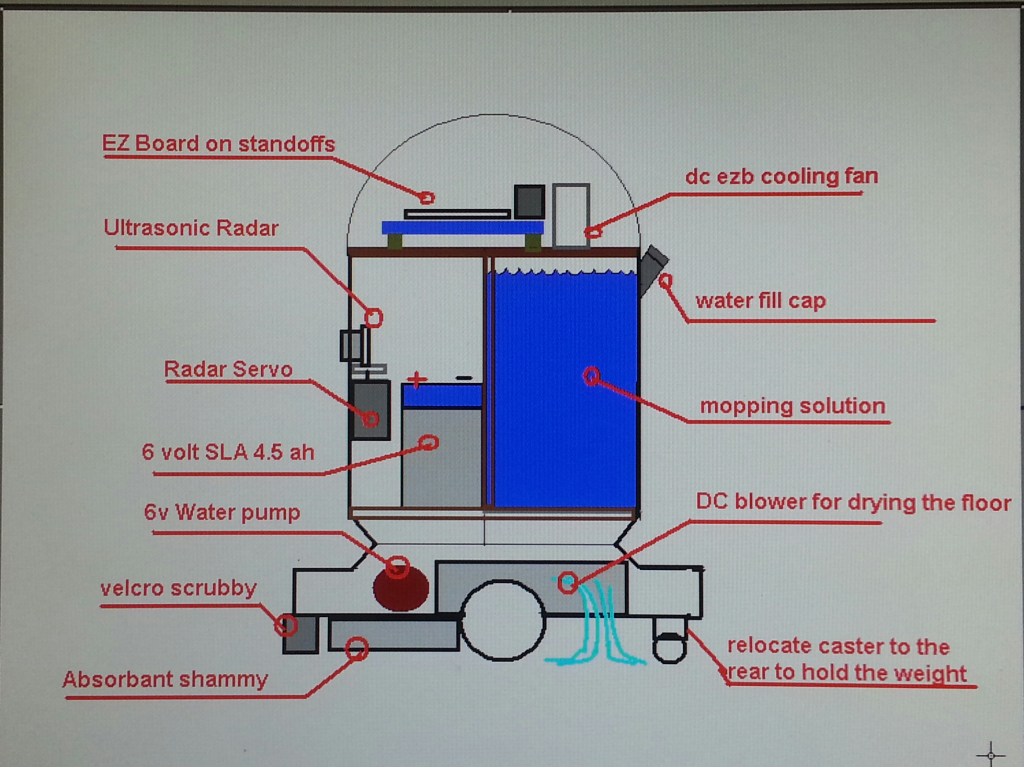
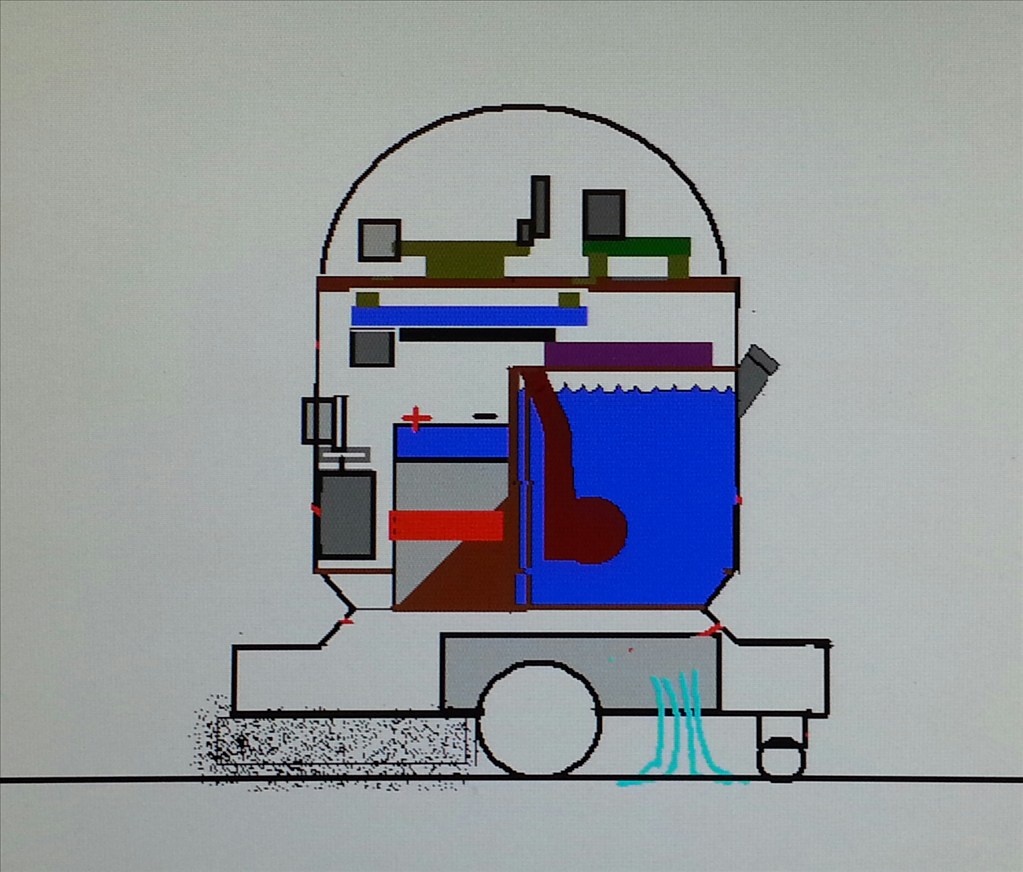
Velcro
ezb
dc blower for drying floor
ezb cooling fan
Liquid tank
6V water pump
Absorbant reusable shammy
Servo ext cables
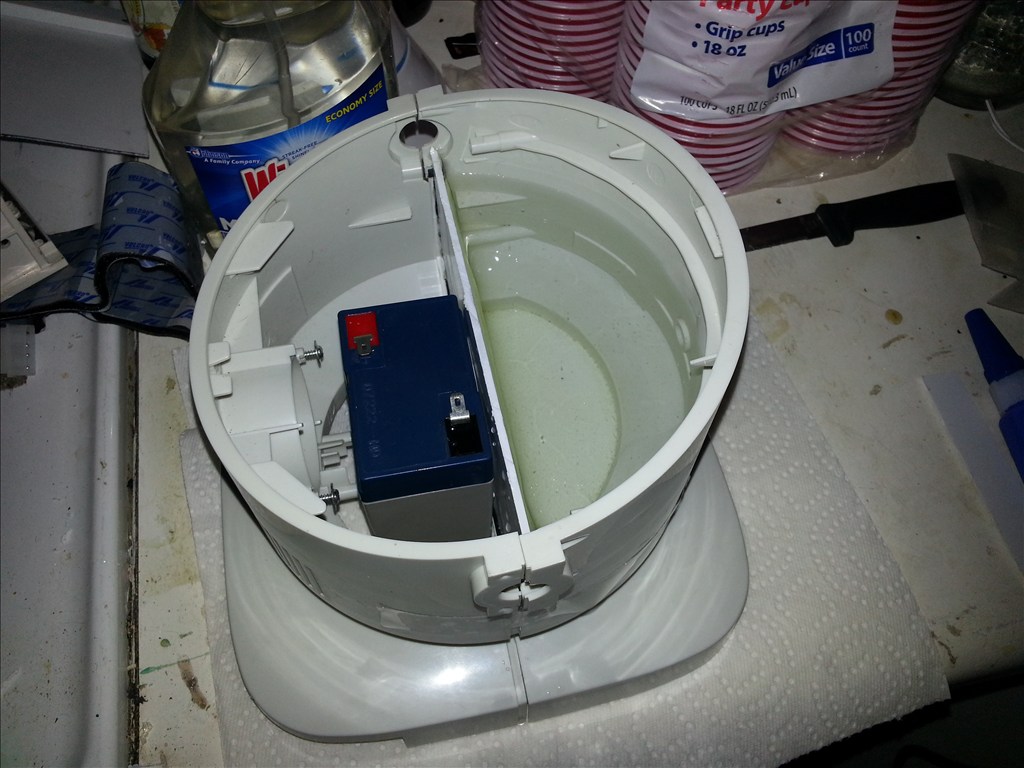
6V 4.5 ah battery
Squeegee right behind shammy
One servo
Ultrasonic ping sensor
L298n h bridge @6v
Possibly replace original motors with continuous servos
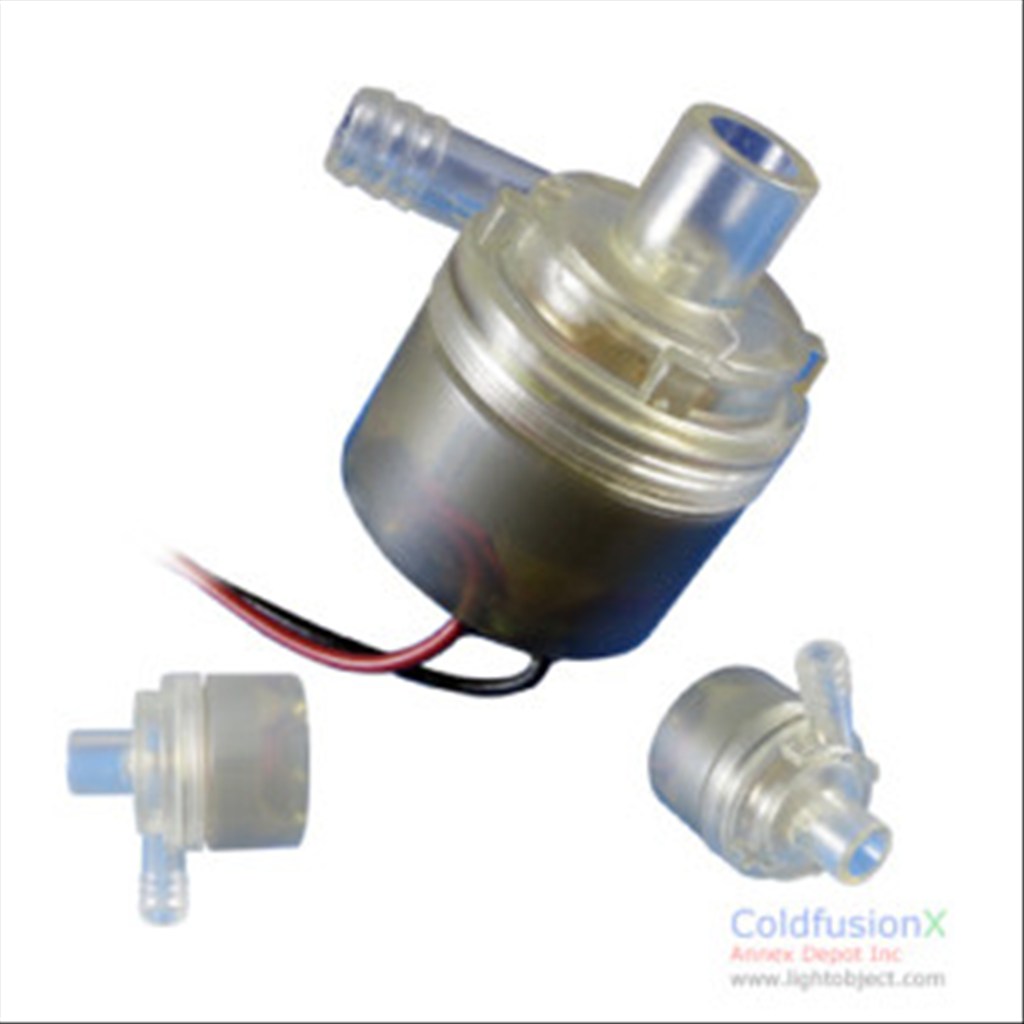
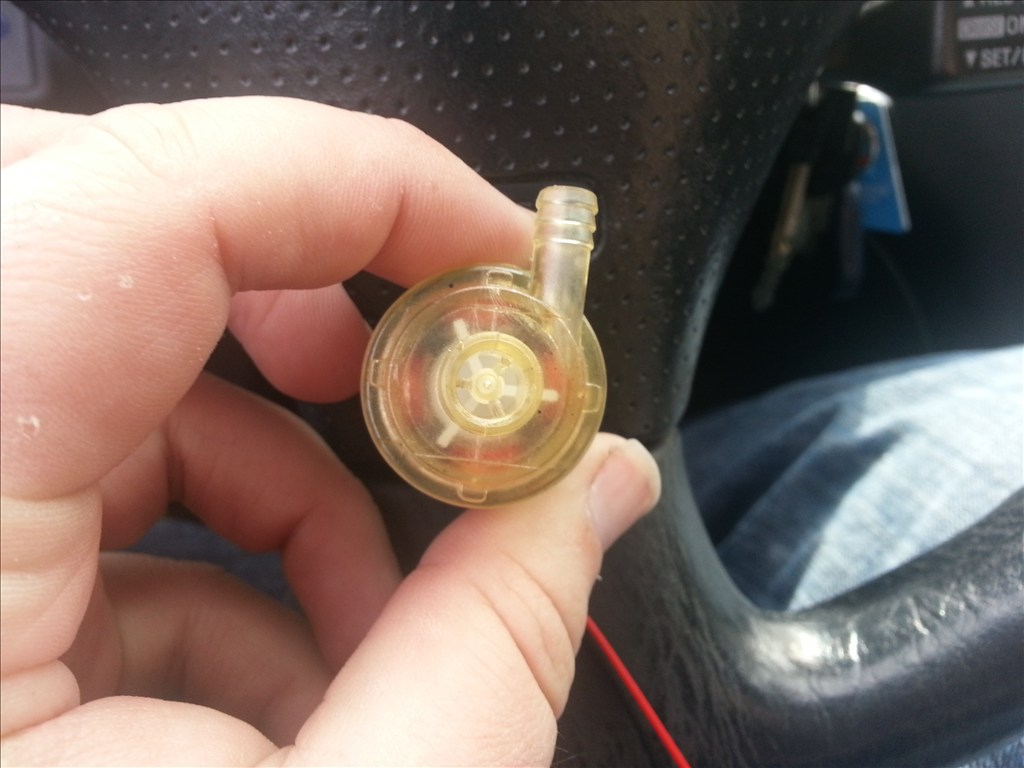
this is the foodsafe pump I got off ebay, this is the stock picture, its works very very well.
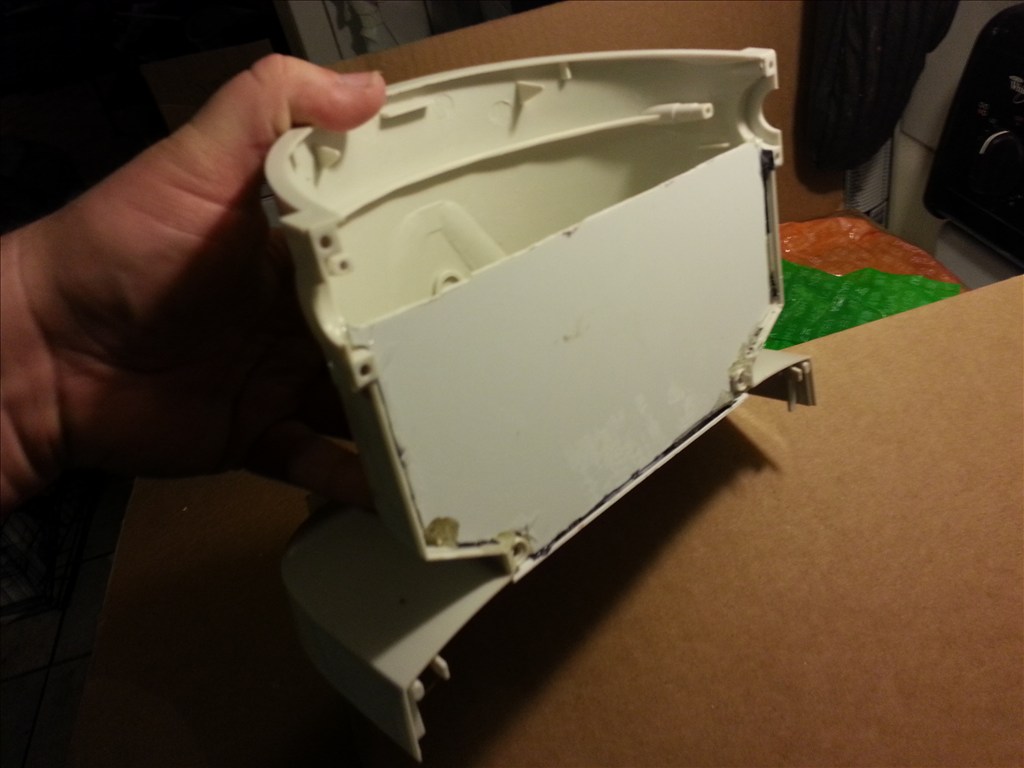
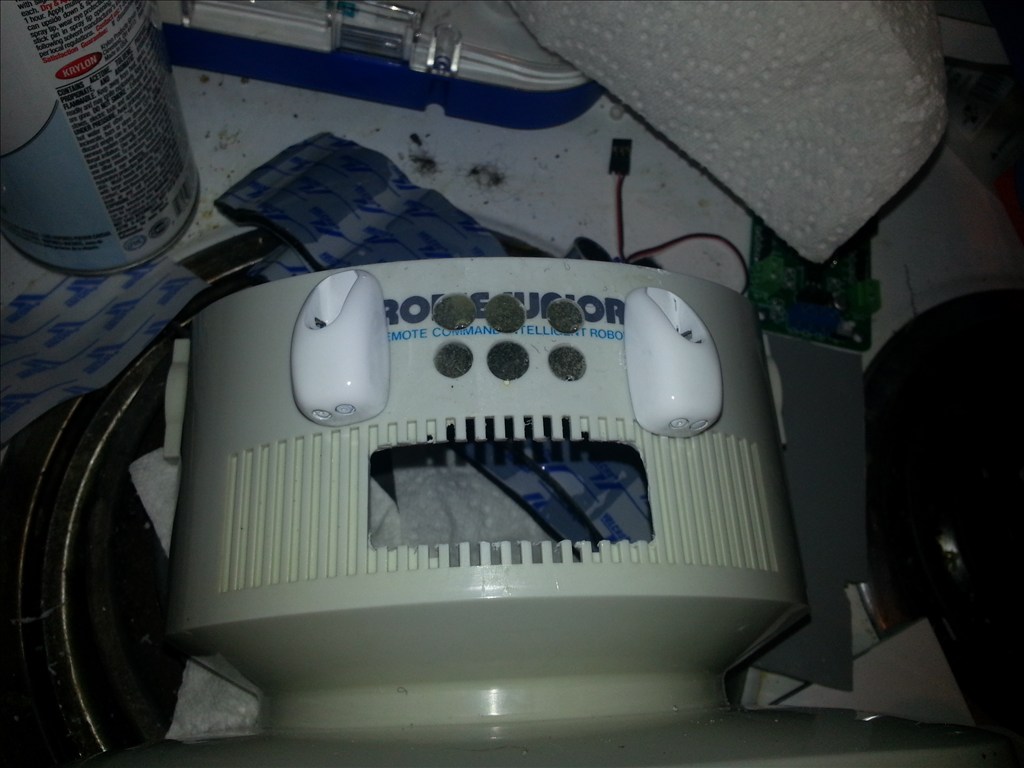
Now comes the modding for Robie Junior Rx , I like the dome but not the face. I believe that some changes will really add to this pint size robots personality. First I must remove the face with 8 cuts using a ceramic dremel bit. I marked the areas to cut with marker.
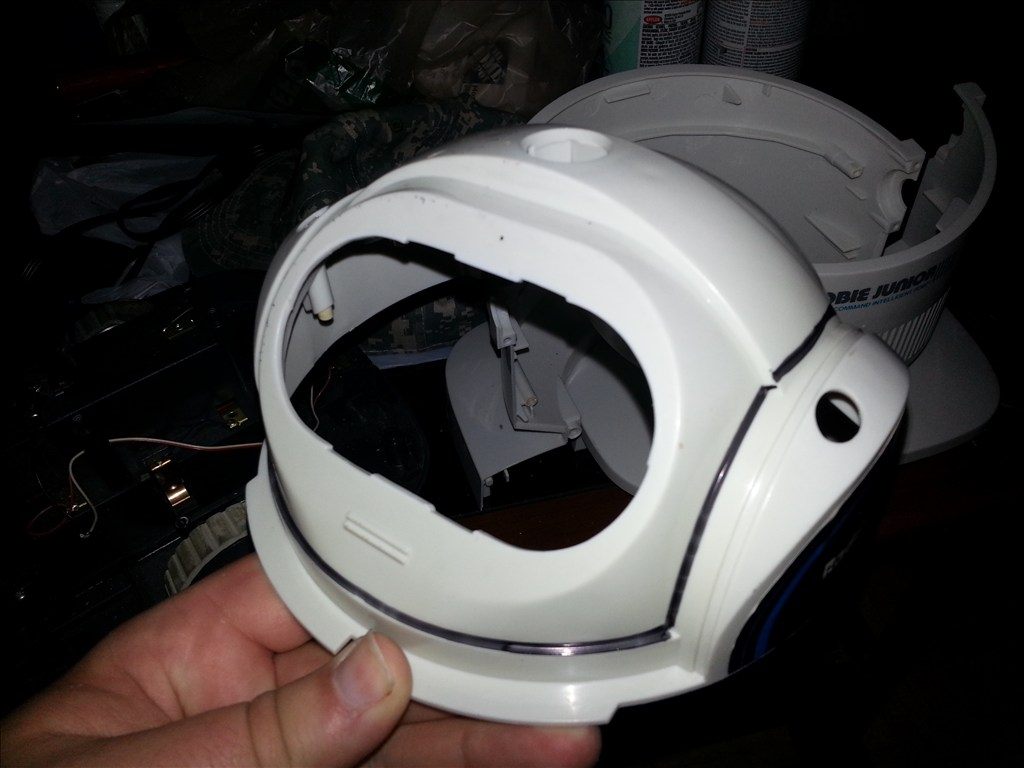
Right after the cuts we must carefully seperate the plastic boogers and clean the cut so the parts separate.
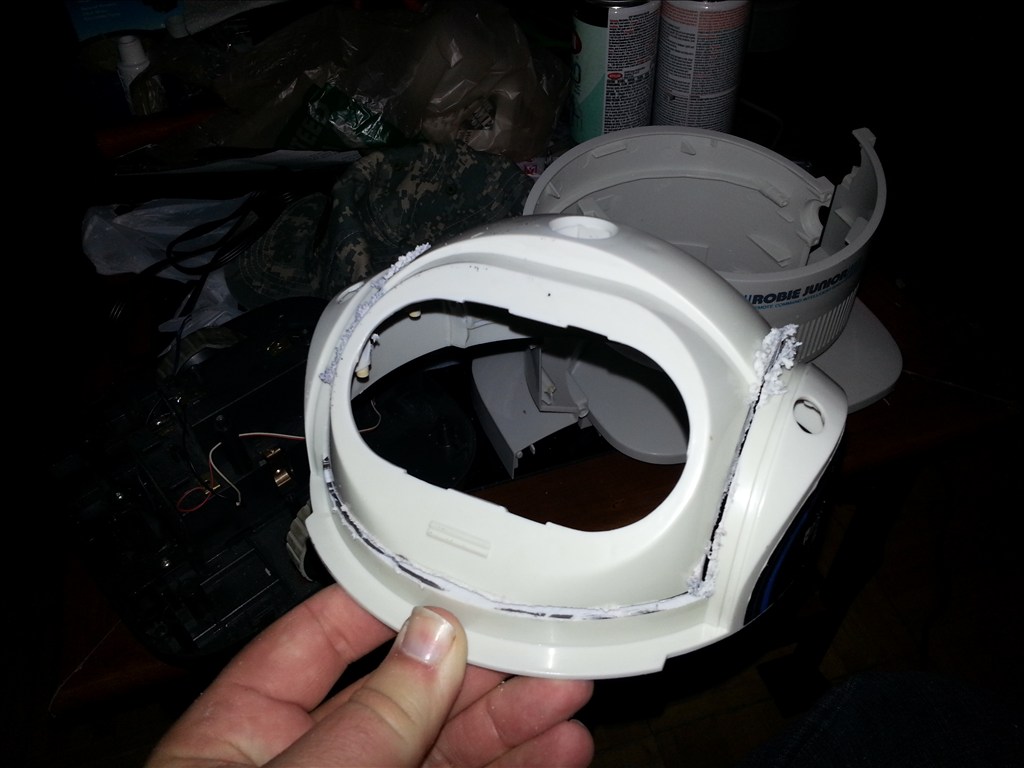
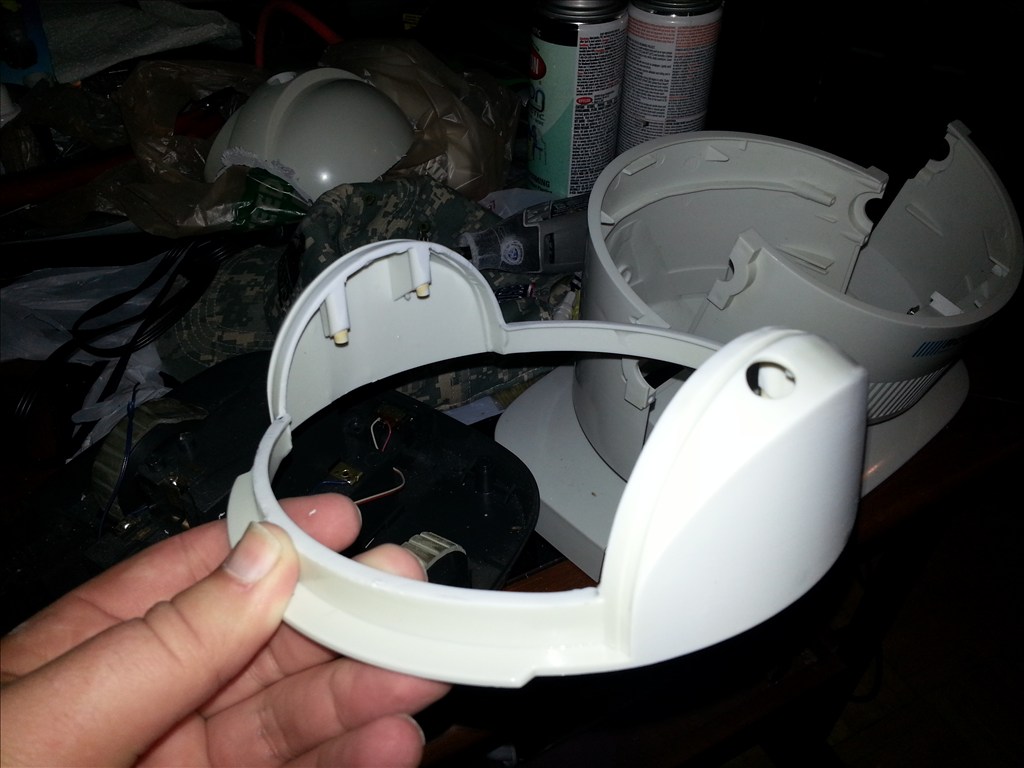
Now that this was cut away and the melted plastic carefully removed I can go to the next step of creating a platform that looks like it belongs there.
Here a test fit , looks like it was suppose to be that way. :) Its true real mods come from clean cuts.
the battery box and all the posts had to go to make room. there was a spring system that was overly complicated to hold the bumper in place and I felt I could do somthing better so I cut that out. In hindsight I wish I kept parts of it and still made it a bumper switch but thats ok.
Time to repair some flat tires, I cut the old one off the hub and here we go.
This seems out of order but they are in the order the pics were takin. while I was letting the mold dry for the tires I started on the tank section. it is PVC and epoxy resin.
here is the bottom and front of the water tank
Alright as I may have posted before this robot build is a mini project to see if I can mix water storage and electronics safely. So if im going to make any mistakes I want it to be on this little guy instead of dusty or even Jarvis if I entertain that option. If I can make a simple and reliable pump and tank system I could duplicate this quickly within a few hours on Jarvis and dusty. Also with the addition of a onboard water tank is the option of a squirt gun or sprayer meant to put out or slow down a fire Jarvis or dusty detects.
Anyways now that ive made a tank from pvc and epoxy I must check it for leaks. I put in the hottest water I could get from my kitchen which is about 160 degrees and filled the tank. This is a 24 hour test. If by tommorow there are no leaks I will make a top for the tank that can unscrew just in case I need to clean it r or replace a bad pump. The battery seen is the mounting location in my original plans but I will get to mounting the battery later.
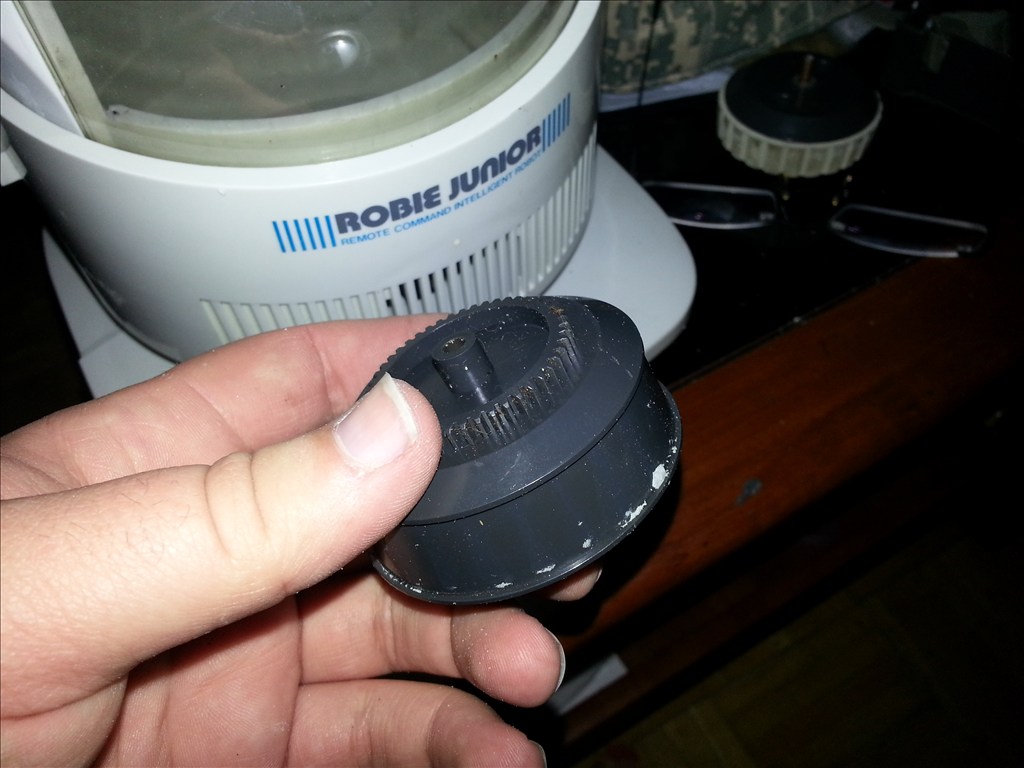
OK so here is the mini pump I recieved, looks pretty good.
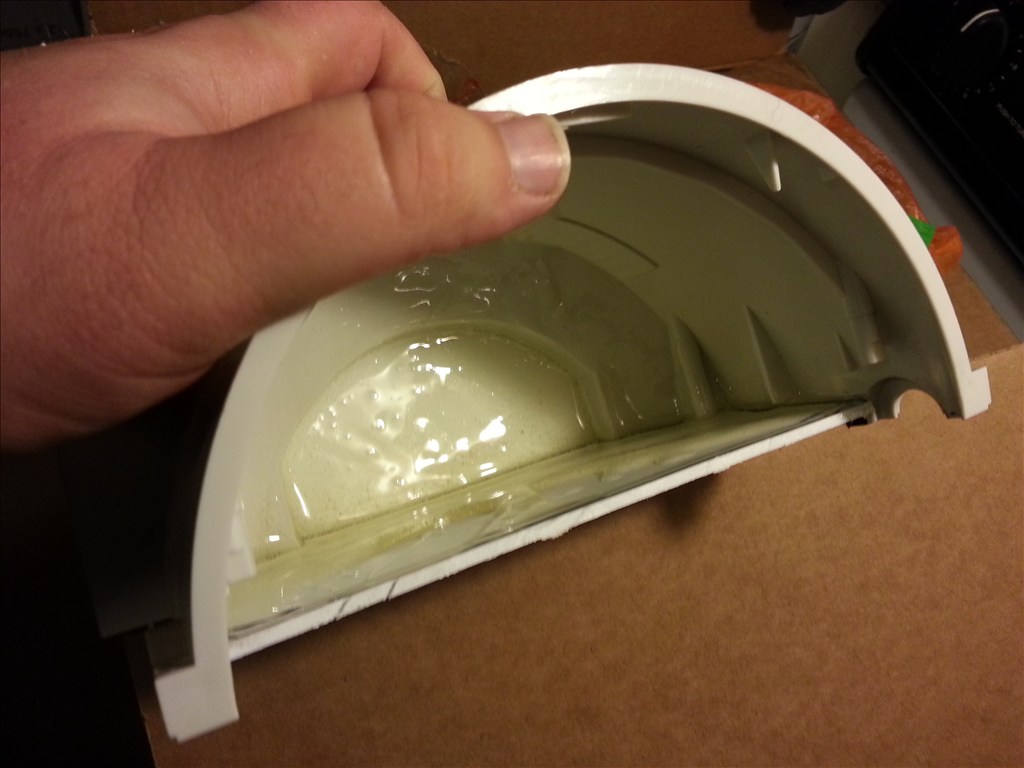
Now it is time to start forming my platform in the head/ dome area. I poured liquid resin into the area to do this.
Wow that looks great, now I need to prime it for a epoxy coating later.
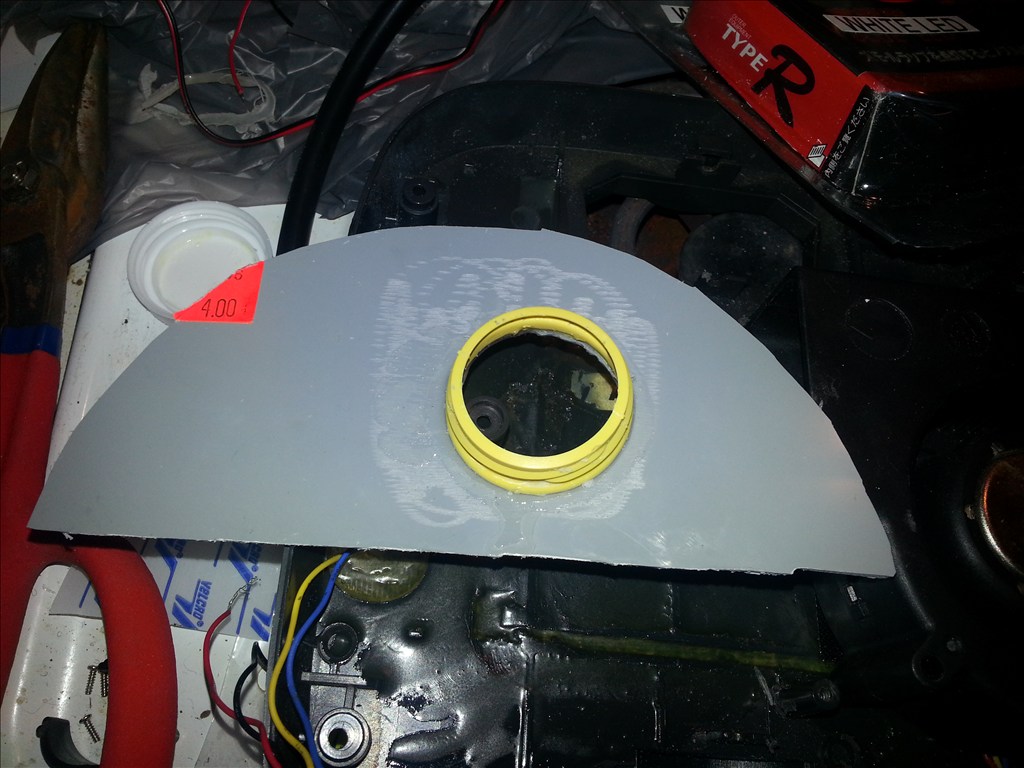
Here above you can see i cut a curved piece of plastic which is for the topper of my water tank. I need to be able to get to it so I added a milk jug screw lid.

Great that fit better than expected and now I have a maintenence lid for my system.
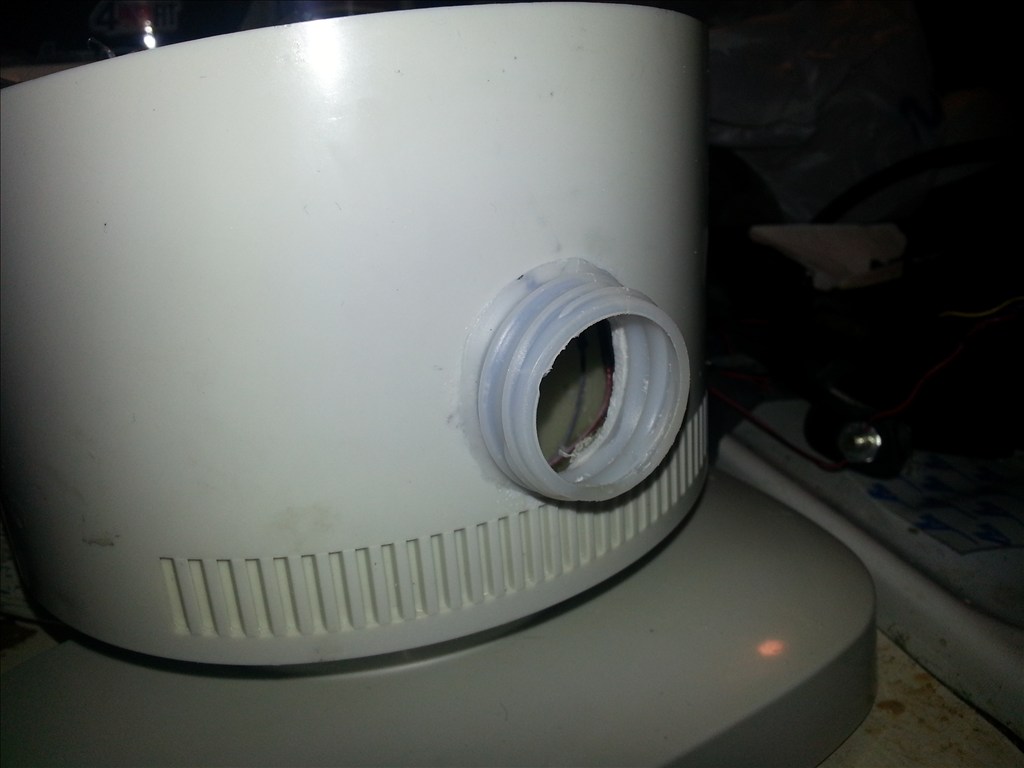
I did the same for the back as well for filling once the robot is assembled later. I used milk jug lids because they are easy for me to replace :)
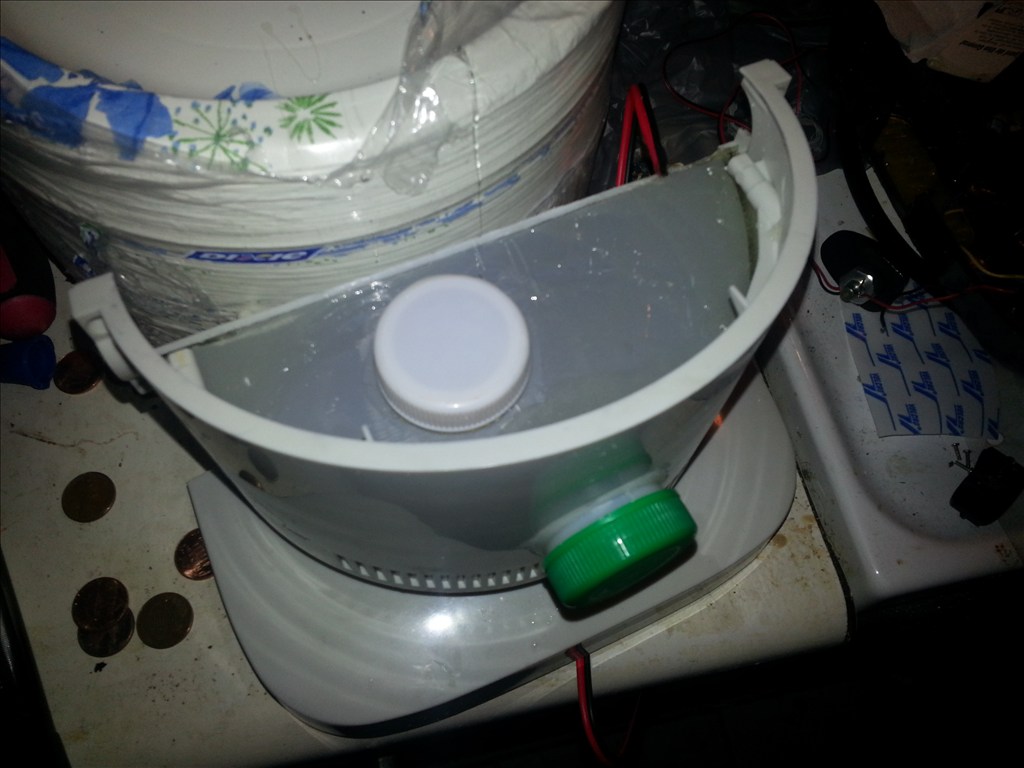
Both lids installed with caps on.
sealed the seams of the tank with epoxy and filled it up. Im now going to give it a overnight test with hot water to make sure there are no leaks and the new fill cap is water tight. I did find one hiccup.... the windshield washer nozzle broke while doing the last test and nozzle fell out... wow how cheap. Ill buy a new set
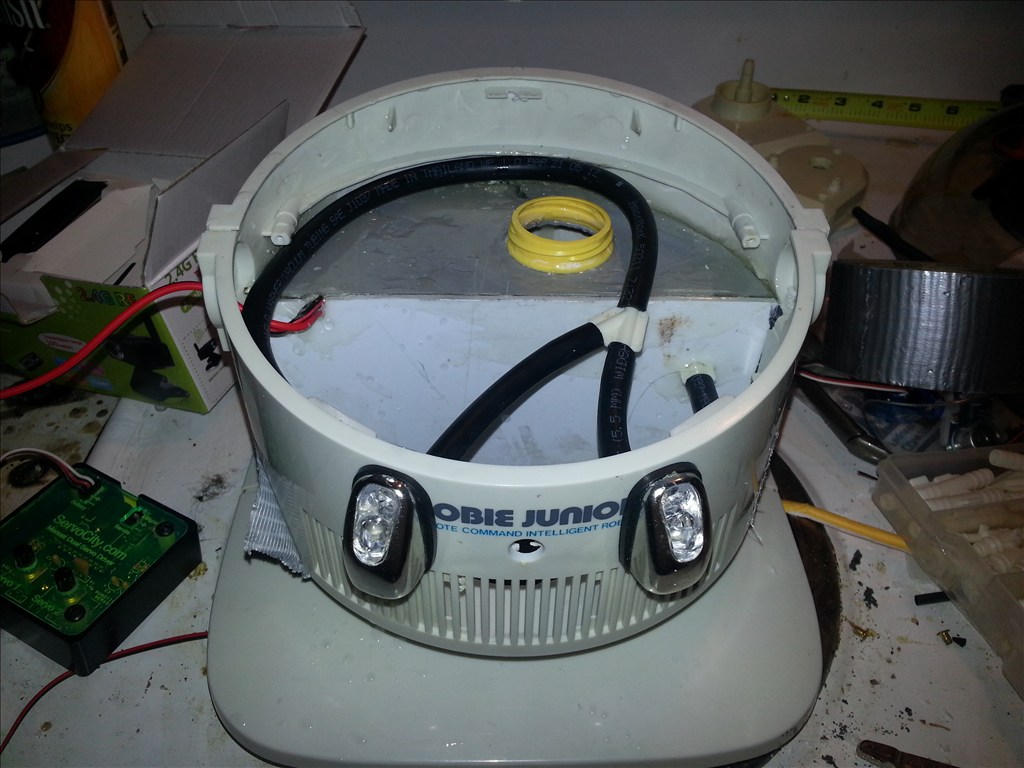
I installed the Windshield washer nozzles and they have built in lights that run on 6 volt. how neat right? I didnt like the centered one because i needed to fit a ultrasonic sensor in there somwhere.
I brought squegee to work to star at it while i brainstorm
I took the washer nozzles apart to spray them
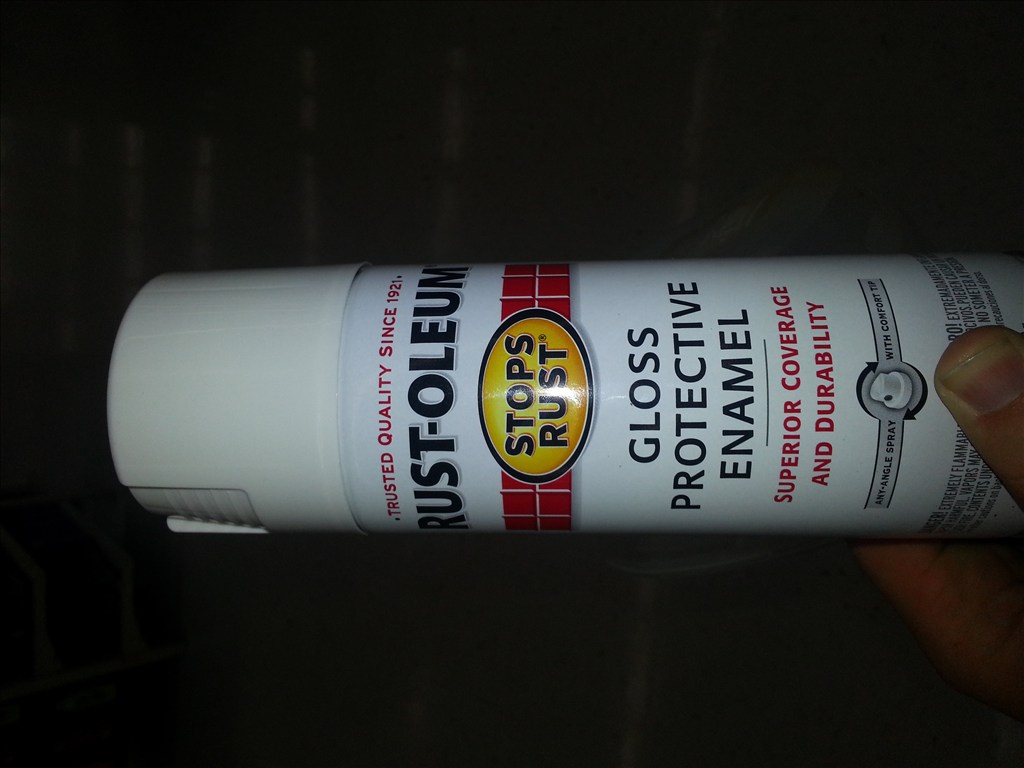
Rustoleum Appliance epoxy paint , its scratch resistant. Just what a little robot needs
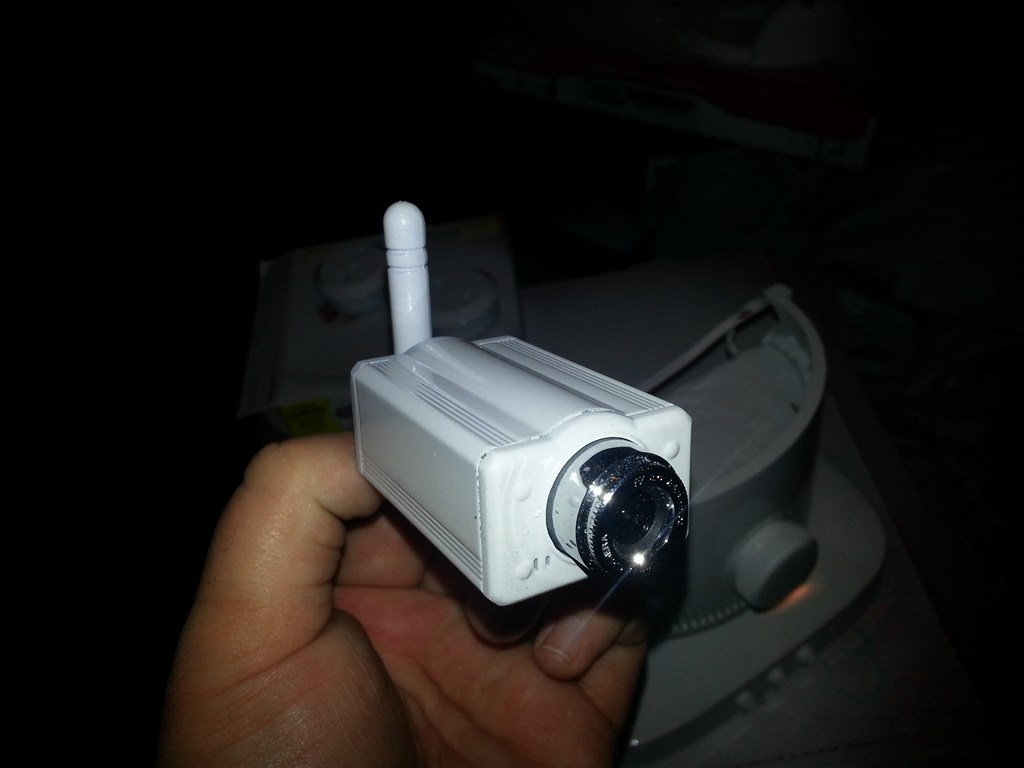
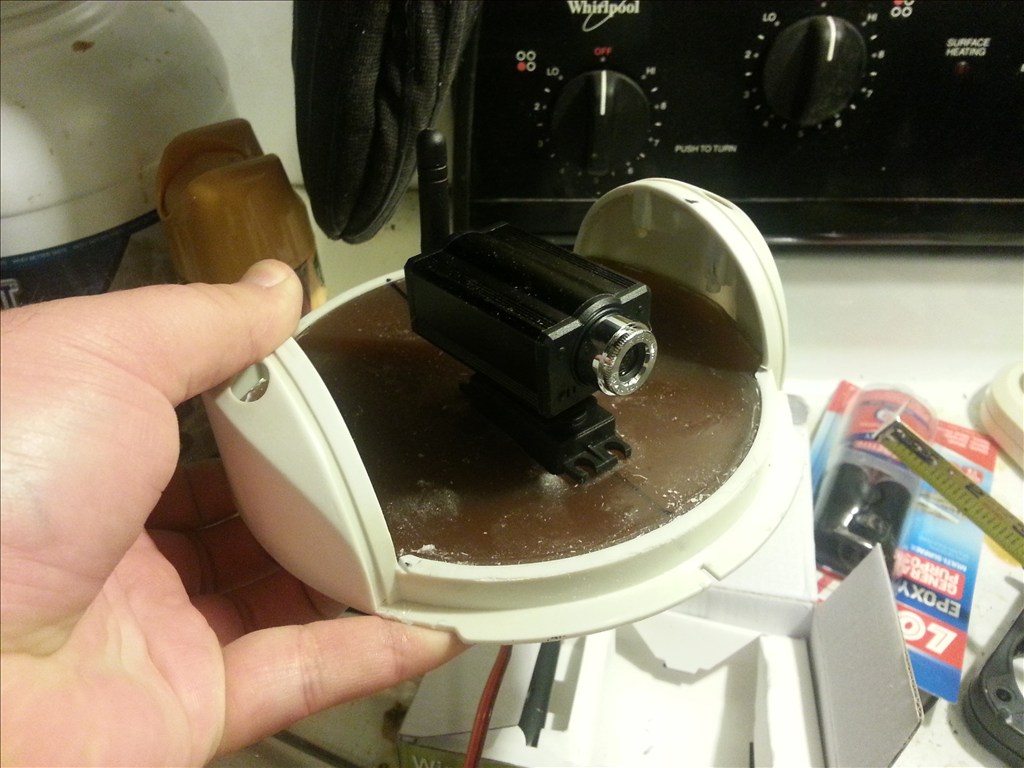
I took the camera apart to see if I could paint it and looks like I can ! :) even the antenna
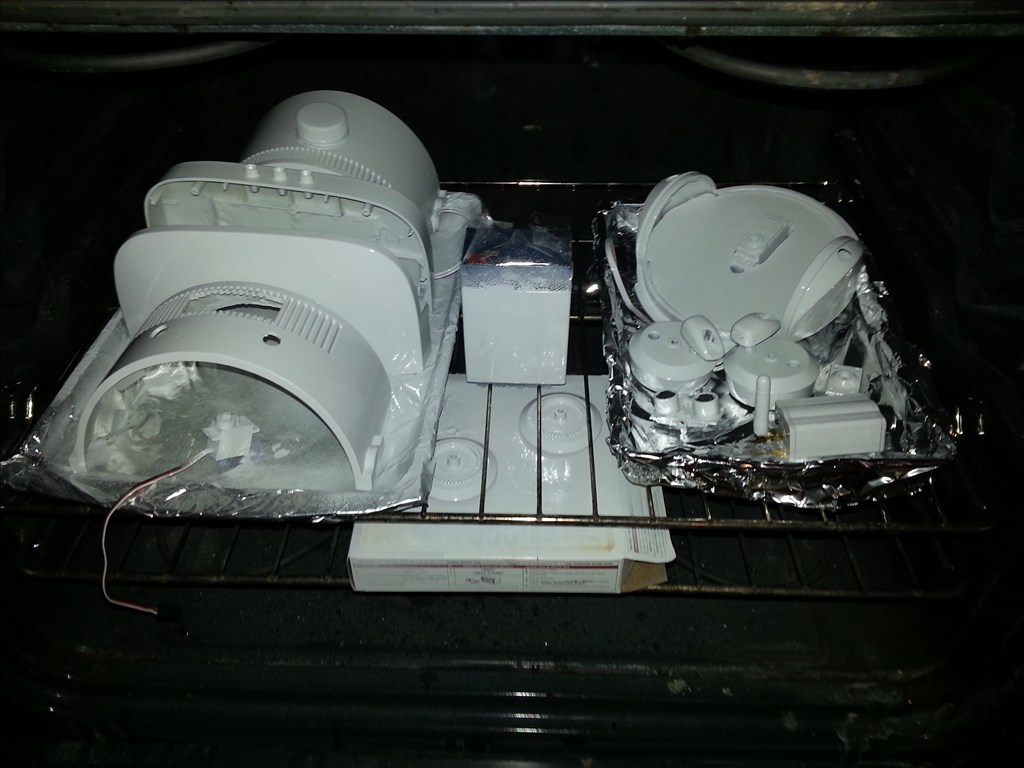
Did you know that when paint dries to the touch after a day that it is only about 70 percent cured? Yup true story. Since spray enamel does not have a catalyst to induce a exothermic curing action you can heat your oven to about 100-110 degrees and literally cook your paint on. I simply cannot stand it when you get a great finish and then a couple days later it is still soft and smudges or leaves a fingerprint, anyways this is how i do it. Bake it on my friends.
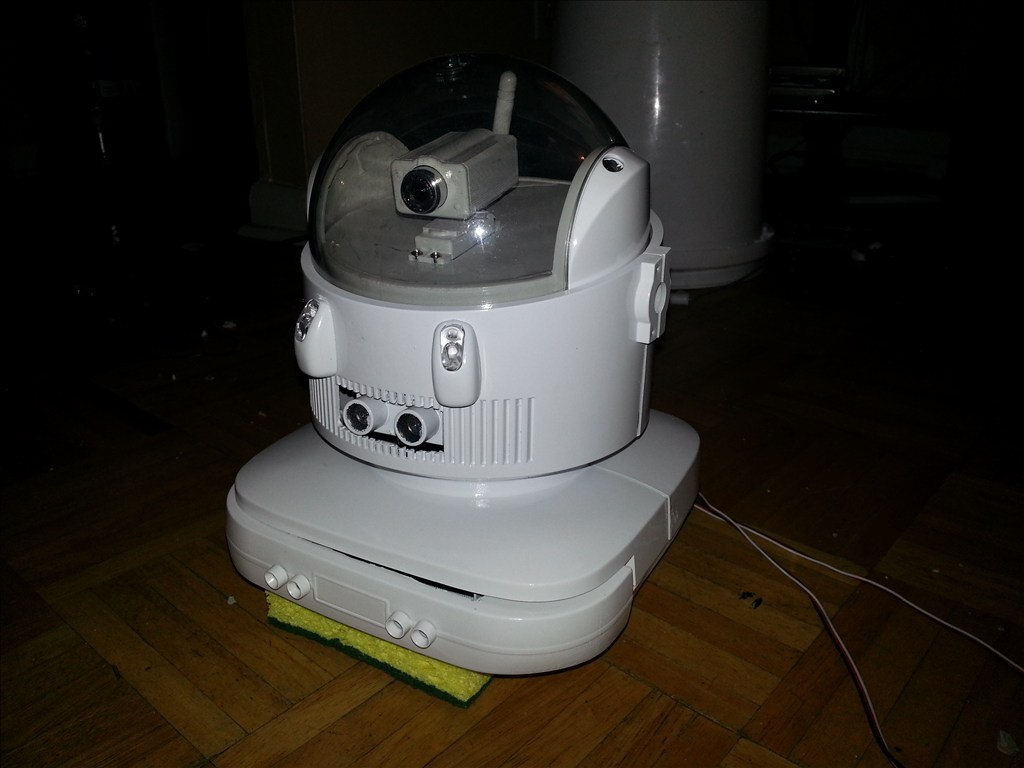
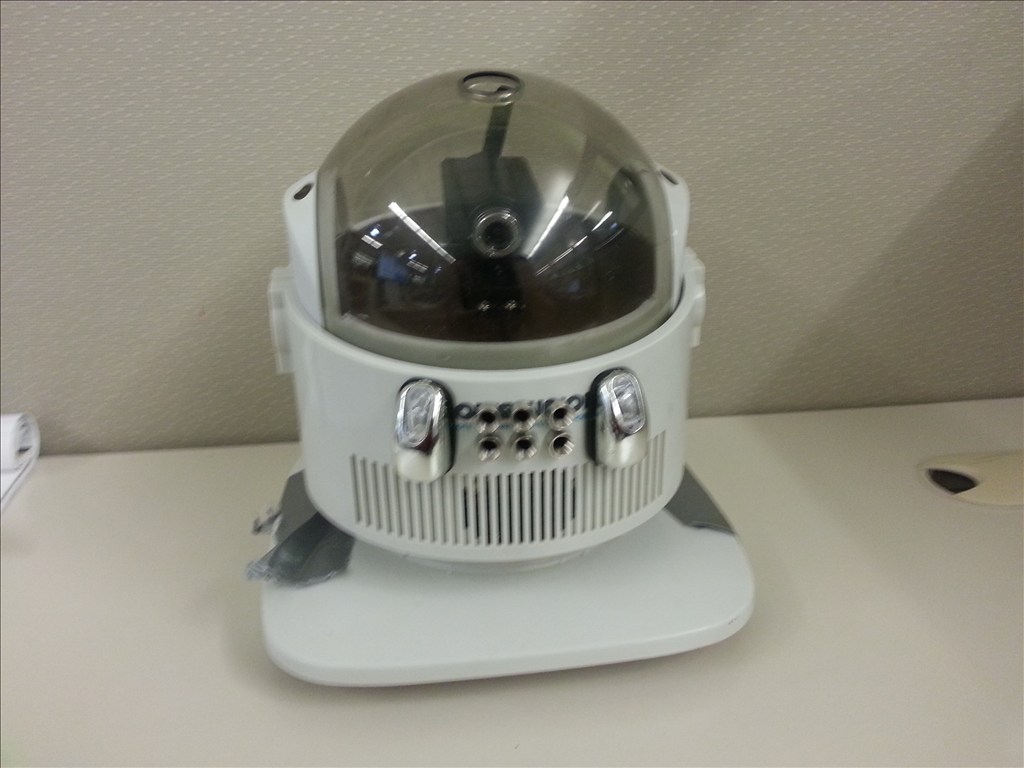
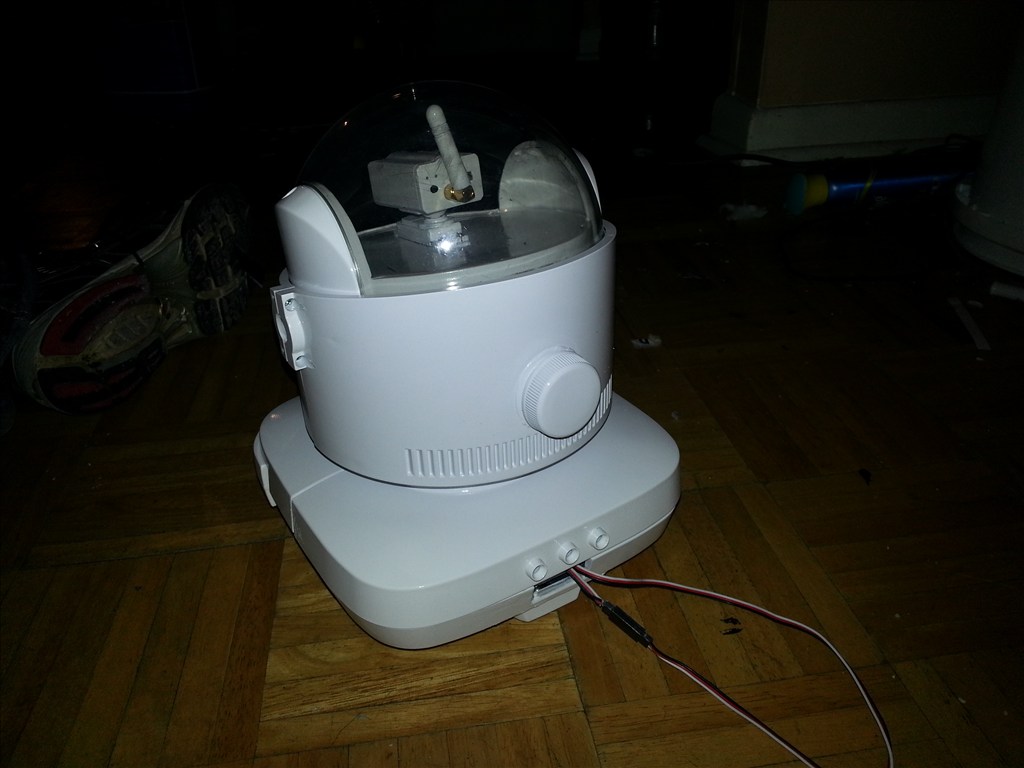
Squeegee reassembled, looks pretty good.
 sideview, even the hubs match and new grey tires
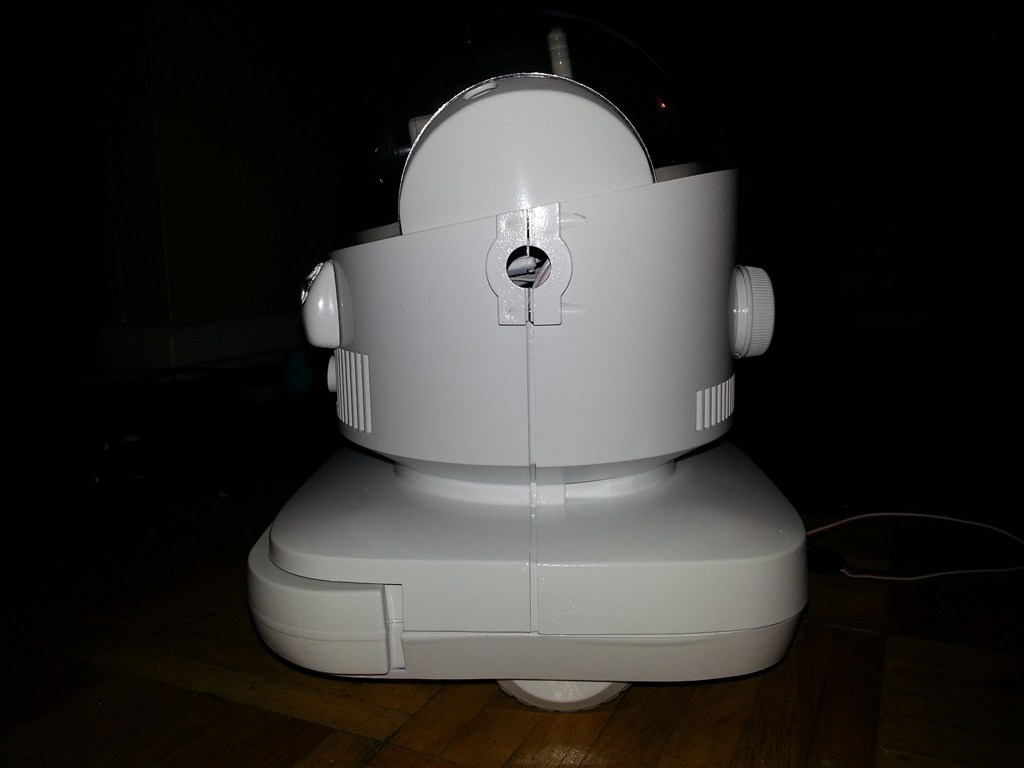
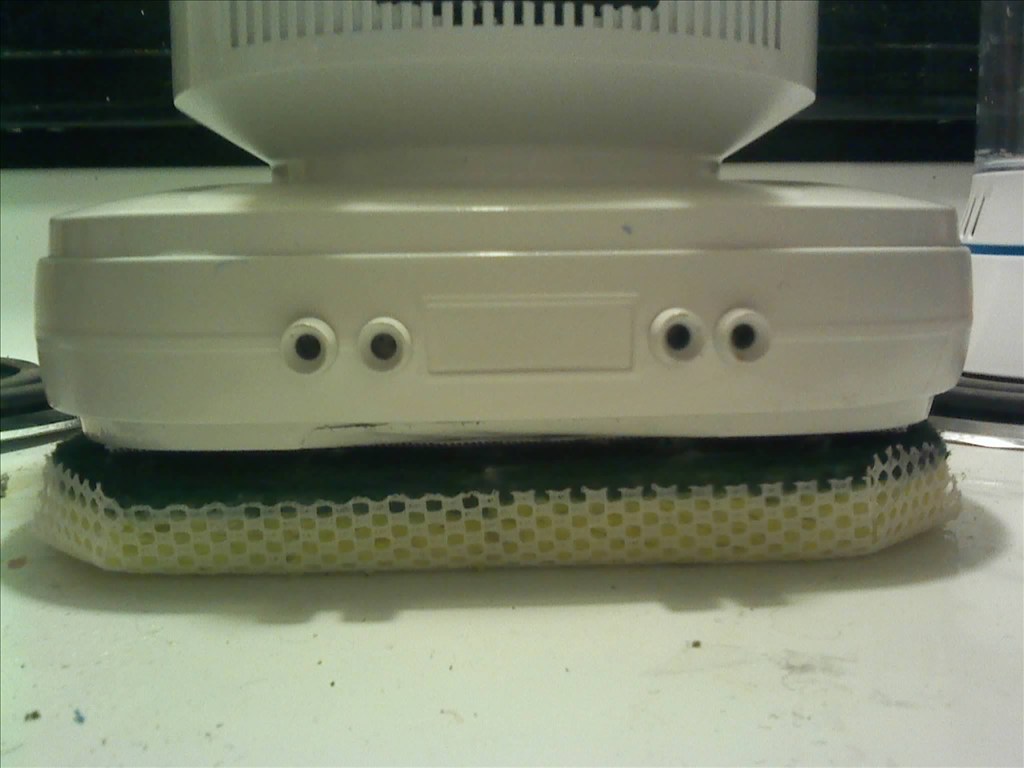
rear view of squeegee
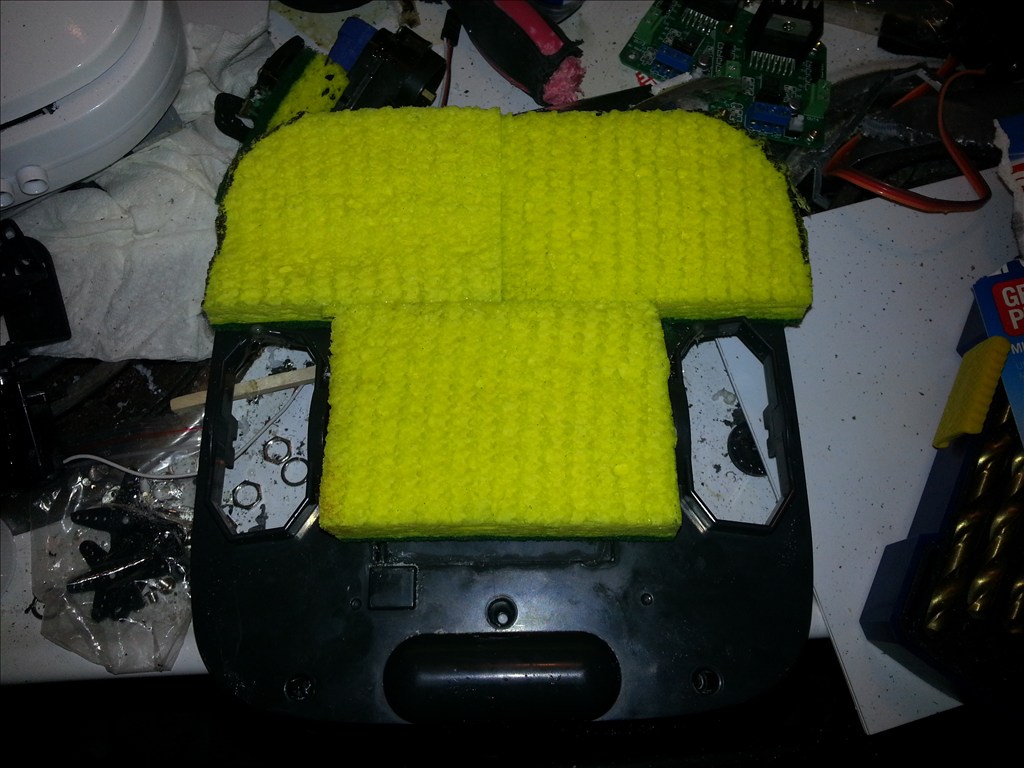
I used standard square sponges and cut the shape I wanted. I wanted it to be easy to replace them. now I am actaully considering just a velcro bottom and using swiffer pads.
Tiny update: i woke up at 1am and had some ideas to make the front and rear pads and also include a flexible rear squegee as well. Here are several pictures. The pads are made from 4 scotch / 3m sponges , velcro , flexible rubber squeeze blade, microfiber cloth material.
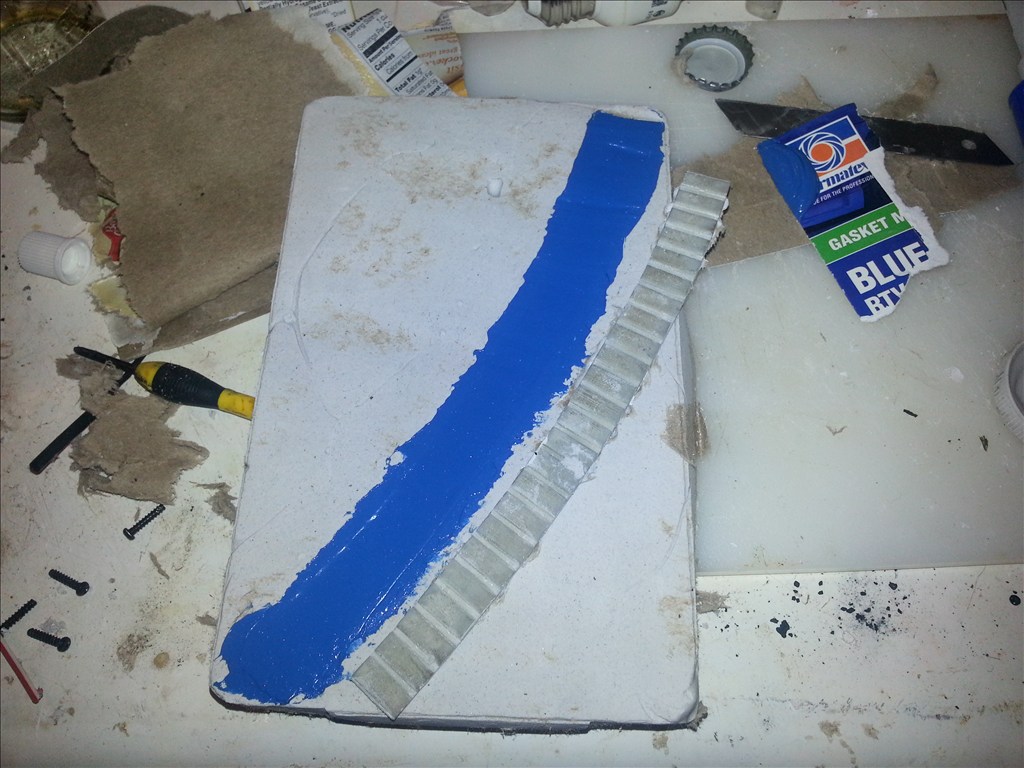
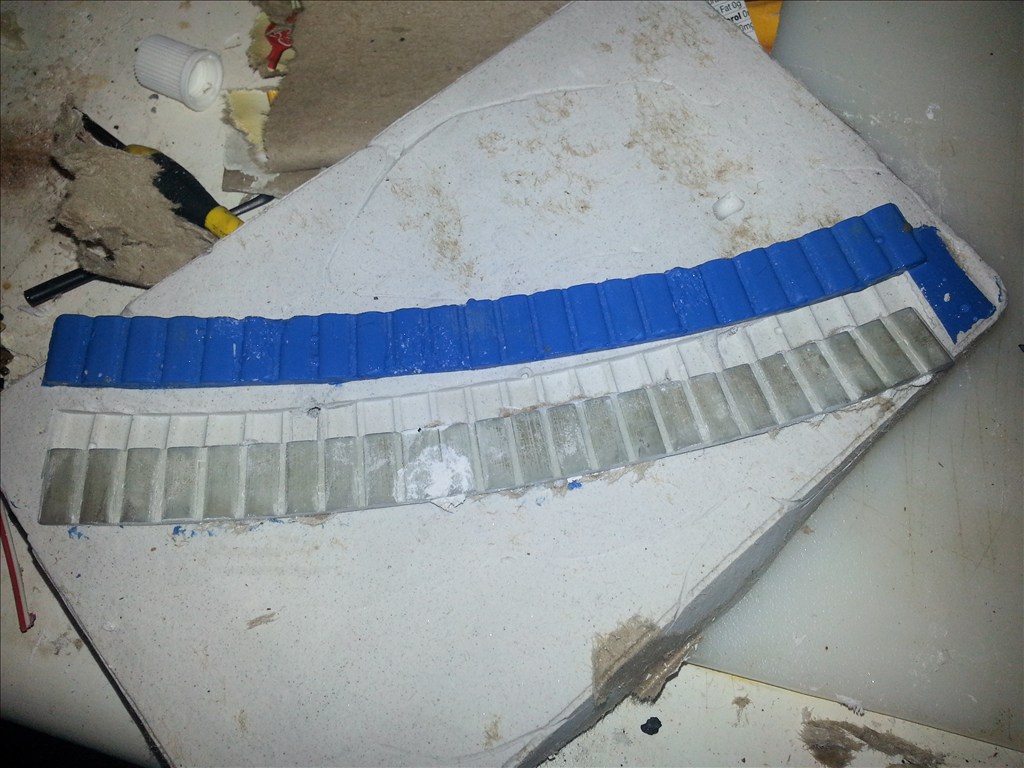
Here is the tire mold. I made a set for a online person who wanted blue ones.
Tada, Like easy bake oven
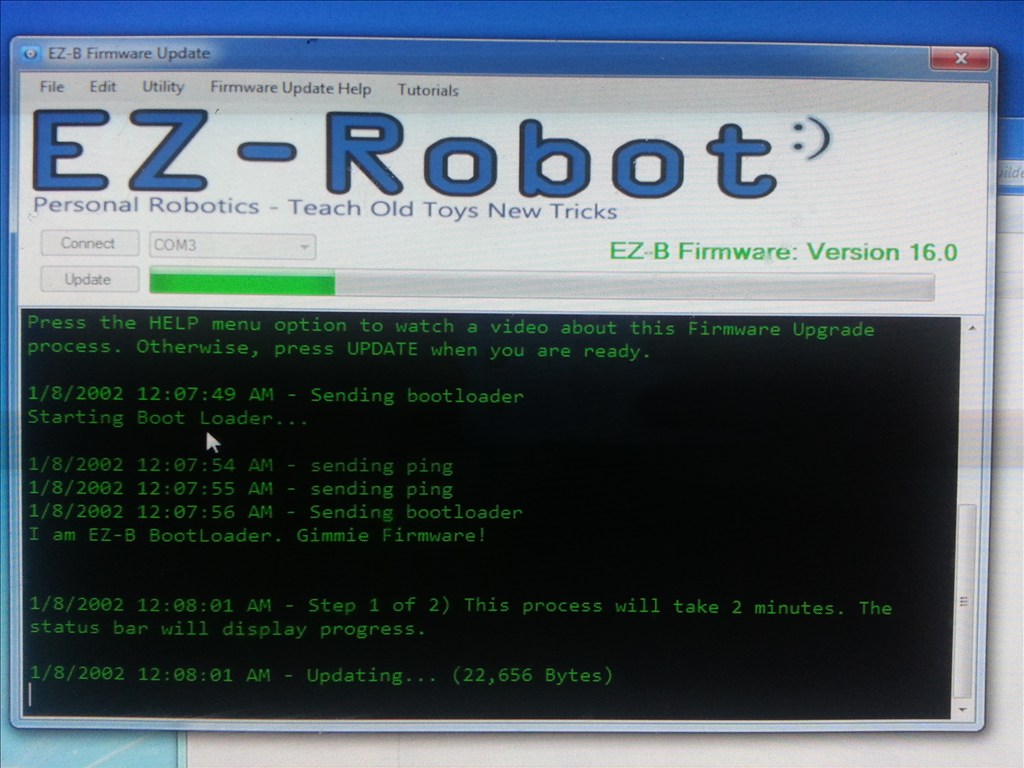
I uploaded the most recent firmware, version 16 and started setting up the H brdige next. I had a hell of a time because two h bridges wer bad I bought from china. The right channel on both would go forward but not backwards. I everntualy figured the out troubleshoointg by swapping sides and realized it was the board.
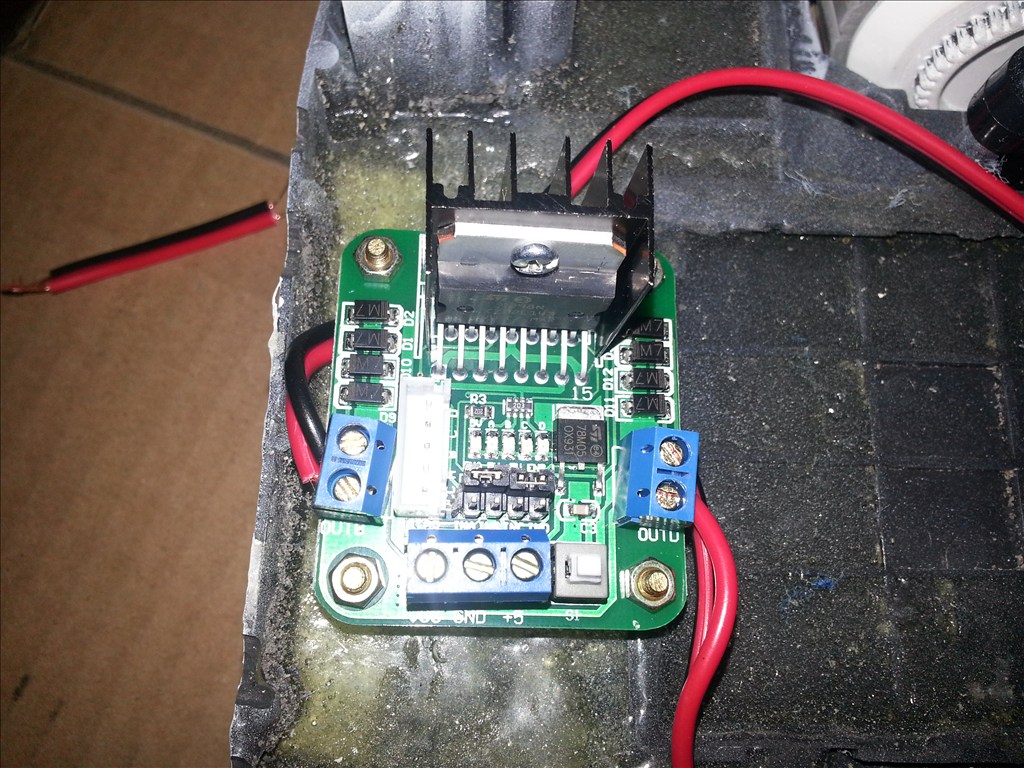
L298N that caused me so much grief
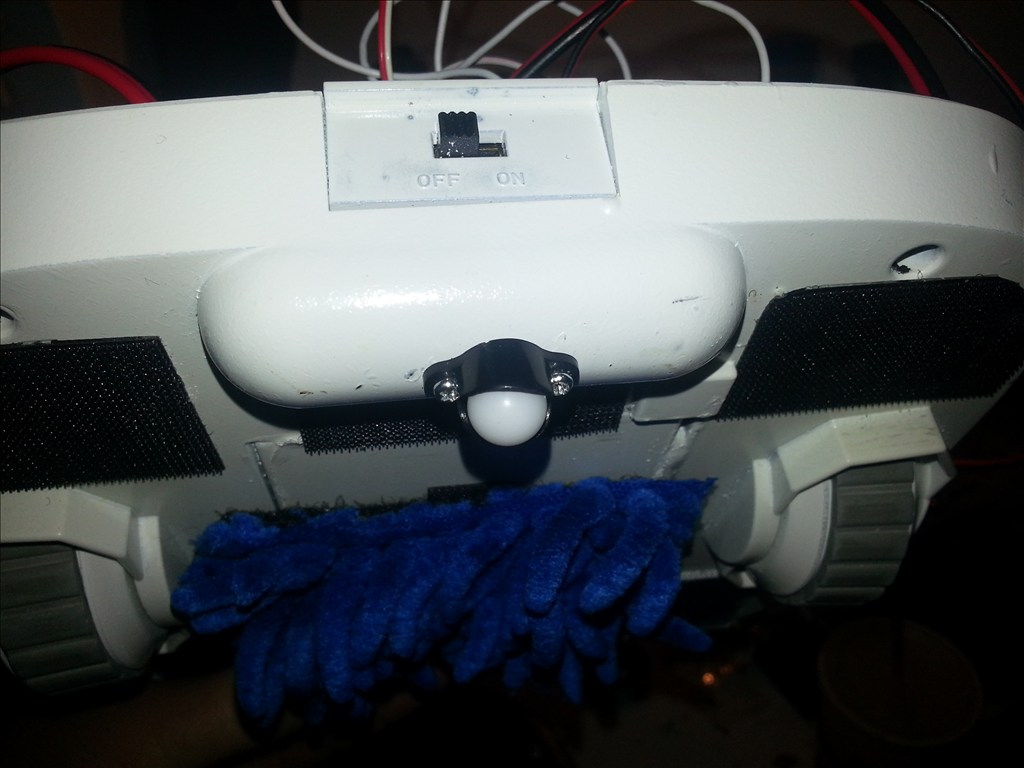
Added a read caster so she moves smoothly on hard floor.
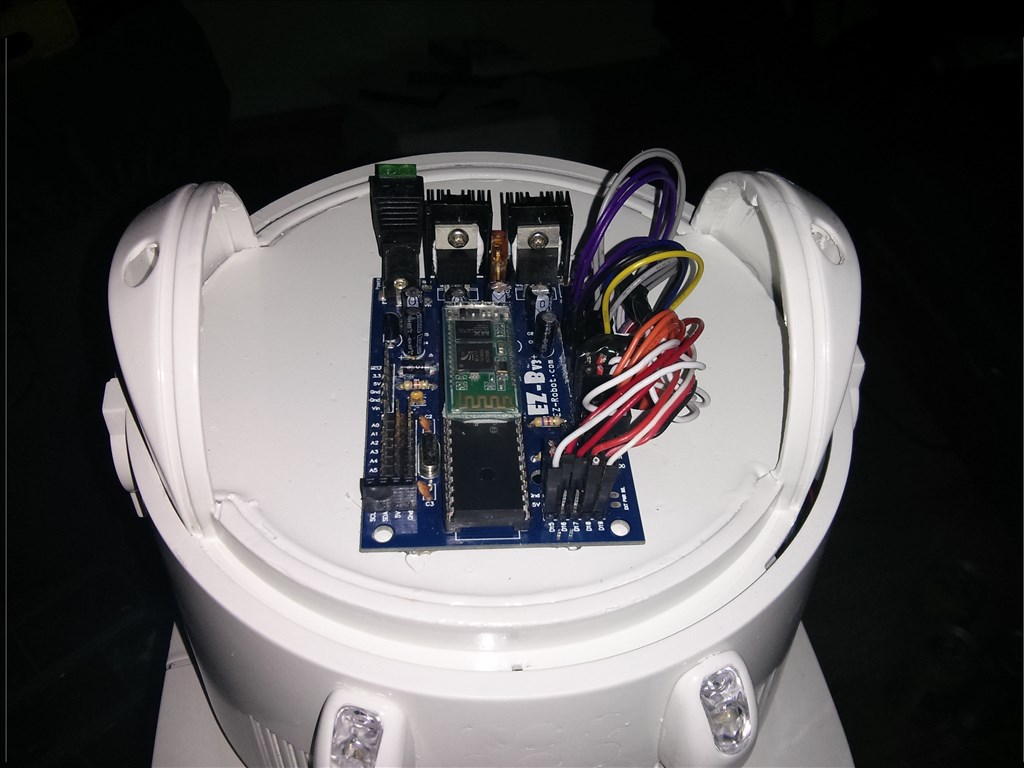
Here is the EZb top mounted for now because I had space issues. I still have the camera but Im not using it yet.
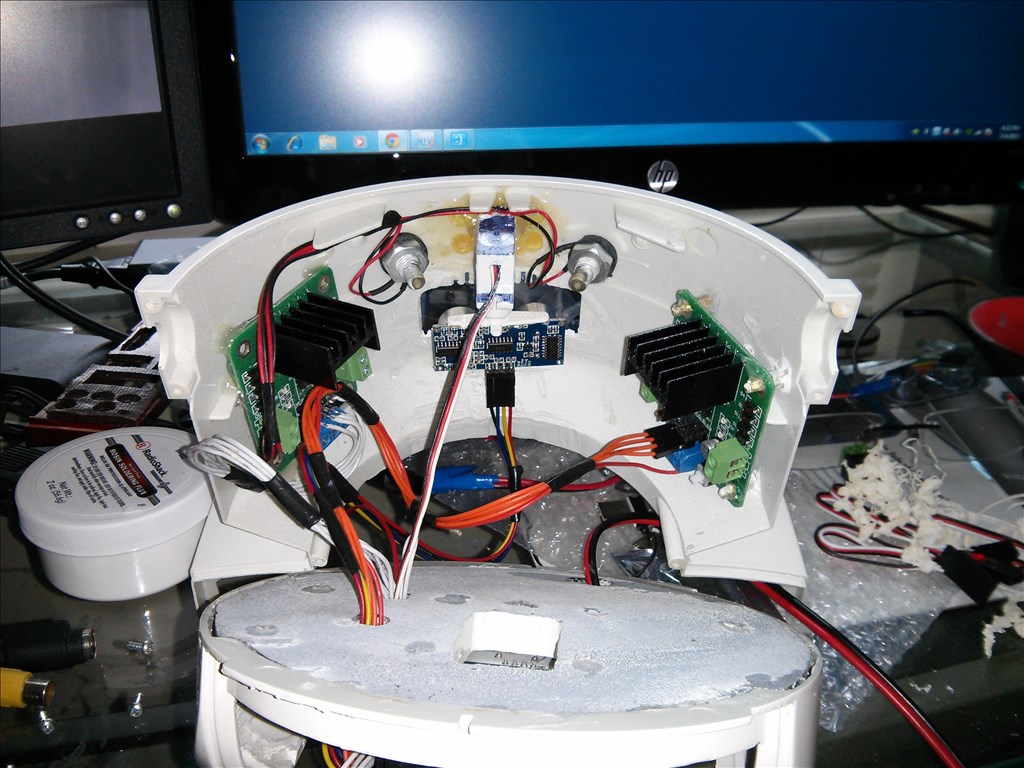
Inside the chest, ultrasonic radar and the h bridges,the second is for the pump and nozzles.
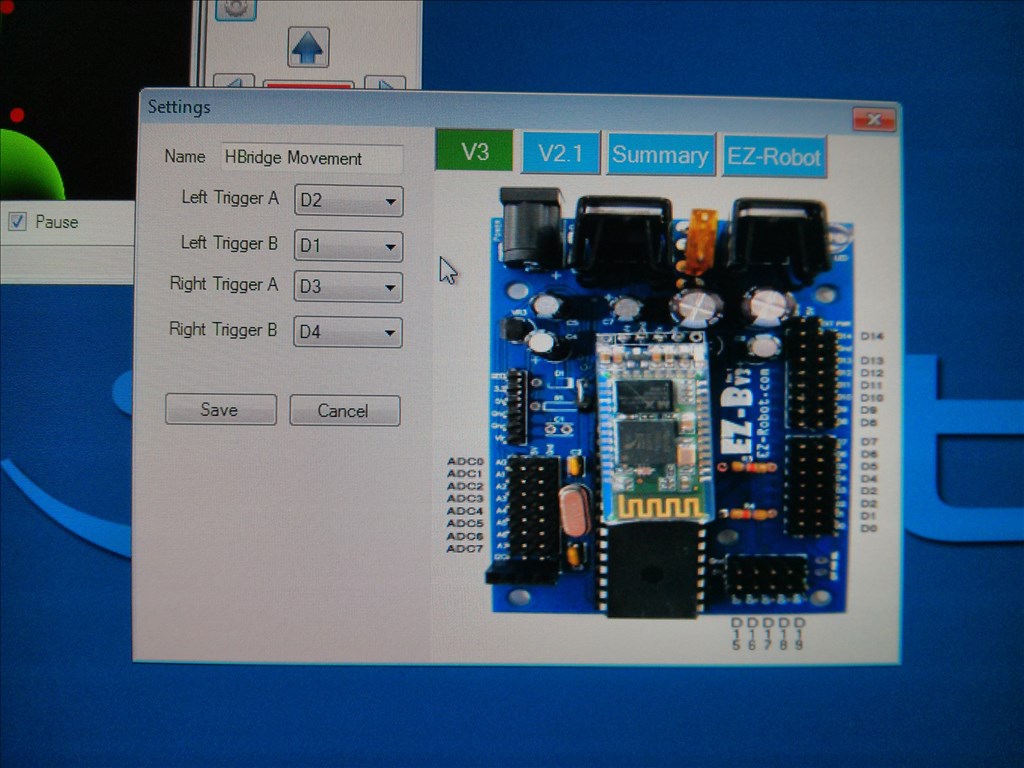
My hbridge configuration on EZB
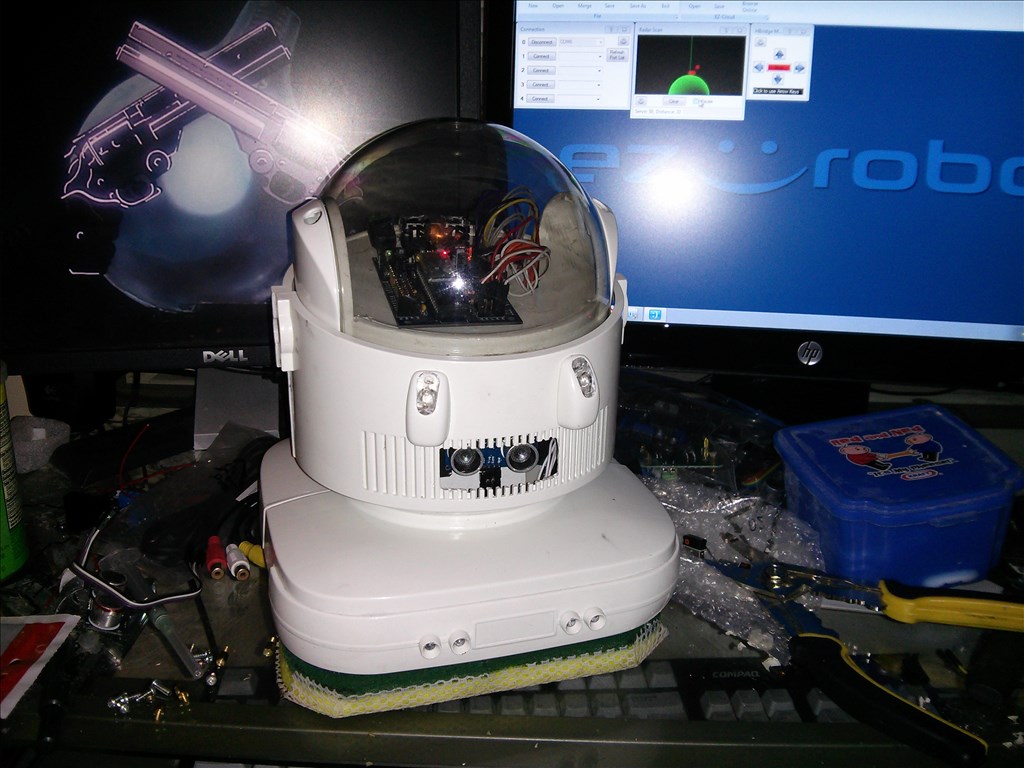
I like this pic, its the money shot right before It moved around for the first time in the vid I posted.
Thats it for now. I work on projects in rotation and I didnt do much during the summer but now that its cold I stay home more and that means..... robots !
Squeegee Project goal is to Spray cleaning solution and mop my wood and tile floors. It is autonomous.
- Actuators / output devices: 1 standard servo, 1 micro servo, two original mabuchi gear motors, 6v pump
- Control method: autonomous
- CPU: EZb 40mhz
- Operating system: Windows 7, Ez Builder
- Power source: 6v PowerSonic SLA 4 AH
- Programming language: EZ Script
- Sensors / input devices: Ultrasonic Range Finder, IR cliff sensors, Ping radar
- Target environment: kitchen, home, bathroom