


Rover (working name)
Work in progress. I don't know if this will be 2 robots or one yet. My wife got me an OWI Robotic Arm kit and a DFRobot 4wd Chassis for christmas. I picked up some L293D motor driver shields, ultrasonic senors, IR recievers and a couple micro servos. Last night I got the arm set up to run off the motor board and set up a serial communication controller in java. I still need to put feedback pots on the arm joints to tell rotation vs pulsing the motors for 500ms per click, but for now its a fun little 6v robot arm that can run off a 4 AA battery pack and be controlled by via the computer.
UPDATE: 1/7/2014
Got the motorshield up and running on the chassis and got a decent motor test now. The DFRobot platform performs terrible on high carpet at <6V so it can't do skid steering very well. I compensated by driving one side at full speed and the other at half speed to make it rotate. You may be able to tell that this still stalls at least one motor pretty regulary on my thick carpet. But it will work for my purposes. The 4wd WILL drive over EVERYTHING with sufficient power. It runs over feet and shoes etc very well and can even flip itself over very easily by running into an obstacle (no sensors yet). Next step will be to add sensors to the base and then we'll see if i'm making one robot with an arm mounted or just a rover and second project for robotic arm.
UPDATE 1/14/2014
I was waiting this week for my bluetooth module from adafruit. Spent some time coding an android controller while i wated... here's a screenshot of how it will work... i can drag around the screen and it will update the direction/motor speeds. now that i have my bluetooth module i'll be writing the serial communication code from the app. 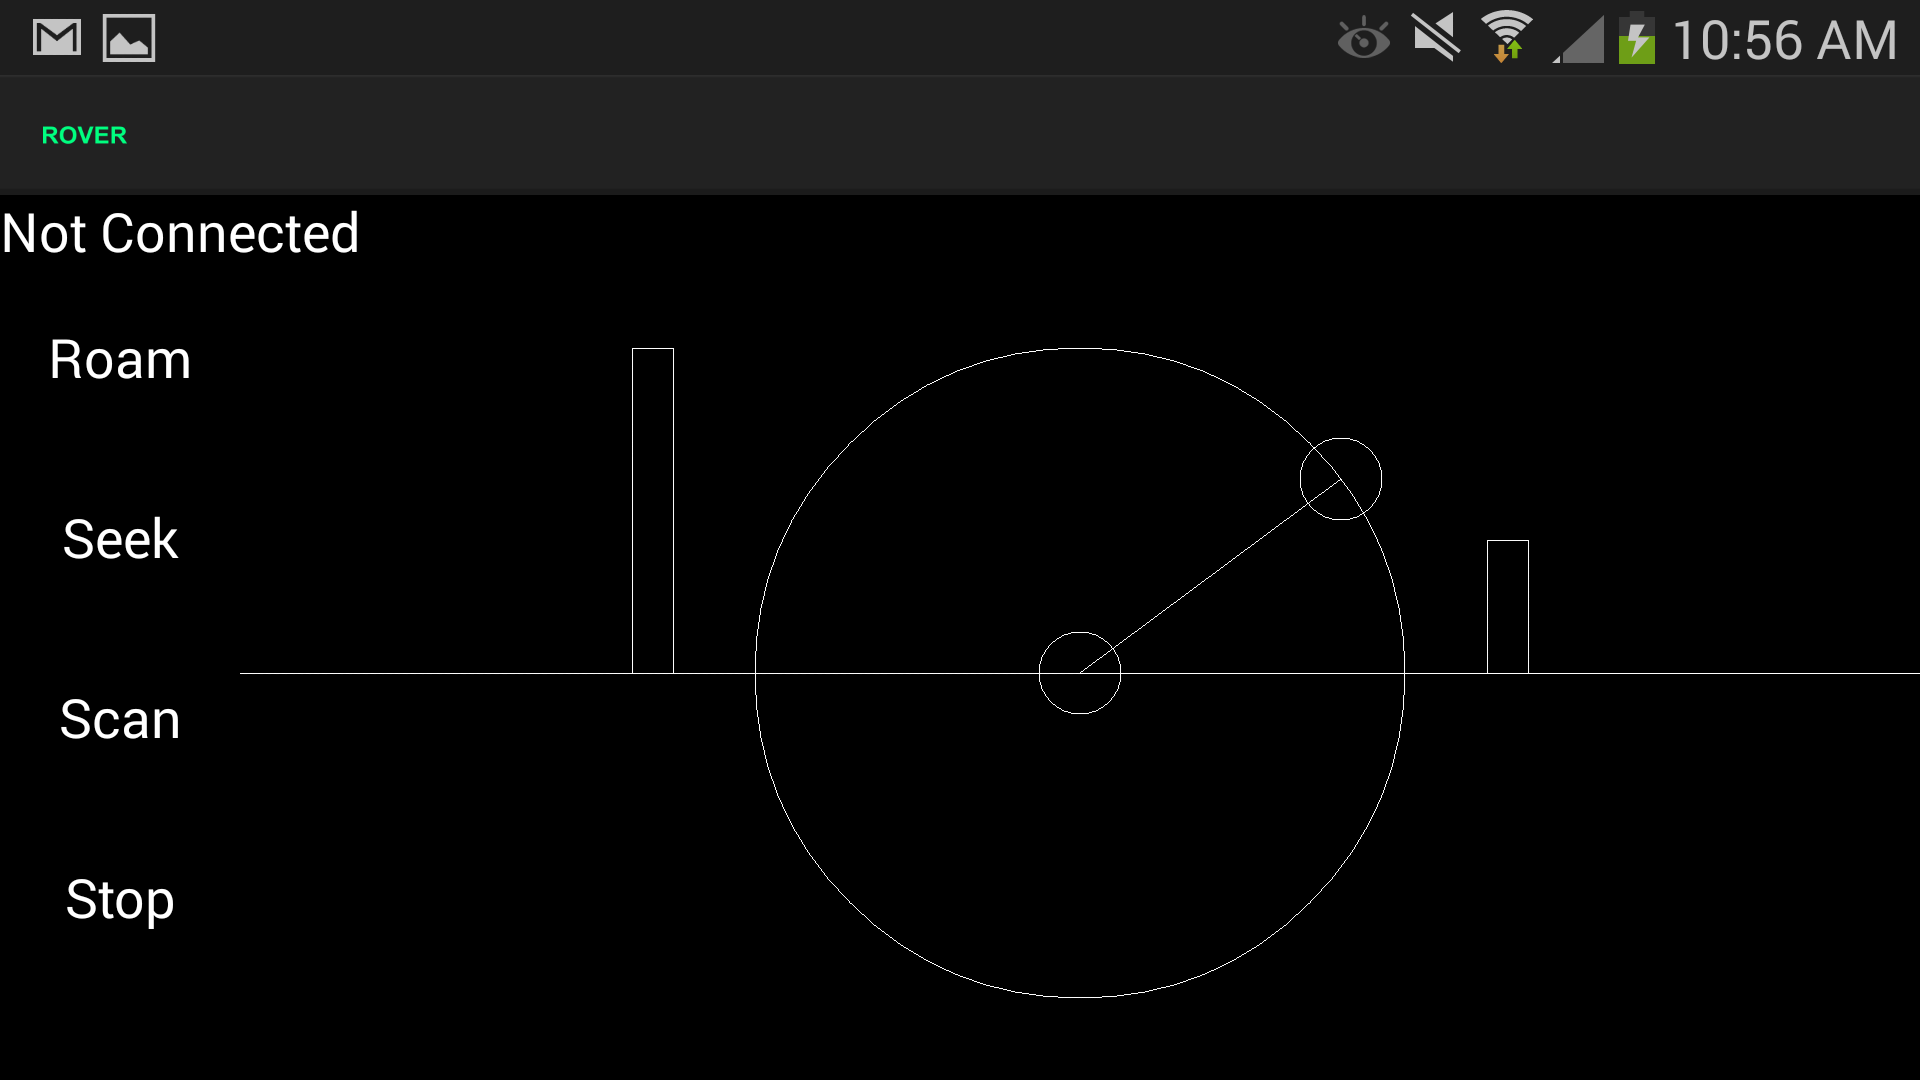
UPDATE 1/15/2014
wired up a right angle 6pin out on a proto-shield and hooked up my bluetooth serial module (adafruit bluefruit ez-link). Updated a motor test to allow serial control. I configured Bluetooth Serial Controller for Android to have buttons for forward, reverse, left, right and a stop button. Its very satisfying to drive around with bluetooth from my phone. I did a quick test run outside on gravel, grass and concrete to see how it drove and it works amazing outside... the carpet in my living room is a bit much for turning, but outside it works great. Will post video soon.
I'm also considering outfitting it with a low-power laser diode i have on my work bench to mess with my new kitten tomorrow. I stress low-power because a high powered cutting laser on a robot would be crazy... or would it? (meniacal laughter).
UPDATE 1/17/2014
Uploaded 2 new videos to show the bluetooth control (still don't have the app done so just using Blutooth Serial Controller for now). I DID end up putting the laser on it. the cat goes crazy about it... As it turns out i really like the laser because it makes driving easier since you can see where the robot is pointing.
I also got a quick test of the Ultrasound working too.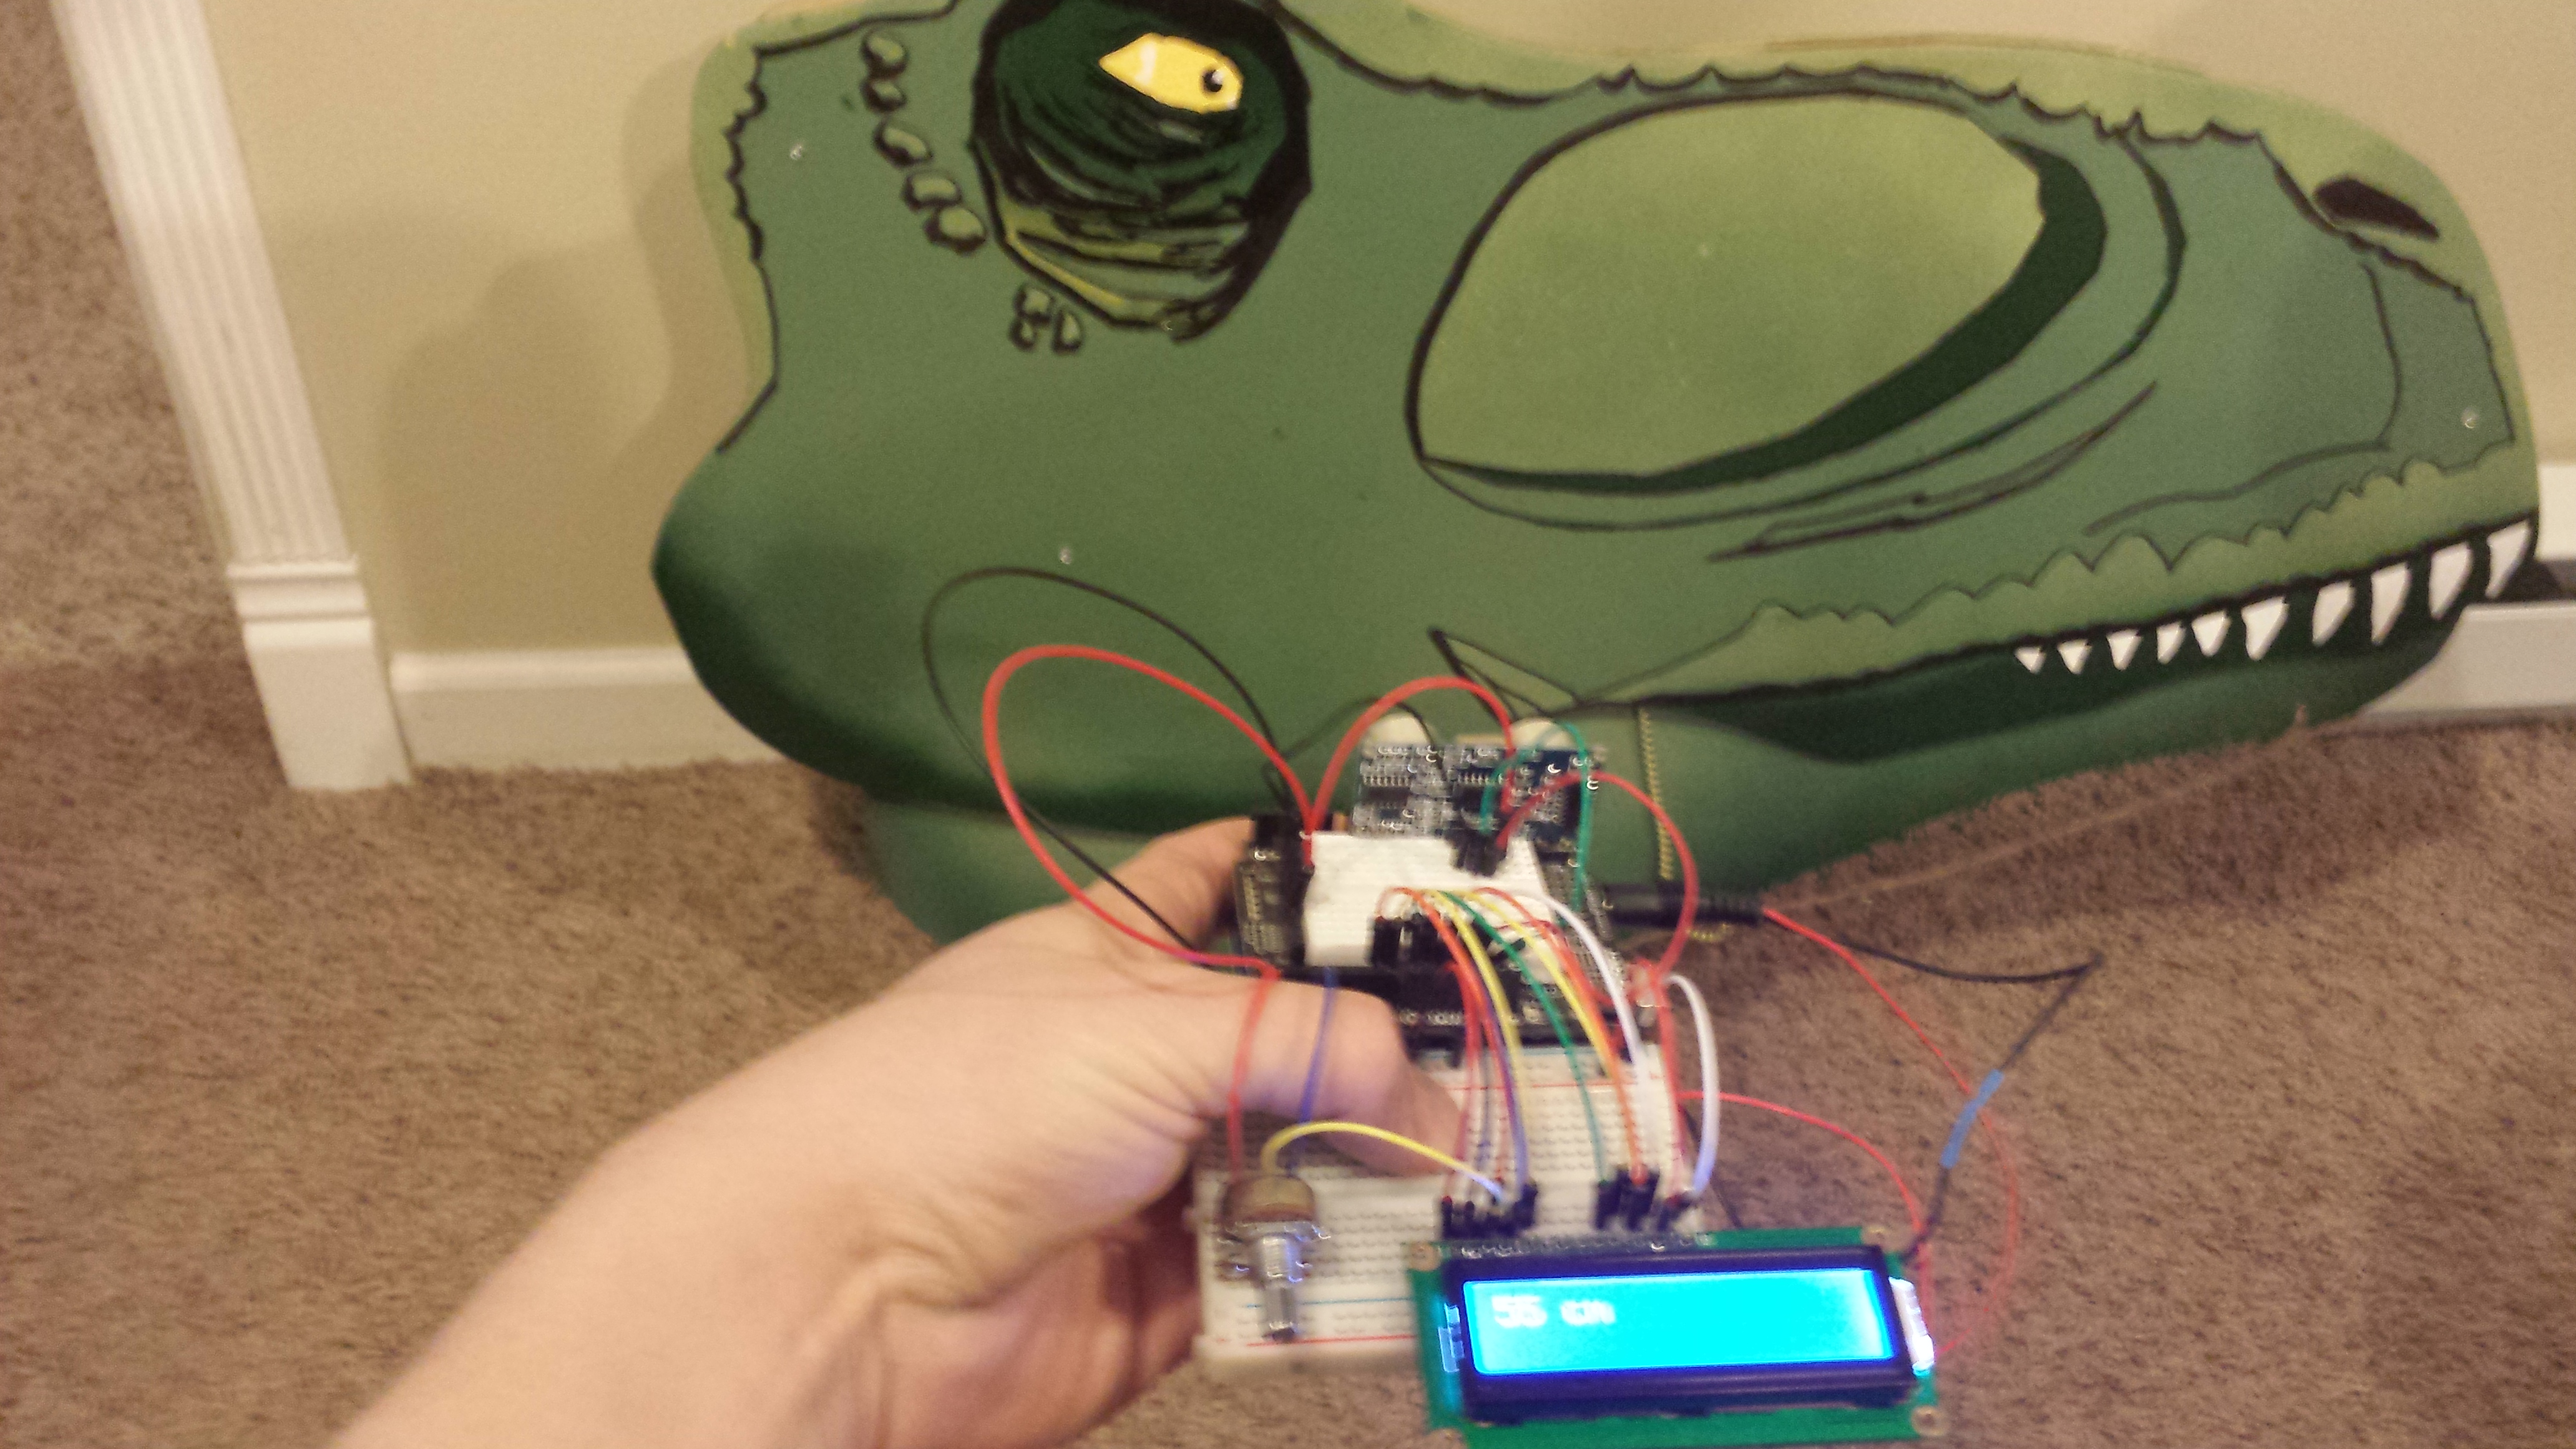
UPDATE 1/22/2014
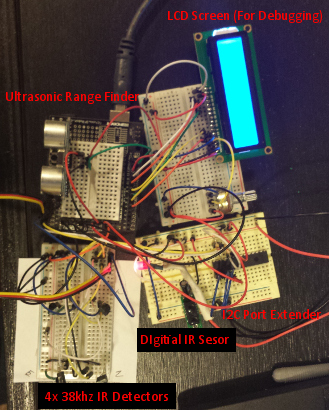
Nothing exciting to show for the past week. But i did want to share my sensor rig. This is the first time i've seen how nice having multiple breadboards is. I can set up test circuits on them and leave them up (like the LCD screen). I also played with I2C and set up a port extender reading and writing to/from the arduino. I2C Is AWESOME! I expect to use it a lot in the future.
The photo below shows all the different types of sensors I plan on putting on the final robot.
- 1 x Ultrasonic Distance Sensor servo mounted in the front for obstacle avoidance/diretion determination in autonomous mode.
- 4 x IR Digital Distance Sensors in front of each wheel/corners for small obstacle avoidance/keep from running into chair legs.
- 4 x 38 Khz IR sensors on each side for directional IR beacon detection.
The goal is to have this thing drive to a beacon (ball), pick it up with a magnet then drive to another beacon (ME) activated after the robot fetches the ball.
I was struggling with the directional IR homing beacon sensors until i found the project page for blimpduino. The blimpduino project uses 4 x 56khz sensors and an atmega 328 for directional beacon location. They provide full source code and i did some tests with it. The project references the pololu product that does the same thing, but i didn't want to spend the extra money for one of those boards. I've been testing it with a remote control but it doesn't have very good accuracy right now. I'll probably need to add a dedicated atmega 328 communicating on I2C. If anyone has any thoughts on IR Homing Beacon Recievers i'd appreciate the advice.
One other note for this update: I found out this week that my 3 Year Old son can drive a bluetooth controlled robot surprisingly well!
UPDATE 1/23/2014
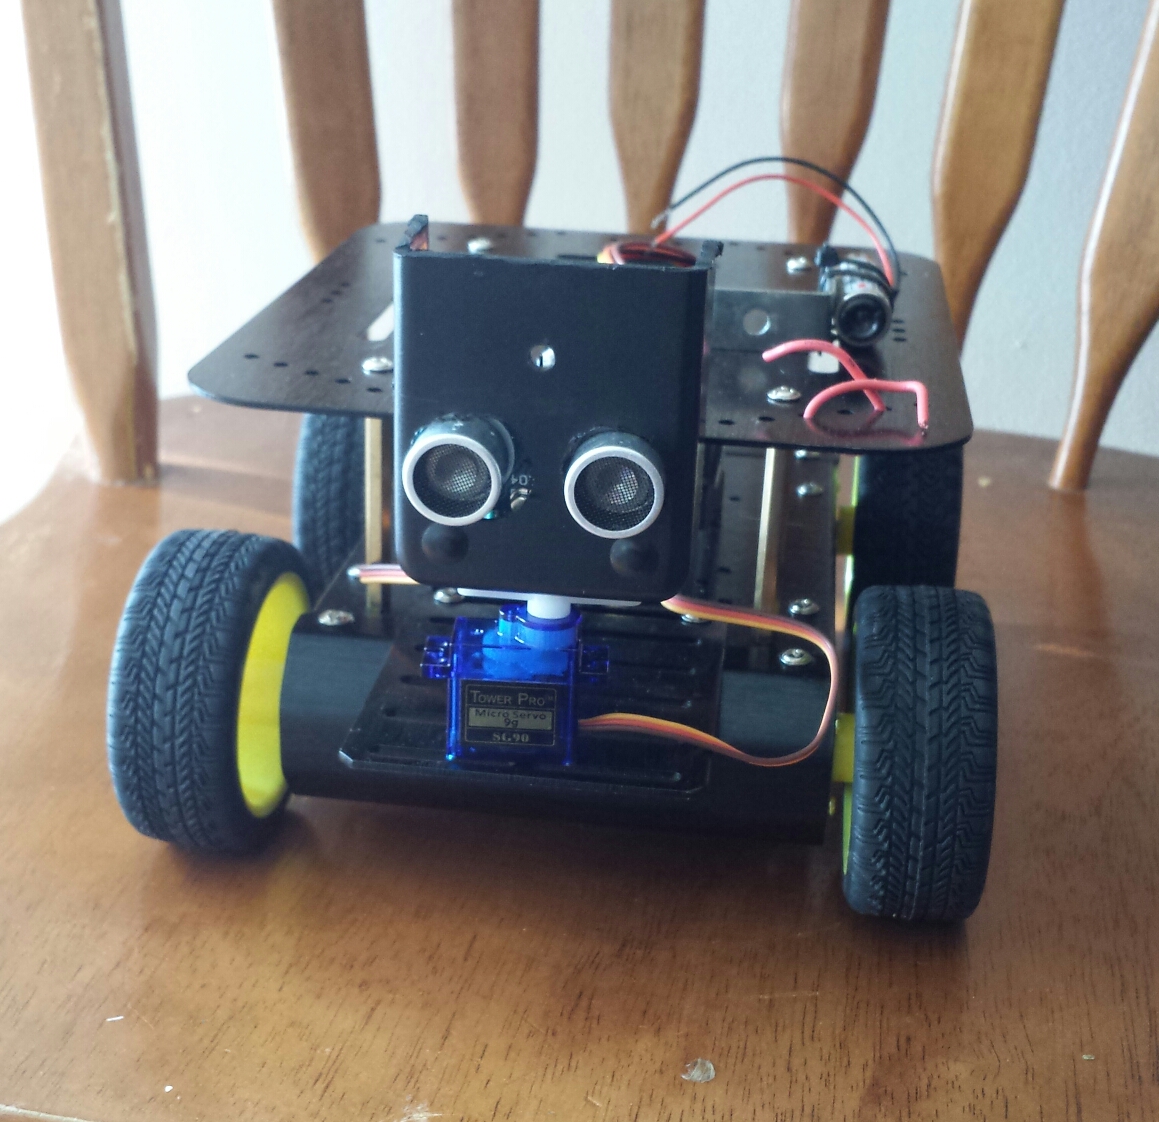
I threw together this little sensor mount (head) over lunch. I made this from a little project box i had laying around like i saw on TOBI I have holes for the US to fit through and a hole to screw the servo horn into the servo as well as another mounting hole for the laser. This is a prototyping head only, i plan on making a nice vacuum formed enclosure.
UPDATE 1/26/2014
got some code written for the head to do a proper test of the ultrasonic sensor and servo (see video). next i need to add some leads to my protoshield to connect the head to the same board as my motor driver so i can actually use the sensor and servo while driving :). In hind sight a different motor driver that wasn't a shield would have been much easier to work with or at least one with passthrough leads instead. oh well live and learn...
UPDATE 1/30/2014
wrote a java application to interpret the sensor data and display it as a sonar like screen. watch the video The laser (originally for playing with cats) is callibrated (roughly) to be at the edge of where the US measures on the java interface. so if something is touched by the laser it should show up on the screen.
Fetch a beacon, Follow Me (beacon), and obstacle avoidance
- Actuators / output devices: DC Motors, Servos
- Control method: Bluetooth Android App
- CPU: Arduino, Atmega 328
- Operating system: Arduino
- Power source: aa batteries
- Programming language: Arduino
- Sensors / input devices: ultrasonic distance and ir
- Target environment: indoors