


Rover V2
Here is one of my projects I am currently working on. It is a triple deck, 4 wheel rover. You might of seen my blog here, so some of this might be a repeat of information.
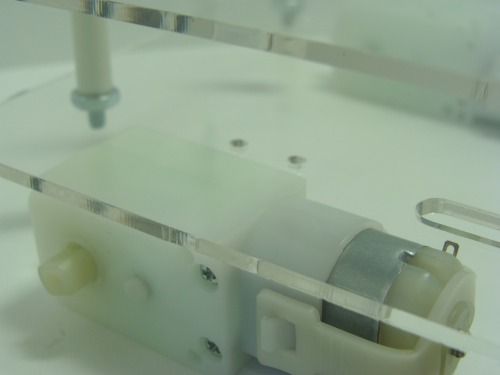
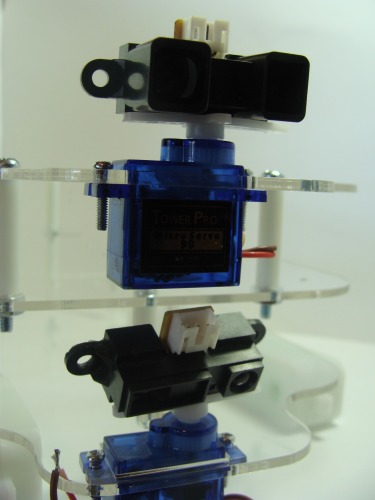
It has 4 Pololu gear motors which will be controlled using some SN754410 breakout boards I designed. (The PCBs are on there way). It has 2 servos, one on the top and bottom plate. An infrared distance sensor gets mounted on each servo. 4 CDS light sensors get mounted on the 4 corners of the second deck. The robot also has an onboard compass. This compass will aid in navigation and steering. An LCD provides feedback. Buttons allow different modes and controls to be accessed. The whole thing gets controlled by a Seeeduino mega.
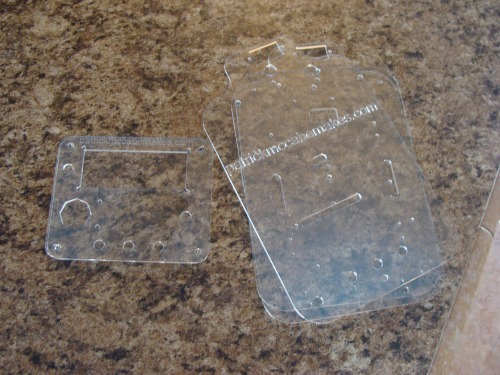
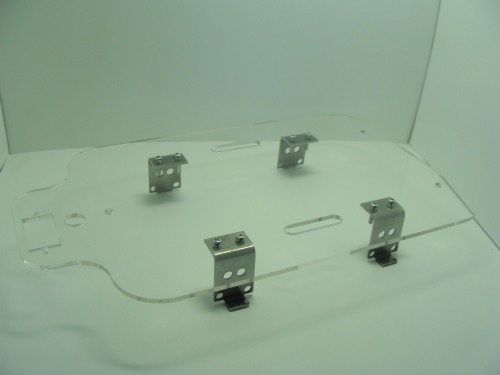
The plates were laser cut (ignore the one on the left, that is a different project)
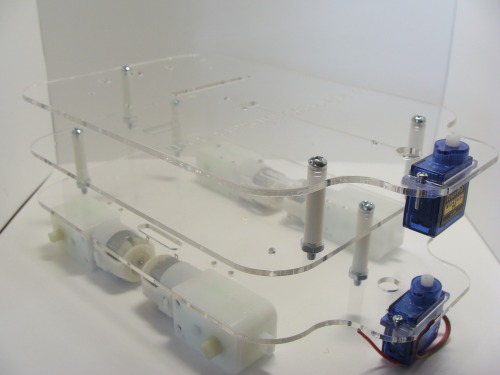
Here are some first looks of how the robot goes together:
The LCD and buttons go on the back here:
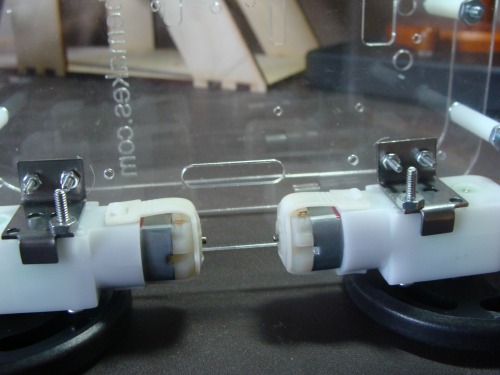
The motors will get mounted on the bottom using mounts from Pololu
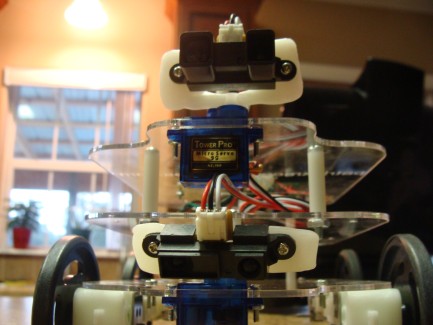
The top sensor will be detecting obstacles in the front and the bottom one will detect objects on the floor.
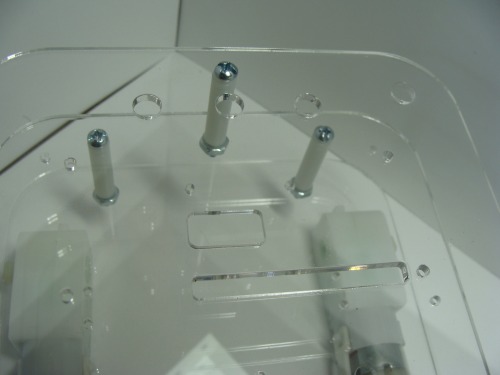
The motor mounts bolt onto the bottom of the bottom deck.
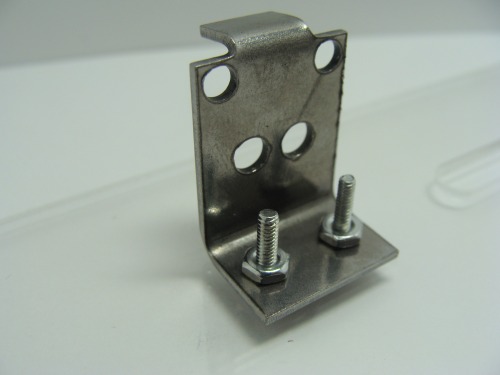
The motors are then bolted onto the mounts. The mounts were too close to each other so I had to drill a new hole for each mount in order to fit the motors on
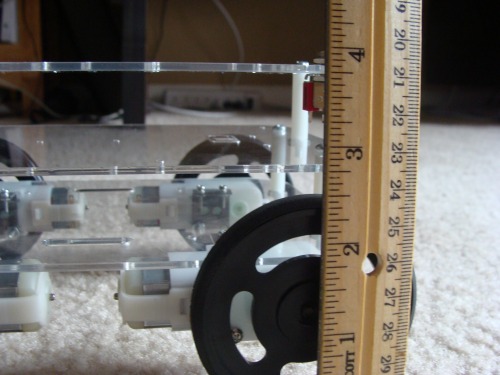
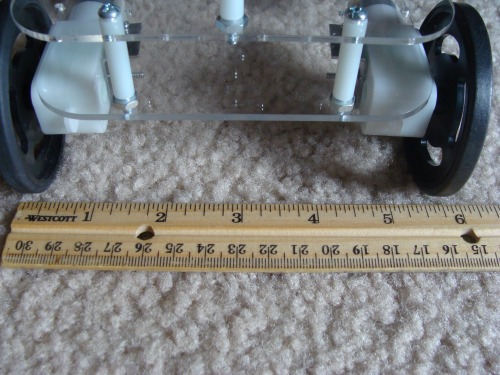
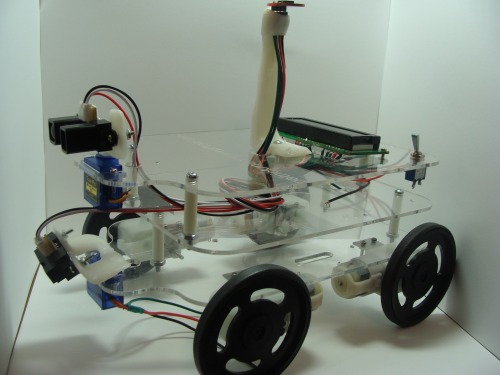
Here is the rover with the motors on and some servos. You can also see that the power switch is bolted in place.

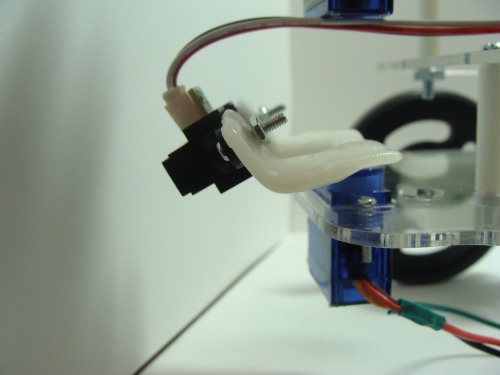
I made 2 polymorph mounts for the distance sensor. I attached polymorph to some servo horns to make them. The one on top is simply just a 90 degree mount for the sensor to bolt onto. The bottom one is angled towards the ground. This will allow the bottom sensor to detect obstacles that are on the ground or prevent the robot from falling
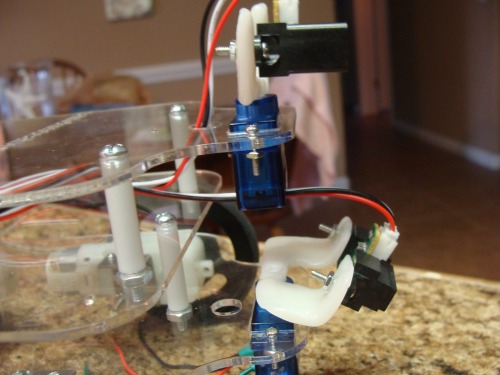

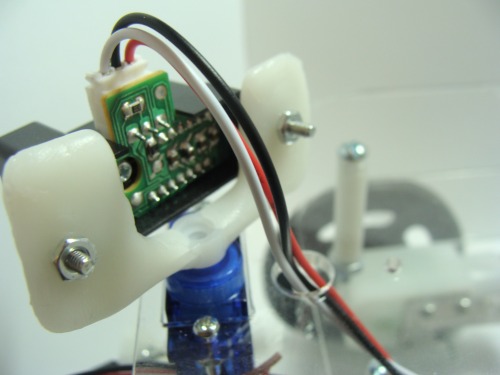
Finally I stole the compass from my AGV. I will probably end up making a polymorph compass mount for this robot so I can put this one back on my AGV. I also bolted the LCD in place.
I have a lot of more things to do obviously. Many packages are on the way.