Rorcle
My latest 'bot.
the time it took me is really measured in days, just finding a decently priced plexiglas provider was very hard.
but assembling, testing, coding etc, shouldn't have gone over 5 hours
Well, about the name, it's a mix of round, and circle, i thought about naming it ''rutgers'' after some man who came up with the circle theory...
Circle theory:
Originates from Rutgers Camden. States that men are fixated on certain things because of their roundness. This encompasses, breasts, all manner of sport balls, bald heads, streetlights. The circle theory states that men in history and entertainment who want to dominate the world have this desire because it is round.
ಠ_ಠ
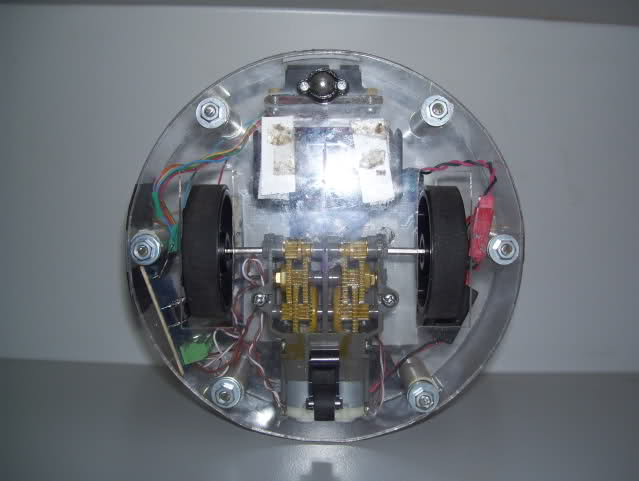
Using printer paper feeder wheels for locomotion, and a small rubber wheel from a tape recorder at the back, to keep it from doing wheelies, and damaging the plexiglas.
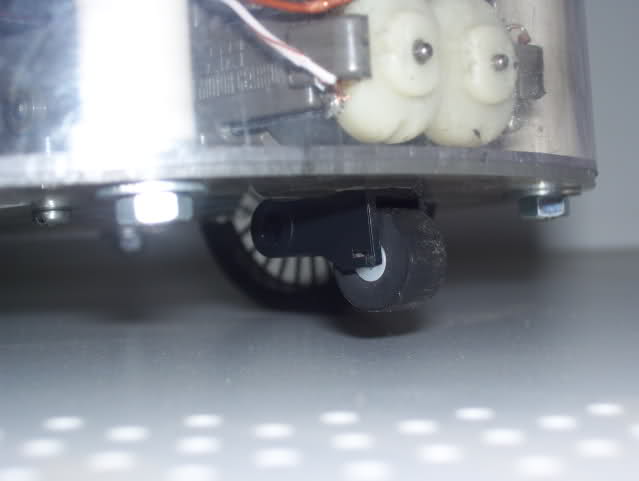
All this is inside a 15cm diameter and 4,5 cm high cilinder shaped thing, made of plastic, and plexiglas.
i still have to cram some encoders in there :
already have my colour sensors working, so it shall be able to tell what colour something is, and take an action based on the colour!
I'm having a VEEERRYYY hard time finding a power inductor, to make a DC boost, so i don't use these expensive(4€ each) 9v batteries, that last about an hour, two rechargeable batteries, will be used, with a charger already embedded in the pack (from an old game boy, lol)
anyway, see you in my next update!
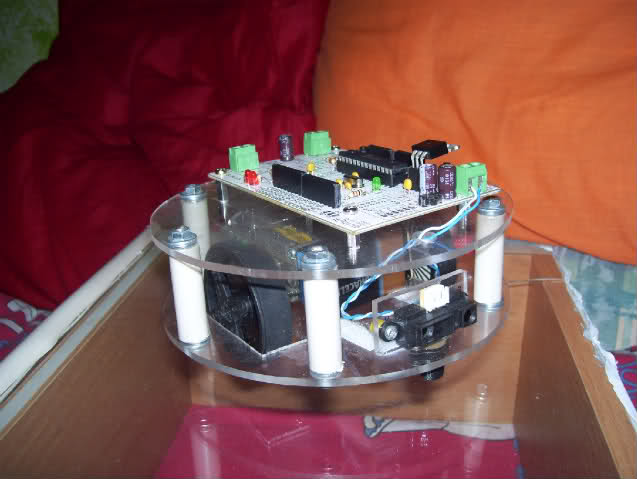
Now driven by a motoruino by guibot(thanks a lot frits), excelent board, managed to fit it nicely onto rorcle.
Now i want to keep plexiglas holes to a minimum, so i will use hollow steel rod(like you use to make lamps, etc) and the cables will be routed through it, and then routed inside a silicon tube, i don't want any visible wires, i want it to be super duper clean :)
Think i have my power sorted, got some smd LDO voltage regulators, must make small board to substitute the 7805.
also, the plastic around it broke, i left it outside and the sun ruined it's flexibility...
Update 25/6/2010
Not much new, got the motor driver onto the motoruino, and routed some cable with the silicon tubing.
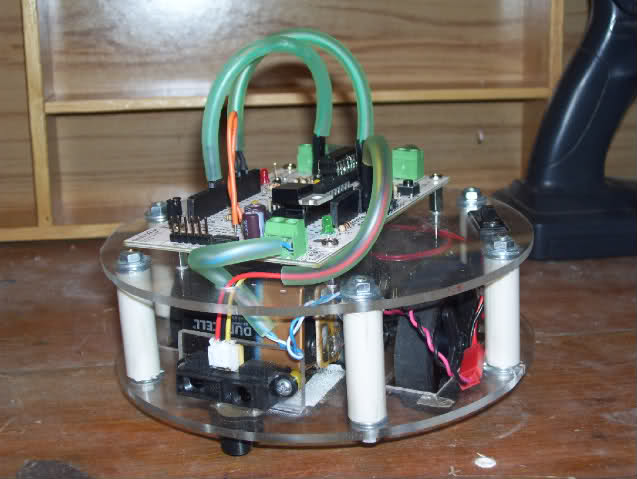
:D
To Do list:
Make new board on eagle for a new line follower, using 5 QDR1113 this time. 0%
Modify board so I can use a MAX603. 0%
modify board so I can use a MAX756. 0%
modify board so I can use an external power supply for the motors. 0%
Add encoders. 10%
More proximity sensors. 0%
Update 3/7/2010
what do you think of the LCD here?
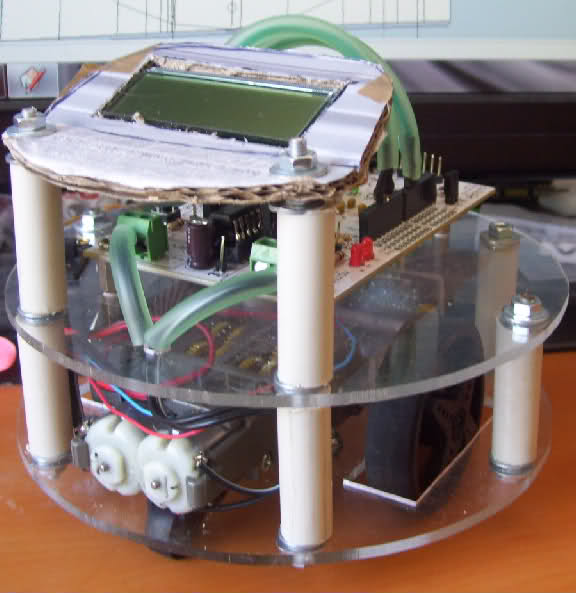
I kinda need an LCD, but not sure about adding a complete board of plexiglass, at least for now, what do you think of the lcd there? that cardboard bit will be acrylic...
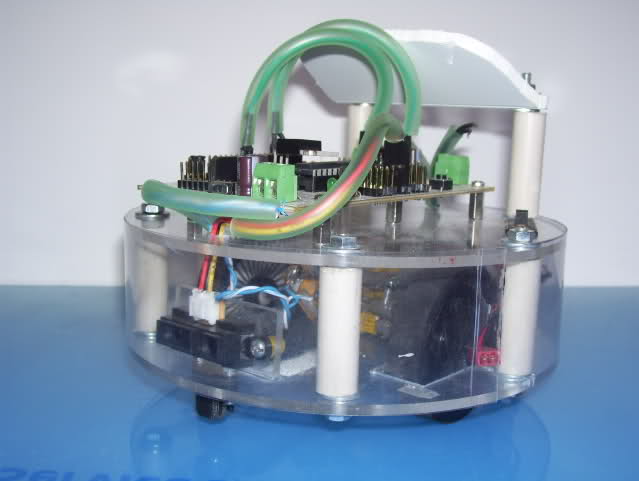
New plastic bumper, LCD mount out of expanded PVC, will be acrylic when I get the funds for a heat gun.
haven't made my decision as to which LCD I'm using.
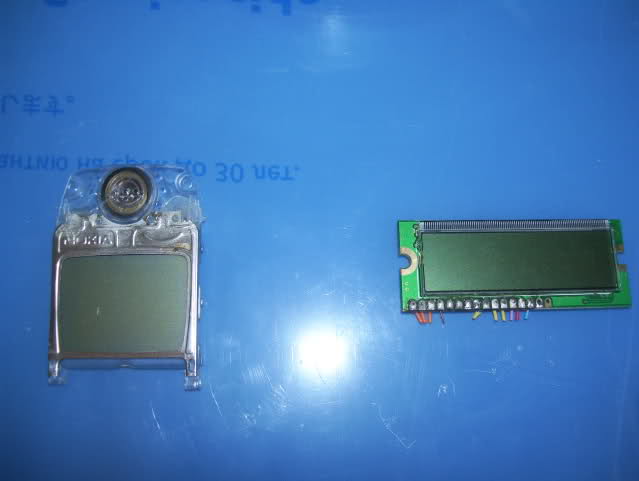
Graphical VS 16x2 characters.
Encoders will now be magnetic instead of optical.
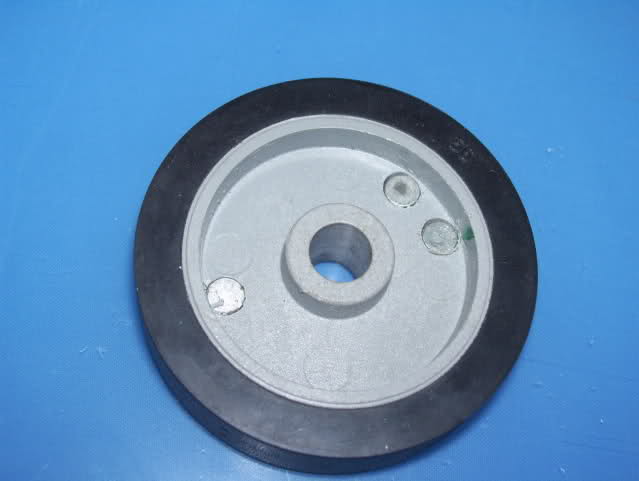
Speaker instead of buzzer for more complex sounds using soundGin.
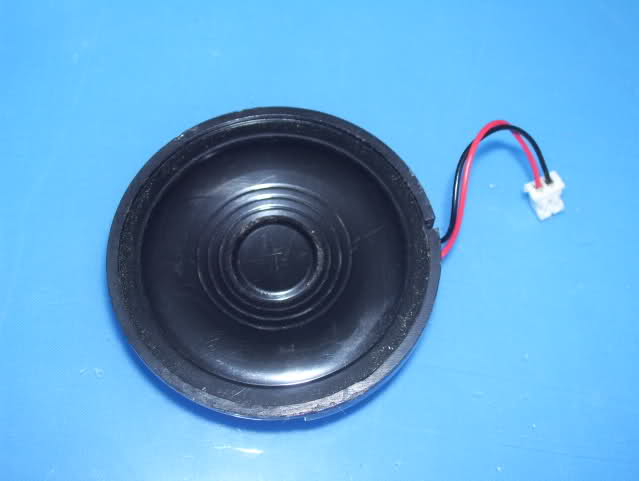
Go here for more information, Code and more videos.
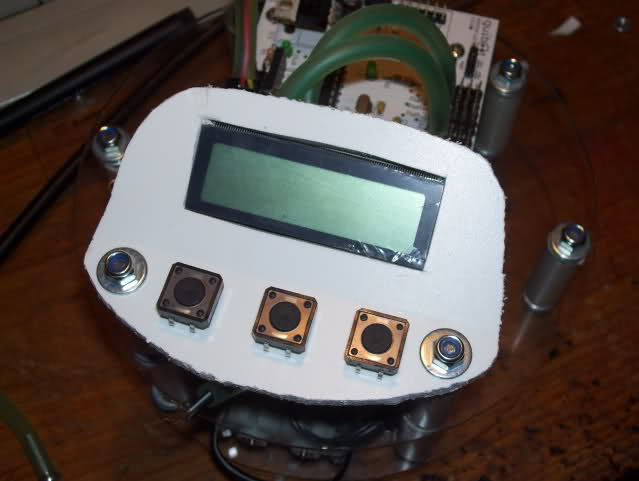
Can't find a good way to bend the freaking plexi, so it will remain PVC foam fora bit more, tomorrow i'll write some more code to have the LCD display stuff, like line position, whatever I can think of...
Video of it greeting LMR is on :D
General platform for doing stuff
- Actuators / output devices: Tamiya dual gearbox
- CPU: motoruino
- Power source: 4xAA for motors, 9v for circuitry
- Programming language: Arduino C, hi-tech C, and ASM.
- Sensors / input devices: Sharp short range IR proximity detector
- Target environment: indoors


