


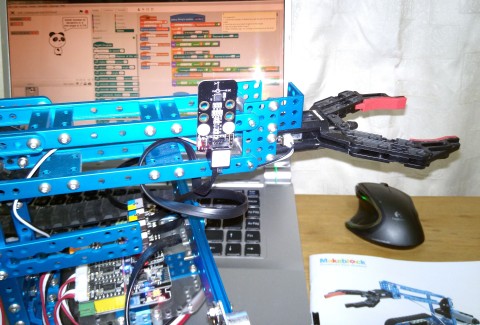
Robotic arm with automatic zero position
Hi!
After accomplishing the obstacle challenge I though the next level is to do it automatically. It's quite a new challenge as it is composed by (at least) the following steps:
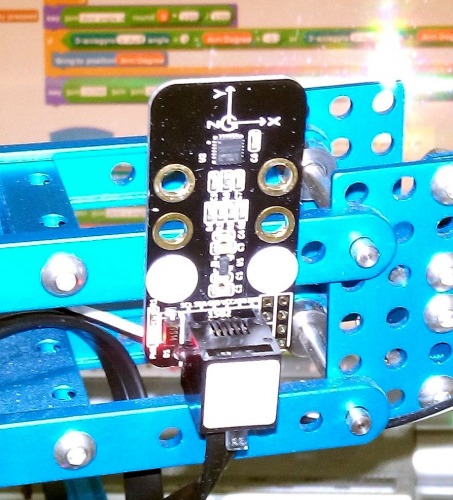
- The robot has to level automatically its arm to the desired position. Zero to start then other positions. As it has not absolute encoder not end of movements detectors it can be a challenge. But the Ultimate 2.0 Robot kit has a giroscope sensor that I' willing to use. And it works great! More below.
- Move the robot aroud without hitting anything, detecting what is an obstacle salvable and what is not.
- Encounter correctly the correct obstacle. As the power and size of the robot is limited, the robot has to get in front of the obstacle in a perpendicular way. More in future articles.
- Overcome the obstacle correctly. This part is going to be specially harder as involves several parts of the robot at the same time, and we know scratch not arduino are great in multitasking...
As you see I have divided this new challenge in four main steps. There are more sub-challenges, but to have a general overview I think it's fine.
So the first step is to level the robotic arm automatically.I didn't know how to use first the 3D giroscope sensor from Makeblock but it looks easy, In scrach we get the three coordinates angles with a degree of precision, which is enough for what we want to do: slow motion control. The repetability of the sensor is not great: it can measure in one second 0.1, 0.3 and 0.2. But it´s fine for the moment.
The second is how to manage the arm to arrive to the desired position, in my case the zero degree level, as I found in my manual tests before it's the right to start the challenge.
To do so I remembered my classes in control systems, and I though a simple proportional control in two steps with the degree measured as command for the position of the arm (in degrees) will be fine, and it is!
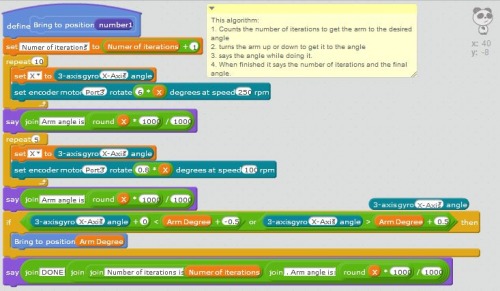
Finally I had to create an algorigthm that could check by itself if the robot arm has arrived to the right position with a certain precision. If I put absolut precision, that means Degree measured = Degree desired, then the robot never ends as giroscope sensor accurracy is not ideal. So I put a tolerance +/- 0.5 degrees, after checking that this configuration can get fine a position of 1 degree +/- 0.5, after some tests.

I uploaded also a little video to demonstrate how it works. And as always any comment and suggestion is welcome. Thanks!
Automatic level for a robotic arm
- Control method: automatic
- Programming language: Scratch
- Sensors / input devices: giroscope