Robot Controller - Teensy Based
Hello Guys,
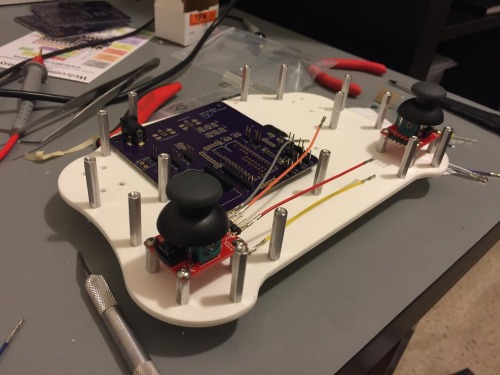
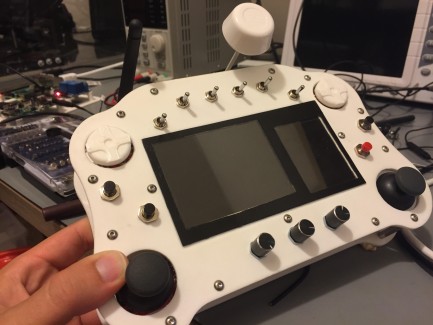
I wanted to build a controller that I could use on a robot that I'm building, so I started my xbee teensy controller. I got inspired by a thread here on LMR. I'm using almost every single pin available on teensy 3.1, with 20 digital channels and 7 analog channels. I think I'll not have problems to control my robot (I totally got inspirated by Q4 but with some modifications and improvements).
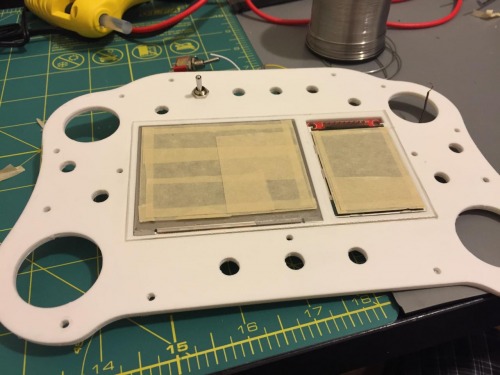
The frame is 3d printed. I added 2 screens. One is a classic tft to output data referent to the channels and any information sent by the robot. The other is a lcd screen that will be connected to a video receiver to display a video stream.
Another functionality is that booting the controller holding the red button takes the user to a menu where you can change few preferences, like analog sensibility, disable sounds, disable informations to be displayed on the screen and frequency of the data sent by the controller.I'll make a video of that feature because it is pretty neat.
The project is still a work in progress. I'll share the entire project on github and update this tread with it's link. Things that I still want to include: -- Update TFT library to the new with custom fonts to make a awesome menu. All project is opensource and the files can be found here:
https://github.com/vitormhenrique/teensyController
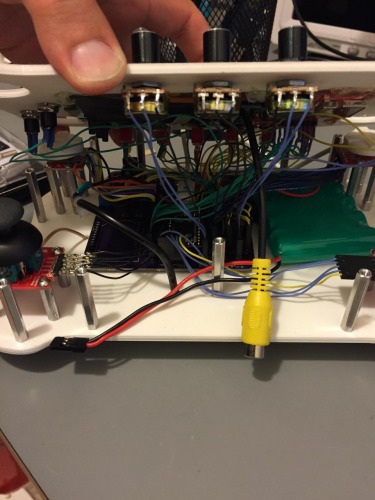
Few pictures:


=========================== UPDATE 1 ====================================
- Updated the github with stl models for the remote.
- Added GPL-3.0, so everyone know that it is a free, open source project.
=========================== UPDATE 2 ====================================
- Added video streaming demo
I don't have a robot yet to demo video, but I added a small demo of it working on my bench
Another comment: If you are using my design to build your own controller I made some errors and got tierd of reprinting and sanding the controller so I "fixed" them manully. Under the controller there is a space for the video receiver, but I did not take into account the thickness of the power connector, So I had to remove on piece of the plastic.


