


Here's a short video showing what it can do so far.
It's quite hard to hold my phone, press the buttons on the remote and use the flashlight but I think this video would still make Stanley Kubrick proud.
First I press a button to activate the obstacle detection mode, then I press the stop button, after that I activate the light following mode, stop, then the light avoiding mode (that will be replaced by the line following mode shortly).
Enjoy... or not :D
I wanted this robot to look like the old "multi-staged" robots we used to build out of old CD's. I also wanted to make sure it was easy to add or remove sensors on it, making it sort of a "development platform".
Since I'm not a very advanced programmer the code was a bit of a challenge and I'm not sure if I will be keeping it like this, but it works for now. I attached it to this post if it can help someone make something similar.
A few changes that I'm working on:
- Adding a line sensor;
- Changing the continuous servos for two LSS (new LynxMotions smart servos) since I have two and the wheels fits on them perfectly;
- Adding a Piezo Buzzer (giving him a voice);
- Maybe a few well placed bump sensors;
- Changing the Remote for something else, 4 buttons is not enough for everything I want him to to, I will probably be building my own (tutorial coming soon);
- Giving him a better name.
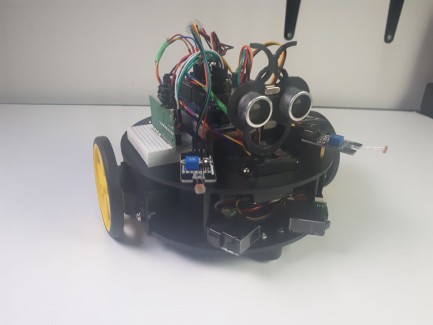
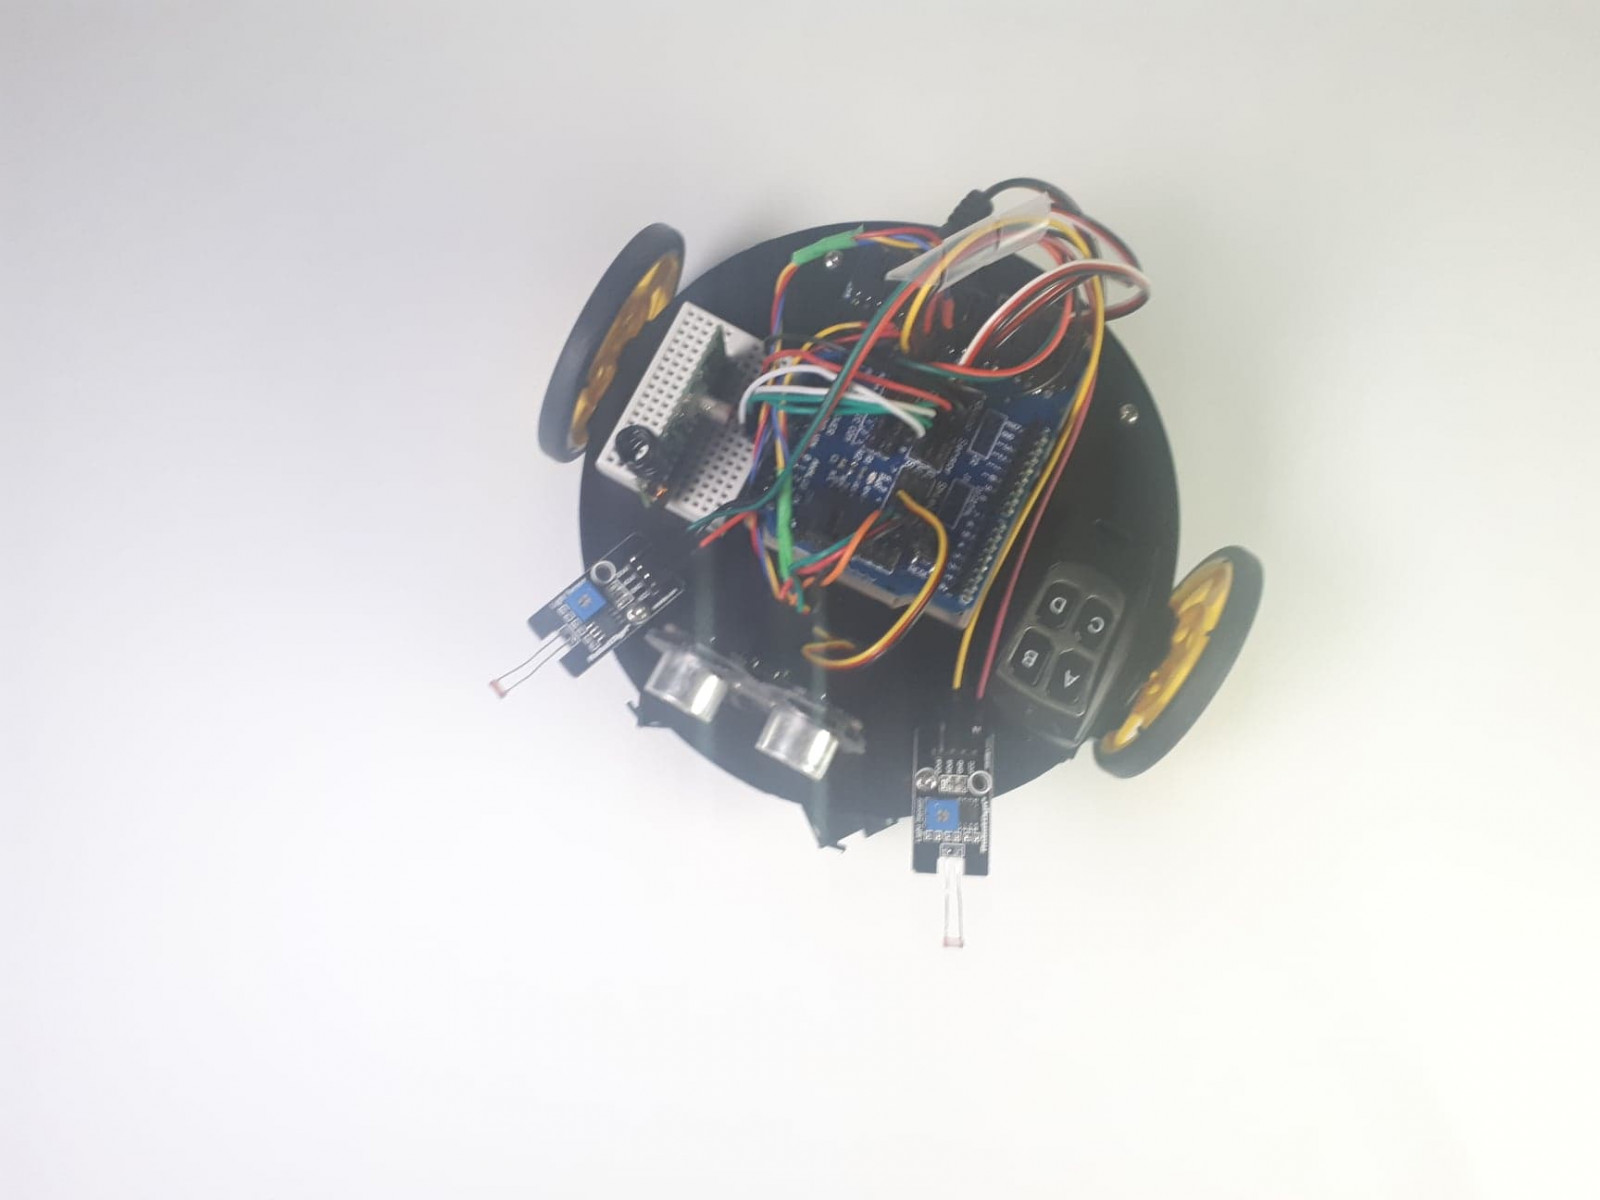
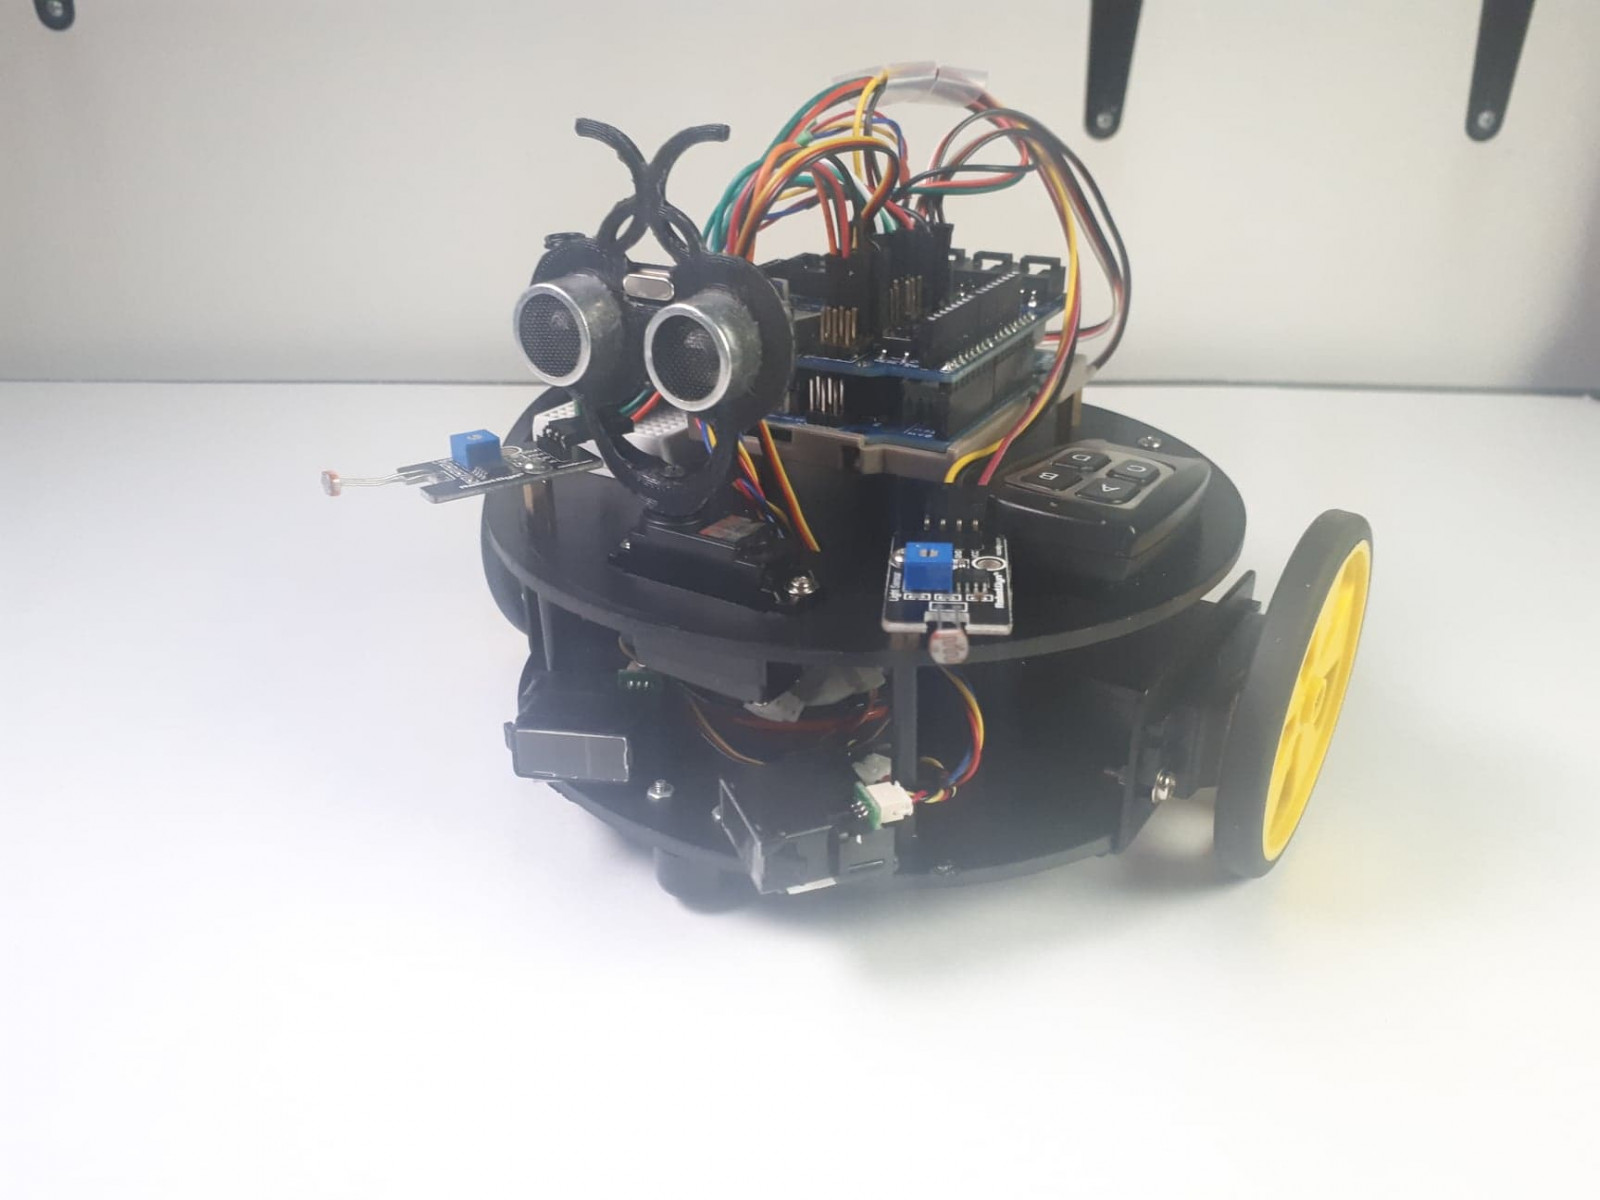
Here's a few more pictures of Martin in all his beauty:
I will be adding more stuff here as I modify it, maybe a few Fritzing images showing the connections to help you maybe build one or at least understand the code.
If you have any questions/suggestions leave them in the comments below.
See ya !