


RDP-01
UPDATE 19/11/2010
As promised, I've added a short video of some of the functions I can use RDP-01 for.
I know they're not brilliant, but at least I am beginning to get a little understanding in electronics and programming. I'm especially pleased that I have managed to get him to follow a line (although the wife's not best pleased, as the tape left a residue on the kitchen floor!).
The programming leaves a lot to be desired, but I'm learning. I can't seem to get the FritsLDR function to work properly, it almost works, but obviously my programming in C isn't good enough. I'll try again when the Picaxe arrives :)
_ . _ . _ . _ . _ . _ . _
OK, so I "Pimped My Bot" :)
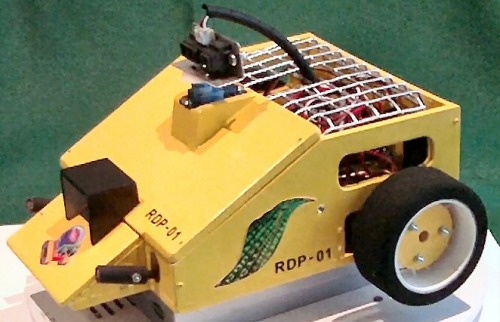
Strictly speaking, I suppose this is not really a 'new' robot, as the chassis I built for my first robot has been used, but it is far removed from that one.
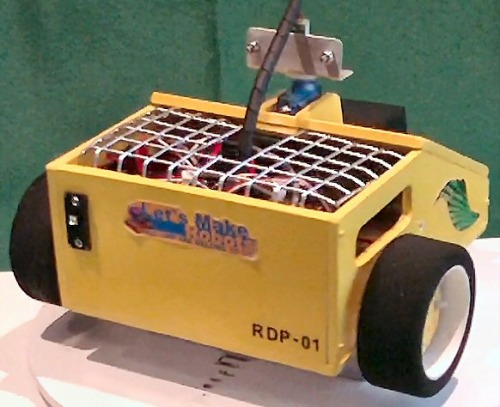
I have given it a complete makeover, and have added flashing LED's to make it more visually appealing. I've also added a couple of LMR stickers, but the glue doesn't seem to want to stick properly.
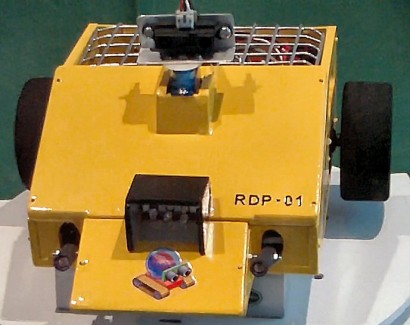
It uses a SharpGP2D12 range finder for object avoidance in the main. I have tried to implement fritsl's visual light avoiding technique, but as yet have not got it to work properly. However, I have noticed that if I use the Sharp in conjunction with the red led's flashing, and the photoresistors at the front pointing at an upward angle, as a backup object detector, the bot actually avoids chair legs (!) and will extricate itself from under the table with a forest of legs. I still want to get fritsl's idea working on it's own, though.
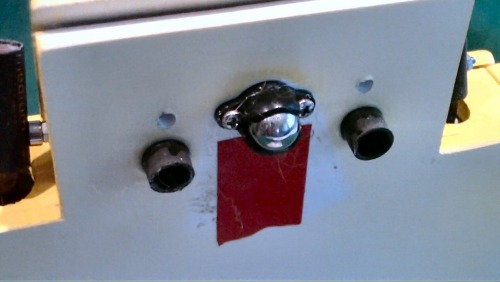
The 2 photoresistors at the front are mounted in poseable tubes, so can be pointed at the floor for photovore/phobe applications. (By the way, what is the difference between a photoresitor and an LDR?).
I will post a video showing all the various functions after the weekend.
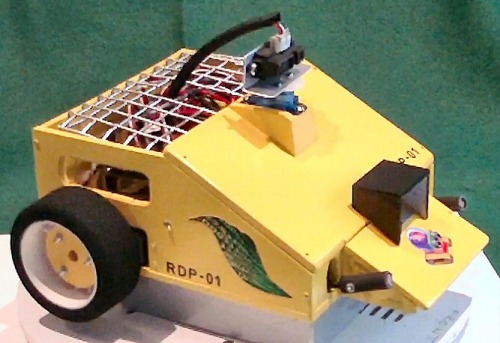
I have also mounted 2 tubes at the front underside, approx 4mm from the surface, which will have photoresistors in them. Forward of those will be 2 very bright led's pointing at the surface immediately below those tubes, which will hopefully give me line following capabilities. (I did try 3mm led's, but they weren't bright enough, so 5mm are on order.) Incidentally, the tubes are a ball point pen case.
Simple object/light avoidance, and line follower.
- Actuators / output devices: 2 x Futaba S3003 driving servos, 1 x TP SG90
- Control method: autonomous
- CPU: Atmega640
- Power source: 6v 3300mAh NiMh
- Programming language: C
- Sensors / input devices: Sharp IR, 4 x photoresistors
- Target environment: indoor