This is an automatic import from our previous community platform. Some things can look imperfect.
If you are the original author, please access your User Control Panel and update it.
06, March, 2009first test
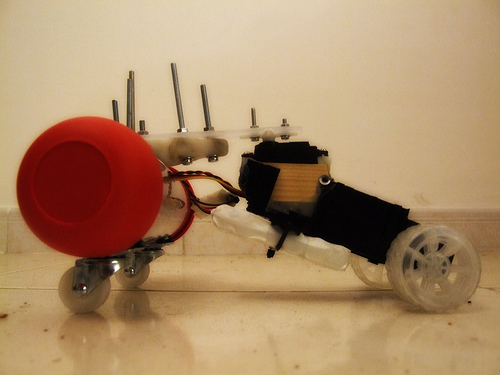
26, March, 2009drifting performance26, March, 2009I´ve been quite busy with the motor of this bot and already started to have the results I want, but still couldn´t find a stable setup, after a couple of drifts it starts to loose power as you can see by the end of the movie.
Besides this, I like the way he moves, and I can have some control when he´s driftin, it is now my anti-stress toy!!! :)
...
I´ve been quite busy with the motor of this bot and already started to have the results I want, but still couldn´t find a stable setup, after a couple of drifts it starts to loose power as you can see by the end of the movie.
Besides this, I like the way he moves, and I can have some control when he´s driftin, it is now my anti-stress toy!!! :)
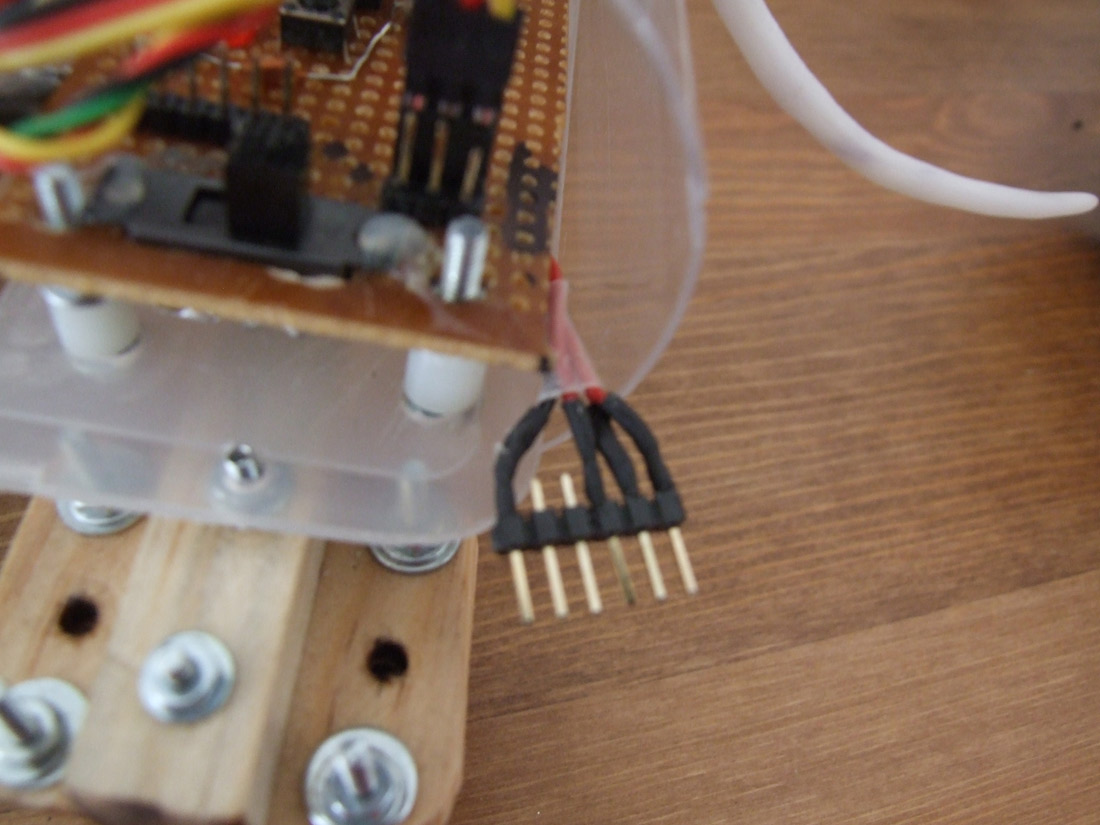
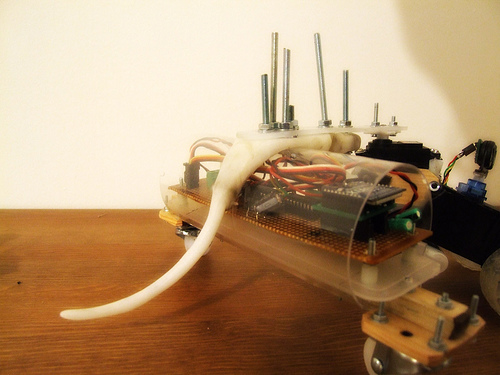
I have also made some major updates to the arduino circuit board, as you can see in the photo below, I finally have figured how to upload code to a custom arduino board, (this post describes everything related to this), added capacitors to the L293D, added pins for the ladyada xbee adapter and also added pins for the sonar sensor. To upload code, I have to add a switch button, to change the rx / tx wires from the xbee to the ftdi cable :)
The power button connects to the white bit at the left of the power connector
Added this male connectors so that I don´t have to remove the circuit when uploading
This is how it looks now :)
update: 12, March, 2009
This post is a full description of all the building process, the main idea started with the ratbot, and than I found I could follow the same concept with a different approach :)
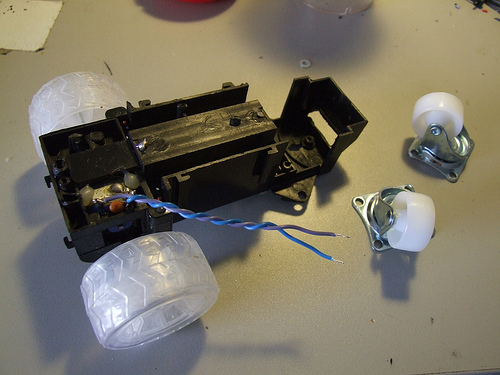
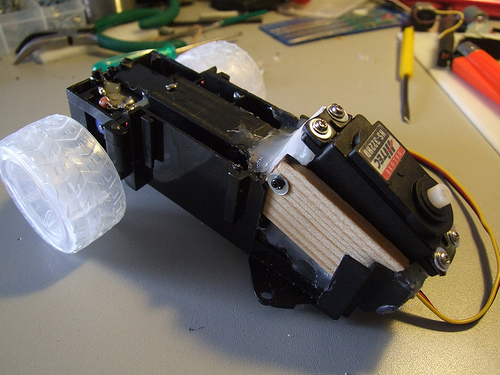
I used this little and cheap car toy, two caster wheels and a plastic tube to build this bot.
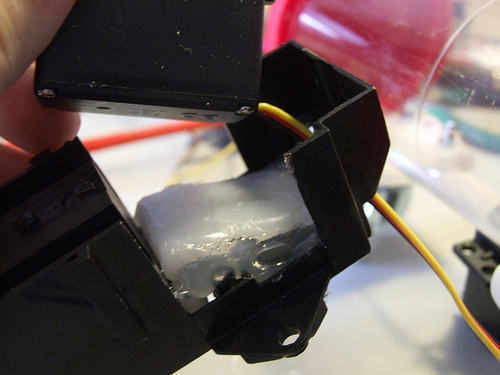
I used polymorph to creat an inner support to the servo, this way the servo will have an horizontal position wich is necessary for this kind of bots.
More side supports were added with polymorph and wood. I guess the servo won´t go anywere now :)
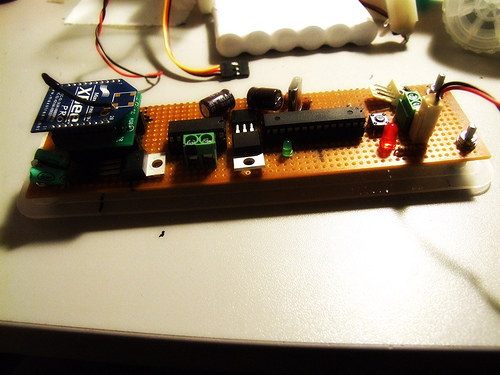
This is the Arduino based circuit, I´ve assembled all the components on a perfboard. From left to right you see the XBee with 3.3v voltage regulator, L293D motor driver, 5v regulator, Arduino chip, and power connector.
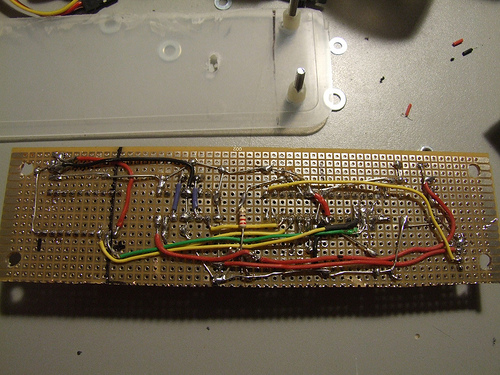
This is the back side of the circuit, a friend told me I was better with wire wrapping technic than is college teacher :)
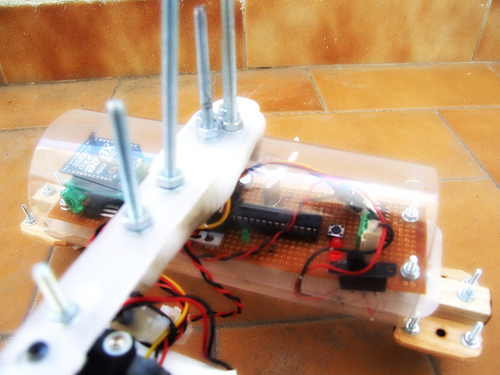
The circuit fits neatly inside the case
A rat without a tail it is not a rat :) ..it was made with polymorph, I consider this material the best I have.
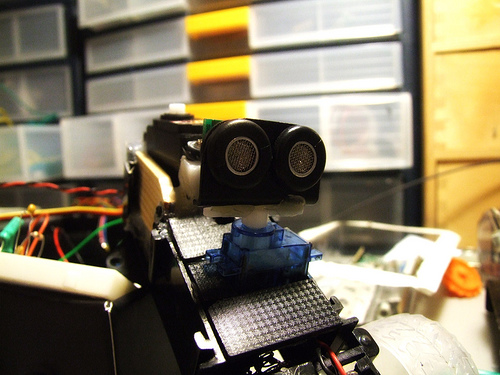
I mounted a micro-servo to hold a little sonar (SFR10). Later I will make this bot autonomous
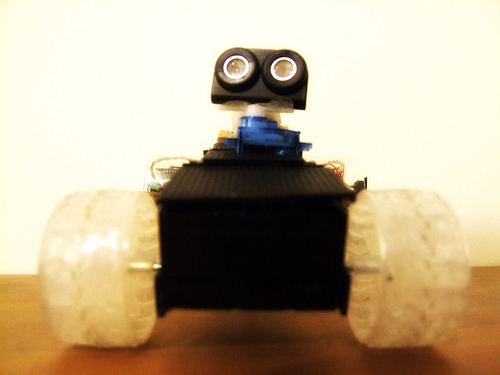
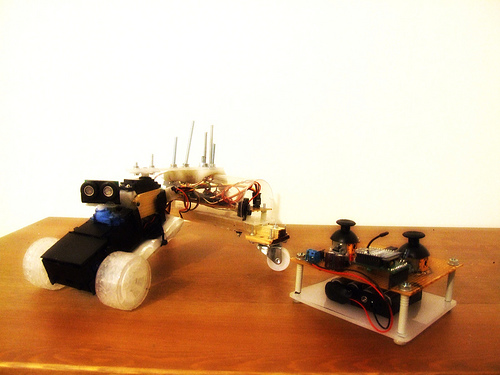
And this is the final look, for now it will be remote controlled by the G-Remote (Arduino Based Remote Control)
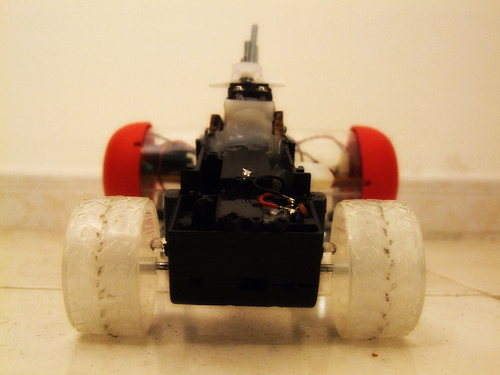
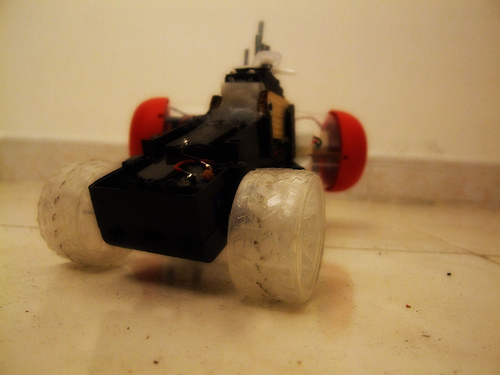
I´ve had several issues with this bot, first the direction was unbalanced, it was always turning to one side and was impossible to control, then the motor gears started to have some missaligment and the motor seems to spin and goes out of grip with the gears, I tried to solve it but the issue still remains, everytime this happens I have to tweak the chassis, press the motor, and it goes ok for a couple of minutes and than happens again. I feel that the robot could be a lot faster and powerful, I will do my best to solve this, If I have success I will created another post with a full description of the workaround :-)
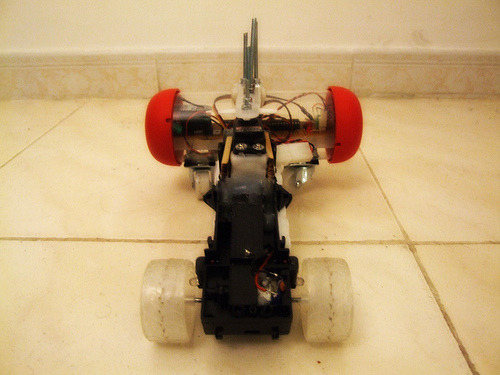
2009-03-06
This is a ratbot derivated, more fast, more cool, more fun! :)
I like pretty much the way it looks, but I still have things I want to do. Beside that, I can´t make it move straight in a line, seems that it is not well balanced.
Scroll down to see more details
remote controlled
Actuators / output devices: DC geared motor, HiTec Servo HS-322HD