


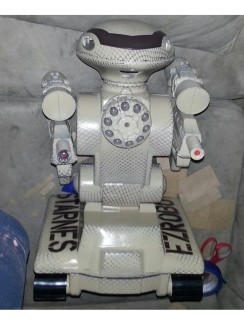
Rad 1.0 hack , Airsoft battle droid , by Josh Starnes powered by EZ Robot
This is the second outdoor fun entry level mech warrior. This is following begginer level competition rules from mech warriors.com which is a competition ran by trossen robotics. Rules indicate the robot must have a torso and a first person view camera in the torso or head following the ideal that is where a pilot would be if the robot was built to real life scale. Then you can remotely control the robot against other robots in a real life video game! The first robot has already been started and is 80 percent done and my little sister was jealous and she wants her own robot to play with the guys. Three competitors should be more fun so three ez robot cameras are in the way and servos for their gun arms
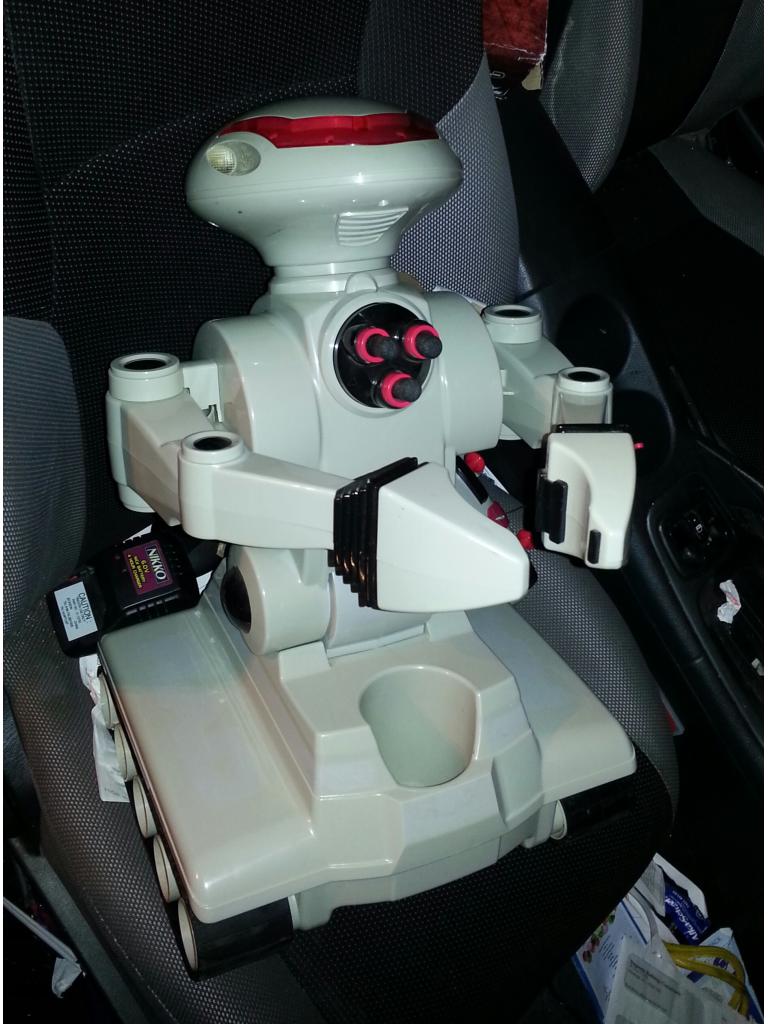
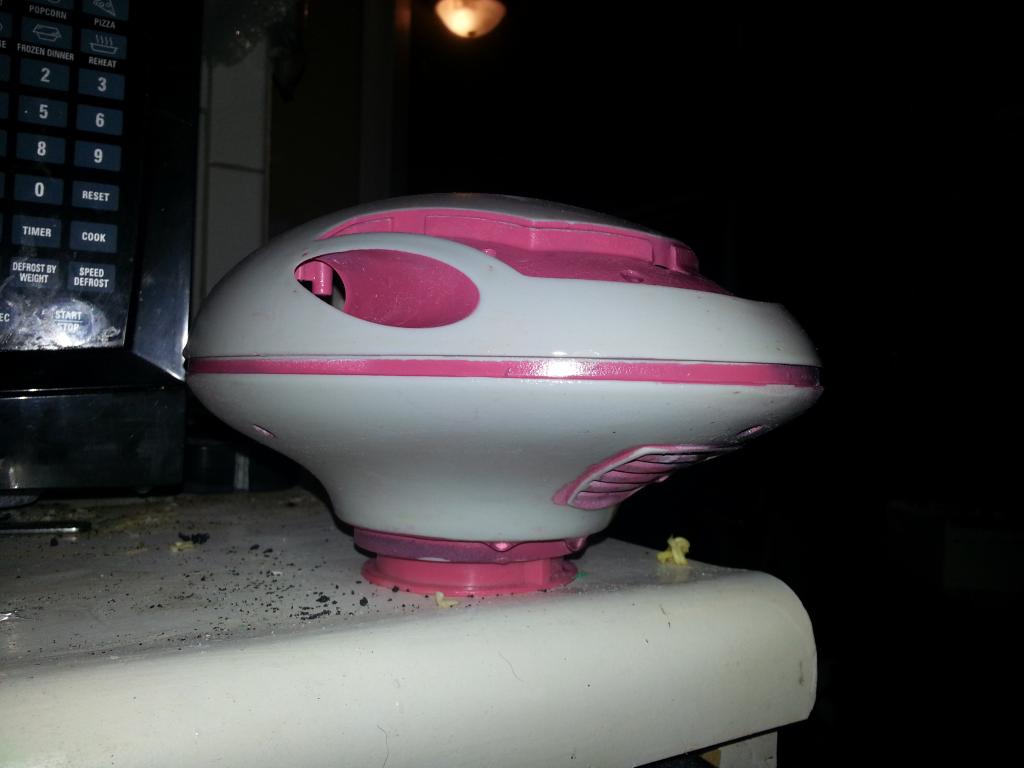
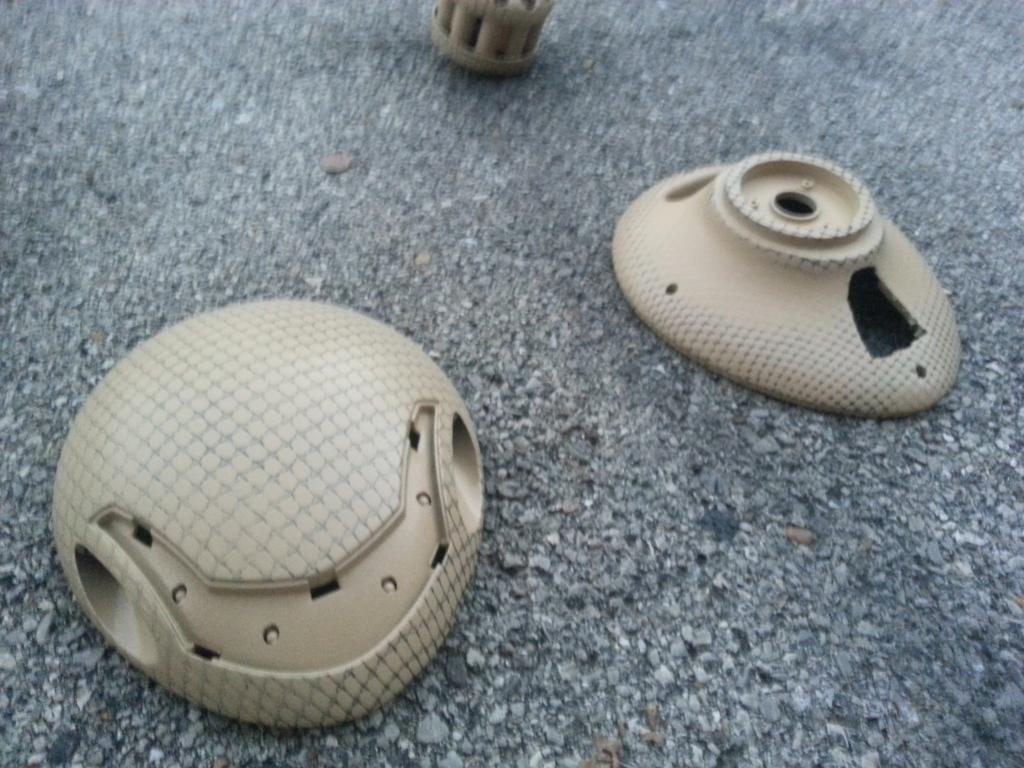
First step is to tear the guy apart. I really love this part...
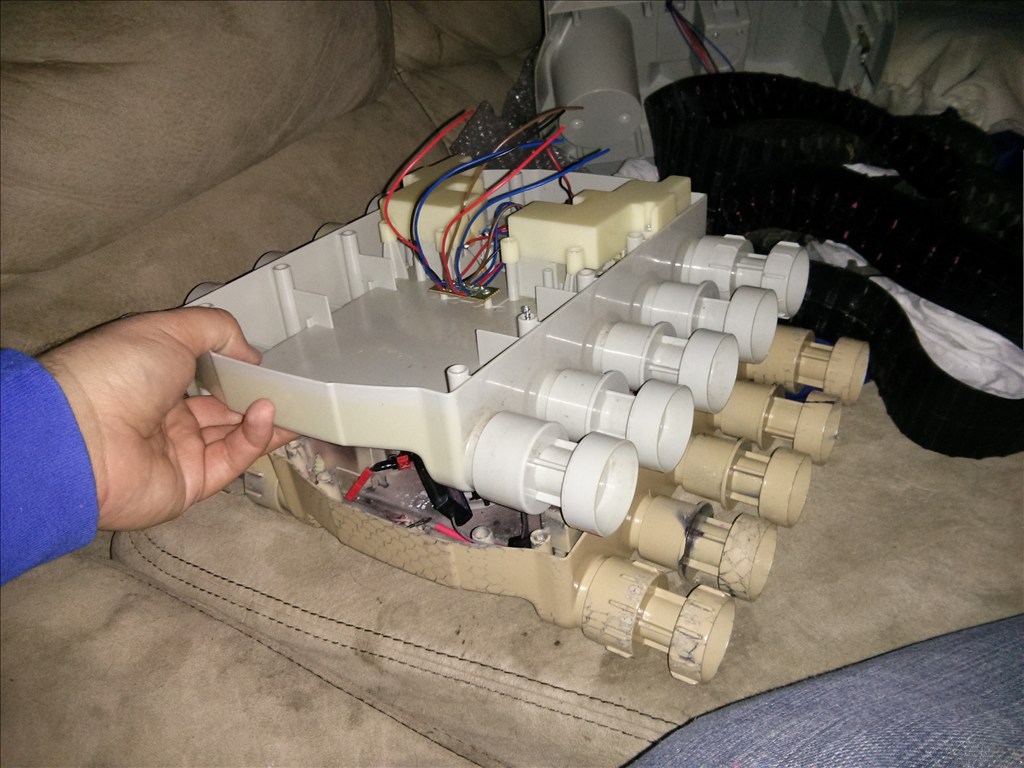
In outdoor tests I found the power of the chassis was lacking torque. When running indoors it flies. I descided that I could do some very creative cutting and connect two rad bases together for 4wd action
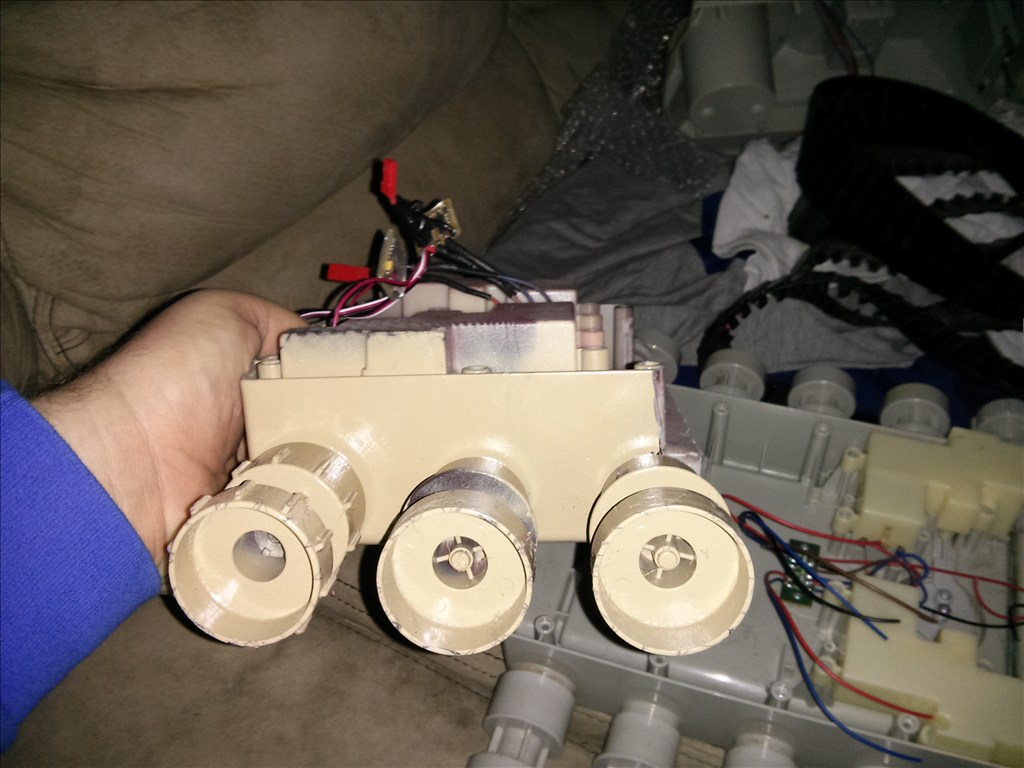
Alright here is the first chop and now I need to chop the otherside in a opposite pattern so they fit together.
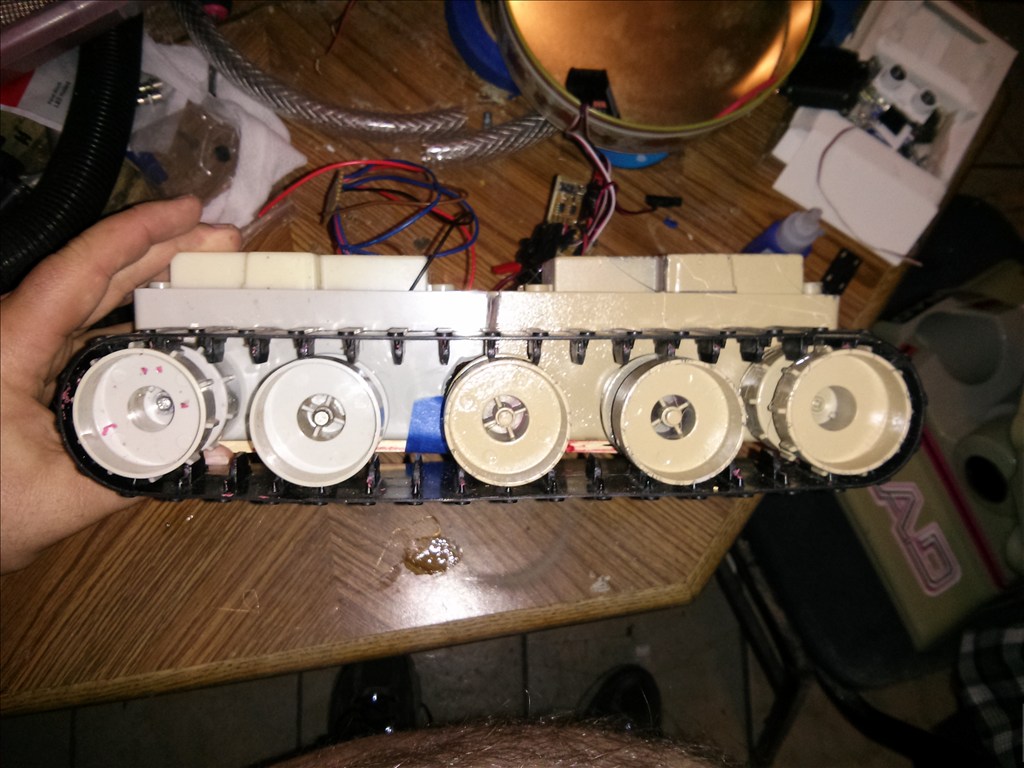
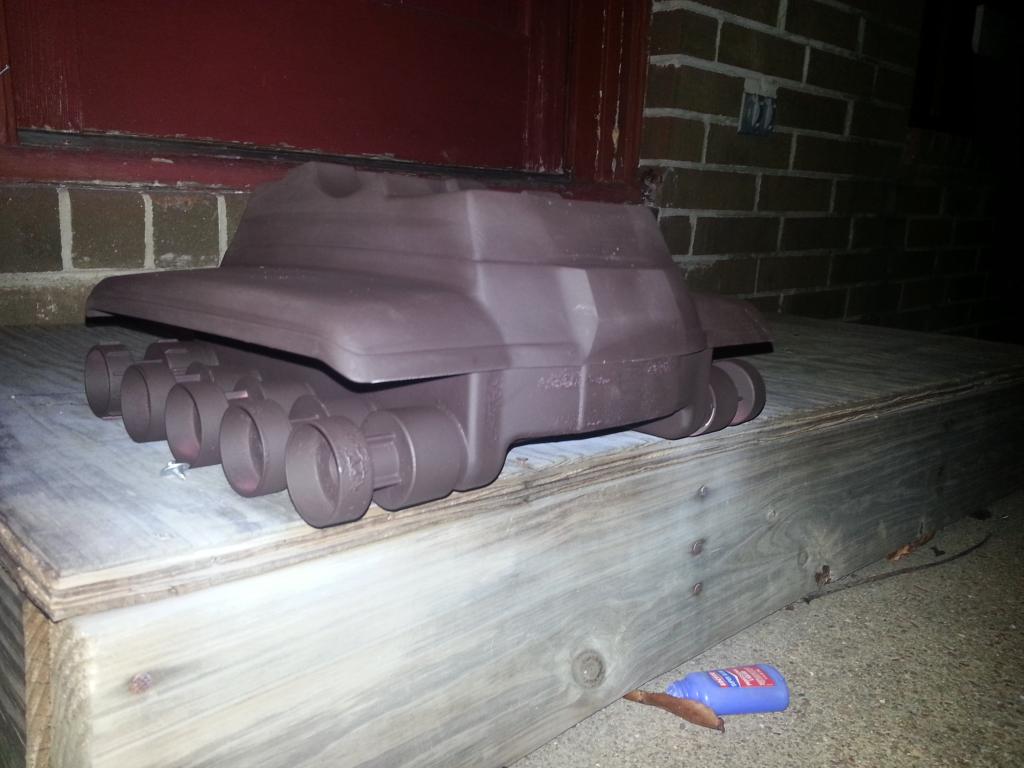
Ta Da. 4 hours later I was able to splice two halves together
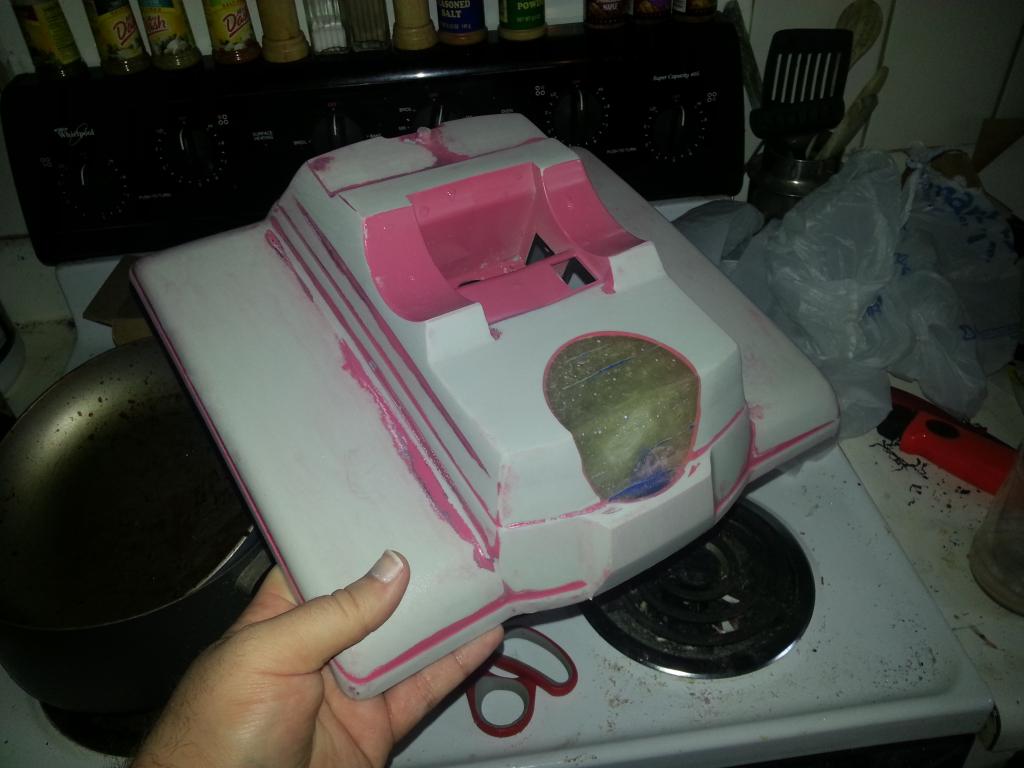
So now I needed to remove the cupholder in the base so I would have more room. Room for things like a battery.
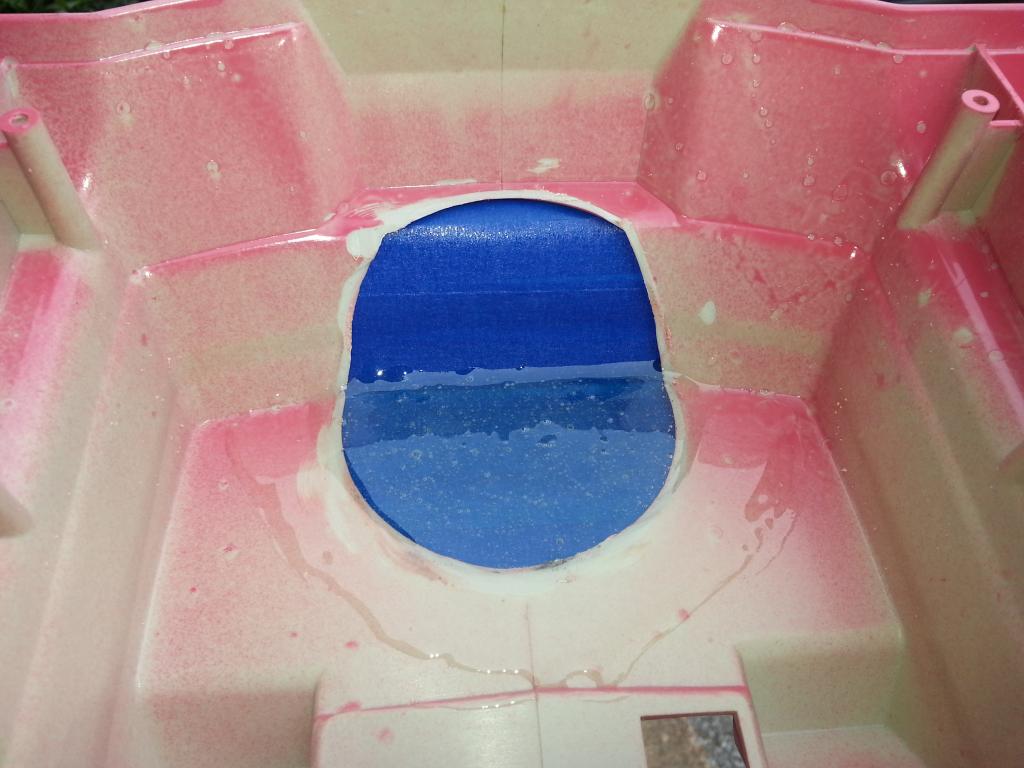
Ok so now the hole is filled and cupholder removed
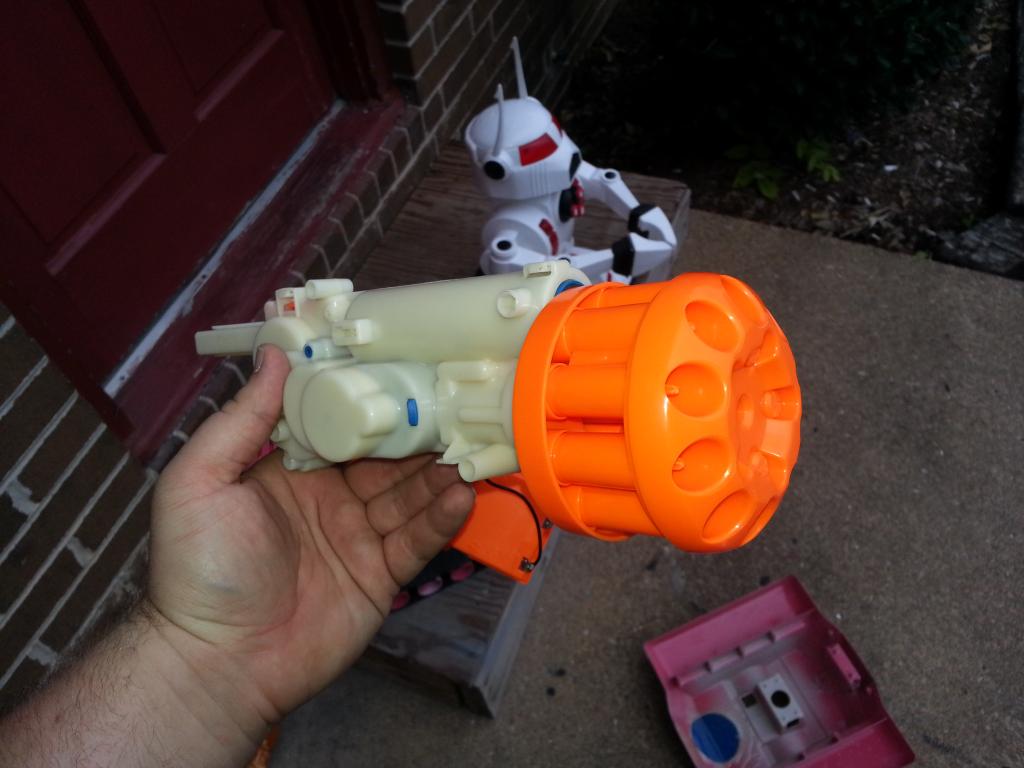
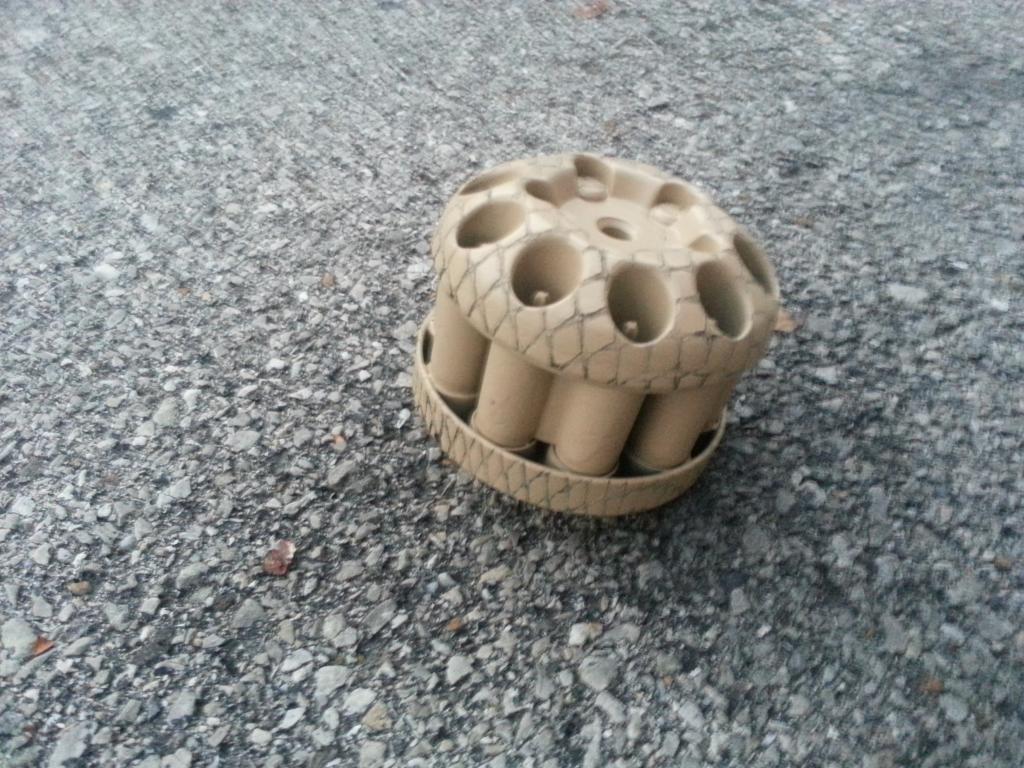
Ok so I took apart a electric Nerf Swarm dart gun . It is completely electric so it can be ran by a microcontroller and tip 120 transistor.
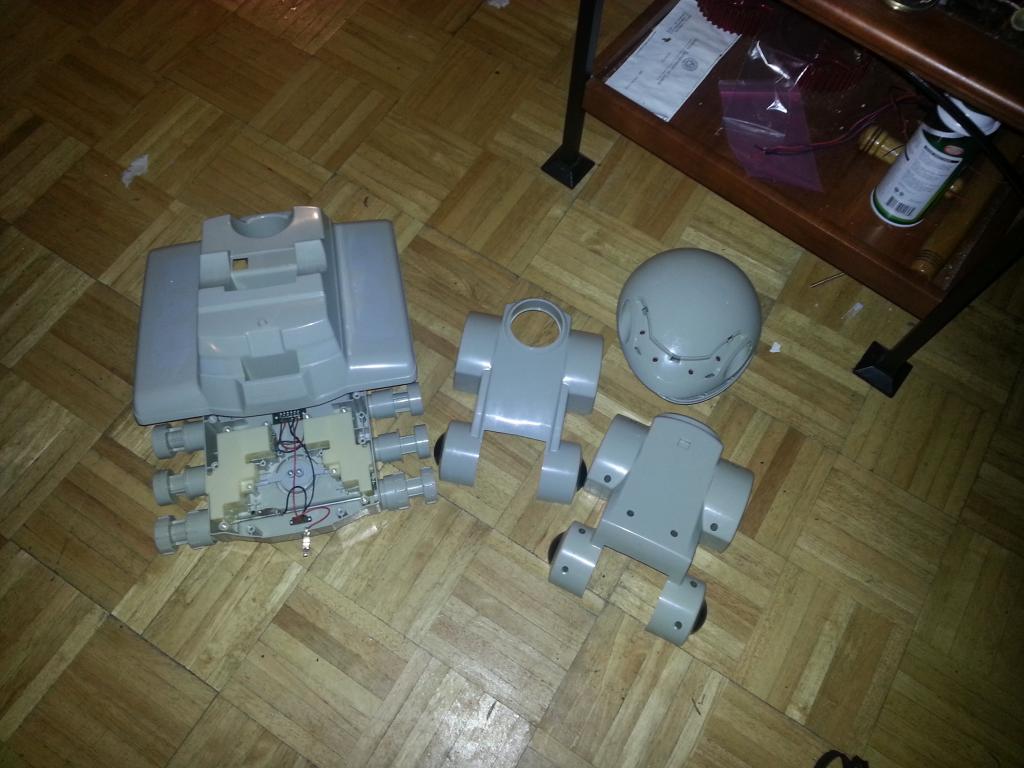
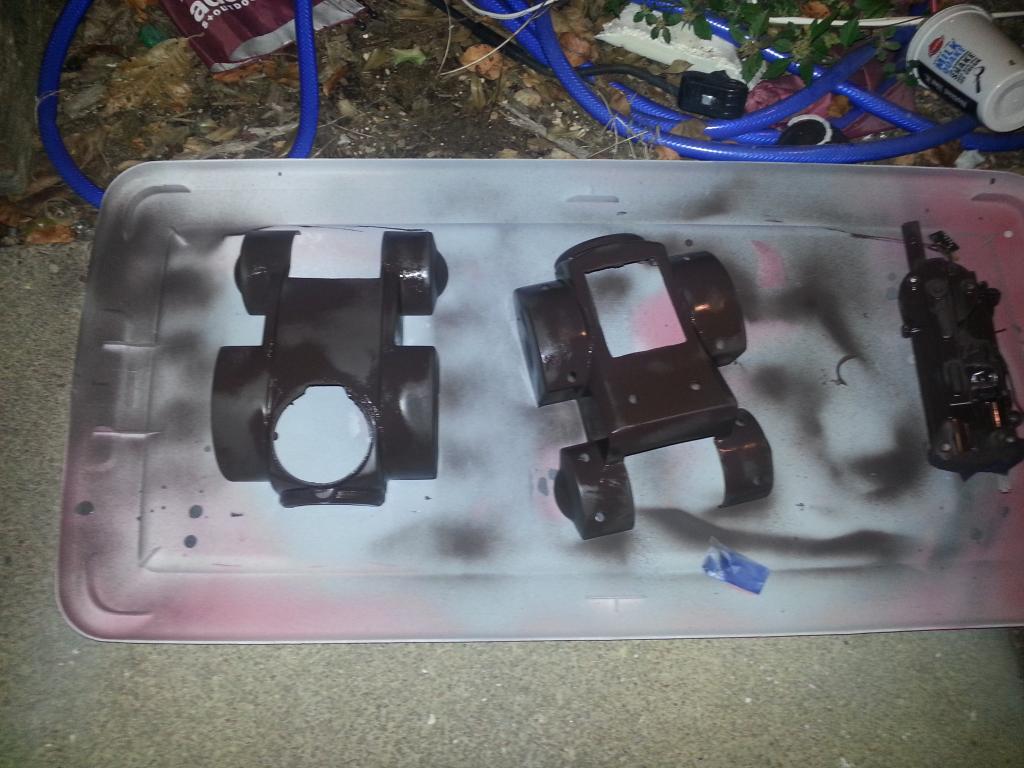
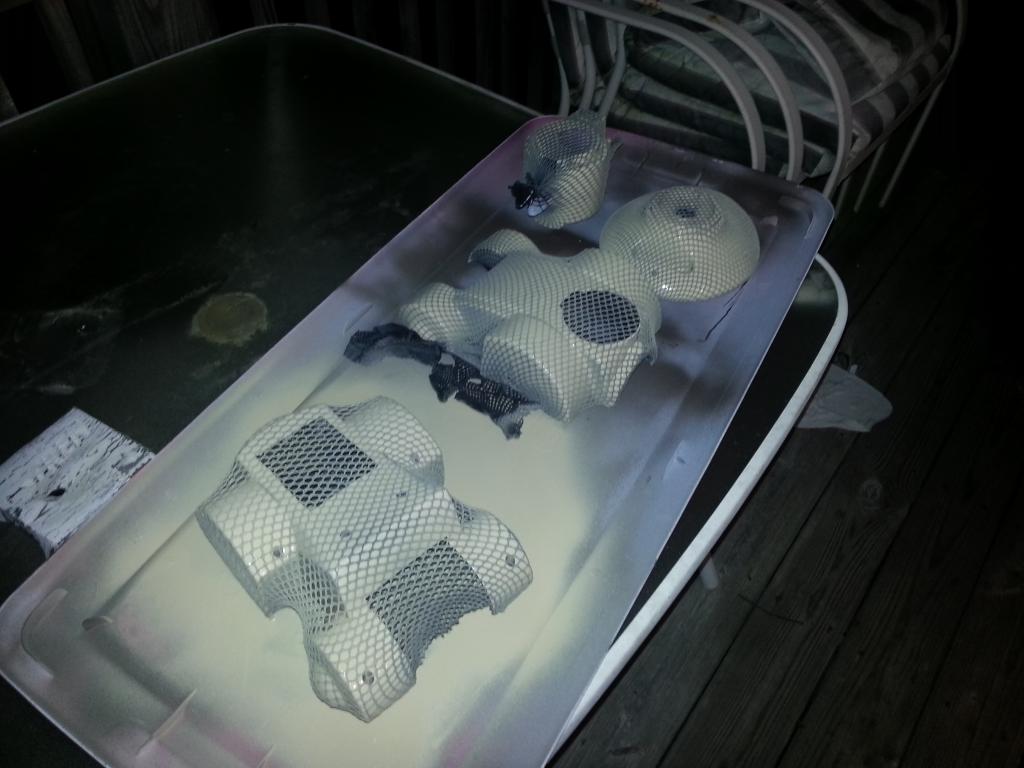
Getting the parts ready for the paintjob.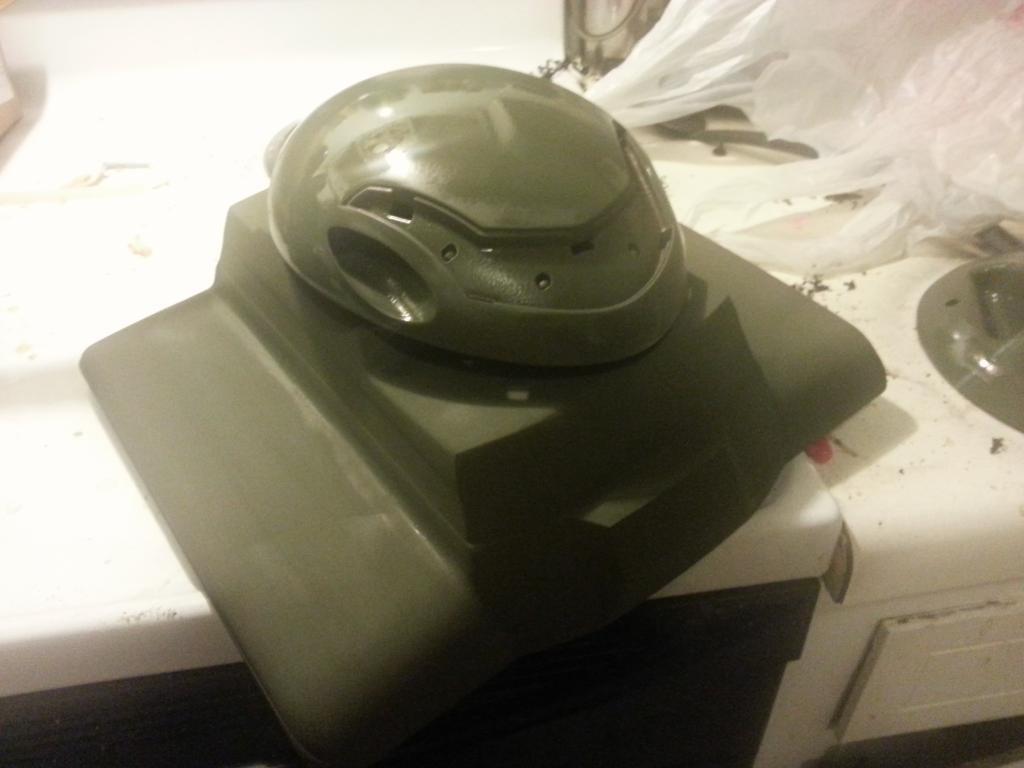
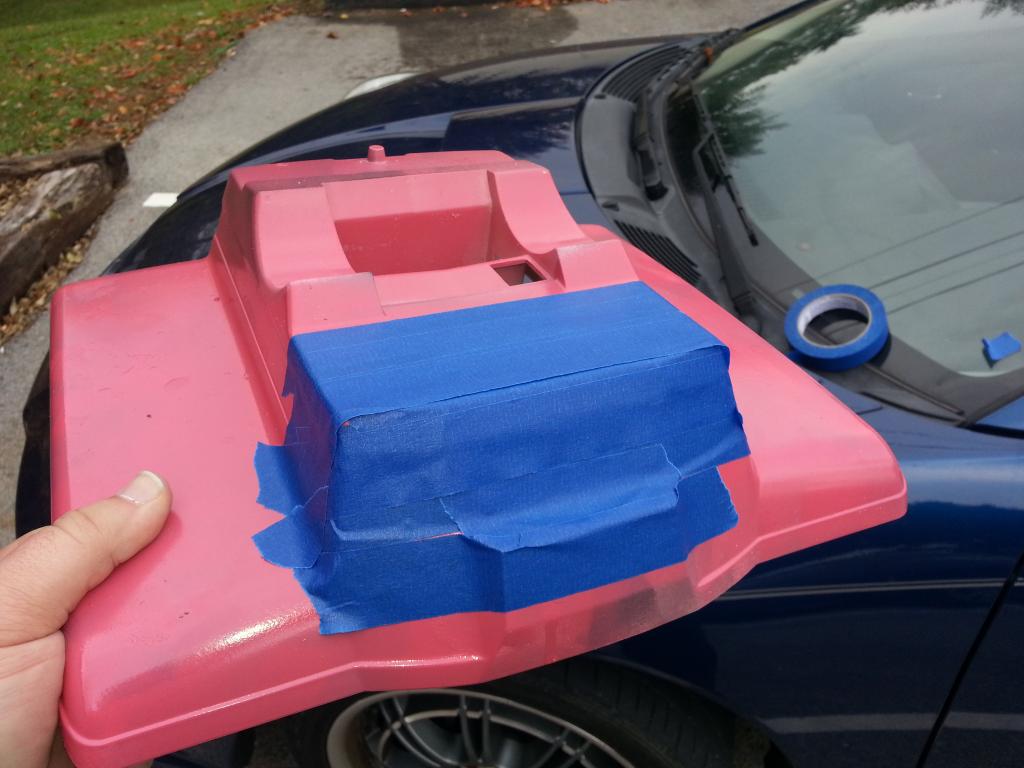
Now for etching primer to promote adhesion.
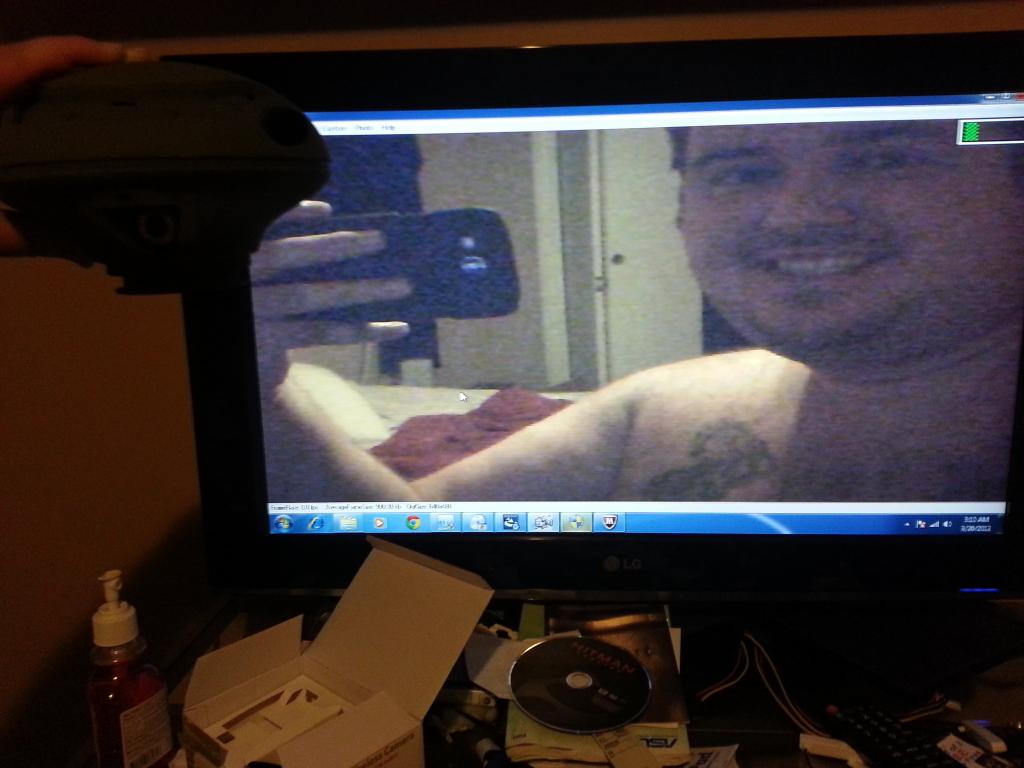
Testing my wireless cam in a very low light situation. I am going to remove the IR filter for better sensitivity.
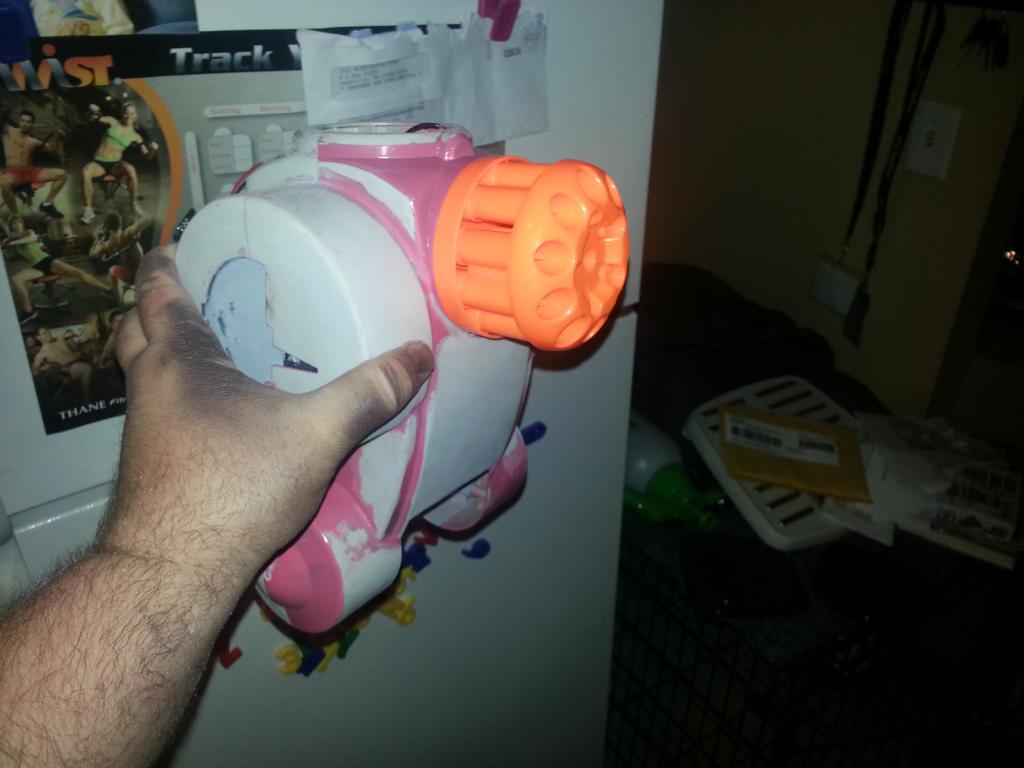
Ok fitting the nerf blaster into the chest...
First step of this awesome paintjob is a bold base color. I chose a easy to duplicate wood brown. This is a rustoluem color, flat.
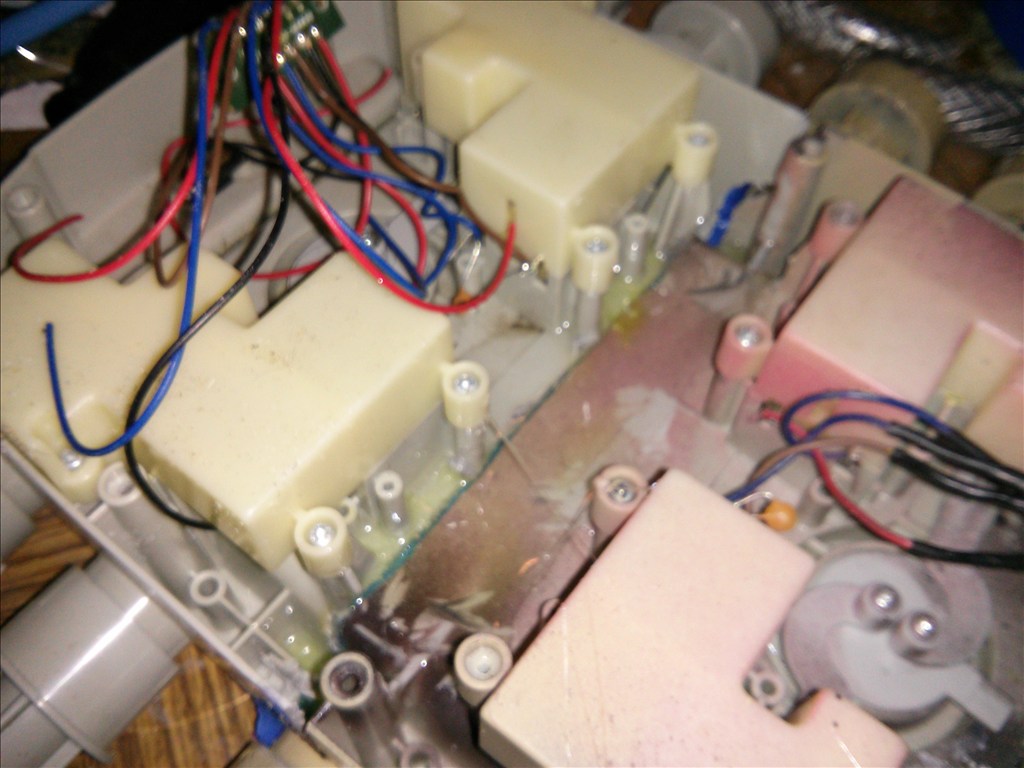
Alright for this project I will need two h bridges. I planned to use the l298n h bridge. One is going to run the tracks and other will drive the nerf cannon and machine guns. I think I need to order a few of them because one I need to use for dusty anyways. So I need three l298n controllers. I picked up more brown paint tonight so I can paint the torso and the guns as well. Im note sure if I will have time to do the next step.... the snake skin but we will see.
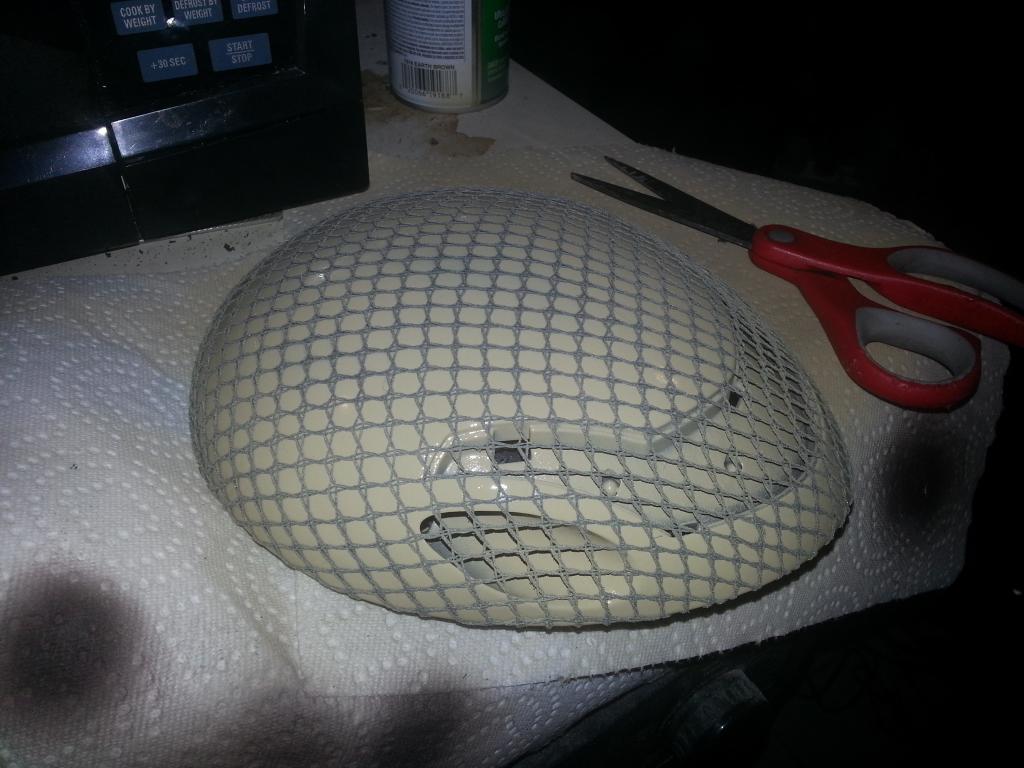
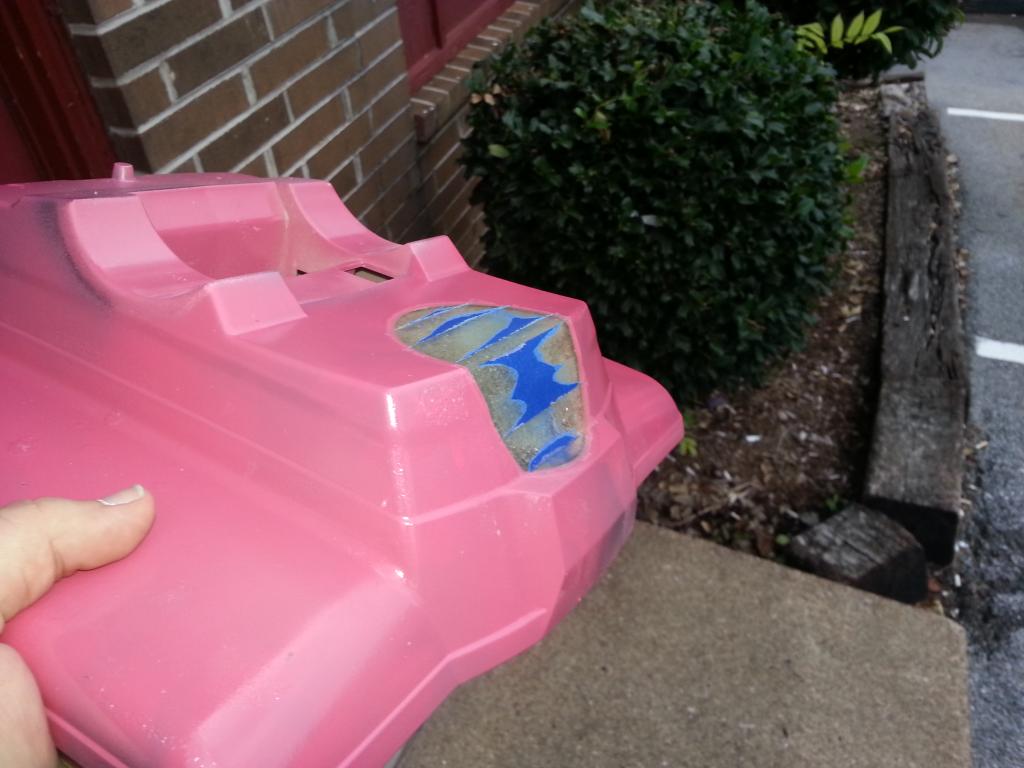
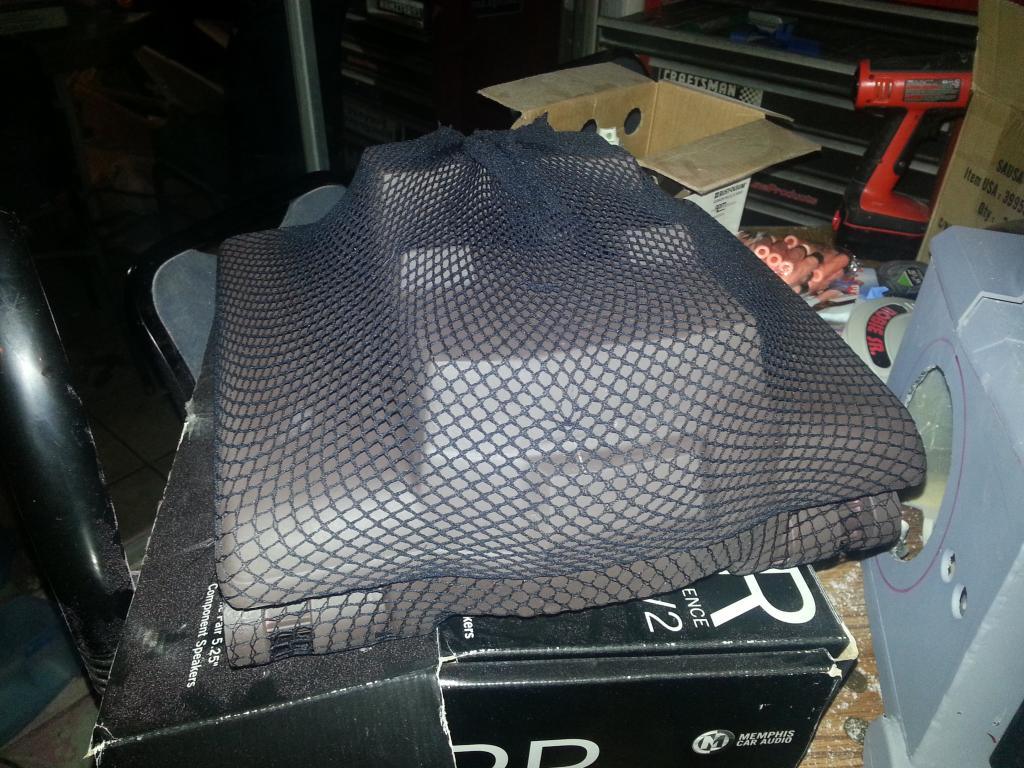
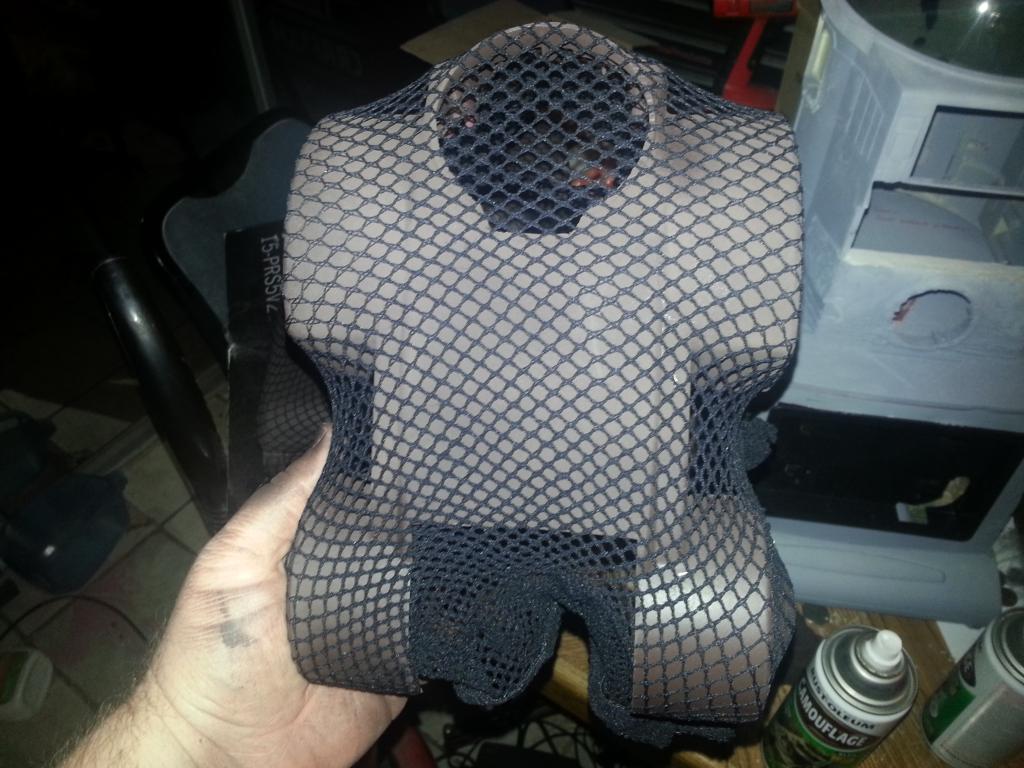
Ok so here is the secret to a snake skin paint job.. Fishnet panty hose. I took three trips on three different night s to walmart to get them and was lucky enough to see the same cashier lady everytime. The third time she took the fishnets from me and said " You have come in here three nights in a rom buying xtra large fishnet panty hose and Im not gonna sell you these till you tell me what your doing with them" Wow what a red face I had. I explained they were to make a pattern for paint but I was still heckled. Im glad I didnt need to get more after that.

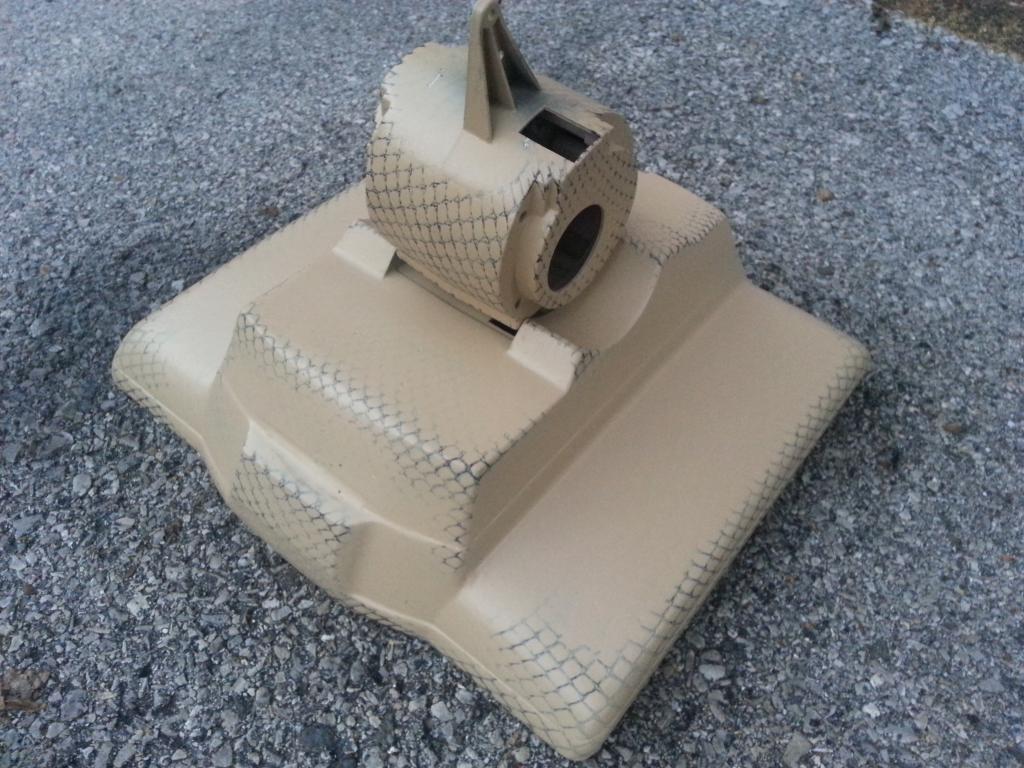
The pattern looks great. When you mist over some clear it really makes the pattern pop out.
Second layer on the robot to make the pattern for the rest.
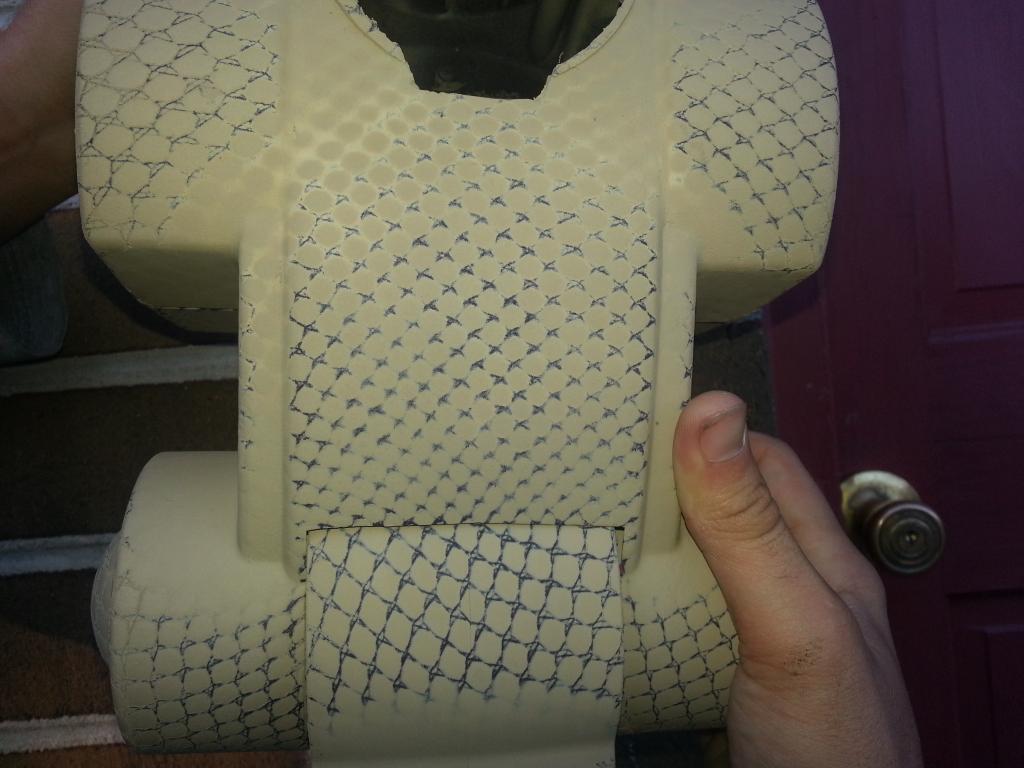
Thats sexy right there..
This is the look after the clear was applied. I sprayed a fine mist and didnt let it gel over. This way it makes a matt finish but still protects the paint.
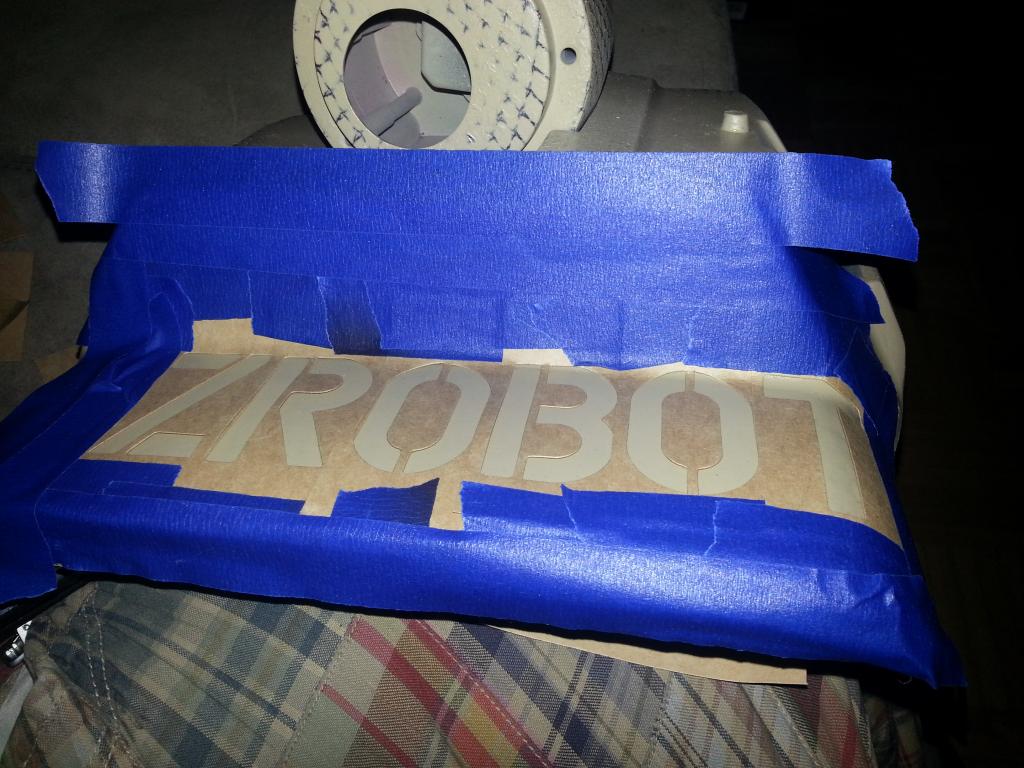
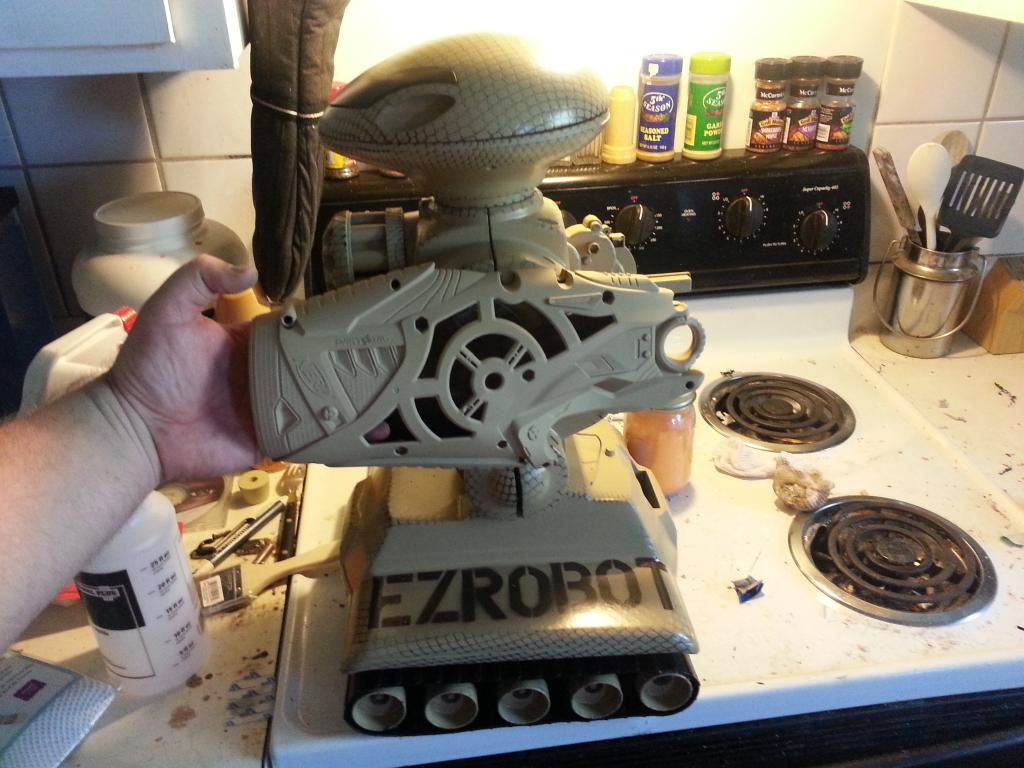
I used stencils to make the words. This robot is intended to be used in the Robo games as a entry level mechwarrior so I tagged it with my name and the controlled :)

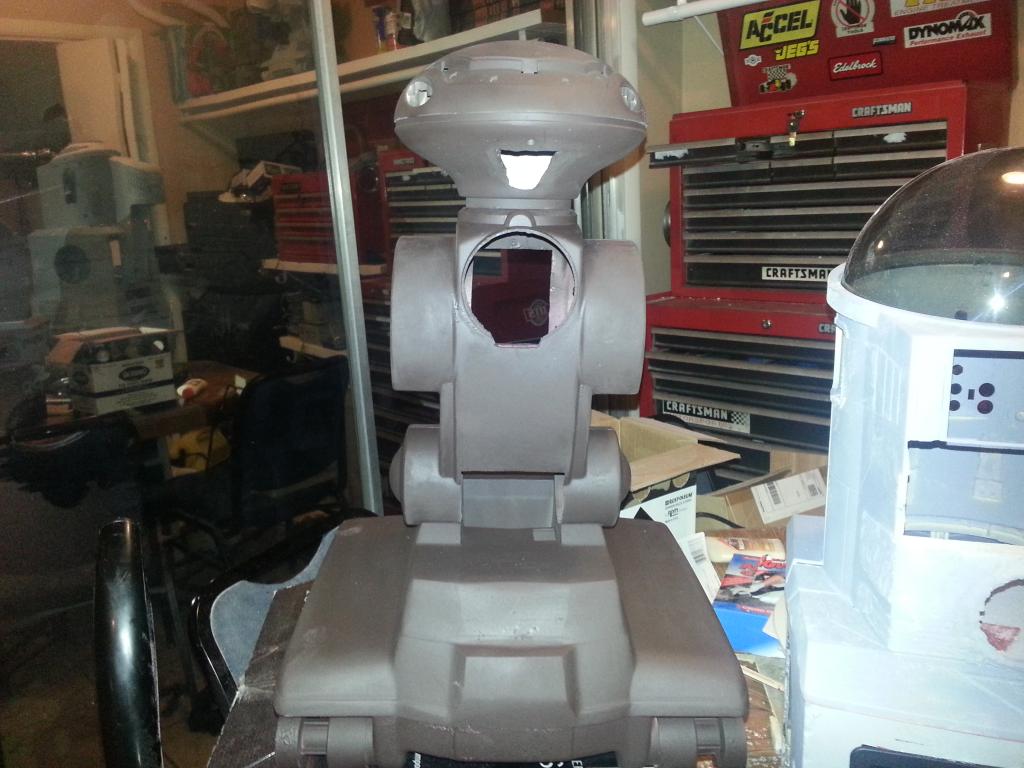
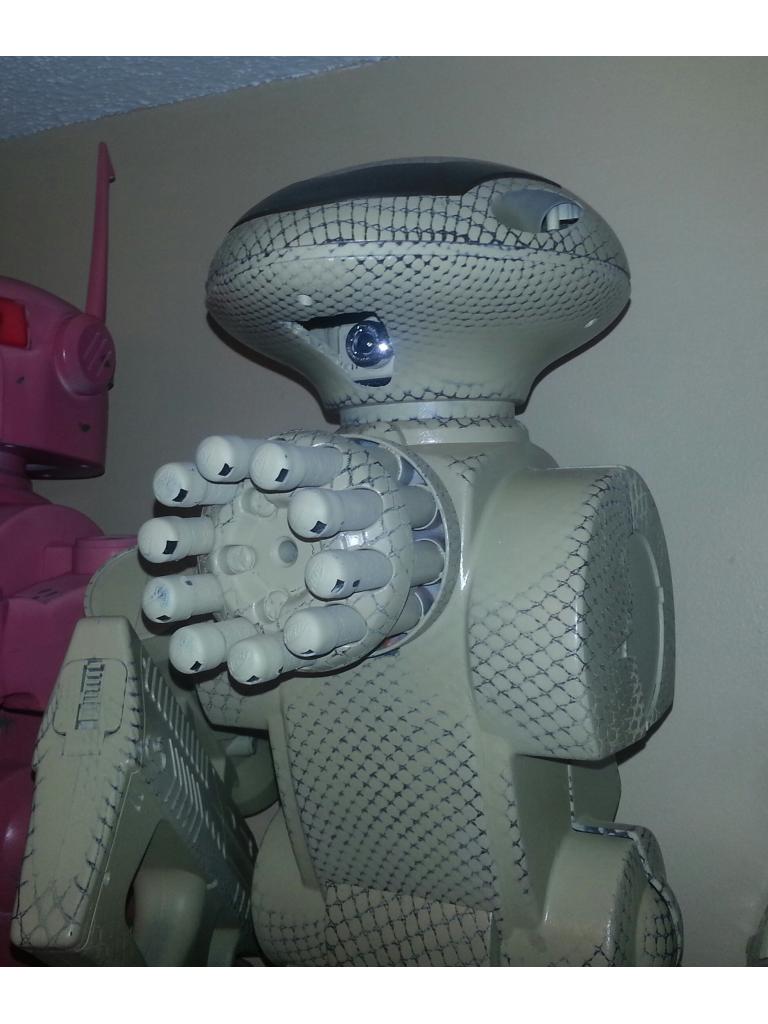
Here I am puting the pieces together to see how they look. Maybe I will get style points from the judge.

Painting the camera to match made it easier to hid under the rads chin. It is held down with velcro for now so it can be removed easily.
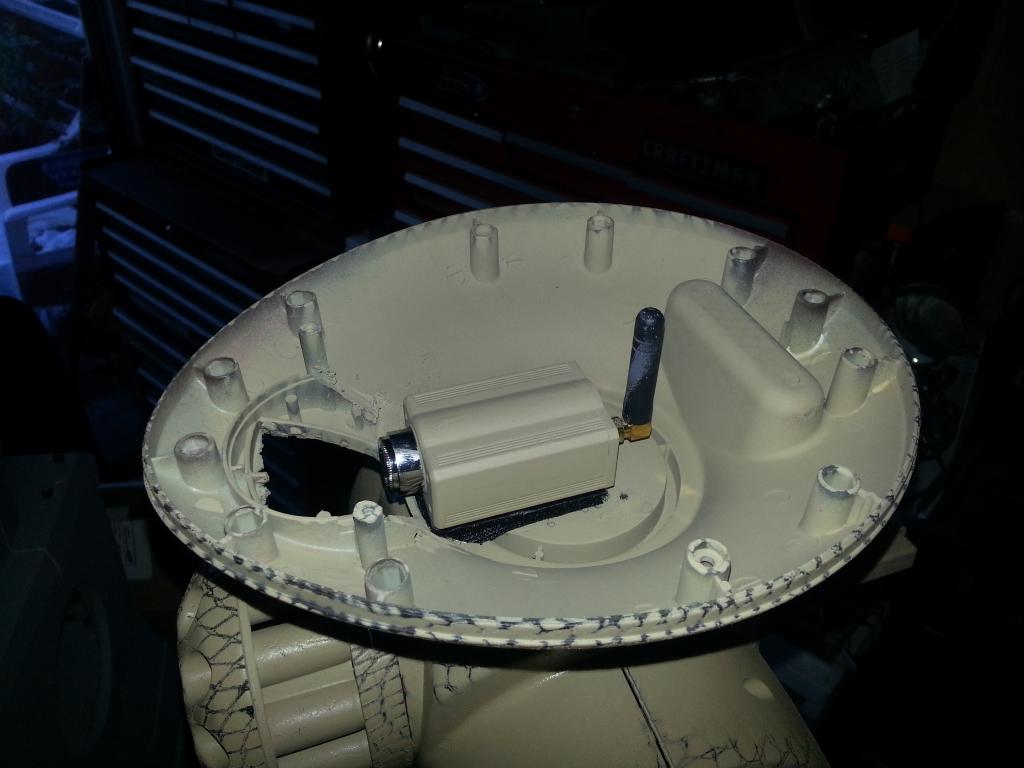
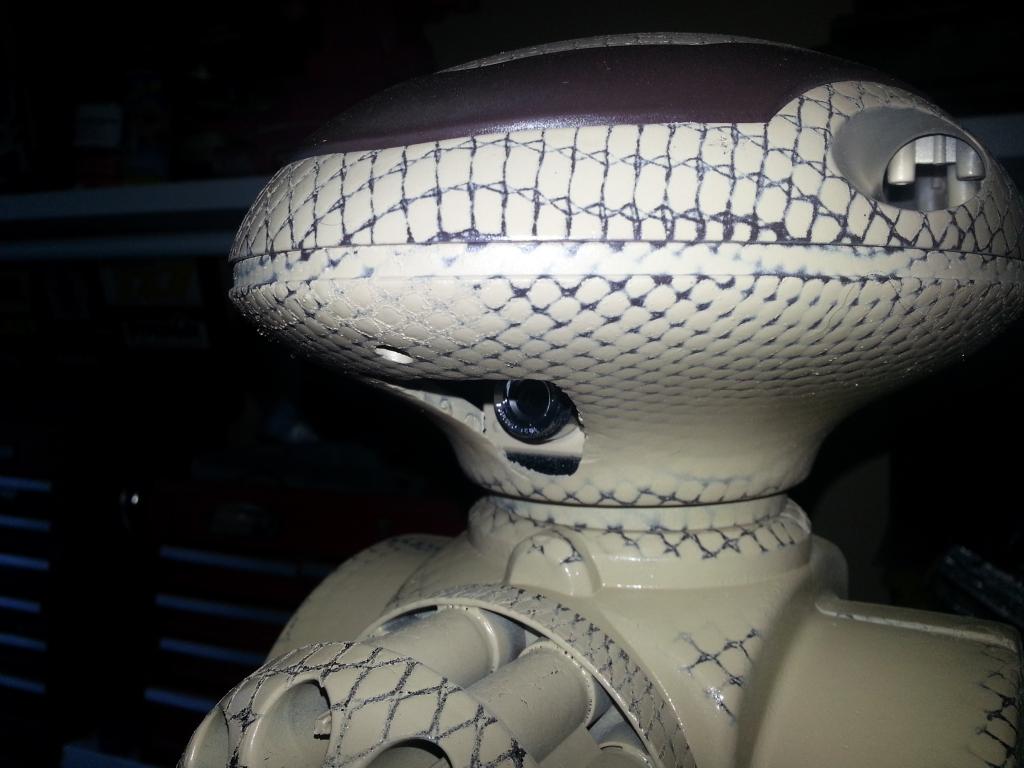
Even with a close up view it is hard to see. I almost painted the lens bezel too but it is pretty well blended in.
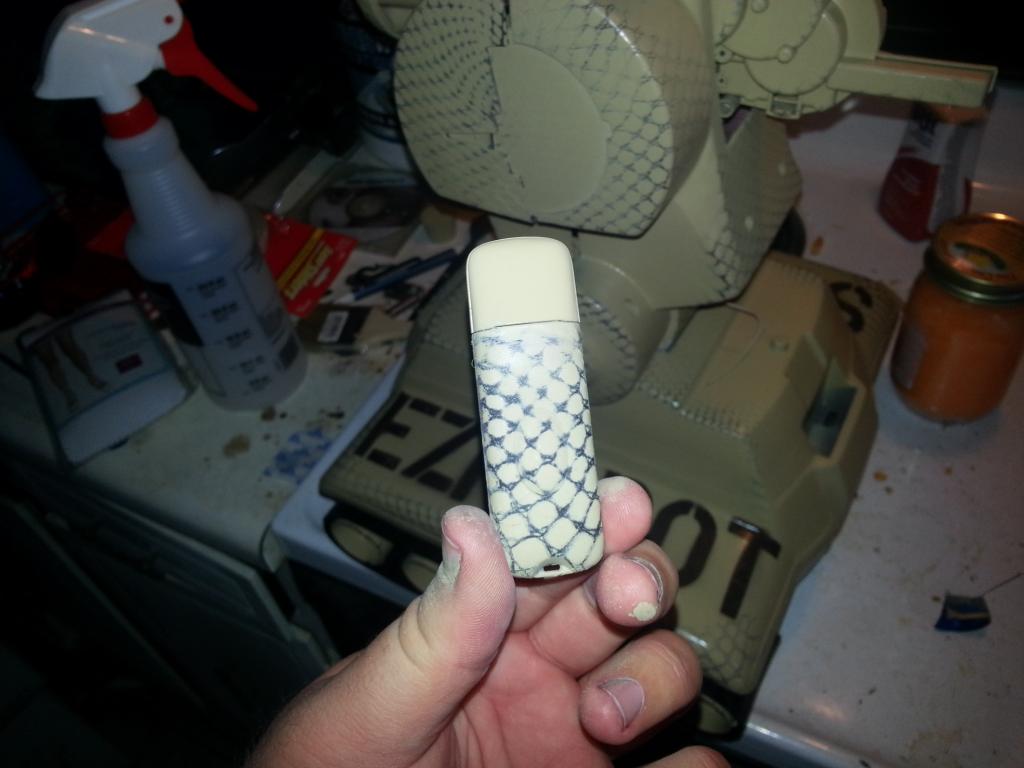
I have 4-5 USB 2.4 ghz camera dongles so I descided to paint it to match to identify it easily
Ez Cam is binded by a 10 digit serial number address , I assume similar to an IP address but directly bound to the usb reciever. I dont believe multiple cameras will cause any interference because they are low power. Under 1mw output from the transmitter.
I was thinking of using the nerf gun on one side of the robot. Looks really cool so I will keep this idea in my back pocket.
I bought darts by bulk but they were bright orange just like every other dart. I painted a batch to match so I could tell which darts were mine.
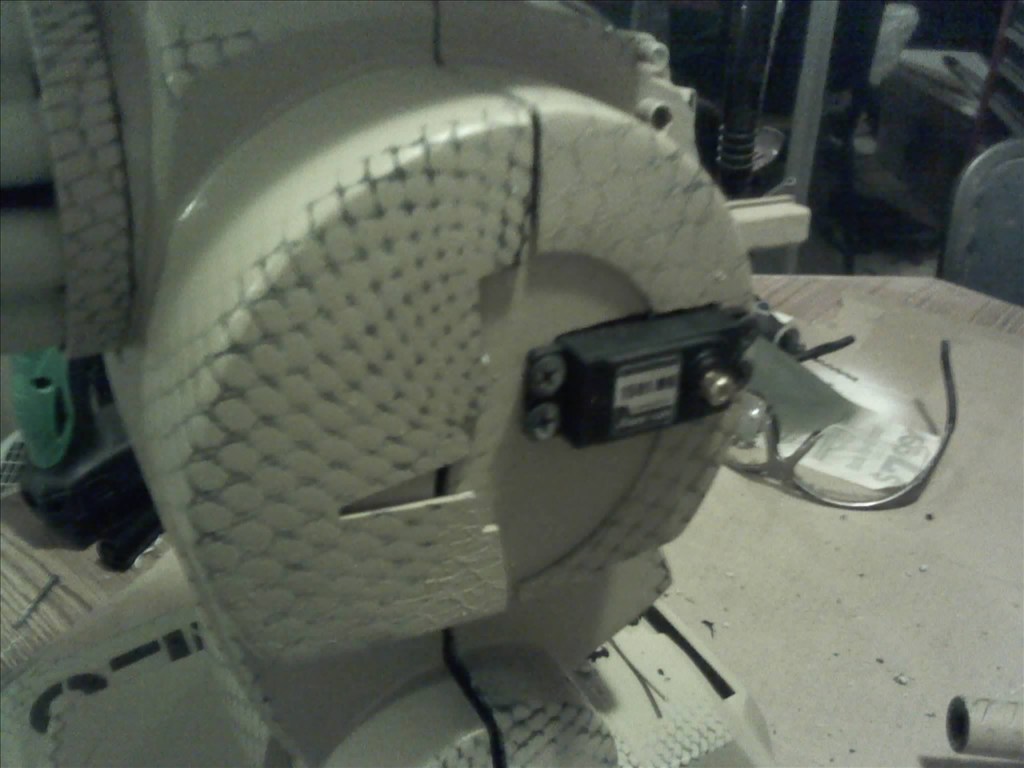
Servos were added in the sides of the inserts I made earlier to fill where I removed the orginal arms and gearboxes that were there.
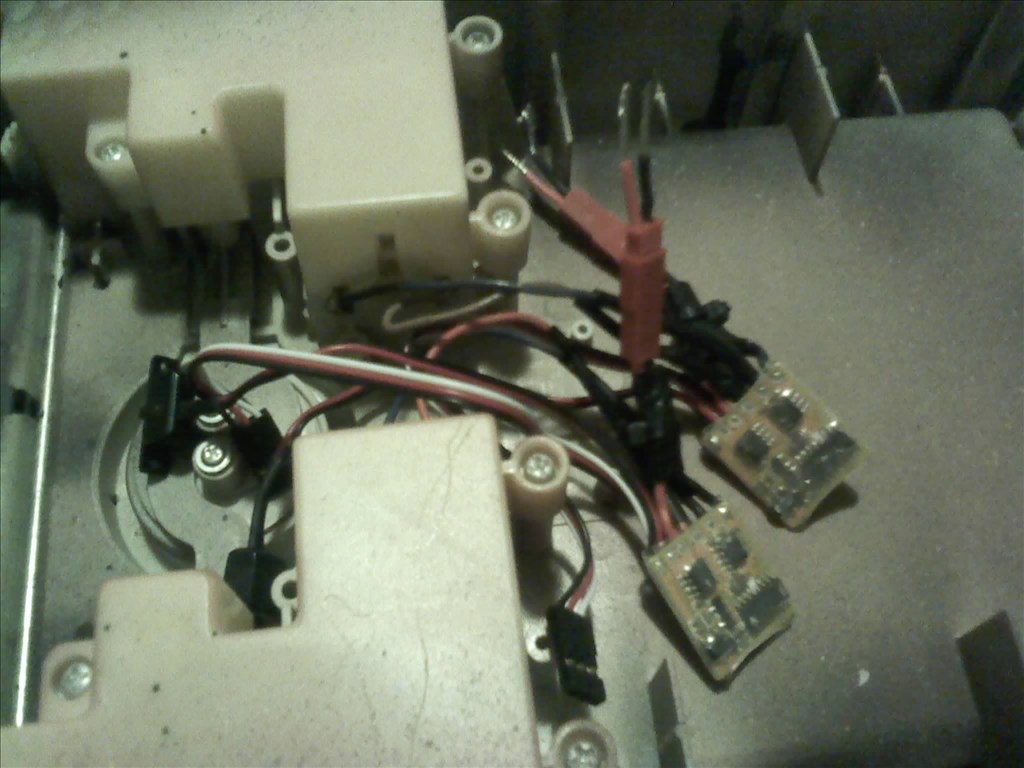
Two generic $10 speed controllers. I dont like they constantly beep
Yay My dad made me a "Team Starnes" shirt to wear to the makerfaire

This is what I have so far for this project. Now that it is getting colder outside I am sure I will get back to working on it one weekend and shooting some stuff !
This is a first person shooter avatar, you control is remotly and shoot at your friends... well hopefully your friends robots :)
- Actuators / output devices: 2 x Power HD Servos 240 oz in, 4 mabuchi motors, 2 h bridge
- Control method: remote control
- CPU: Ez Robot EZB 40mhz Bluetooth controller, Software hosted PC
- Operating system: Windows 7
- Power source: 6v Power Sonic 4 AH
- Programming language: Ez Builder
- Sensors / input devices: Ez Cam 2.4ghz 640 x 480
- Target environment: home, Outdoors, Makerfaire