


Quad Walker
Been working on a building a quad walker probably for a year now. What started of a coding project has now ended up with me learning how to 3d model and building a kit 3d printer.
Along with scope of the project, the size of walker also grew. It was originally planned to use small 9g servers and probably end up 20cm across in total. Though I moved to using standard r/c card servos and as a result each leg will be around 20cm. No idea how big the body will need to be to house everything else.
At moment, I’ve only modelled the leg, though I’m reasonably confident this will be the near final version before starting the body (gone through 8 10 version/reworks so far).
Hope to be uploading updates as the build goes along. If anyone has questions or suggestions let me know.
Update 2016-12-30:
First printed and part assembled leg. Still need to print the cover for the other side of the calf section and the foot, but it's getting there.
 |
 |
 |
- |
Update 2017-01-04:
Printed the other side cover for the calf section, glued in the nuts to prevent them falling out and pressed in the t-nut to act as the anchor for the support shaft. From there it was time to screw it all together along with the hip servo.
The next step will be to print/attach the foot and starting to code.
 |
 |
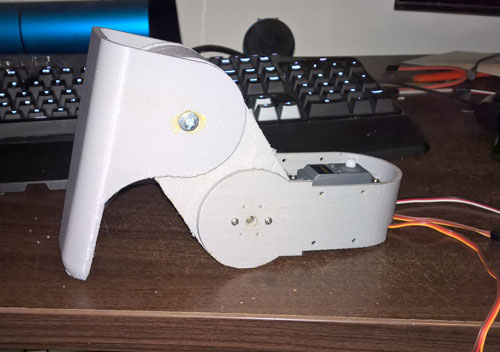
Update 2017-01-07:
Printed the foot and screwed it into place. At this point I’ve done some basic test code for the servos to make sure they are working and aligned correctly (so far so good).
 |
 |
 |
- |
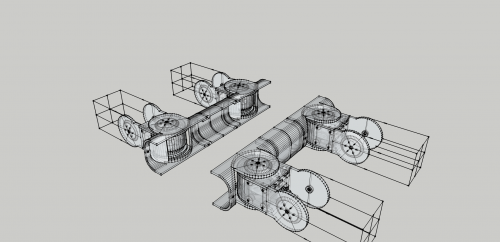
Update 2017-01-22:
No new parts to show, but have a decent start on the model for the body.
I've tried uploading the files for the leg, but the upload seems to be down again, so once that's fixed I’ll load them up.
For the time being, here's a snap shot of the version 1 body, still a long way but it's something.
 |
 |
Update 2017-02-20:
Printed the first part of the body today after a few tech issues with the printer. Looked to be going all good until I noticed it had warped at the base. Apart from the warping, the design looks good so I’ll clean up the printer bed and take a second run.
 |
- |
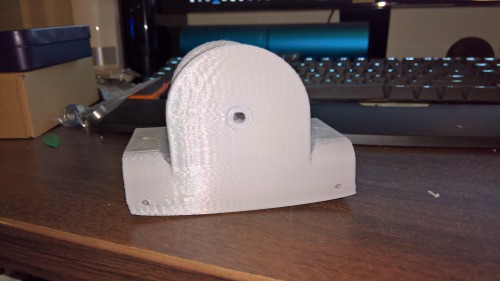
Update 2017-02-27:
After a couple failed attempts I finally have a hip joint with no warping. Not Bolted in just yet as I need to run cables, but it shows where it is going. Next to make the ribs and body section.
 |
- |
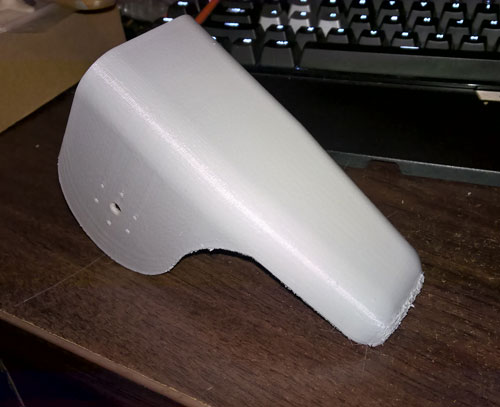
Update 2017-03-12:
Printed the first body section and size of this walker is really starting to dawn on me.
The print came out looking good, but I have noticed a slight lean in this print and when looking at previous prints them as well. Will have to adjust the print to fix this and hopefully won’t need to reprint.
At this point there are only a couple more parts to design before I have a 'complete' set and from there it'll be onto the electronics and programing.
 |
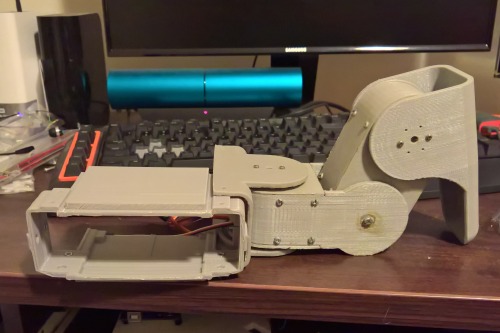 |
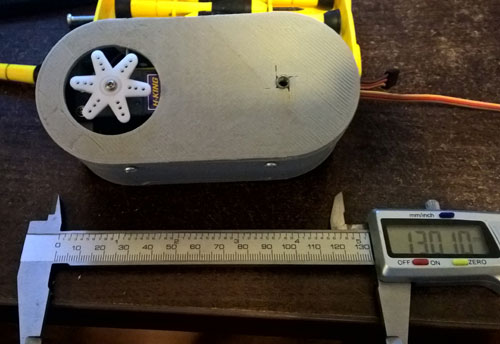
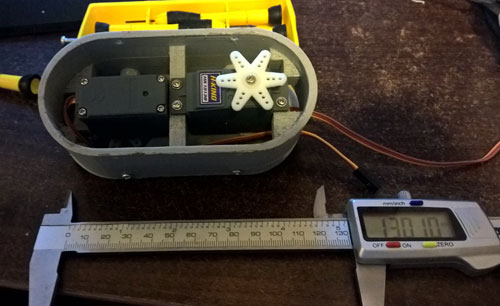
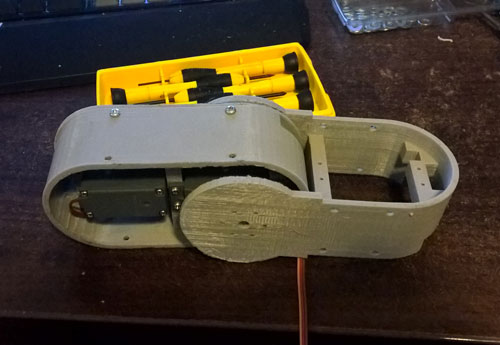
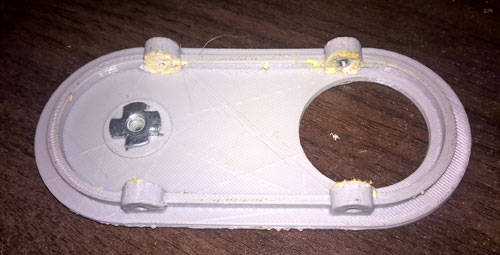
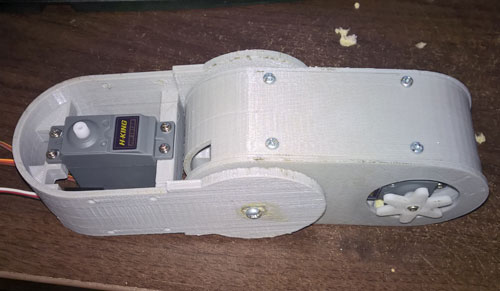
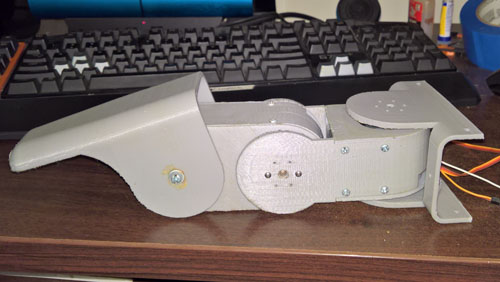
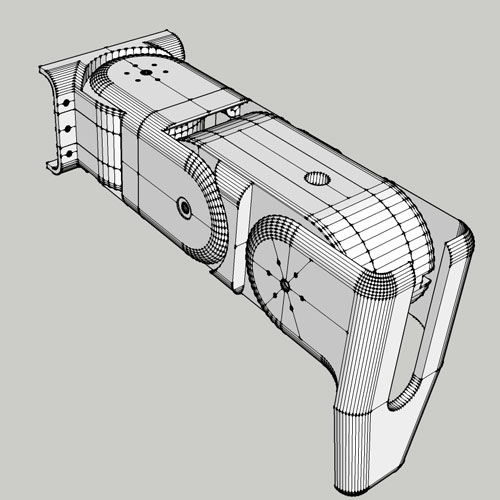
Update 2018-01-16:
Been quite a while and a couple revisions since my last update. After printing all the parts for a leg and a near complete body section I started to notice a couple flaws in my design, the main one was wires getting caught and severed in the joints.
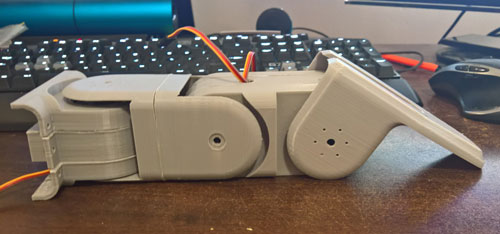
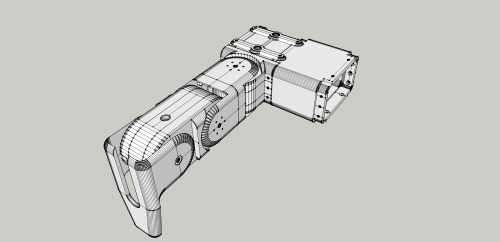
I am now up to now version 10 and for the legs I think this will be final (famous last words) before I progress through finishing up the body and get onto the wiring and programming.
The main difference between the old design and the new one is that the cables no longer need to run through any joints. Instead the wires for the two servos in the 'calf' section will run externally via a braided sleave and the servo in the hip has been spun 180° so it is now attached to body and not the leg. The other main difference is the new design is more 3d printer friendly and lighter to help take the load off the servos and joints.
As for my 3d printer, at moment I have given up on it. There are several parts not working correctly (thermostat and bed level) and for how cheap it was to purchase I’m not sure it's worth repairing. In mean time I have been using 3d Hubs ($10 discount) to get parts printed which has been working out well while I sort out what I am going to do long term.
 |
 |
 |
- Control method: Semi-autonomous, Bluetooth
- Sensors / input devices: Ultra Sound
- Target environment: indoor