


Project: MegaTank
*All Updates will be added to the bottom, Old stuff on the top, newest on the bottom, scroll through and enjoy :)*
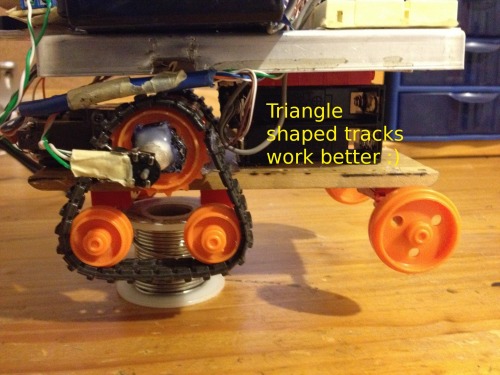
I wanted to reuse the Tamiya parts from a previous robot to make a better chassis. Before, the tracks of the robot would slide off in turns. The new triangle shape of the tracks allows for more contact between wheel and track, which holds the tracks much better :)
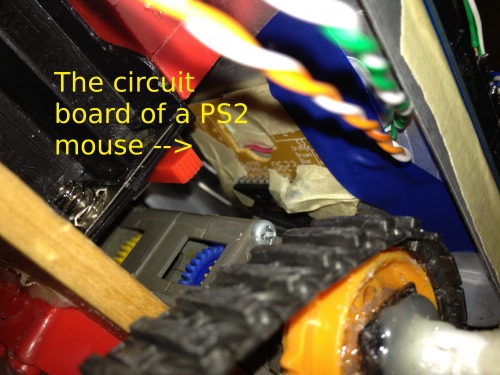
Tucked inside is the circuit board of a ps2 mouse. An Arduino library handles all the communication. I can use 3 buttons and 2 rotary encoders with this setup, using only 2 pins for the Arduino. I'm using mechanical sensors instead of IR ones so the resolution isn't as good.
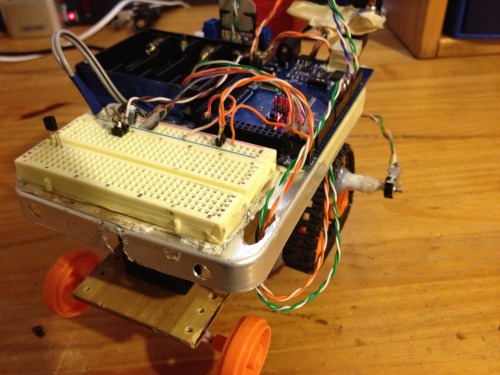
I am using 4 AA batteries to power the Arduino, and another set of 4 powers the motors. I'm thinking about using a regulated 5v to feed the Analog Ref. pin to be able to check the voltage of the logic and motor supply batteries.
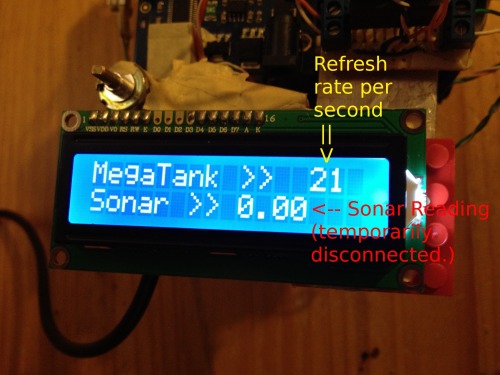
I have an LCD screen that I use for different debug values. The LCD was quite cheap on ebay and it has helped me out a ton!
The robot used to have an HC-SR 04 ultrasonic sensor for obstacles, but I was inspired by DanM to add a 2 DOF head. I'm still waiting on the servos to arrive.
Upcoming improvements:
Ordered another Ultrasonic sensor to make a wall racer similar to Frits' robot.
Waiting on 4 servos to arrive. Planning on using 2 for a head. Maybe I can use the other 2 for a gripper or an arm..
I also want to add a menu system for my robot to change settings on board and have different debug values displayed on there.
UPDATE May 31, 2012:
I have gotten a lot done for my LCD menu UI on my robot.
Right now I can scroll through a list of the pins that I'm using, and I can view a few different sensor values.
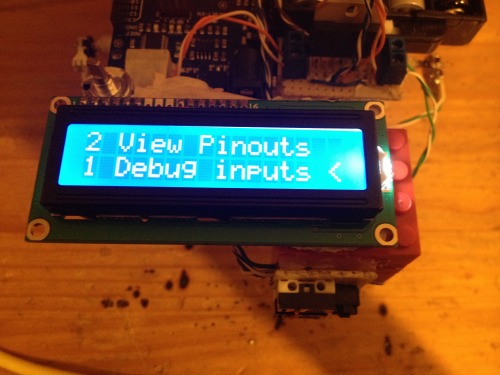
I added three buttons , UP, DOWN, and Enter/Exit.
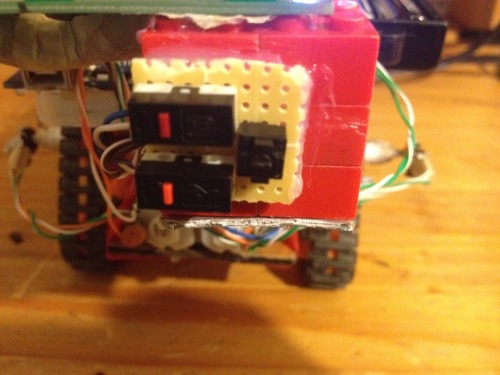
I've also been doing some work on the head, I'm still waiting on the servos though.. an Ultrasonic sensor make up the eyes, and an LED mouth was also suitable. This was all made out of a soda can.
in the background of the image, you can also see that I have added bump sensors.

A small robot for learning various robot stuff
- CPU: Arduino Mega 1280
- Power source: 4 AA battery packs for Logic, another set for Motor Supply
- Programming language: arduino language based on C/C++
- Sensors / input devices: HC-SR04 ultrasonic sensor, ps2 mouse board
- Target environment: Indoors. Carpet or smooth floors